How do you start pottery?
Short answer
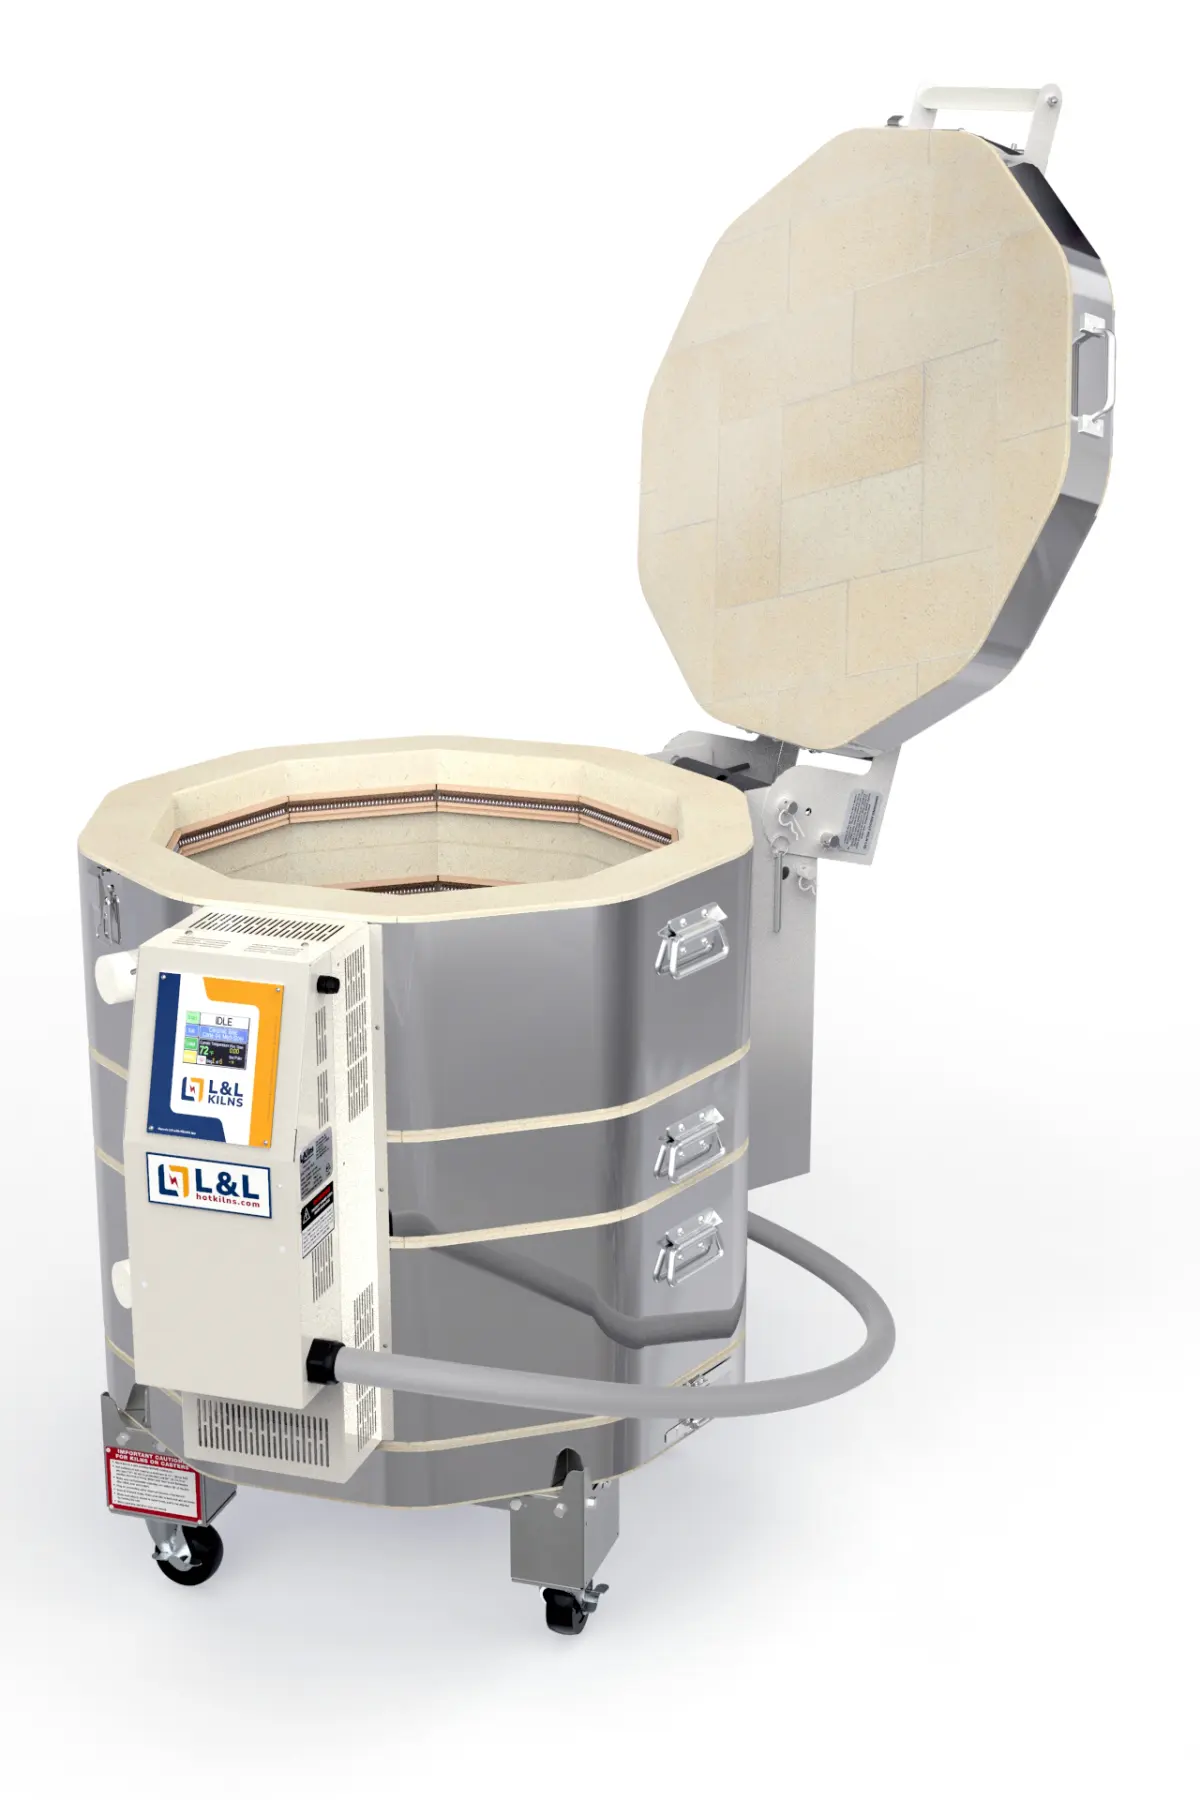
Starting pottery requires access to clay, basic shaping tools, and a kiln for firing. Beginners should enroll in a local studio class to learn foundational techniques like pinching, coiling, and wheel-throwing. Consistent practice, patience with the drying process, and understanding clay chemistry are essential to successfully transforming raw earth into durable ceramic art.
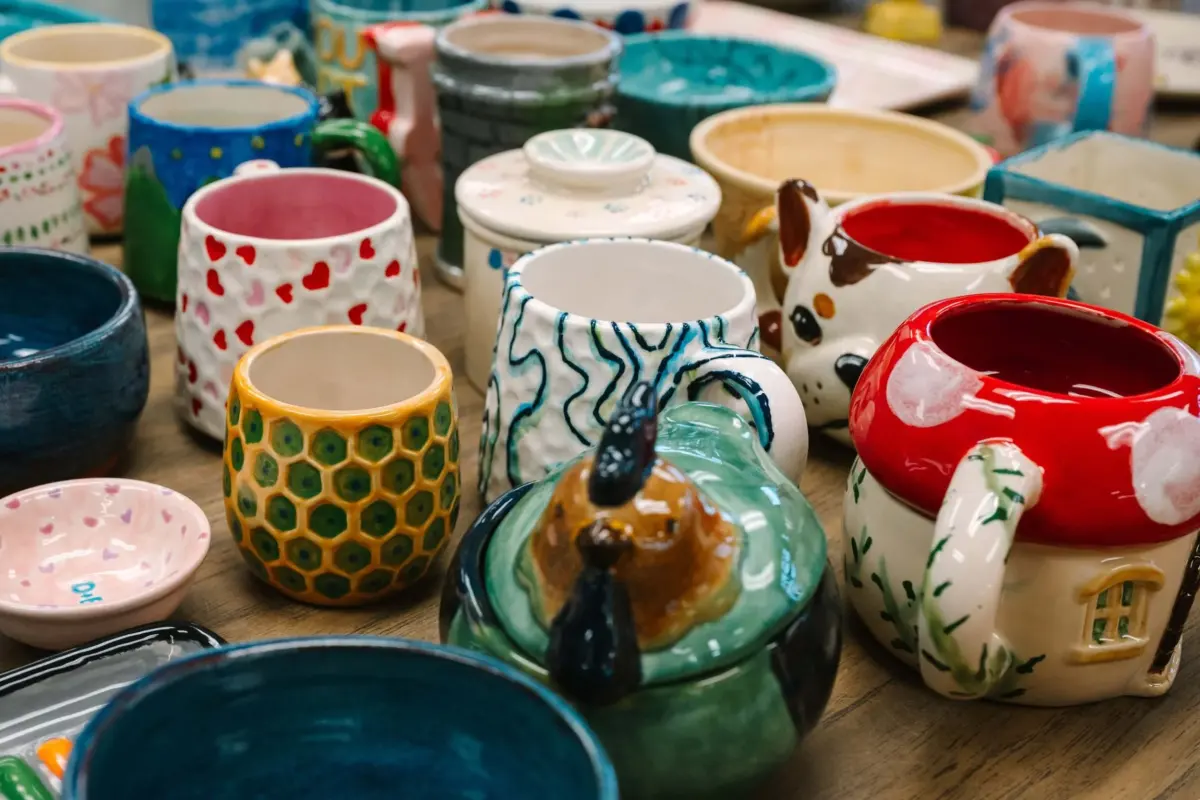
On this page
How to start pottery for beginners
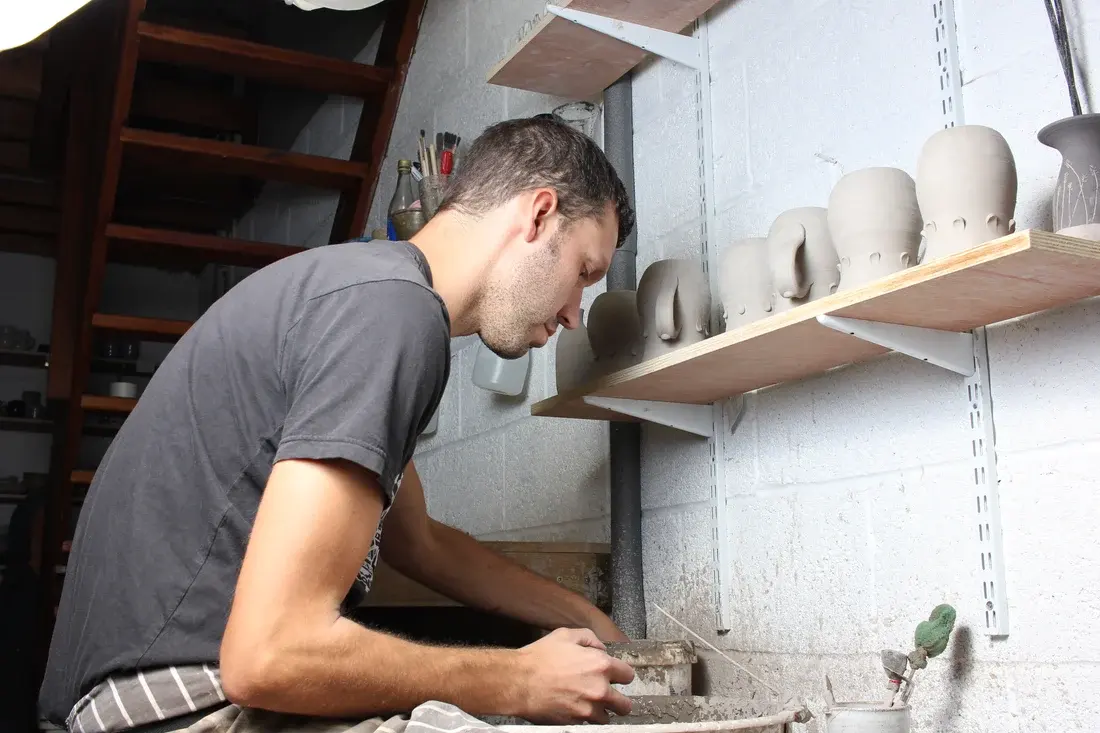
The most effective way to begin pottery is by enrolling in a structured introductory course at a community college, art center, or private ceramic studio. These environments provide the necessary equipment, such as pottery wheels, slab rollers, and kilns, which are prohibitively expensive for most individuals to purchase initially. Instructors guide you through the physical properties of clay, teaching you how to manipulate the material while maintaining structural integrity.
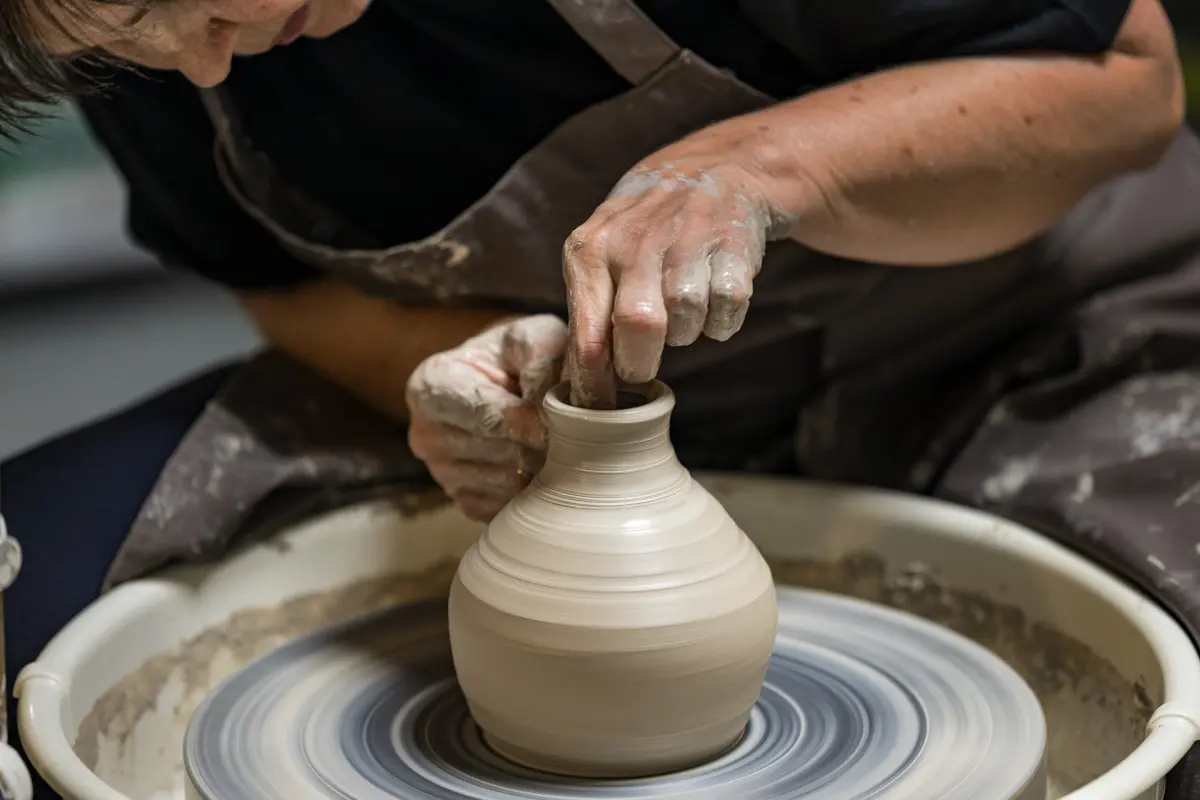
When choosing a class, look for one that covers both hand-building and wheel-throwing. Hand-building techniques—such as pinching, coiling, and slab construction—help you understand the plasticity of clay without the mechanical complexity of the wheel. Once you grasp these fundamentals, you can transition to the wheel with a better sense of how clay responds to pressure and moisture. Most studios provide basic tool kits containing wooden ribs, needle tools, and wire cutters, allowing you to focus on technique rather than equipment acquisition.
Best tools for pottery beginners
While studios provide the heavy machinery, owning a small personal kit can improve your workflow. A basic starter set should include a wire toggle for cutting clay, a metal rib for smoothing surfaces, a wooden modeling tool for refining details, and a sponge for moisture control. These items are inexpensive and allow you to develop a consistent rhythm during your practice sessions.
- Wire cutter: Essential for slicing clay blocks and removing finished pieces from the wheel.
- Needle tool: Used for trimming the top edges of pots and marking measurements.
- Sponge: Crucial for adding water to the clay and compressing the surface to prevent cracking.
- Wooden rib: Helps shape the walls of a vessel and remove excess slurry.
- Scraper: Necessary for refining the base and removing unwanted texture from leather-hard pieces.
Investing in a high-quality apron and a dedicated towel is also recommended, as pottery is inherently messy. Keep your tools clean and dry after every session to prevent rust and ensure they remain effective for future projects.
How long does it take to learn pottery
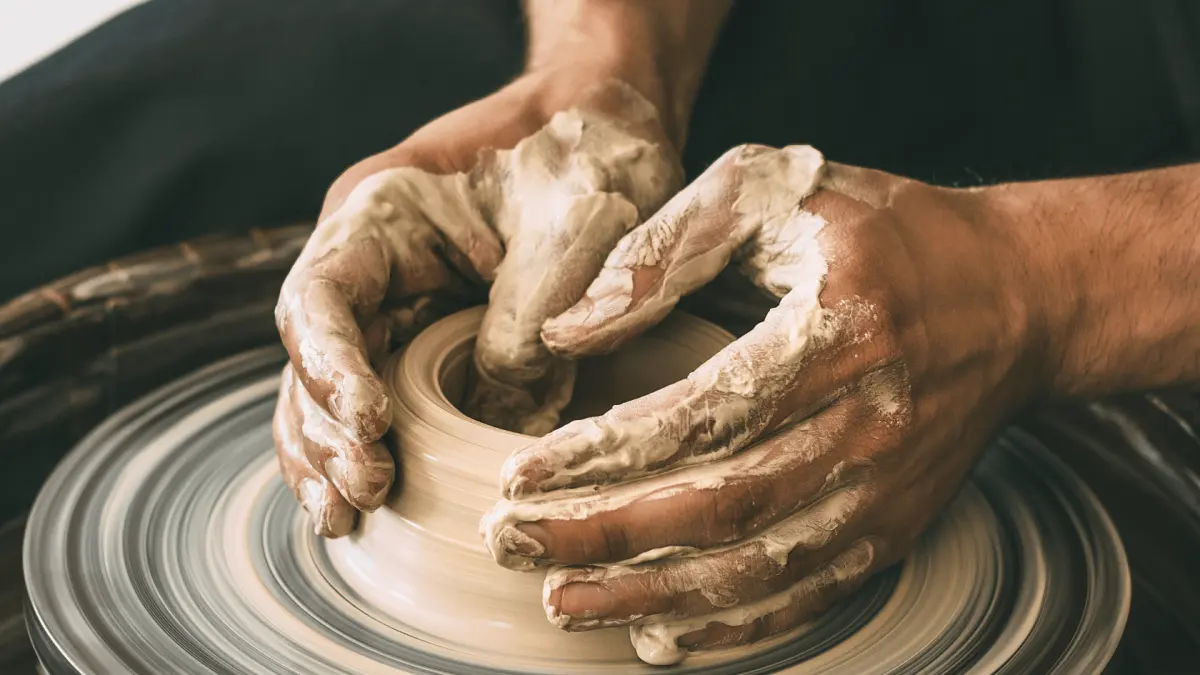
Mastering pottery is a gradual process that depends on the frequency of your practice and your ability to troubleshoot technical failures. Most beginners require several months of consistent weekly sessions to feel comfortable centering clay on the wheel, which is often considered the most difficult initial skill. Hand-building techniques may be learned more quickly, but achieving consistent wall thickness and structural balance takes significant time and repetition.
The ceramic process is inherently slow due to the drying and firing stages. A piece must reach the "leather-hard" stage for trimming, "bone-dry" for the initial bisque firing, and finally be glazed before a second, high-temperature firing. This cycle can take two to three weeks from start to finish. Patience is not just a virtue in pottery; it is a technical requirement. Rushing the drying process often leads to warping or cracking, which can destroy hours of work. Expect to produce many flawed pieces before successfully creating a functional, aesthetically pleasing vessel.
Common mistakes when starting pottery
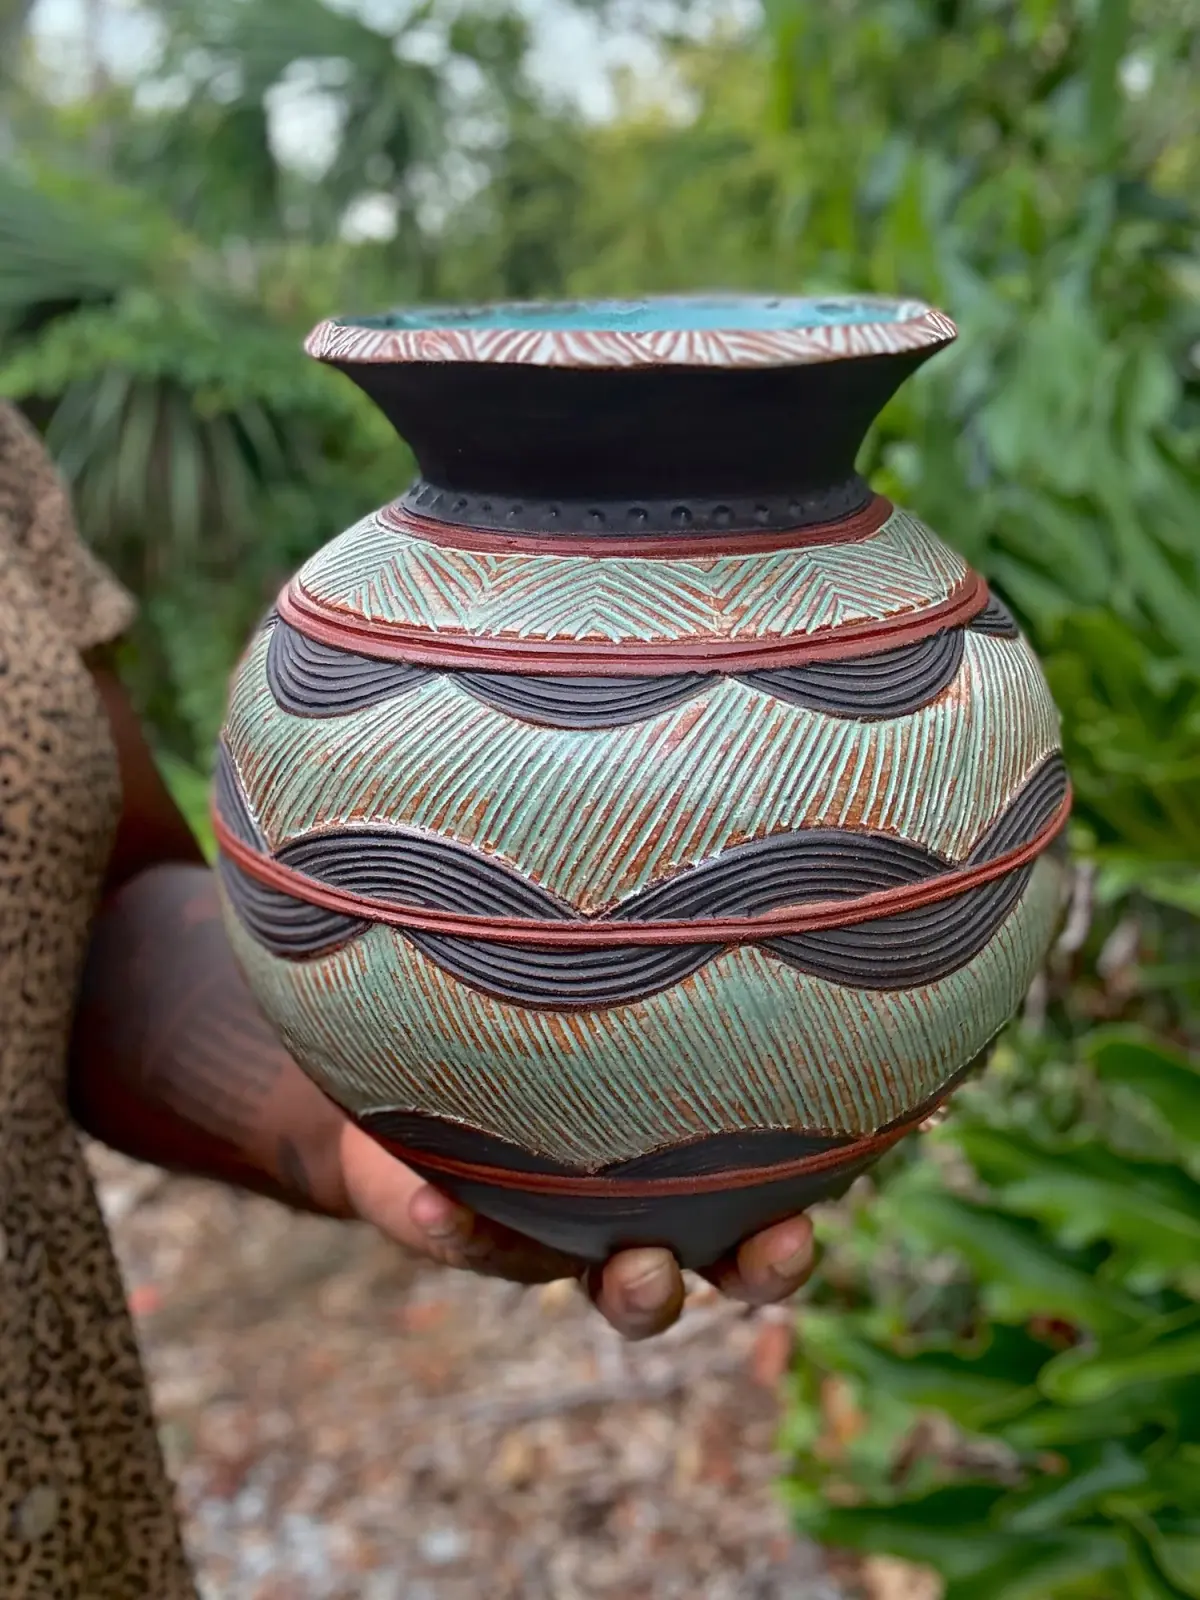
The most frequent error beginners make is using too much water while working on the wheel. Excessive water weakens the clay structure, leading to "slumping" or collapse during the throwing process. Another common mistake is failing to compress the base of the pot, which frequently results in "S-cracks"—small fissures that appear on the bottom of the piece after it has been fired. Always use a wooden tool or your fingers to firmly compress the clay at the floor of the vessel.
- Leaving pieces too thick at the bottom, which causes uneven drying and potential explosions in the kiln.
- Ignoring the "leather-hard" stage, which is the ideal time for trimming and attaching handles.
- Failing to wedge the clay properly, which leaves trapped air bubbles that can cause the piece to burst during firing.
- Applying glaze too thickly, which can cause the finish to run and fuse your work to the kiln shelf.
Always observe how your instructor handles the clay, as their movements are designed to maximize control while minimizing stress on the material.
Why pottery cracks during firing
Cracking is a common frustration caused by uneven drying or trapped moisture. Clay shrinks as it loses water, and if one part of a vessel dries significantly faster than another, the resulting tension causes the clay to tear. To prevent this, cover your work loosely with plastic to ensure a slow, uniform drying rate. Avoid placing unfinished pieces near heat sources or in direct sunlight, as these conditions accelerate moisture loss and increase the likelihood of structural failure.
Another cause of cracking is poor joinery. When attaching handles or spouts, you must "score and slip" the surfaces—creating rough textures on both parts and applying liquid clay (slip) as an adhesive. If the bond is weak, the pieces will separate as they shrink during the firing process. Additionally, ensure that your clay is thoroughly wedged to remove air pockets. If air is trapped inside the clay body, the expansion of that air during the high-heat firing cycle will cause the ceramic to shatter or crack. By paying close attention to these physical variables, you will significantly improve your success rate.
Key facts
- Pottery clay is primarily composed of kaolinite, a mineral that becomes plastic when wet and hardens when fired.
- Beginners should start with "stoneware" clay, as it is forgiving and less prone to cracking than porcelain.
- The "wedging" process is essential to remove air bubbles from the clay, which prevents explosions in the kiln.
- A kiln must reach temperatures between 1,800°F and 2,400°F (980°C–1,300°C) to transform clay into permanent ceramic.
- "Greenware" refers to unfired clay items, while "bisqueware" describes pottery that has undergone its first firing.
- Always keep your workspace damp; dry clay dust contains silica, which is hazardous if inhaled over time.
The bottom line
Starting pottery is a rewarding blend of technical precision and artistic expression. By mastering the basics of wedging, shaping, and understanding the firing cycle, you can transform raw earth into functional art. Focus on hand-building techniques first to build foundational skills, prioritize safety by managing clay dust, and utilize local studio resources to gain access to kilns. With patience, your craft will steadily improve over time.
People also ask
What basic tools do I need to begin?
You need a needle tool for trimming, a wire cutter for slicing clay, a wooden rib for shaping, and a sponge for smoothing. A simple potter's wheel or hand-building tools like a rolling pin are also helpful starters.
Is it better to learn hand-building or wheel-throwing first?
Hand-building, such as pinch pots or slab construction, teaches you the fundamental properties of clay without the steep learning curve of the wheel. Most experts recommend mastering basic forms by hand before attempting to center clay on a spinning wheel.
How long does it take for a piece to be finished?
A piece typically takes two to four weeks to complete, depending on drying time and kiln availability. Clay must be completely "bone dry" before its first firing, followed by a second firing after glazing.
Do I need a kiln at home to get started?
No, you do not need your own kiln. Many local community centers, art schools, or pottery studios offer "kiln firing services" where you can pay a fee to have your work fired in their equipment.
What is the most common mistake for beginners?
The most frequent error is failing to compress the base of a pot or leaving air pockets inside the clay walls. These structural weaknesses often cause pieces to crack or shatter during the high-heat firing process.
Can I use regular paint on my pottery?
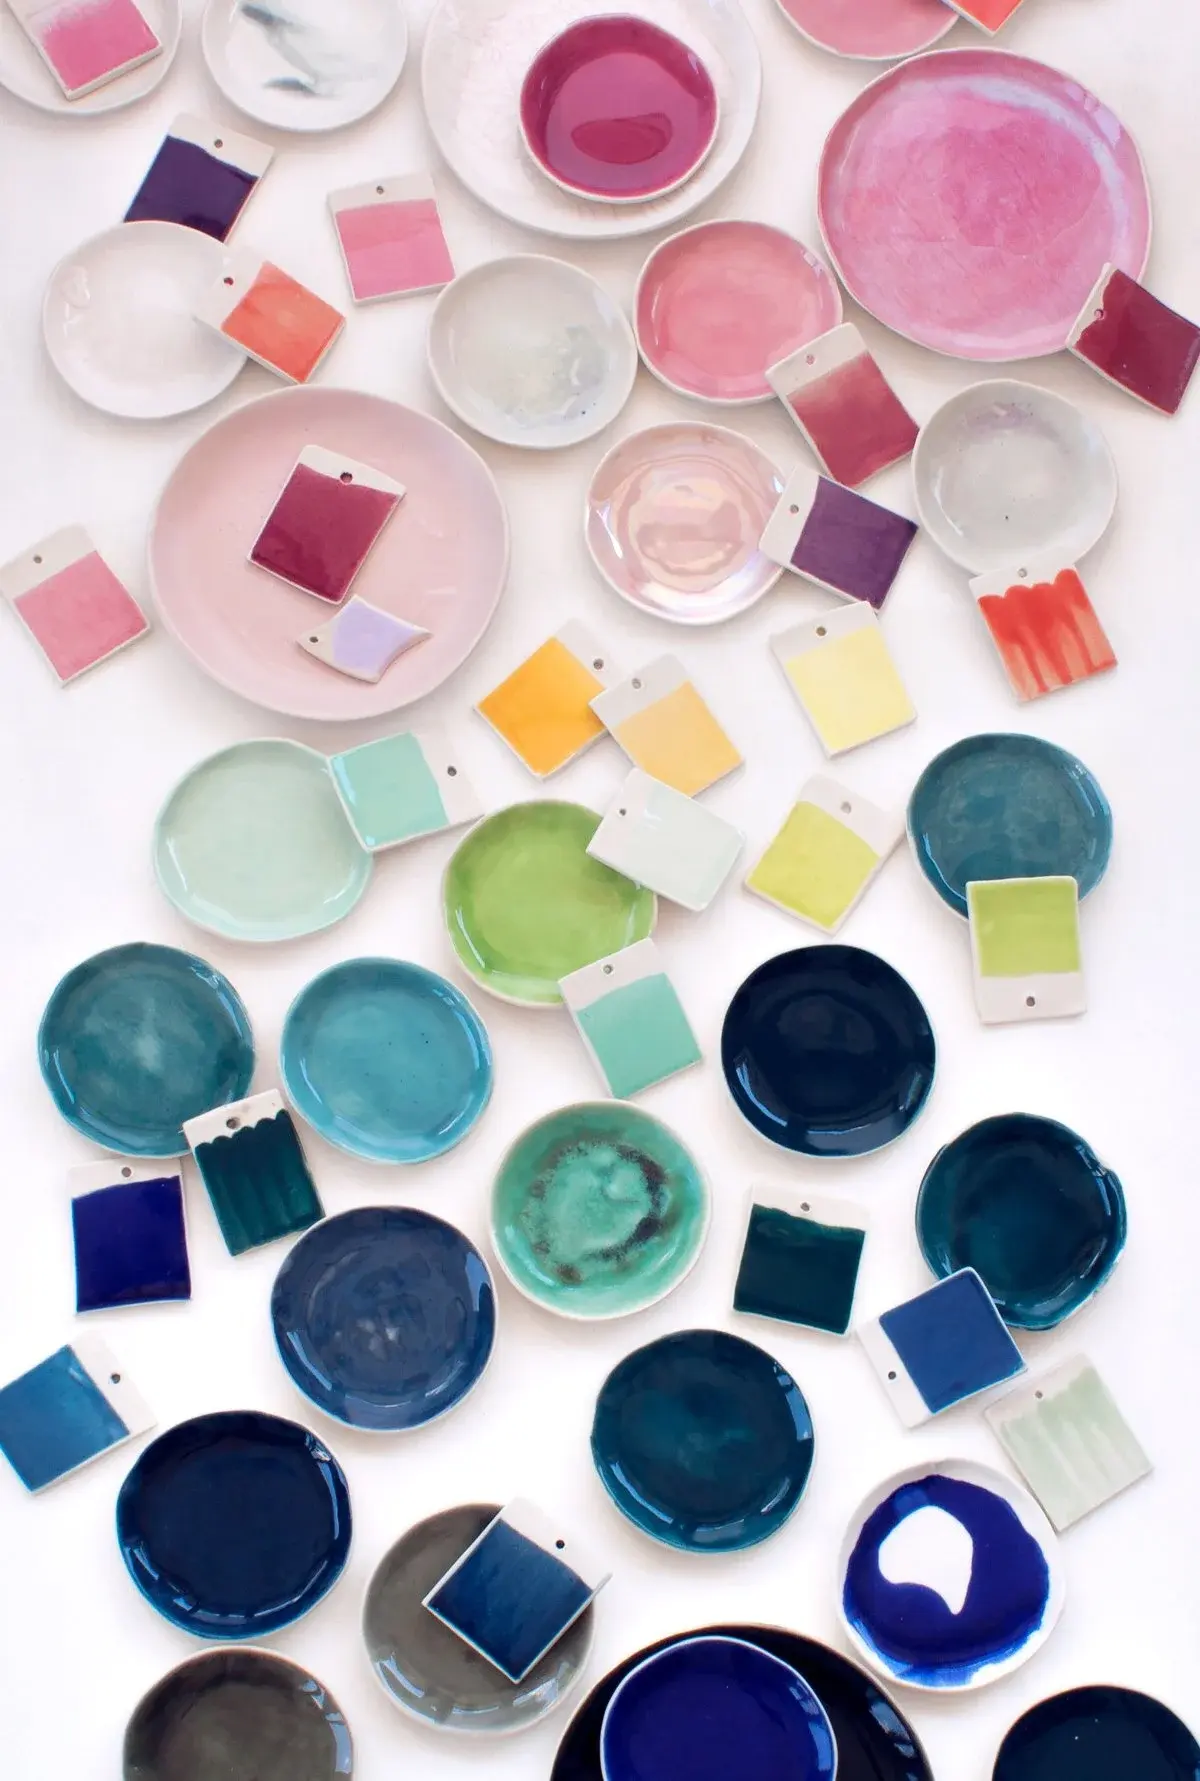
You cannot use standard craft paint because it will burn off or flake away in the kiln. You must use ceramic glazes, which contain glass-forming minerals that melt into a durable, waterproof coating during firing.
This answer was created with the help of AI research tools and reference sources. Spotted an error? Let us know — we correct mistakes quickly. See our editorial policy.