How do you glaze pottery?
Short answer
Glazing pottery involves applying a liquid mixture of minerals and silica to fired clay, known as bisque ware. Through a second high-temperature firing, this coating melts into a durable, glass-like surface. Techniques include dipping, brushing, or spraying, followed by a final kiln cycle to achieve the desired color, texture, and finish.
On this page
How to prepare pottery for glazing
Before applying any glaze, the bisque-fired piece must be perfectly clean and free of dust. Use a damp sponge to wipe the entire surface, removing any debris that might prevent the glaze from adhering properly. If the piece is dusty, the glaze may crawl or flake off during the firing process, leaving unsightly bare spots.
Ensure your pottery is completely dry after cleaning before you begin the application. If the piece is too porous or damp from cleaning, it may absorb the glaze unevenly, leading to streaks or thin patches. Most potters prefer to glaze their work within a few hours of cleaning to ensure the surface remains pristine and ready for the chemical reaction that occurs in the kiln.
Methods for applying pottery glaze
There are several professional techniques used to coat ceramic surfaces, each offering different aesthetic results and control levels. The method you choose often depends on the size of the piece and the number of items you need to finish.
- Dipping: Submerge the entire piece into a large bucket of glaze for three to five seconds to ensure an even, thin coat.
- Brushing: Use a soft, fan-shaped brush to apply three distinct layers, allowing each coat to dry to a matte finish before adding the next.
- Pouring: Rotate the piece while pouring glaze over the interior or exterior, which is ideal for large vases or bowls.
- Spraying: Utilize a spray booth and an air compressor to apply a fine, uniform mist, which is best for achieving smooth gradients or complex color layering.
How to avoid common glazing mistakes
Achieving a professional finish requires attention to detail and an understanding of how glazes behave under heat. One of the most frequent errors is applying the glaze too thickly, which causes it to run or pool at the bottom of the piece during firing. This can permanently fuse your pottery to the kiln shelf, causing damage to both the work and your equipment.
Another common issue is failing to wax the foot of the pot. Always apply a thin layer of liquid wax resist to the bottom quarter-inch of the piece before glazing. This prevents the glaze from touching the shelf. If you accidentally get glaze on the bottom, use a damp sponge to wipe it away immediately. Never fire a piece that has glaze on the foot, as the molten material will inevitably stick to the kiln furniture.
What materials are needed for glazing
To begin glazing, you will need a selection of commercial or studio-mixed glazes, which are categorized by their firing temperature. It is critical to match the glaze's temperature rating to your clay body and kiln capacity. Low-fire glazes typically mature around cone 06 to 04, while mid-range glazes mature near cone 5 or 6. Using the wrong temperature can cause the glaze to bubble, craze, or fail to melt entirely.
- Glaze buckets or jars
- High-quality soft-bristle brushes
- Wax resist for the foot of the pottery
- A clean, damp sponge for surface preparation
- A kiln for the final glaze firing
- Tongs for dipping larger pieces
- A dedicated area with good ventilation to avoid inhaling glaze dust
Always wear a respirator mask when mixing powdered glazes, as the fine particles can be harmful to your lungs. Keep your workspace organized and label every glaze container clearly to avoid mixing incompatible chemical compositions.
How to fire pottery after glazing
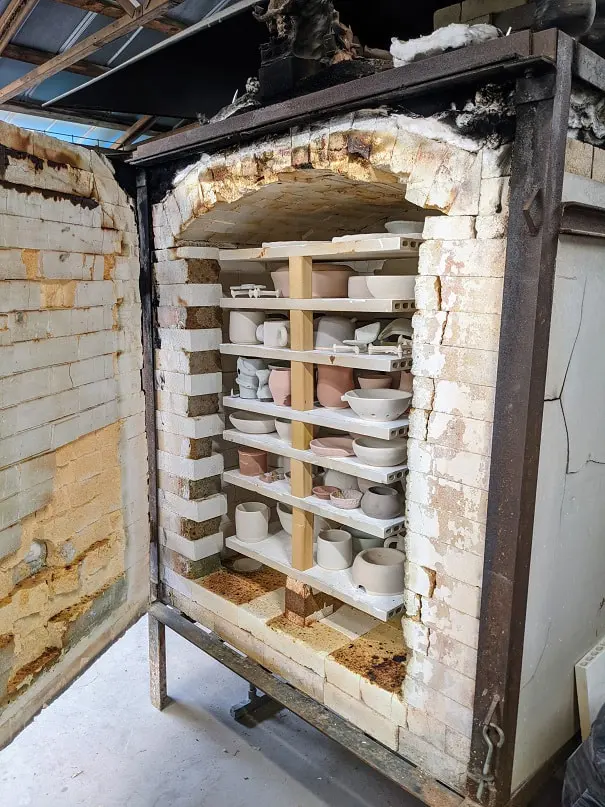
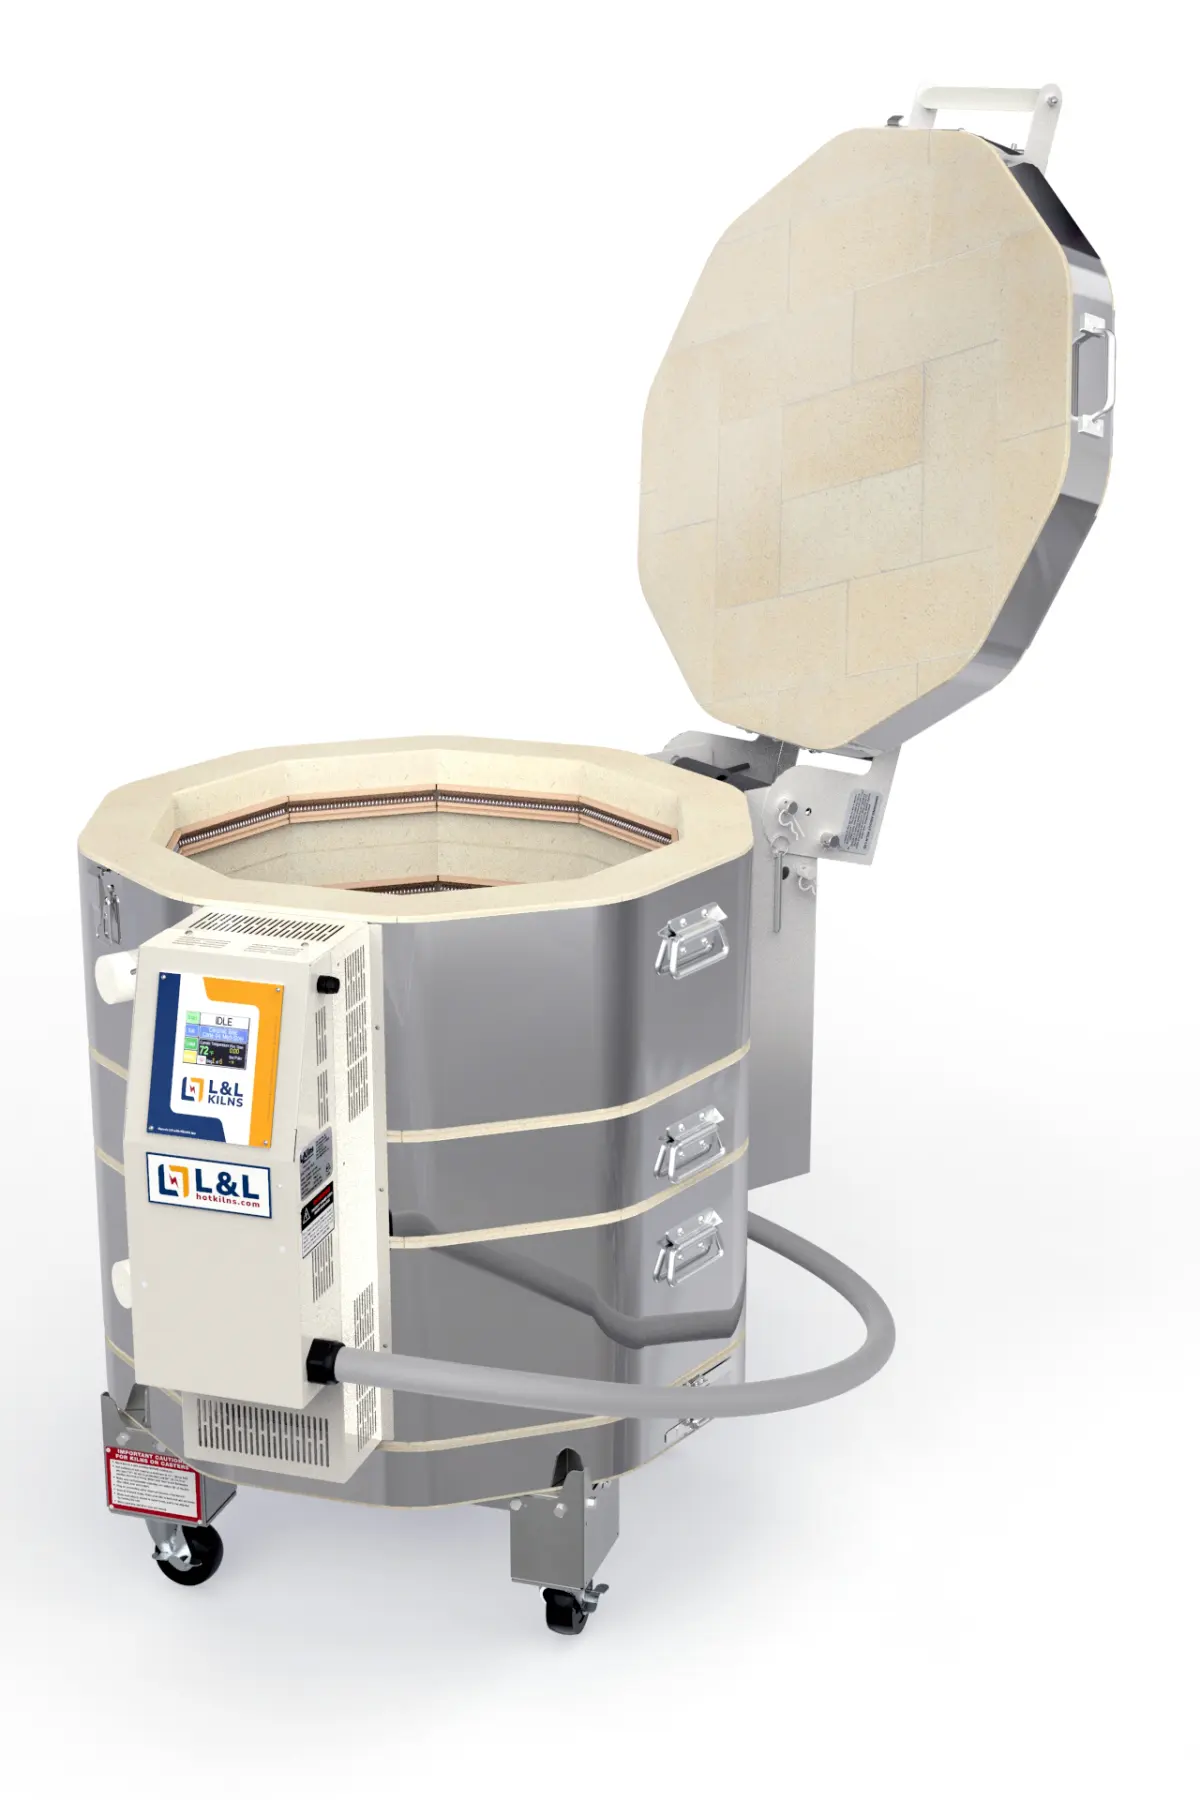
The final step in the process is the glaze firing, which transforms the raw chemicals into a vitrified, glass-like surface. Place your pieces carefully on the kiln shelves, ensuring they are at least one inch apart so they do not touch if the glaze flows during the melt. Close the kiln lid securely and program your controller to follow the specific ramp and hold schedule recommended by the glaze manufacturer.
The firing schedule usually involves a slow climb in temperature to allow gases to escape, followed by a "soak" period at the peak temperature. This soak allows the glaze to smooth out and heal any pinholes or imperfections. Once the firing cycle is complete, you must allow the kiln to cool completely to room temperature, typically taking 12 to 24 hours, before opening it. Removing pieces while they are still hot can cause thermal shock, leading to cracks in the ceramic body or crazing in the glaze surface.
Key facts
- Glaze is a mixture of silica, flux, and alumina that melts into a glass-like coating during firing.
- Bisqueware—pottery fired once to roughly 1800°F (982°C)—is the ideal state for applying glaze.
- Always wipe dust off your bisqueware with a damp sponge before glazing to ensure proper adhesion.
- Wax resist is a liquid wax applied to the bottom of a pot to prevent glaze from sticking to the kiln shelf.
- Dipping, brushing, and spraying are the three primary methods for applying glaze to ceramic surfaces.
- Glaze chemistry is highly sensitive; even a 10-degree difference in kiln temperature can change the final color.
The bottom line
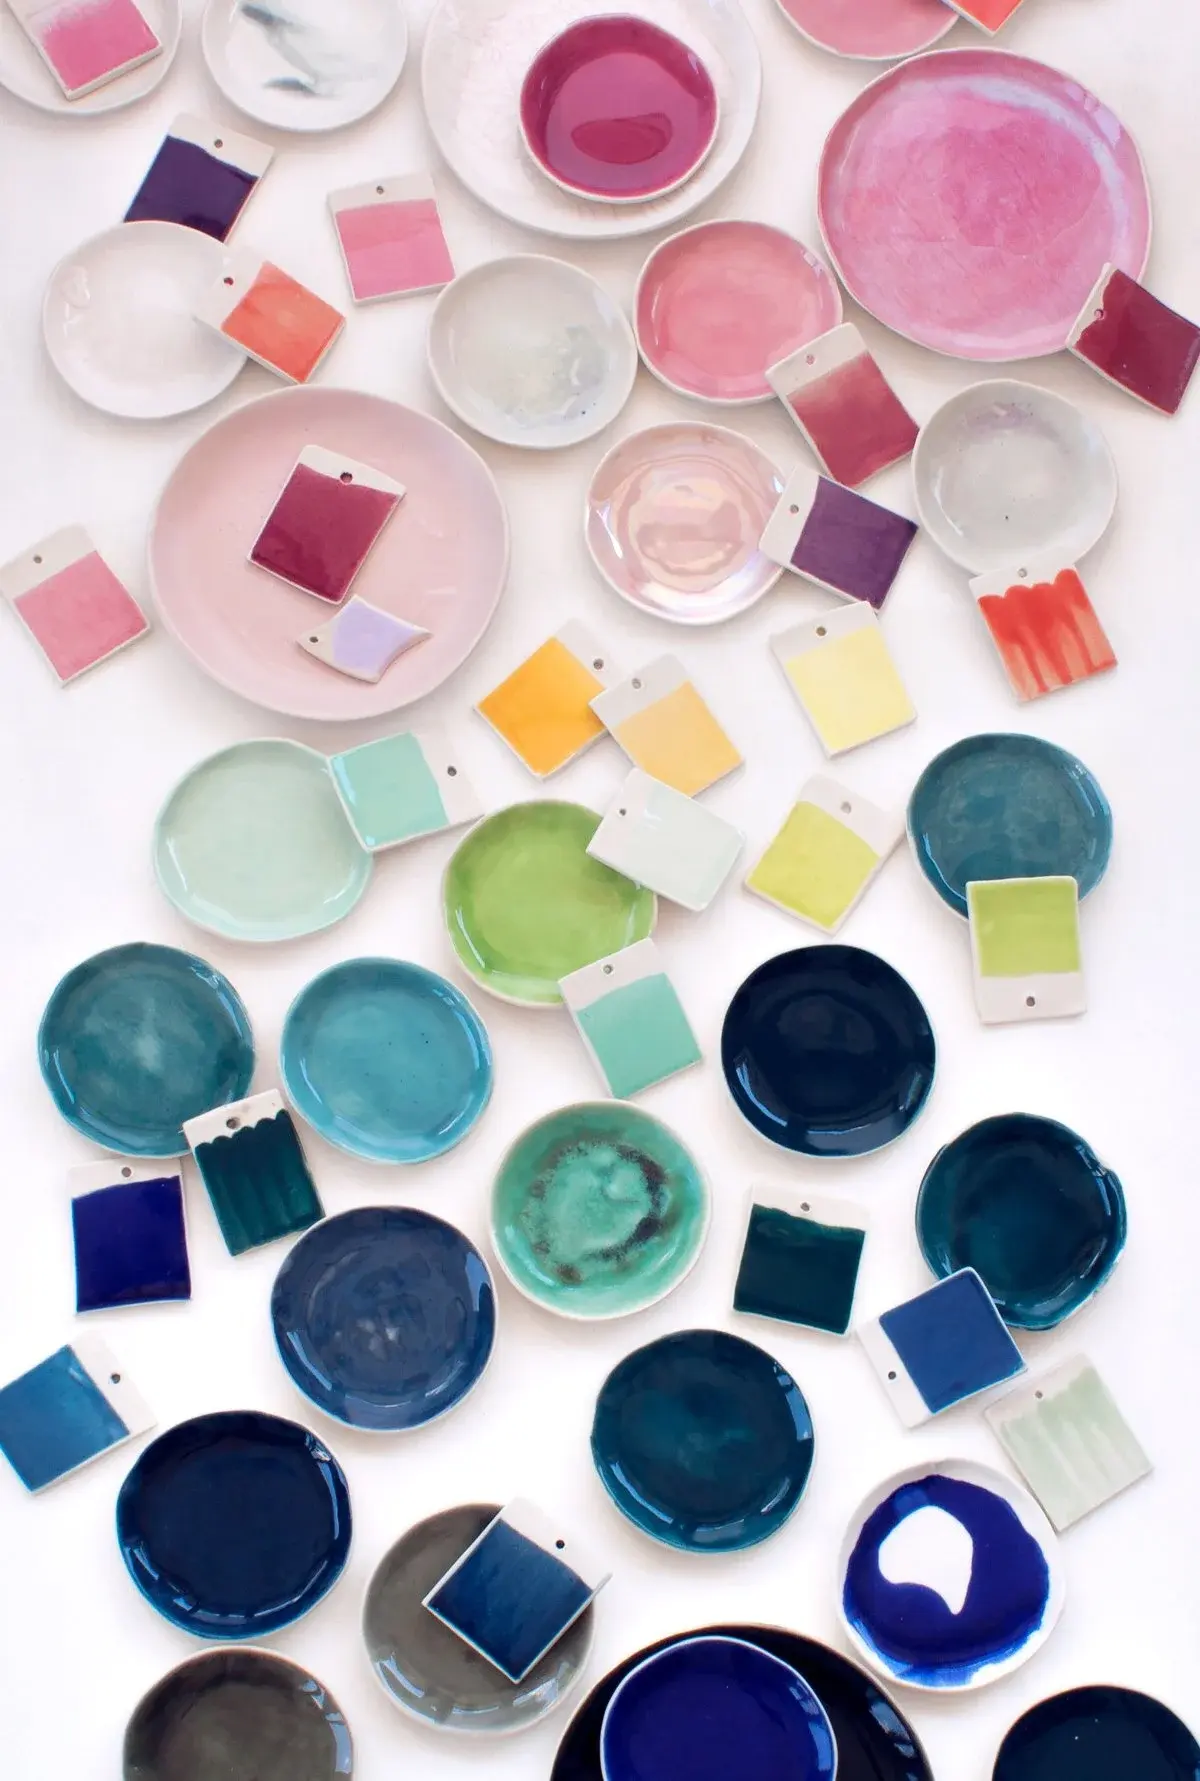
Glazing is a transformative process that turns raw clay into a durable, functional, and decorative object. By carefully preparing your bisqueware, selecting appropriate glazes, and mastering application techniques like dipping or brushing, you can achieve professional results. Remember that patience is essential; testing your glazes on small tiles first will help you understand how they react to your specific kiln and firing schedule.
People also ask
Why did my glaze crawl or pull away from the surface?
Crawling typically occurs because the pot was dusty, oily, or the glaze was applied too thickly. Ensure the surface is clean and try thinning your glaze with a small amount of water to improve consistency.
Can I mix different glazes together?
You can layer glazes, but mixing them in a bucket can create unpredictable chemical reactions or toxic fumes. Always test new combinations on small sample tiles before applying them to your finished work.
How do I know if a glaze is food-safe?
A food-safe glaze must be chemically stable and lead-free to prevent leaching into food or drink. Check the manufacturer's label for specific safety ratings and ensure the glaze is fully vitrified during firing.
What is the difference between underglaze and glaze?
Underglaze is essentially colored pigment that stays where you put it and does not melt or flow. Glaze is a glass-forming material that melts and coats the piece, providing a protective, decorative finish.
How thick should the glaze application be?
For most dipping glazes, a two-to-three-second immersion is sufficient to achieve the proper thickness. If applying by brush, aim for three even coats, allowing each layer to dry completely before adding the next.
What happens if I get glaze on the bottom of my piece?
If glaze touches the bottom, it will melt onto the kiln shelf during firing, permanently fusing your pot to the kiln. Always wipe the bottom clean with a damp sponge or use wax resist before firing.
This answer was created with the help of AI research tools and reference sources. Spotted an error? Let us know — we correct mistakes quickly. See our editorial policy.