How do you make a sculpture from clay?
Short answer
Making a clay sculpture involves preparing the clay, building the form using techniques like coil or slab construction, refining the surface, and drying the piece slowly. After the sculpture is bone-dry, it must be fired in a kiln to become permanent ceramic, followed by the optional application of glazes or stains.
On this page
How to prepare clay for sculpting
Before beginning your sculpture, you must condition the clay to ensure it is uniform and free of air bubbles. Air pockets trapped inside the clay can cause the piece to explode during the firing process. Wedging is the primary method for this, which involves kneading the clay against a porous surface like canvas or plaster to align the particles and remove gas.
- Cut a portion of clay from the main block using a wire tool.
- Press the clay down and away from your body using the heels of your hands.
- Fold the clay back onto itself and rotate it slightly.
- Repeat this motion at least 30 to 50 times until the texture feels smooth and consistent.
If you are using store-bought clay, it usually comes at the correct consistency. However, if it feels too stiff, you can add a small amount of water, though this can make the clay sticky and difficult to manage. Always keep your workspace clean, as dried clay dust can be hazardous if inhaled.
Best clay types for beginners
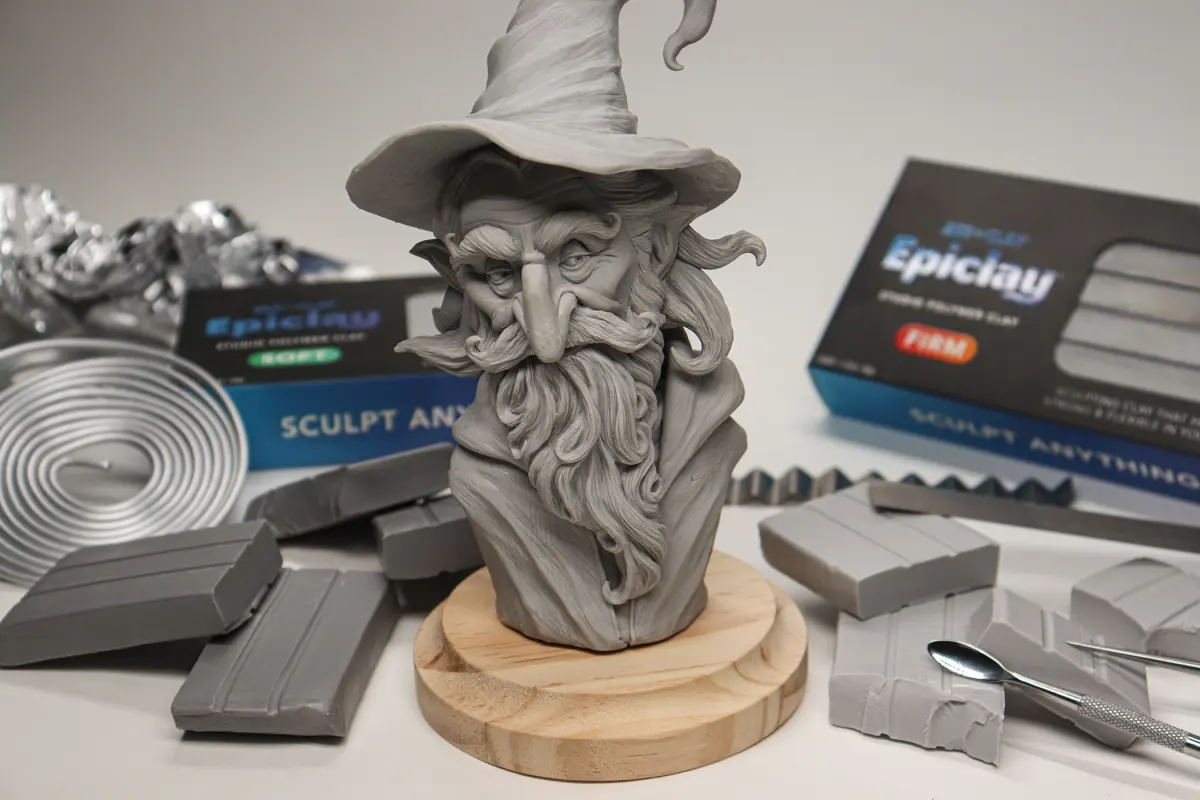
Choosing the right material is essential for success. Beginners often start with water-based earthenware or stoneware because they are affordable and easy to work with. Earthenware fires at lower temperatures and is available in various colors, while stoneware is more durable and better suited for functional or larger sculptural pieces.
- Earthenware: Fires at low temperatures, easy to source, and comes in red or white.
- Stoneware: Stronger than earthenware, fires at higher temperatures, and holds weight well.
- Oil-based clay: Does not dry out, making it ideal for practice, but it cannot be fired.
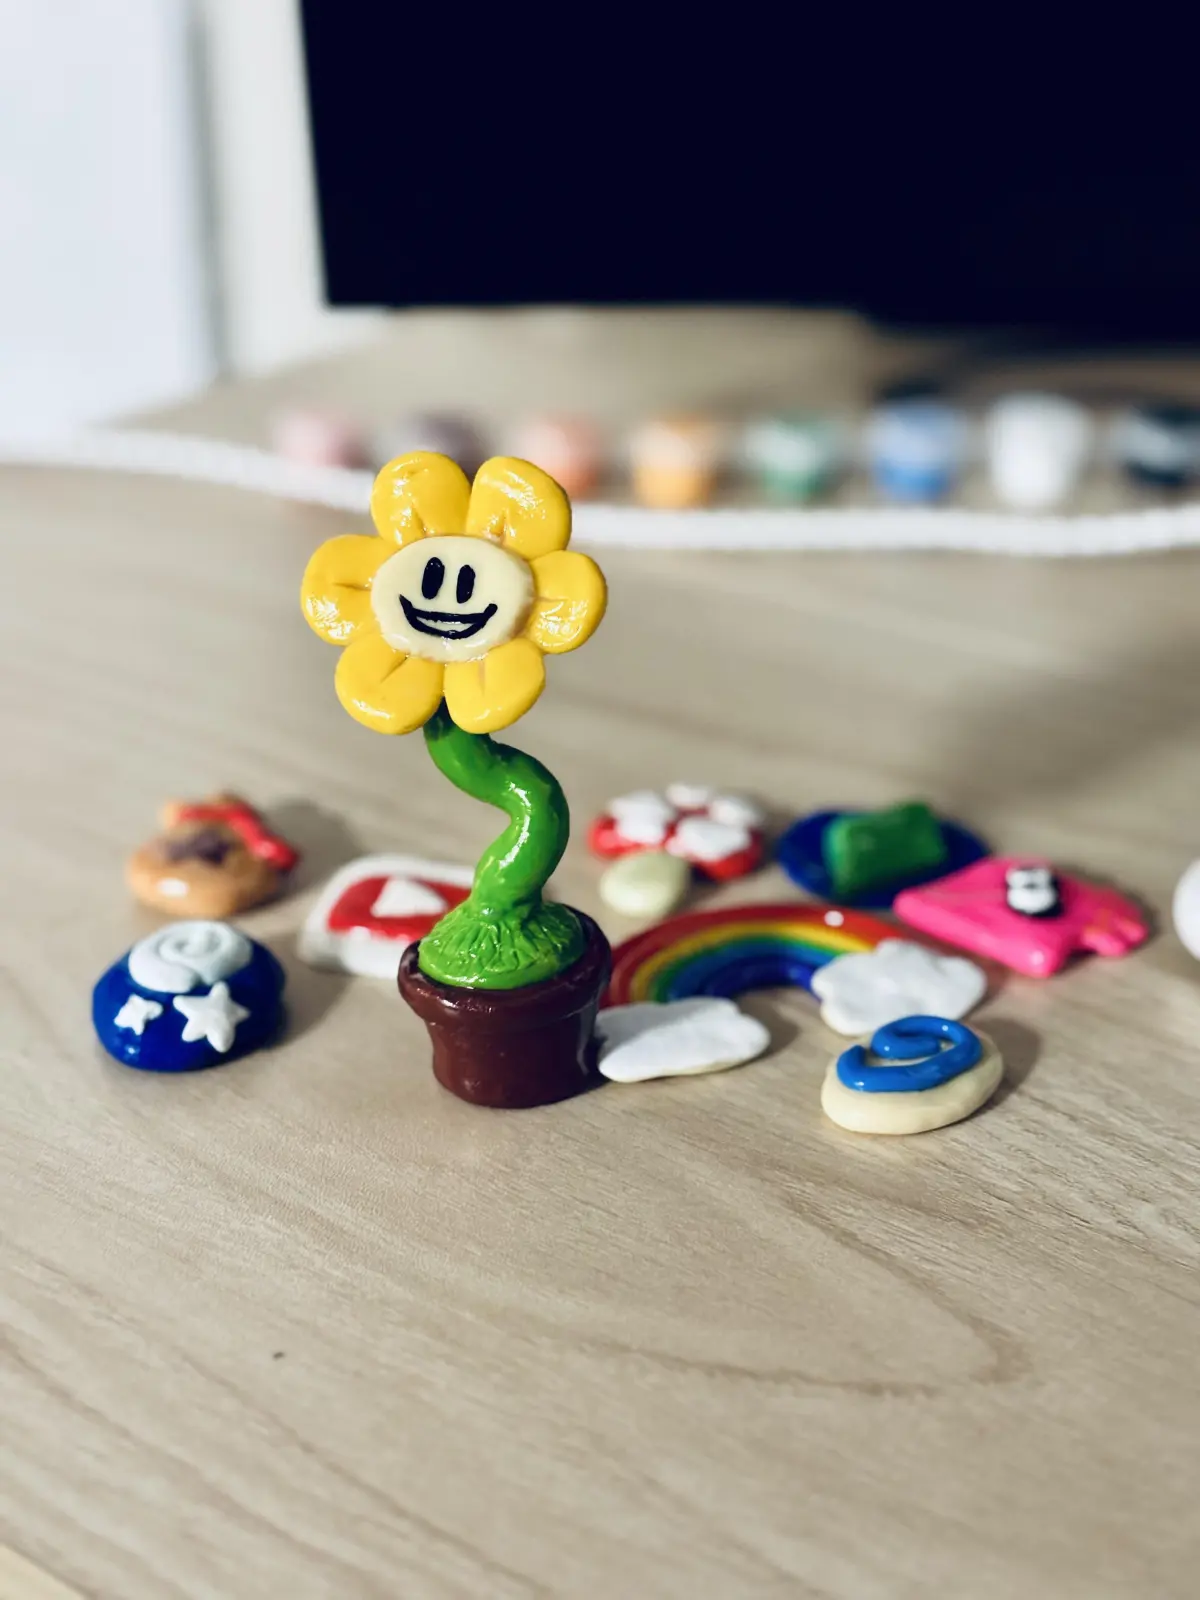
- Polymer clay: Hardens in a household oven, making it perfect for small, detailed figurines.
Avoid using "found" clay from your backyard, as it often contains organic matter and rocks that will cause the sculpture to crack or shatter in the kiln. Stick to processed clay bodies from reputable art suppliers to ensure predictable results during the drying and firing stages.
How to build a clay sculpture
When building, consider the structural integrity of your piece. If you are creating a hollow form, which is recommended for larger sculptures, you must ensure that all walls are of an even thickness. Thick walls trap moisture, leading to uneven drying and potential cracks. Use the "score and slip" method to join separate pieces of clay together securely.
- Score the surfaces to be joined by scratching cross-hatch marks into the clay.
- Apply a small amount of slip, which is watered-down clay, to the scored areas.
- Press the pieces together firmly and smooth the seam with a modeling tool.
- Reinforce the joint by adding a small coil of clay and blending it into the surface.
If you are sculpting a tall piece, you may need an armature. This is an internal support structure made of wire or wood. Be aware that clay shrinks as it dries; if the clay shrinks around a rigid armature, it will crack. Use materials like newspaper or hollow foam that can be easily removed or compressed.
How to dry clay sculptures properly
Drying is the most critical stage for preventing damage. If the outside of the sculpture dries faster than the inside, the tension will cause the piece to crack or warp. To prevent this, cover your sculpture loosely with plastic sheeting for the first few days. This creates a humid environment that allows the moisture to escape gradually from the entire piece at once.
After the initial phase, remove the plastic partially to allow air circulation. The sculpture is ready for the kiln only when it reaches the "bone-dry" state, meaning it feels room temperature to the touch rather than cool. If it feels cool, there is still moisture present. Never rush this process by placing the sculpture near a heater or in direct sunlight. Small, thin parts like arms or fingers will dry faster than the main body; you can wrap these specific areas in plastic to slow their drying process until the rest of the piece catches up.
Common mistakes when sculpting clay
Many beginners struggle with structural failures because they underestimate the physical properties of clay. One frequent error is failing to account for shrinkage. Most clay bodies shrink by 5% to 15% as they dry and fire. If you are trying to fit your sculpture into a specific display space, you must calculate this shrinkage beforehand to ensure the final piece is the correct size.
Another common mistake is ignoring the weight of the clay. If you build a heavy, solid sculpture, it will likely slump under its own weight before it becomes leather-hard. Always aim for hollow construction for anything larger than a baseball. Finally, remember that clay has "memory." If you bend a piece of clay and then straighten it, it will often try to return to the bent position during the firing process. Always handle your clay with care and avoid overworking the same area, as this can weaken the internal structure and lead to unexpected failures during the final kiln firing.
Key facts
- Wedging clay removes air bubbles, which prevents the sculpture from exploding in the kiln.
- A wire tool is used to cut clay blocks, while loop tools are ideal for carving and hollowing out thick sections.
- Scoring and slipping—scratching the surface and adding liquid clay—is essential for joining two pieces together.
- Clay shrinks as it dries; a sculpture can lose 5% to 15% of its size depending on the clay type.
- Greenware refers to an unfired clay piece, while bisque-ware is clay that has been fired once.
- Always hollow out thick areas of a sculpture to ensure even drying and prevent structural collapse.
The bottom line
Creating a clay sculpture requires patience, careful preparation, and attention to structural integrity. By wedging your clay, using proper joining techniques like scoring and slipping, and ensuring your piece is hollowed out correctly, you can avoid common pitfalls like cracking or explosions. Whether you choose to fire your work in a kiln or use air-dry materials, mastering these fundamental steps will help you achieve your artistic vision.
People also ask
How long does it take for clay to dry?
Small sculptures may dry in a few days, while larger pieces can take several weeks. It is best to cover the piece loosely with plastic to ensure it dries slowly and evenly.
Do I need a kiln to make a clay sculpture?
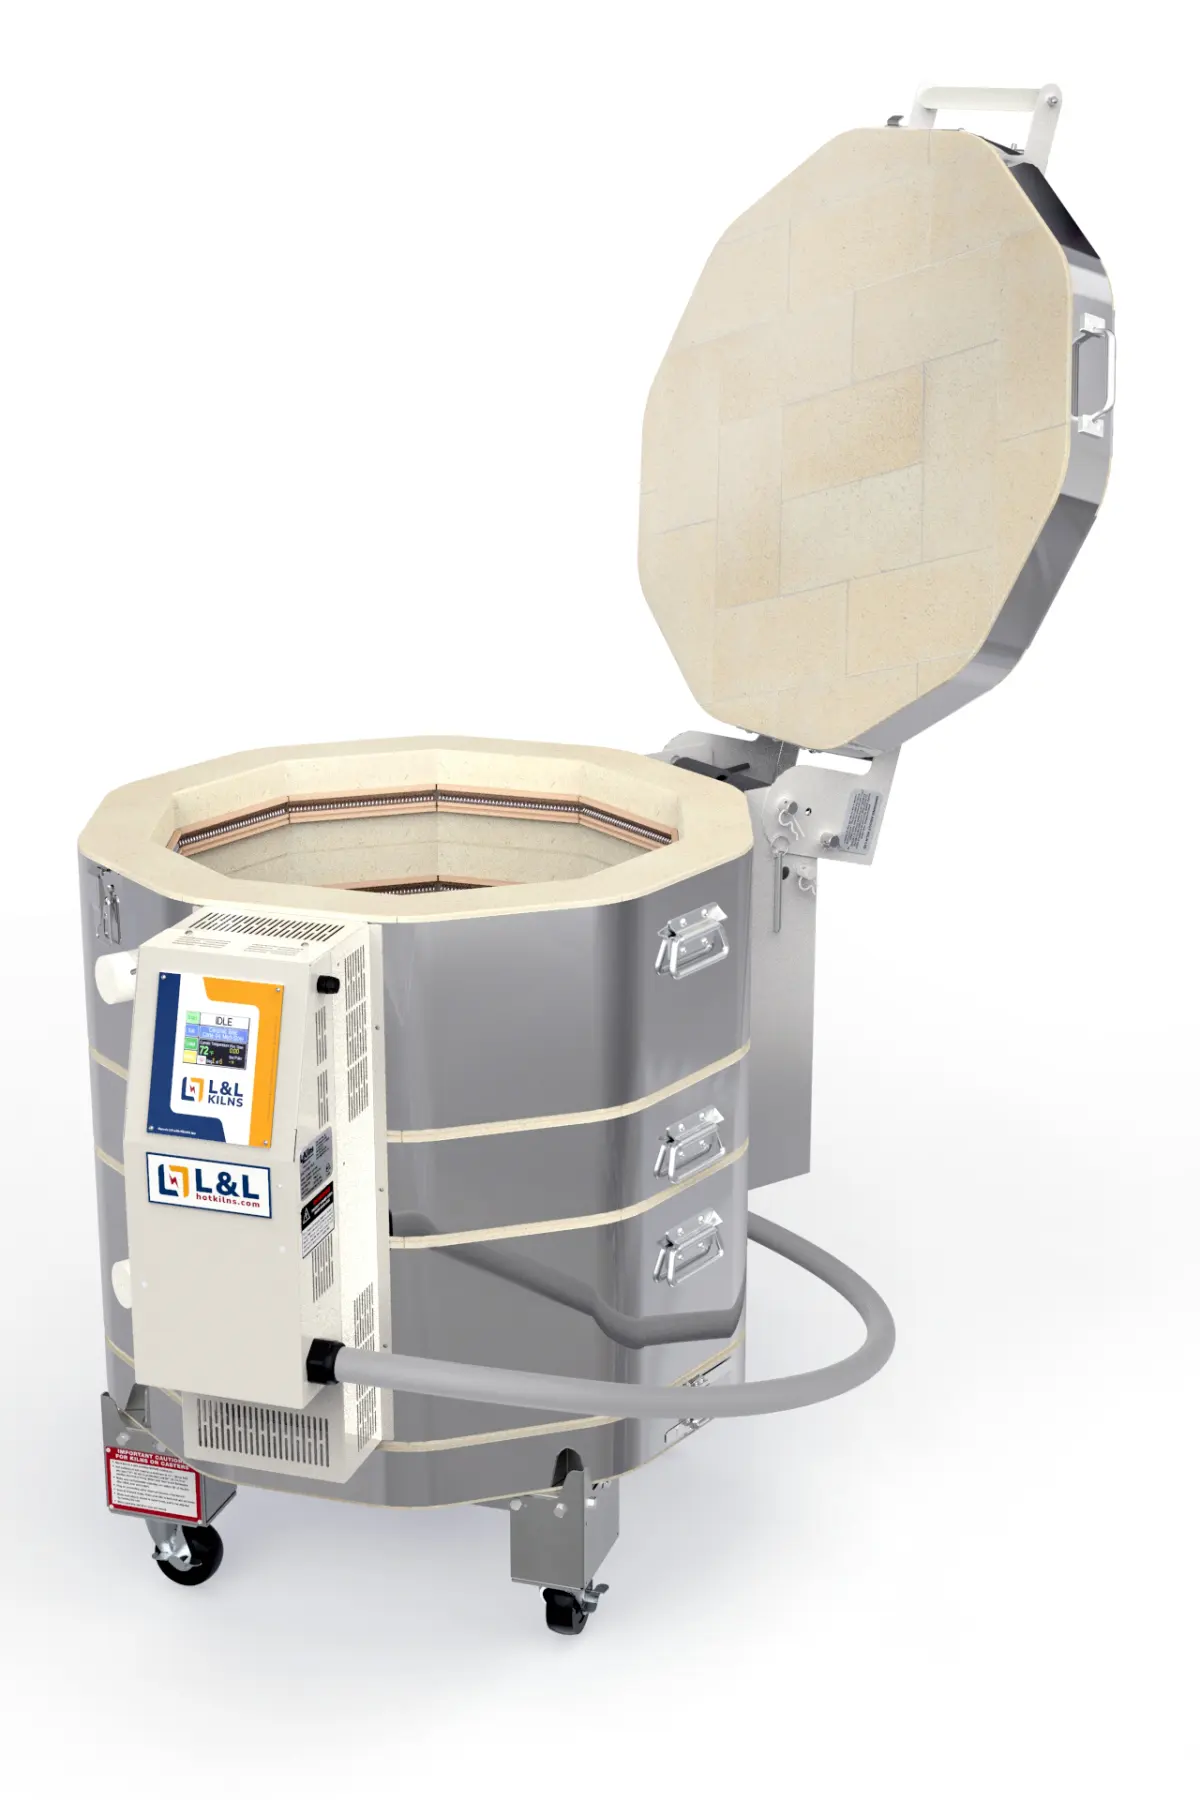
If you use kiln-fired clay, you must fire it to make it permanent and durable. Alternatively, you can use air-dry clay or polymer clay, which harden without the need for high-temperature firing.
What is the purpose of an armature?
An armature acts as a skeleton for the sculpture, providing support for soft clay. Use materials like wire, wood, or aluminum foil to build the shape before applying the clay.
Why did my sculpture crack while drying?
Cracks usually occur due to uneven drying or trapped air pockets. Ensure your clay walls are of uniform thickness and avoid exposing the piece to direct sunlight or heat sources.
Can I join wet clay to dry clay?
It is very difficult to join wet clay to dry clay because they shrink at different rates. Always try to join pieces while they are at a similar moisture level, known as the leather-hard stage.
How do I know if my clay is leather-hard?
Leather-hard clay feels cool to the touch and is firm enough to handle without deforming. This is the ideal stage for carving details, trimming, or attaching handles and appendages.
This answer was created with the help of AI research tools and reference sources. Spotted an error? Let us know — we correct mistakes quickly. See our editorial policy.