How do you paint an owl with watercolor?
Short answer
Painting an owl with watercolor requires layering light washes to build texture, starting with the eyes and facial disk. Focus on capturing the bird’s characteristic plumage by using dry-brush techniques for feather details. By managing water control and patience, you can create a lifelike representation of an owl on paper.
On this page
How to prepare your watercolor materials for painting
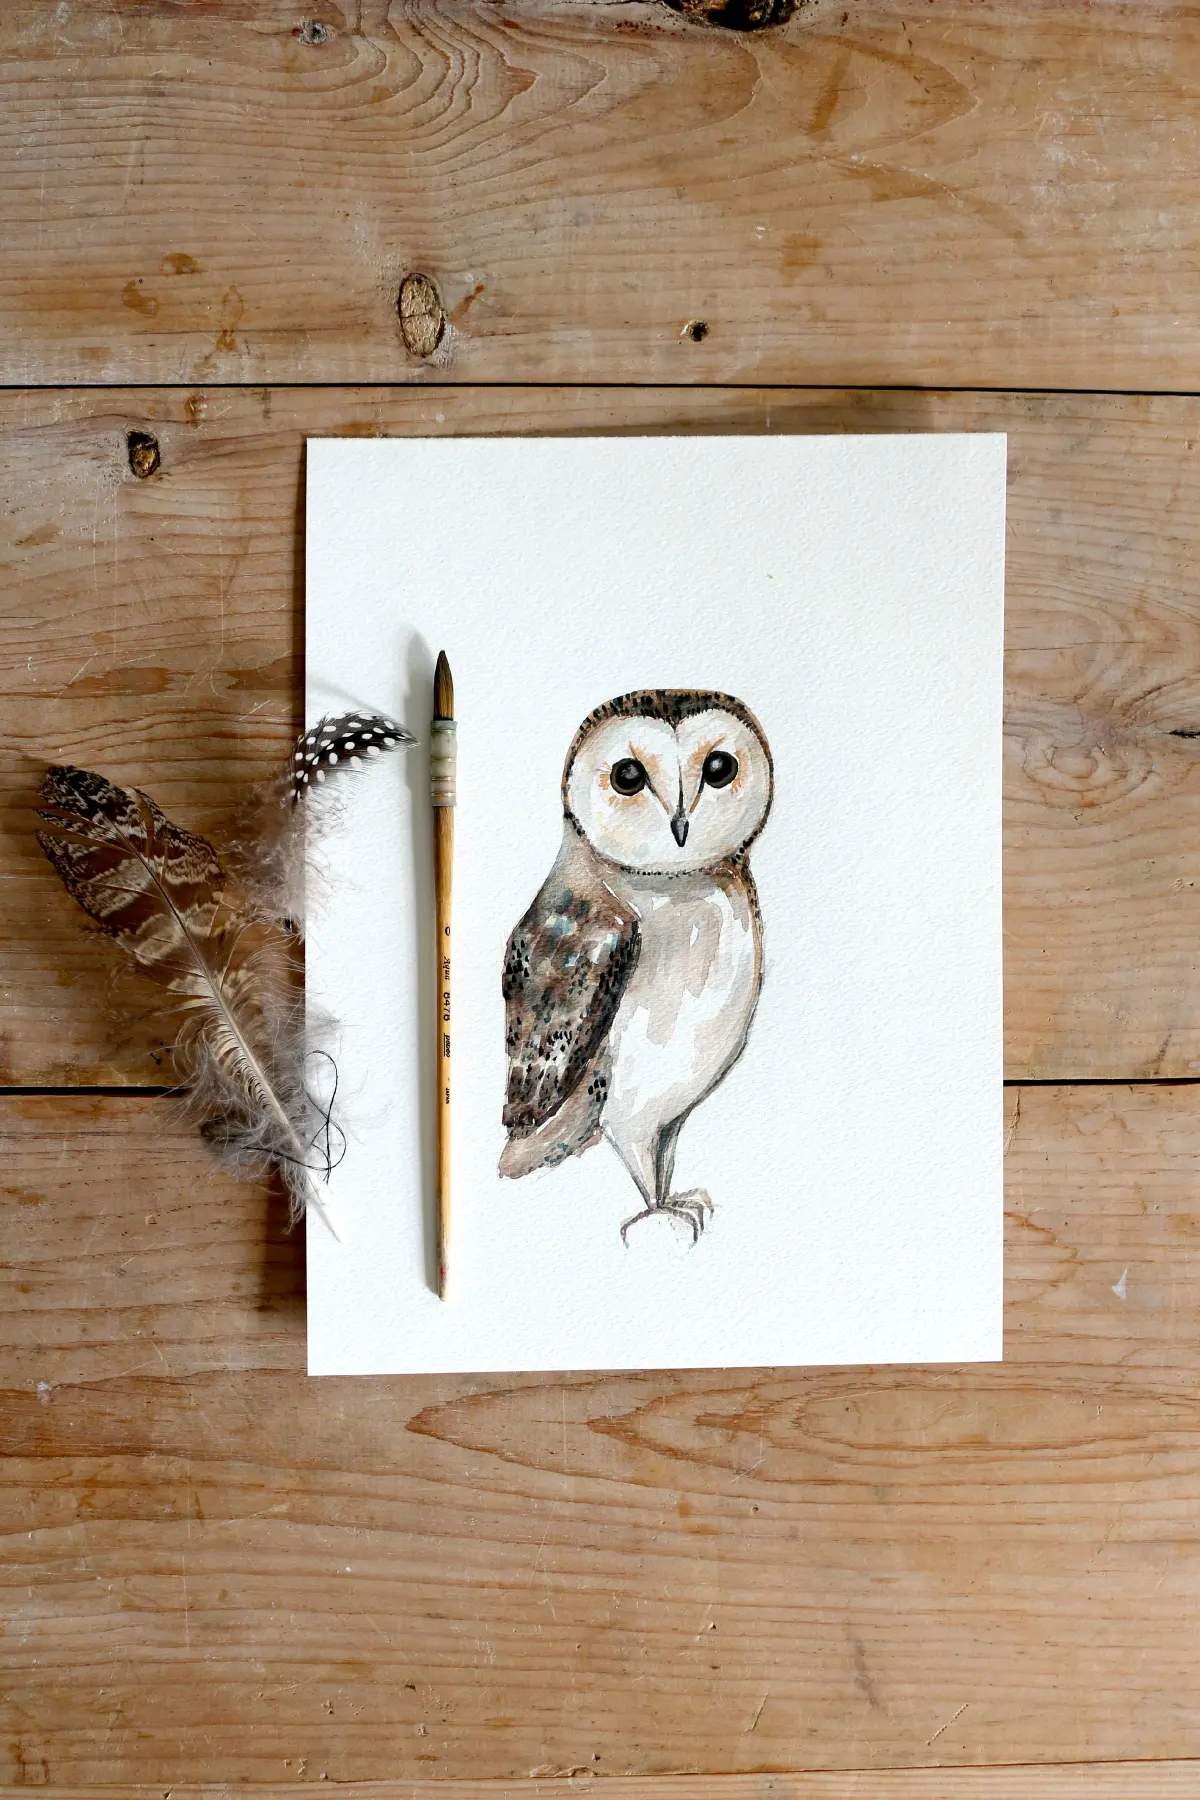
To paint an owl effectively, you need high-quality supplies that allow for both soft gradients and sharp details. Use cold-press watercolor paper with a weight of at least 300 GSM to prevent buckling when applying multiple layers. For brushes, select a size 8 round brush for general coverage and a size 2 or 0 synthetic liner brush for the fine, intricate feathering around the eyes and beak.
Select a palette that reflects the natural habitat of an owl, focusing on earth tones such as Burnt Sienna, Raw Umber, Yellow Ochre, and Payne’s Gray. Having a small spray bottle of water nearby is essential for rewetting dried paint on your palette. Before starting, ensure you have two separate jars of water: one for rinsing dirty brushes and another for picking up clean water to mix your pigments.
How to sketch an owl for watercolor painting
Begin by lightly sketching the owl’s silhouette using a hard graphite pencil, such as an H or 2H grade. Focus on the large circular facial disk and the prominent, forward-facing eyes, which are the focal points of any owl portrait. Keep your lines faint, as heavy graphite can smear or show through the transparent watercolor washes later in the process.
- Draw a large oval for the head and a slightly larger, elongated oval for the body.
- Mark the center of the facial disk to ensure the eyes are perfectly symmetrical.
- Outline the beak as a small, downward-curving triangle tucked between the eyes.
- Define the wing placement by drawing soft, overlapping curves along the sides of the body.
- Erase unnecessary guidelines, leaving only the essential shapes to guide your painting process.
How to layer watercolor for realistic feathers
The key to a realistic owl is building depth through layering, starting from the lightest values and moving toward the darkest shadows. Apply a thin, watery wash of Yellow Ochre or diluted Burnt Sienna over the entire body, leaving the eyes and the highlight areas of the facial disk completely white. Once this base layer is dry, begin adding darker, concentrated pigment to create the illusion of individual feathers.
Use a "wet-on-dry" technique to define the plumage, applying small, overlapping strokes that follow the contour of the owl’s body. To create the mottled texture typical of owl feathers, use a flicking motion with your brush to create short, tapered lines. As you move toward the wings and the back, increase the intensity of your darker colors, such as Payne’s Gray or Sepia, to establish contrast and volume.
Best watercolor techniques for owl eyes
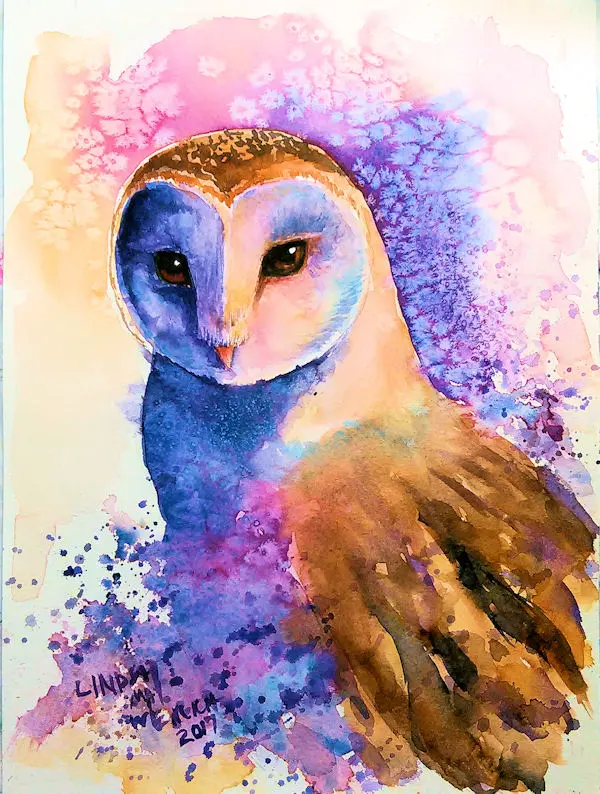
The eyes are the most important feature of the owl, requiring precision and high contrast to appear lifelike. Start by painting the iris with a vibrant wash of yellow or orange, leaving a tiny, unpainted white spot to represent the reflection of light. Once the iris is dry, carefully paint the pupil with a rich, dark mixture of black or deep brown, ensuring the edges are crisp and clean.
- Use a damp brush to soften the outer edges of the iris, creating a subtle gradient.
- Apply a thin, dark glaze around the inner rim of the eye to add depth.
- Avoid overworking the reflection; a single, sharp white highlight is often enough to convey moisture and focus.
- Use a very fine liner brush to add tiny, dark speckles within the iris to mimic the complex patterns found in nature.
- Ensure the surrounding facial feathers are painted with darker tones to make the eyes pop.
Common mistakes when painting owls with watercolor
One frequent error is using too much water when trying to create fine feather details, which causes the pigment to bleed and lose its shape. If your brush is overloaded with water, the paint will spread uncontrollably, turning your detailed plumage into a muddy, indistinct mess. Always test your brush on a scrap piece of paper before touching the main painting to ensure the consistency is correct and the paint is not too runny.
Another common pitfall is neglecting the importance of negative space around the facial disk. Beginners often try to paint every single feather, which can make the owl look cluttered and flat. Instead, focus on grouping feathers into larger shapes and using shadows to suggest texture rather than drawing every individual line. By maintaining patience and allowing each layer to dry completely before adding the next, you will avoid the frustration of colors blurring together, resulting in a professional and polished final piece.
Key facts
- Use cold-press watercolor paper with a weight of at least 300 GSM to prevent buckling when applying multiple washes.
- Start by sketching the owl’s large, circular eyes first, as these serve as the focal point and anchor for the rest of the facial proportions.
- Apply a "wet-on-wet" technique for the feathers to create soft, blended transitions before adding sharp, dry-brush details on top.
- Use a limited palette of earth tones, such as burnt sienna, raw umber, and payne’s gray, to maintain a naturalistic appearance.
- Reserve the white of the paper for the brightest highlights in the eyes and on the beak to ensure they appear luminous.
- Allow each layer to dry completely before adding darker shadow values to avoid muddying the colors or creating unwanted blooms.
The bottom line
Painting an owl in watercolor requires a balance between soft, layered washes and precise, textural brushwork. By focusing on the eyes first and using a limited palette of earth tones, you can create a lifelike representation. Remember to maintain patience, allowing layers to dry thoroughly to preserve color clarity. With the right paper and a steady hand, you will successfully capture the owl’s distinct, captivating character.
People also ask
What type of brushes are best for painting birds?
Round brushes in sizes 4, 6, and 8 are ideal for covering larger areas while maintaining a fine point for detail. Synthetic sable blends offer a good balance of water retention and spring.
How do I create the texture of owl feathers?
Use a small, stiff-bristled brush to apply short, flicking strokes once the base wash is dry. Layering these marks in the direction of feather growth mimics the overlapping nature of plumage.
Why does my watercolor painting look dull?
Dullness often results from overworking the paint or using too much water in the final layers. Ensure your pigment-to-water ratio is higher for the final details to achieve deep, rich shadows.
How do I paint realistic owl eyes?
Leave a small, unpainted white circle for the reflection, then fill the iris with vibrant yellow or orange. Add a dark pupil and a thin, darker ring around the edge to provide depth.
Can I fix a mistake in watercolor?
You can lift light mistakes by gently dabbing the area with a clean, damp brush or a paper towel. However, dark pigments are difficult to remove, so it is better to incorporate them into the shadows.
Should I use masking fluid for the owl?
Masking fluid is useful for preserving tiny white highlights on the beak or around the eyes. Apply it sparingly with a toothpick or an old brush before you begin painting your washes.
This answer was created with the help of AI research tools and reference sources. Spotted an error? Let us know — we correct mistakes quickly. See our editorial policy.