How do you draw a church step by step?
Short answer
Drawing a church involves constructing a stable geometric foundation using basic shapes like rectangles and triangles. By establishing a central perspective, you can build the main nave, add a steeple or tower, and refine architectural details like arched windows and doors to create a realistic, balanced representation of a traditional building.
On this page
How to structure the basic shapes of a church
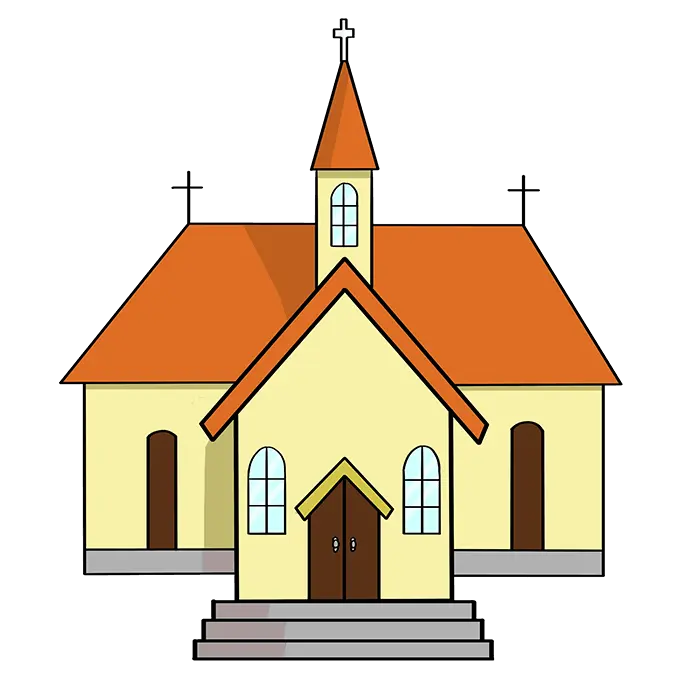
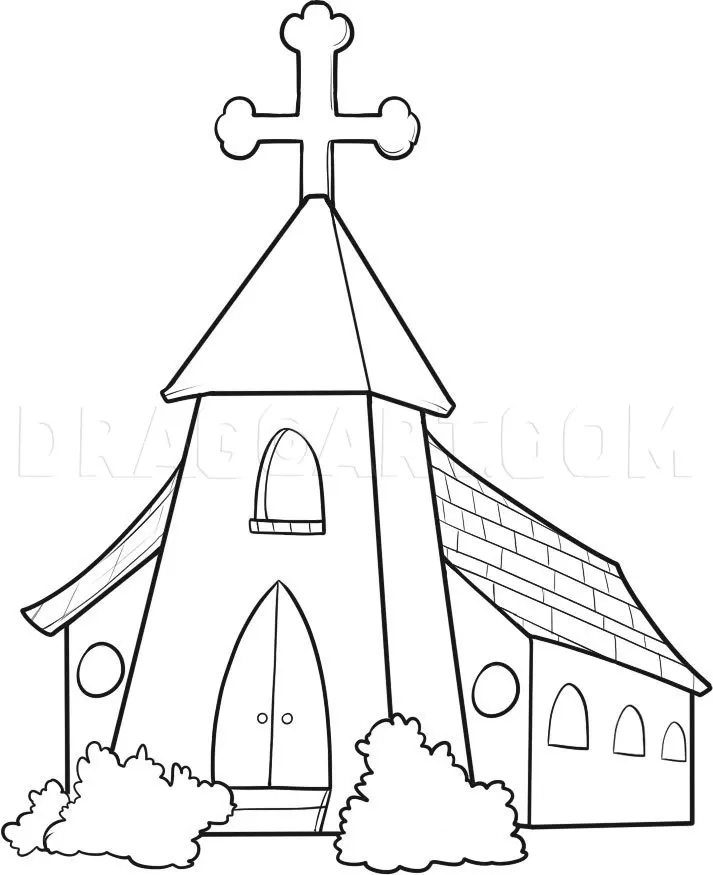
The most effective way to draw a church is to begin with simple geometric forms. Start by sketching a large rectangle to represent the main body of the building, known as the nave. Above this, draw a tall triangle to serve as the roof. If you want to include a steeple, add a narrow, vertical rectangle to one side of the main structure, topped with a smaller triangle or a slender spire.
Keep your initial lines very light so you can easily erase them as you refine the structure. Using a ruler or a straight edge is highly recommended during this phase to ensure that your vertical lines remain perpendicular to the ground. Maintaining these clean, straight lines is essential for achieving the architectural precision that defines church structures. Once the basic silhouette is established, you can begin to visualize the overall scale and proportions of your drawing.
How to add architectural details to a church
Once the frame is set, you can start adding the characteristic features that identify a building as a church. Most traditional churches feature pointed or rounded arches over the doors and windows, which are hallmarks of Gothic or Romanesque architecture. You can create these by drawing a rectangle and topping it with a small semicircle or a pointed arch.
- Draw a central, large doorway on the front facade of the rectangle.
- Add tall, narrow windows along the sides of the nave to create rhythm.
- Incorporate a circular "rose window" above the entrance for a classic decorative touch.
- Add small horizontal lines or cross-hatching to represent stone bricks or siding.
Focus on symmetry, as most traditional churches are designed with a balanced, mirror-image layout. Adding these details in stages prevents the drawing from feeling cluttered or overwhelming as you progress toward the final design.
Best drawing tools for beginners
For those just starting, a standard graphite pencil set ranging from HB to 4B is ideal. The HB pencil is perfect for the initial, light layout lines, while the 4B pencil allows for darker, bolder strokes when you are ready to define the shadows and permanent outlines. A high-quality kneaded eraser is also essential because it can be molded into precise shapes to lift graphite without damaging the paper.
- Use a mechanical pencil for fine architectural details like window panes.
- Keep a metal ruler handy to maintain perfectly straight rooflines and walls.
- Utilize a blending stump or a soft tissue to smooth out shading on the stone walls.
- Consider using a fine-liner pen once the sketch is complete to make your lines permanent.
Having the right tools allows you to focus on the technique rather than struggling with equipment that is prone to smudging or breaking under pressure.
Common mistakes when drawing a church
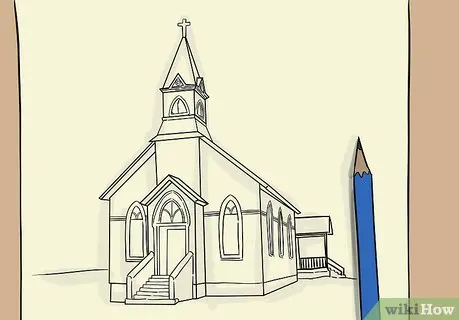
One of the most frequent errors is failing to establish a consistent vanishing point, which leads to distorted perspectives. If your lines do not converge toward a single point on the horizon, the building will appear to lean or collapse. Another common mistake is ignoring the thickness of the walls; beginners often draw windows as flat shapes on the surface rather than recessed openings.
To avoid these issues, always check your vertical lines against the edge of your paper. If you are drawing a building at an angle, ensure that the roof pitch remains consistent on both sides. Avoid over-detailing the entire structure at once, as this often leads to a loss of focus. If the drawing starts to look busy or confusing, take a step back and compare your sketch to a reference photo to ensure the proportions remain realistic and grounded.
How to shade and finish a church drawing
Shading is the final step that transforms a flat line drawing into a three-dimensional structure. Identify where your light source is located—usually the sun—and keep that area lighter. Apply darker shading to the sides of the building that face away from the light, particularly under the eaves of the roof and inside the deep recesses of the windows and doors. This contrast creates depth and makes the stone walls look solid and heavy.
When finishing your drawing, consider the texture of the building materials. If the church is made of stone, use light, irregular marks to suggest the texture of individual blocks. If it is made of wood, use longer, straighter lines to mimic the grain. Finally, add a ground line beneath the building and perhaps a few simple trees or bushes to help anchor the church within its environment. Taking the time to add these final environmental elements provides a sense of scale and completes the overall narrative of your architectural artwork.
Key facts
- Start with a large rectangle for the main body and a triangle on top to form the basic gable roof.
- Use a vanishing point on the horizon line to ensure your perspective lines converge correctly for a 3D effect.
- Draw a tall, narrow rectangle on the front wall to serve as the main entrance door.
- Add a steeple or bell tower by stacking a smaller square on top of the roof structure.
- Incorporate vertical lines on the walls to mimic the appearance of stone masonry or wooden siding.
- Sketch arched windows by drawing a rectangle with a semi-circle on top to capture the classic Gothic architectural style.
The bottom line
Drawing a church is a rewarding exercise in geometric construction and architectural perspective. By starting with simple shapes like rectangles and triangles, you can build a complex structure step by step. Focus on maintaining symmetry and adding details like arched windows or a steeple to define the building’s character. With practice, these fundamental techniques will allow you to sketch various architectural styles with confidence and precision.
People also ask
How do I make the church look symmetrical?
Draw a faint vertical centerline down the middle of your paper before you start sketching. Use this line as a guide to ensure that windows, doors, and towers are placed at equal distances from the center on both sides.
What is the best way to draw a realistic steeple?
Sketch a tall, thin triangle or a pyramid shape sitting atop a square base. Adding a small cross at the very peak provides the recognizable silhouette associated with traditional church architecture.
How do I add depth to the windows?
Draw a thin line inside the window frame to create a border, which suggests the thickness of the glass and the wall. Shading the interior of the window darker than the exterior wall makes the opening appear recessed.
Should I use a ruler for the walls?
Using a ruler is helpful for beginners to establish straight, clean edges for the building's foundation. However, freehand drawing often adds a more organic, artistic feel to the texture of the stone or brickwork.
How do I draw a stained-glass window effect?
Divide the arched window space into smaller geometric shapes like diamonds or circles. Fill these sections with different levels of shading or cross-hatching to represent the varied colors of glass.
What is a common mistake when drawing a church?
A frequent error is ignoring perspective, which makes the building look flat or tilted. Always ensure that the horizontal lines of the roof and base angle toward a single point on the horizon line.
This answer was created with the help of AI research tools and reference sources. Spotted an error? Let us know — we correct mistakes quickly. See our editorial policy.