How do you draw a bonsai tree step by step?
Short answer
Drawing a bonsai tree requires capturing the essence of an aged, miniature landscape through deliberate line work and structural balance. By focusing on the gnarled trunk, layered foliage pads, and the containment of the pot, you can create a convincing illustration that emphasizes the tree's weathered character and artistic composition.
On this page
How to structure a bonsai drawing
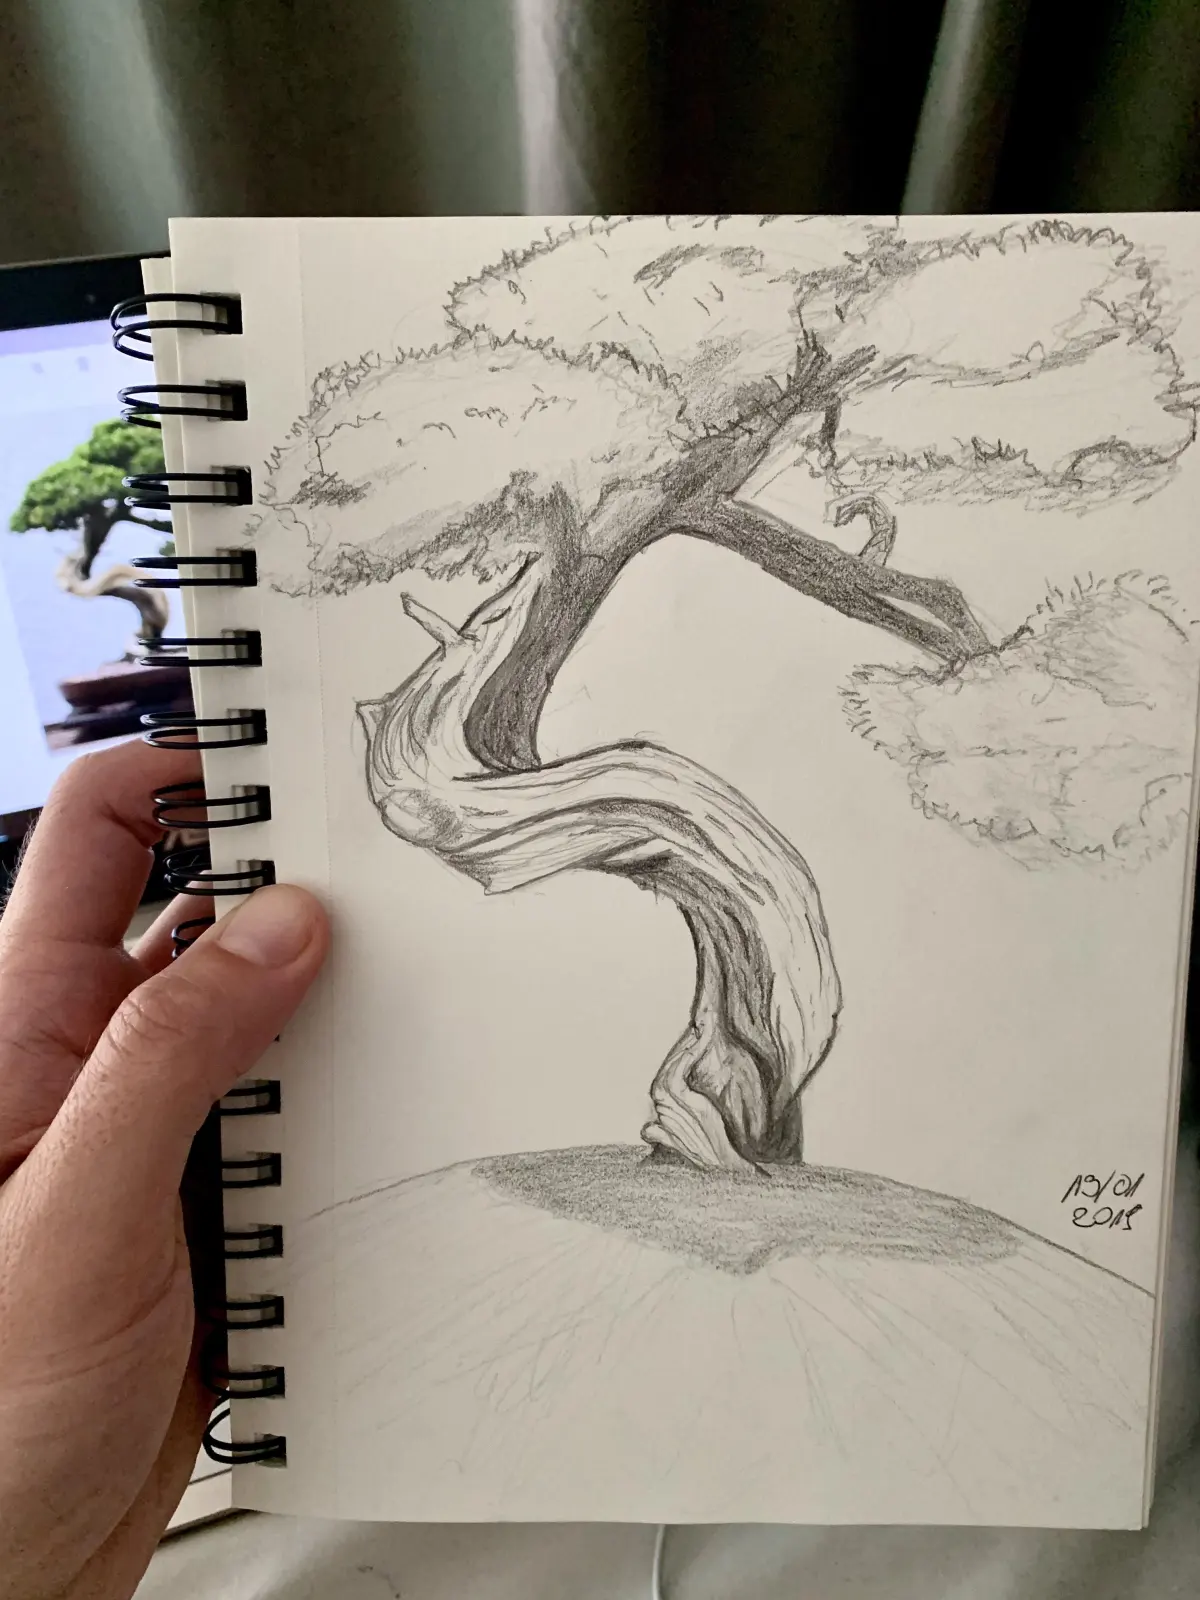
To begin a bonsai drawing, focus on the structural skeleton of the tree before adding any foliage. Start by sketching a rough silhouette of the trunk, which should be thicker at the base and taper as it moves upward. Bonsai trees are defined by their sense of age, so incorporate curves, twists, and slight bends to mimic a tree that has survived harsh elements.
Once the trunk is established, map out the primary branches. These should generally grow in an alternating pattern, avoiding perfect symmetry to maintain a natural appearance. Keep the following structural principles in mind:
- The lowest branches should be the widest and thickest to provide visual stability.
- Branches should emerge from the outside of curves rather than the inside.
- Leave empty space between branch layers to allow the viewer's eye to travel through the tree.
How to draw realistic bonsai foliage
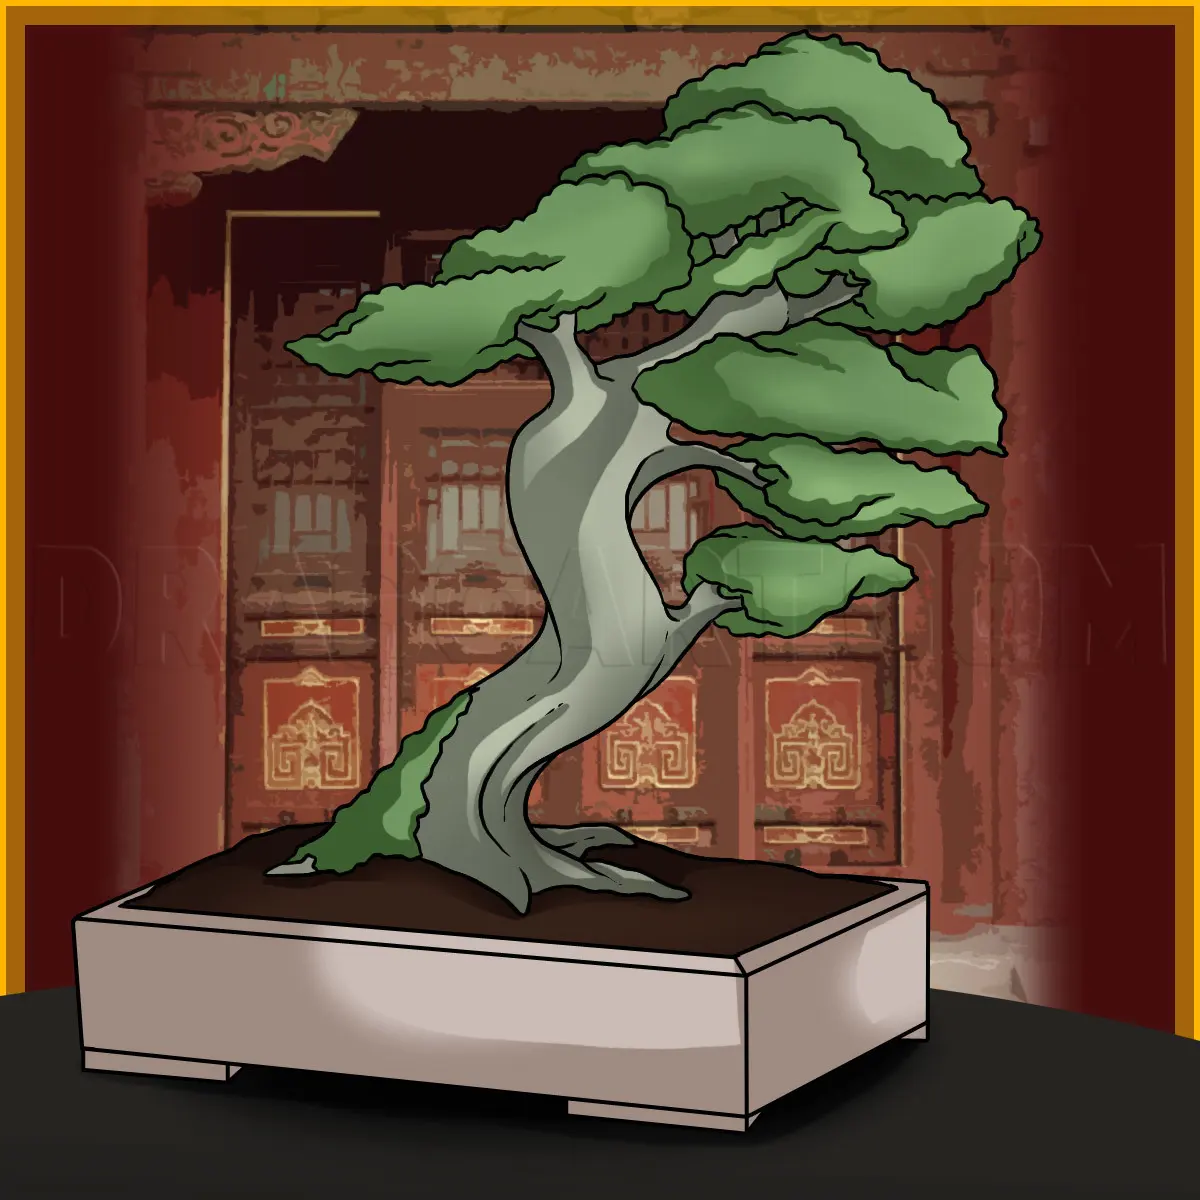
Foliage on a bonsai tree is organized into distinct clusters known as pads, rather than a single uniform cloud of leaves. To draw these, use light, circular, or jagged strokes to create dense, rounded shapes that sit atop the branches. Each pad should appear slightly separated from the others, creating a layered effect that suggests depth and volume.
When detailing the foliage, vary your pressure to create shadows within the pads. The underside of each cluster should be darker to indicate depth, while the top surfaces remain lighter to suggest sunlight hitting the leaves. Avoid drawing every individual leaf, as this can make the tree look cluttered; instead, focus on the overall texture of the mass. By grouping the foliage into discrete, cloud-like sections, you emphasize the deliberate pruning and styling that characterize the bonsai art form.
How to choose the right bonsai pot
The container is an integral part of the bonsai aesthetic and must be included in your drawing to provide context. A bonsai pot is typically shallow and wide, reflecting the tree's restricted root system. When sketching the pot, ensure it is proportional to the tree; a tree with a thick, heavy trunk requires a sturdier, deeper pot, while a delicate, slender tree looks best in a thin, elegant container.
Consider the perspective of the pot to ground your tree in space:
- Draw an elongated oval for the rim to establish the viewing angle.
- Add straight or slightly tapered sides to define the depth of the vessel.
- Include small feet at the base, which are common in traditional bonsai pots to allow for drainage and airflow.
- Add a subtle shadow beneath the pot to anchor the entire composition to a flat surface.
How to add texture and age
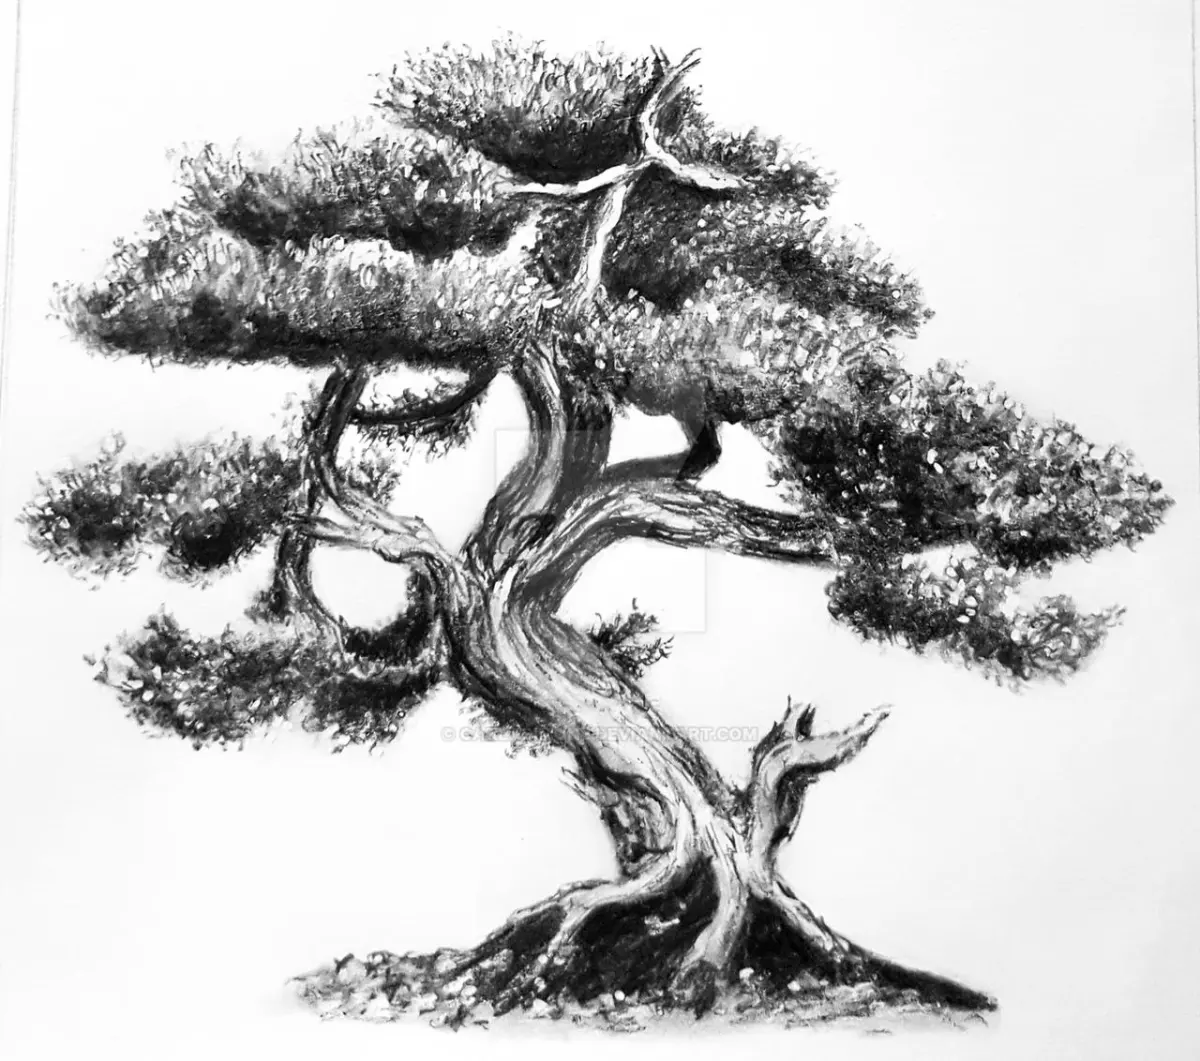
The defining characteristic of a bonsai is its appearance of extreme age. Use short, broken lines and cross-hatching along the trunk to represent rough, fissured bark. If you are drawing a pine or juniper style, emphasize the "shari"—the dead, bleached wood that occurs when a branch dies—by using smooth, light strokes against the darker, textured bark.
Pay attention to the roots, known as the "nebari." These should flare out at the base of the trunk, disappearing slightly into the soil to create the illusion that the tree has been growing in that pot for decades. Avoid drawing perfectly straight roots, as they look unnatural; instead, show them branching out and gripping the surface of the soil. This visual weight at the base is essential for conveying the strength and stability of a mature, miniature tree.
Common mistakes when drawing bonsai
One of the most frequent errors is creating a tree that is too symmetrical. Nature is rarely perfectly balanced, and bonsai styling intentionally avoids mirroring branches on both sides of the trunk. If your drawing looks like a standard "lollipop" tree, erase the secondary branches and shift their positions to create an asymmetrical, triangular profile.
Another common mistake is neglecting the negative space between branches. When the foliage pads are drawn too close together, the tree loses its structural clarity and appears as a solid, heavy blob. To fix this, ensure there is visible gap between each layer of foliage. Additionally, avoid making the trunk perfectly vertical. A bonsai tree should lean or twist, suggesting a story of growth and survival. By intentionally introducing imperfections and maintaining clear separation between the foliage pads, you will create a much more convincing and artistic representation of a bonsai tree.
Key facts
- Bonsai art originated in China as penjing before being refined in Japan over several centuries.
- The fundamental goal of drawing a bonsai is to capture the illusion of age and maturity in a miniature form.
- Use a "triangular" composition to balance the foliage masses, which mimics the natural growth pattern of mature trees.
- Focus on the "nebari," or the visible surface roots, to establish a sense of stability and historical depth.
- Always draw the trunk with a slight taper, ensuring it is thicker at the base and thinner toward the apex.
- Negative space is as important as the branches; leave gaps between foliage pads to suggest the tree's structure.
The bottom line
Drawing a bonsai requires balancing structural integrity with artistic suggestion. By focusing on the tapered trunk, the stable root base, and the asymmetrical arrangement of foliage pads, you can effectively convey the essence of a miniature landscape. Remember that the goal is not a botanical map, but an evocative representation of age and resilience, achieved through intentional negative space and a focus on the tree’s unique silhouette.
People also ask
What is the most common mistake when drawing a bonsai trunk?
Beginners often draw the trunk as a straight, uniform cylinder. In nature, trees develop curves and taper due to wind, light, and age, so vary the width and add subtle bends to create realism.
How do I make the foliage look realistic?
Avoid drawing individual leaves, which clutter the image. Instead, draw rounded, cloud-like clusters or "pads" that suggest dense growth while allowing the viewer to see the underlying branch structure.
Should I use a specific type of pencil for sketching bonsai?
A 2B or 4B pencil is ideal for initial sketching because it allows for soft, light lines. You can switch to a harder 2H pencil for fine details like bark texture or delicate twigs.
Why is the pot important in a bonsai drawing?
The pot provides context and scale for the tree. Ensure the pot size is proportional to the tree's height and width to maintain the aesthetic harmony typical of traditional bonsai displays.
How do I show that a tree is old?
Incorporate features like "jin" (dead, bleached branches) or "shari" (deadwood on the trunk). These scars signify that the tree has survived harsh environmental conditions over many years.
Is it necessary to draw the tree perfectly symmetrical?
No, asymmetry is a core principle of bonsai aesthetics. An asymmetrical design creates visual tension and movement, making the drawing feel more dynamic and natural rather than static or manufactured.
This answer was created with the help of AI research tools and reference sources. Spotted an error? Let us know — we correct mistakes quickly. See our editorial policy.