How can I draw a walrus easily?
Short answer
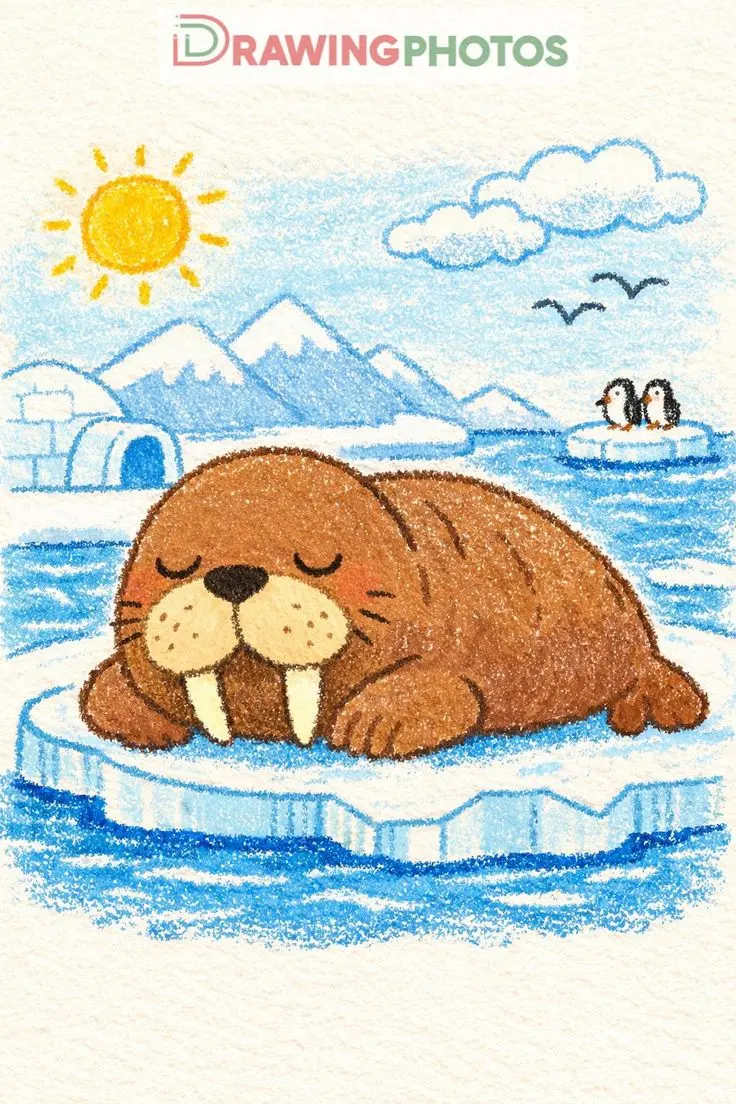
Drawing a walrus is best approached by breaking its bulky, rounded form into simple geometric shapes like circles and ovals. By focusing on the iconic tusks, thick neck folds, and whiskered snout, you can capture the animal's distinct silhouette. Follow a step-by-step layering process to build volume and realistic texture.
On this page
How to draw a walrus step by step
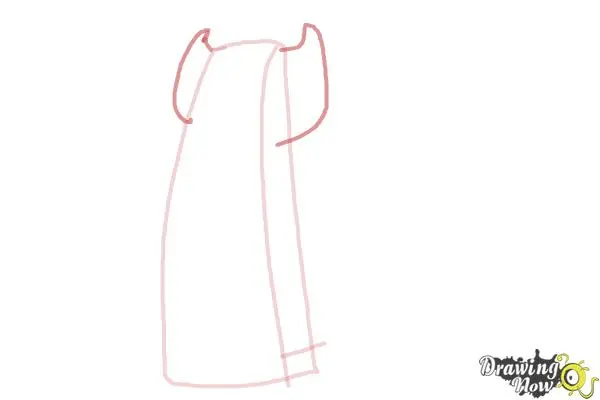
To draw a walrus, begin by sketching a large, horizontal oval for the main body and a smaller, overlapping circle for the head. Connect these shapes with a thick, curved neck line to establish the animal's massive, blubbery physique. Walruses are famously rotund, so avoid drawing sharp angles or thin limbs; keep all lines soft and rounded to convey their heavy weight.
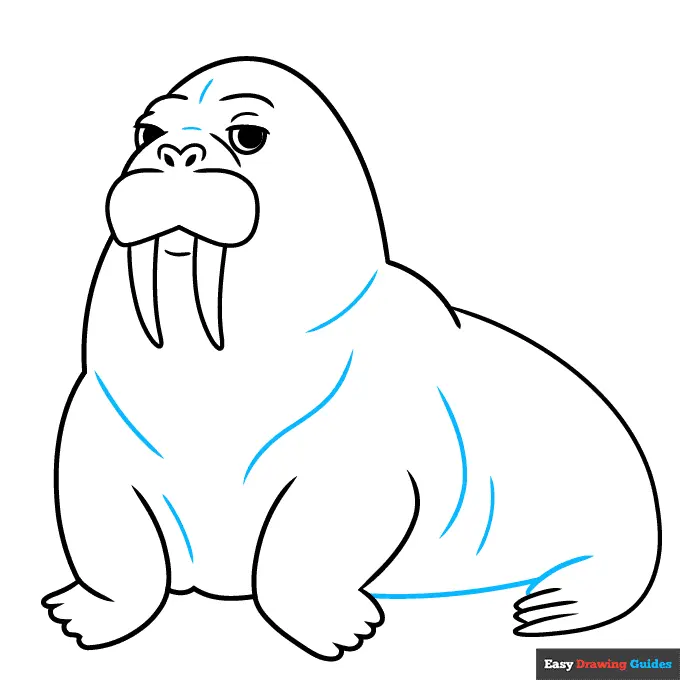
Once the basic structure is set, add the defining facial features. Place a wide, muzzle-like shape on the front of the head circle and draw two long, downward-pointing tusks extending from the upper jaw. Use these steps to refine your sketch:
- Draw a large oval for the torso and a smaller circle for the head.
- Sketch a wide, rounded snout area on the lower half of the head circle.
- Add two long, slightly curved tusks protruding from the top of the snout.
- Draw small, flipper-like shapes at the bottom of the body oval.
- Add thick folds of skin around the neck and shoulders to emphasize bulk.
Best drawing materials for beginners
For those new to sketching animals, graphite pencils are the most forgiving medium. A standard HB pencil is ideal for initial light guidelines, while a 4B or 6B pencil allows you to add depth and shadow to the walrus’s wrinkled skin. Using a kneaded eraser is also essential, as it allows you to lift graphite gently without damaging the paper surface when refining your lines.
If you prefer working with ink or markers, start with a light pencil sketch first. Once the proportions are correct, use a fine-liner pen to trace the permanent outlines. Focus on creating varying line weights: use thicker lines for the base of the tusks and the underside of the body, and thinner, lighter strokes for the whiskers and skin creases. This technique adds visual interest and helps the drawing pop off the page.
Why walrus anatomy is unique
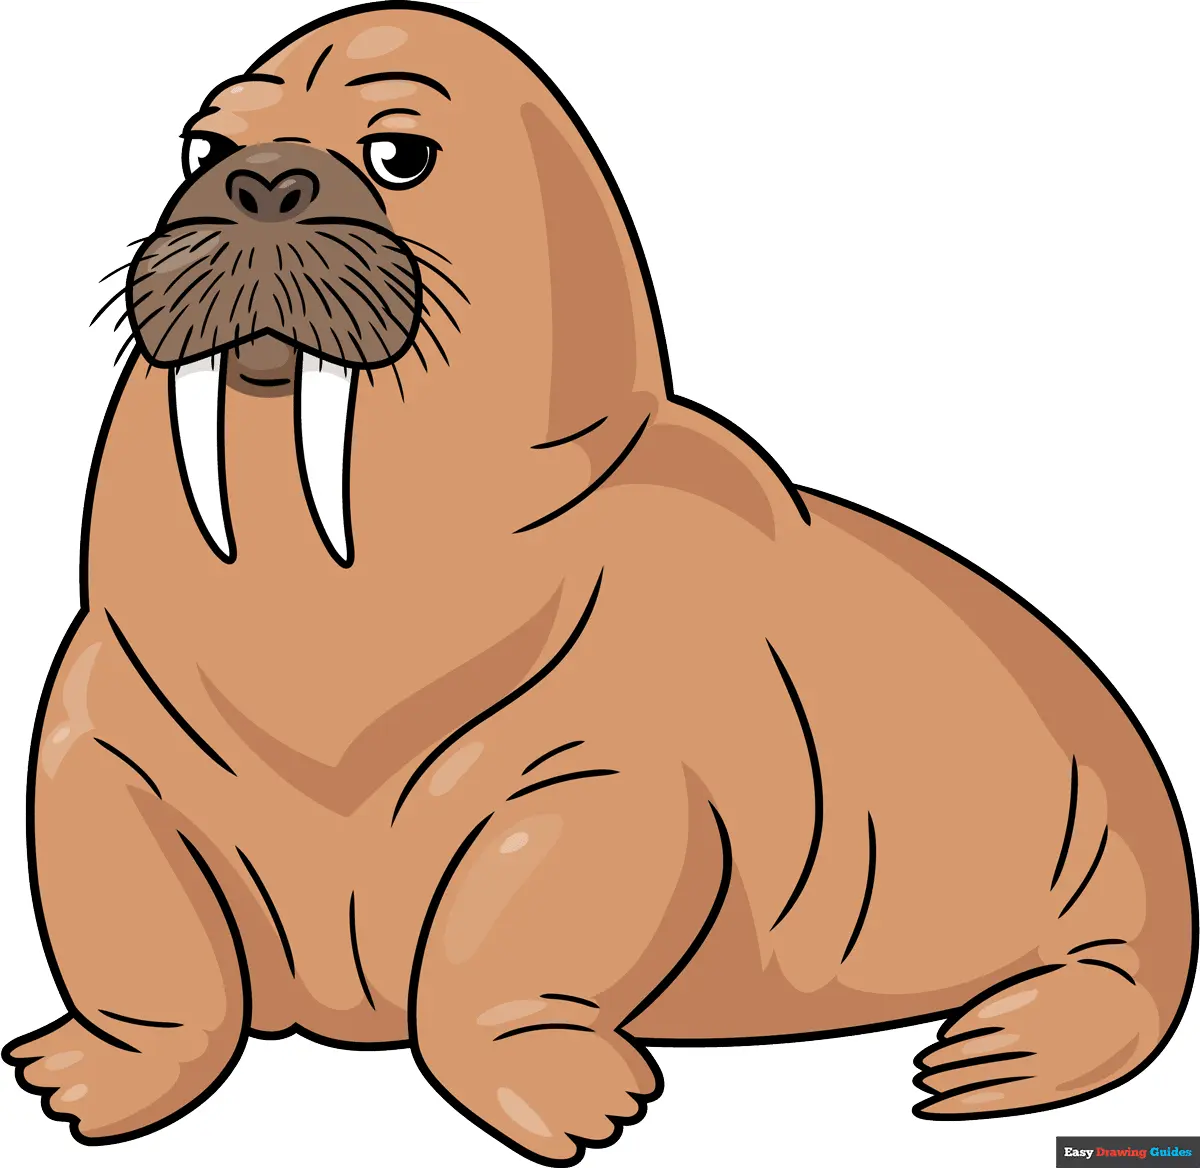
The walrus is characterized by its extreme obesity and lack of external ears, which makes its head shape appear very smooth and rounded. Unlike seals, which have sleeker bodies, the walrus has a thick layer of blubber that creates deep, sagging folds of skin around the neck and chest. When drawing these, avoid drawing straight lines; instead, use overlapping "U" shapes to suggest the weight of the skin pressing against the ground.
The tusks are the most critical anatomical feature, as they are actually elongated canine teeth. They grow continuously throughout the walrus's life and are often worn down at the tips from digging into the seafloor for food. When drawing them, ensure they are positioned on the upper jaw and curve slightly outward. Their length can vary significantly depending on the age of the walrus, but they should always appear sturdy and heavy rather than thin or fragile.
Common mistakes when drawing walruses
One frequent error is making the walrus appear too agile or thin. Beginners often try to draw legs similar to a dog or a cat, but a walrus uses specialized flippers that are tucked close to its body. If you draw distinct joints or narrow limbs, the drawing will lose its authentic, heavy-set appearance. Stick to rounded, paddle-like appendages that emerge directly from the main body mass.
Another common mistake involves the whiskers. A walrus has a very dense, bristly mustache that covers its entire muzzle area. Avoid drawing individual, long, flowing hairs, as this makes the animal look like a cartoon character. Instead, use short, quick, jagged marks or small dots clustered tightly around the snout to represent the stiff, sensory vibrissae. Keeping these marks concentrated in the center of the face will maintain the correct proportions and realistic texture of the walrus's muzzle.
How to add texture and shading
To bring your drawing to life, focus on the texture of the skin. Walrus skin is thick, tough, and often covered in small bumps or scars. Use a cross-hatching technique with your pencil to create shadows in the skin folds, which helps emphasize the volume of the creature. Keep the light source consistent, ensuring that the shadows on the underside of the body are the darkest, while the top of the back remains lighter.
Pay attention to the tusks as well. They are not perfectly smooth; they often have a slight grain or texture that can be represented with very light, vertical pencil strokes. Adding a small, white highlight on the curve of each tusk can give them a polished, ivory-like appearance. By combining these shading techniques with the structural steps outlined previously, you will create a well-proportioned and detailed drawing that captures the essence of this magnificent Arctic mammal.
Key facts
- A walrus’s body is essentially a large, rounded oval shape with significant bulk around the neck and shoulders.
- The most iconic feature is the pair of long, downward-pointing tusks, which are actually elongated canine teeth.
- Use a "bean" shape for the torso to capture the animal's natural slouch when resting on ice or land.
- Keep the flippers broad and paddle-like, as they are essential for both swimming and maneuvering on solid ground.
- Add deep, horizontal folds around the neck to emphasize the thick, wrinkled skin characteristic of the species.
- Focus on the whiskers, which are stiff, sensory bristles called vibrissae that grow in a dense mustache pattern.
The bottom line
Drawing a walrus is best approached by simplifying its massive, blubbery form into basic geometric shapes. Start with a large, rounded oval for the torso and a smaller circle for the head, then emphasize the downward-curving tusks and thick neck folds. By focusing on these distinct anatomical features and the animal's characteristic wrinkled skin, you can effectively capture the unique, rugged appearance of this Arctic marine mammal.
People also ask
Do walruses have visible ears?
No, walruses lack external ear flaps, which are known as pinnae. They only have small, inconspicuous ear holes on the sides of their heads.
How long can a walrus tusk grow?
Tusk length varies by age and sex, but they can reach up to 3 feet in length. Both male and female walruses grow tusks throughout their lives.
What color is a walrus's skin?
Their skin is typically a cinnamon-brown color. However, they often appear paler or pinkish after swimming in cold water because their blood vessels constrict.
Are walruses social animals?
Yes, they are highly gregarious and often haul out onto ice floes or beaches in large groups. When drawing a group, overlap the shapes to show this dense crowding.
What is the primary purpose of their whiskers?
The vibrissae are highly sensitive and help the walrus locate mollusks and other prey on the dark, muddy seafloor. They are essential for foraging in low-light conditions.
How do I draw a walrus moving?
To show movement, draw the flippers angled outward and the body slightly arched. Walruses move on land by using all four flippers to "walk" in a clumsy, rocking motion.
This answer was created with the help of AI research tools and reference sources. Spotted an error? Let us know — we correct mistakes quickly. See our editorial policy.