How can I draw a hoodie easily?
Short answer
Drawing a hoodie is best achieved by starting with a basic torso shape and adding the hood as a separate, overlapping form. Focus on the structural connection between the neck and the hood, then add realistic folds around the armpits and sleeves to create the appearance of soft, heavy fabric.
On this page
How to draw a hoodie step by step
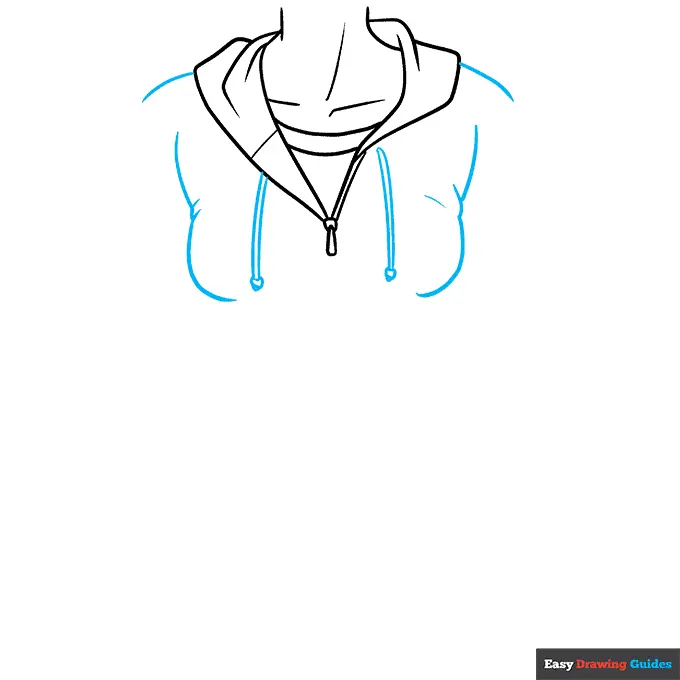
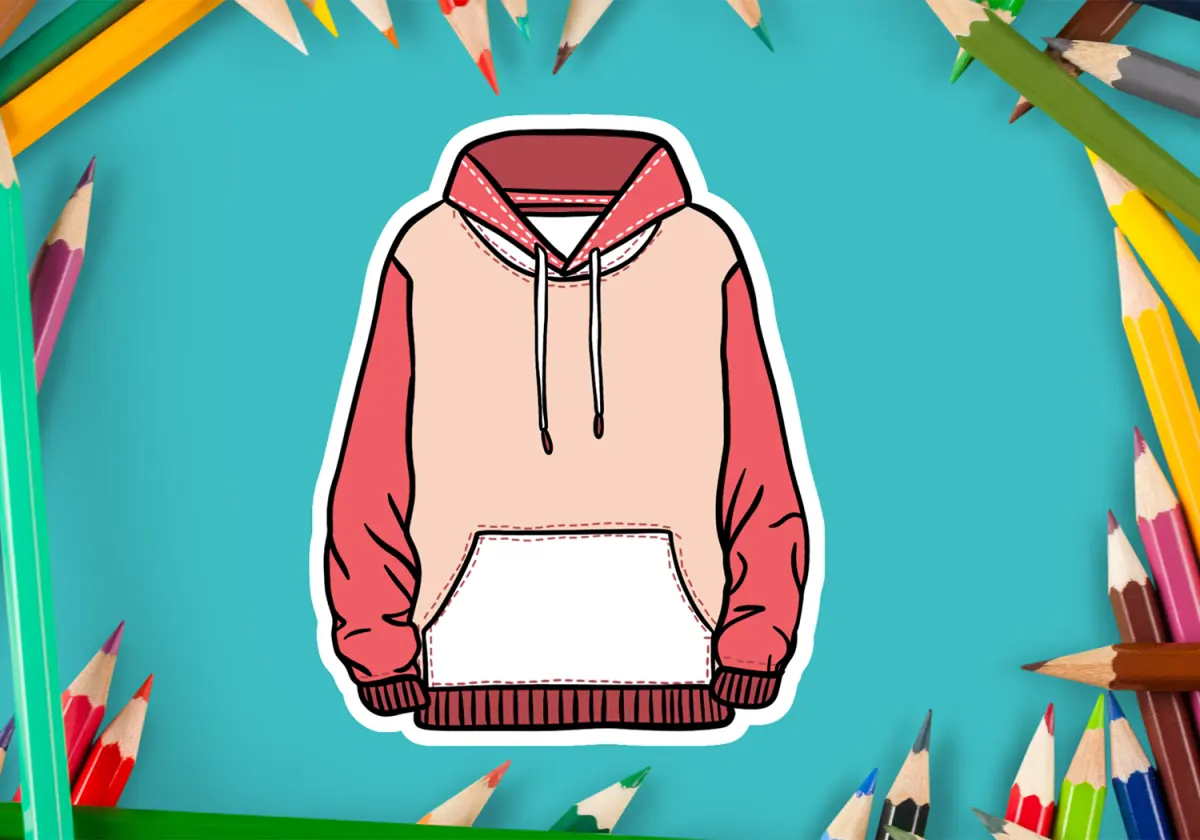
To draw a hoodie effectively, begin by sketching a standard human torso as your foundation. This ensures the garment sits naturally on the body rather than looking like a floating shape. Once the torso is established, draw the hood as a large, rounded shape that emerges from behind the neck, extending upward and curving over the head. Connect the hood to the collar area with a smooth, continuous line to suggest the fabric draping over the shoulders.
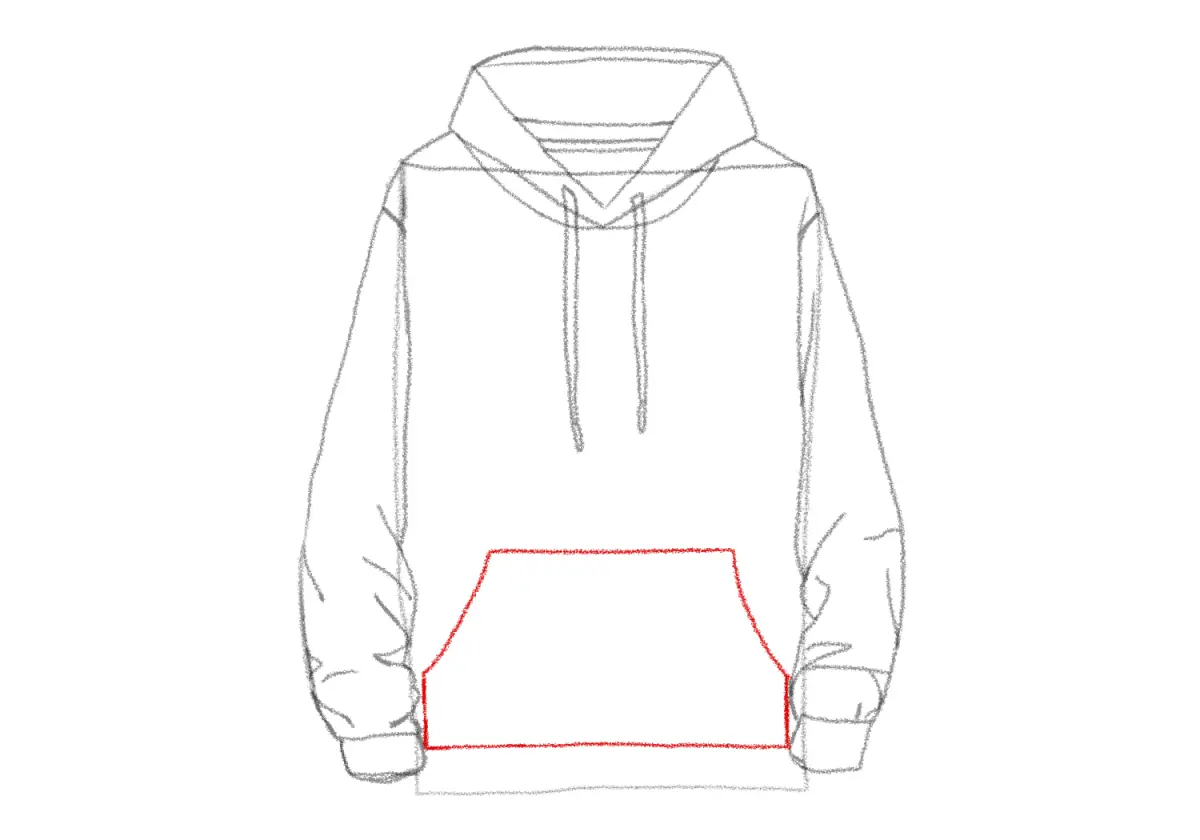
After the primary shapes are in place, focus on the details that define a hoodie. Add the front pocket, typically a large pouch centered on the stomach, and define the sleeves with thick cuffs at the wrists. Use these steps to maintain proper proportions:
- Sketch a vertical rectangle for the torso.
- Add a circle or oval above the neck for the hood.
- Draw two cylinders extending from the shoulders for the sleeves.
- Sketch a trapezoid shape on the lower torso for the front pocket.
- Add drawstrings hanging down from the base of the hood.
Best drawing techniques for beginners
Beginners often struggle with the rigid look of initial sketches, so the key is to embrace curves. Hoodies are made of jersey or fleece, which are soft, pliable materials. Instead of drawing straight lines for the sides of the garment, use gentle arcs to mimic how fabric hangs loosely away from the body. This technique immediately makes the drawing look more professional and less like a stiff cardboard cutout.
Another effective approach is to focus on the silhouette before adding interior details. By establishing a clean outline first, you can ensure the hoodie looks balanced. Once the outline is set, you can refine the internal structure, such as the seam lines or the opening of the hood. Remember that the hood itself has depth; drawing a secondary line inside the hood shape will indicate the inner lining, providing a sense of three-dimensional volume that is essential for a convincing illustration.
Why fabric folds look realistic
Folds and creases are the most important elements for making a drawing look like a real piece of clothing. These lines signify where the fabric is being pulled, bunched, or compressed. When drawing a hoodie, place the most prominent folds at points of tension, specifically the armpits, the elbows, and the waistline where the fabric meets the ribbed hem. These areas naturally gather material, creating shadows that add depth to your work.
To master the look of fabric, observe how gravity affects the garment. If the person in your drawing is standing still, the fabric will hang vertically, creating long, straight folds. If they are moving or bending their arms, the folds will become more horizontal and jagged. Use these tips to enhance your shading:
- Use light, thin lines for subtle wrinkles.
- Use darker, thicker lines for deep folds near the armpits.
- Shade the area beneath the hood to create a sense of weight.
- Keep folds consistent with the direction of the fabric's pull.
Common mistakes when drawing hoodies
One of the most frequent errors is drawing the hood too small or too close to the neck. A hood must be large enough to accommodate a human head, so make sure the shape extends well above the shoulder line. If the hood looks like a tight-fitting cap, the hoodie will lose its characteristic silhouette. Always err on the side of making the hood slightly larger to account for the thickness of the fabric.
Another common mistake is neglecting the weight of the ribbed cuffs and hem. These parts of the hoodie are made of a thicker, elastic material that sits snugly against the body or wrists. If you draw the sleeves or the bottom of the hoodie as thin, flowing lines without showing the constriction of the cuffs, the garment will look like a loose sheet rather than a structured sweatshirt. Ensure the cuffs are slightly narrower than the sleeves to illustrate this tension.
How to add texture and shading
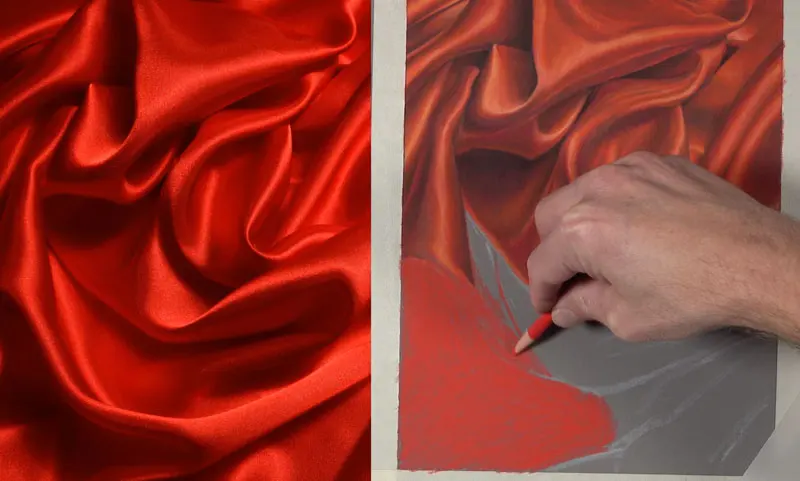
Finalizing your hoodie requires attention to shading, which helps define the fabric's texture. Since hoodies are typically made of cotton or synthetic blends, they do not have the high-gloss sheen of leather or silk. Use soft, blended shading rather than sharp, high-contrast highlights. Focus your shadows under the chin, inside the hood, and along the undersides of the sleeves. These areas naturally lack light and provide the necessary contrast to make the drawing pop.
Adding small details like the aglets on the ends of the drawstrings or the stitching along the seams can elevate the quality of your drawing. These tiny elements provide context and realism, signaling to the viewer that this is a functional piece of apparel. By combining accurate structural proportions with thoughtful placement of folds and soft shading, you can create a hoodie that looks comfortable, heavy, and authentic. Practice these techniques consistently to refine your ability to render complex clothing shapes with ease.
Key facts
- Start by drawing a simple trapezoid for the torso to establish the basic silhouette of the garment.
- Place the hood as a large, rounded shape sitting atop the shoulders, resembling an inverted letter U.
- Add two rectangular sleeves extending from the upper sides of the torso, slightly angled downward for a natural look.
- Draw a kangaroo pocket as a large, slightly curved pentagon shape on the lower front of the torso.
- Use horizontal lines at the wrists and the bottom hem to represent the ribbed cuffs and waistband.
- Connect the hood to the neck area with a small triangular gusset to show where the fabric folds.
The bottom line
Drawing a hoodie effectively relies on capturing the garment’s relaxed, baggy structure through simple geometric shapes. By focusing on the hood’s rounded silhouette, the rectangular sleeves, and the distinct kangaroo pocket, you can create a recognizable form. Remember to incorporate subtle folds and curved lines to suggest weight and fabric drape, which prevents the drawing from appearing flat or overly rigid during your artistic process.
People also ask
How do I make the hoodie look like it has weight?
Draw subtle, diagonal lines near the armpits and elbows to represent folds and tension in the fabric. Heavier fabric, like fleece, creates deeper, more angular shadows than thin cotton.
Should I draw the hood up or down?
Drawing the hood up is easier because it is a simple geometric shape resting on the shoulders. If drawing it down, remember to add a collar-like fold around the back of the neck.
How do I draw the drawstrings?
Place two small circles near the center of the hood opening and draw thin, wavy lines hanging down from them. Ensure the strings follow the curve of the chest to suggest they are resting on the fabric.
Why does my hoodie look too stiff?
You are likely using perfectly straight lines for the body and sleeves. Soften your edges and add slight curves to the sides to mimic the drape of fabric over a human body.
How do I add a logo to the hoodie?
Draw the logo slightly curved to match the perspective of the chest area. If the hoodie is wrinkled, distort the logo slightly to follow the folds of the fabric.
What is the best way to shade a hoodie?
Focus shadows under the hood, inside the pocket, and along the inner side of the sleeves. Use a darker tone for these recessed areas to create a sense of depth and volume.
This answer was created with the help of AI research tools and reference sources. Spotted an error? Let us know — we correct mistakes quickly. See our editorial policy.