How do you draw a cobra for beginners?
Short answer
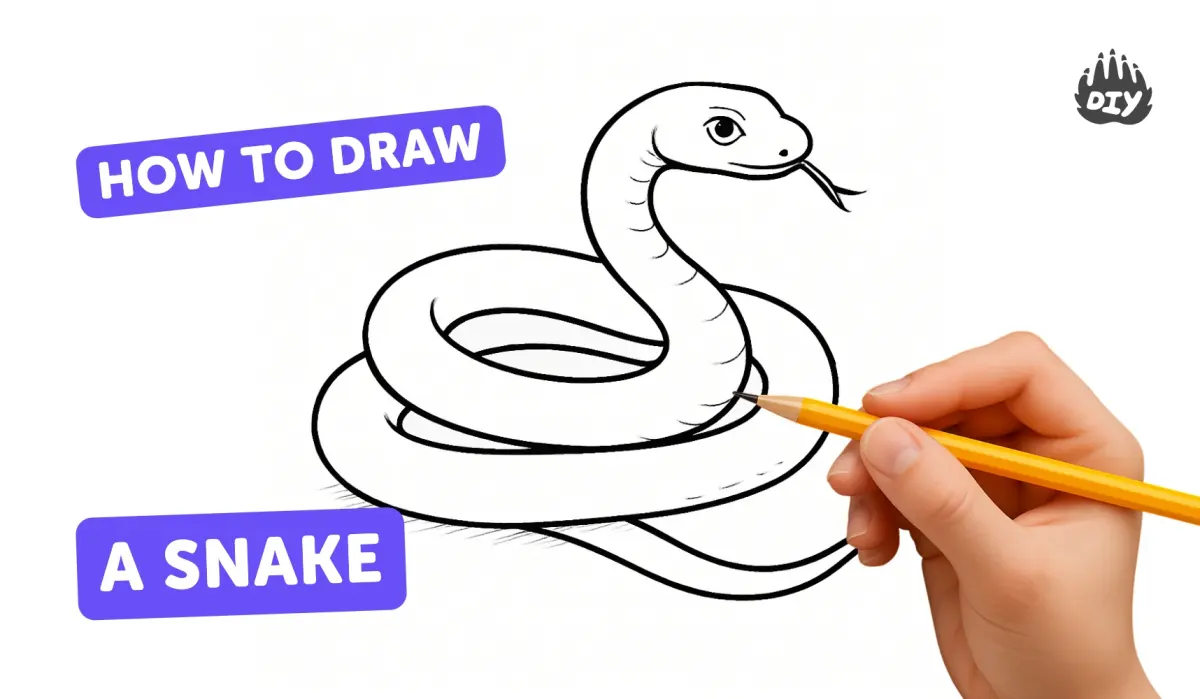
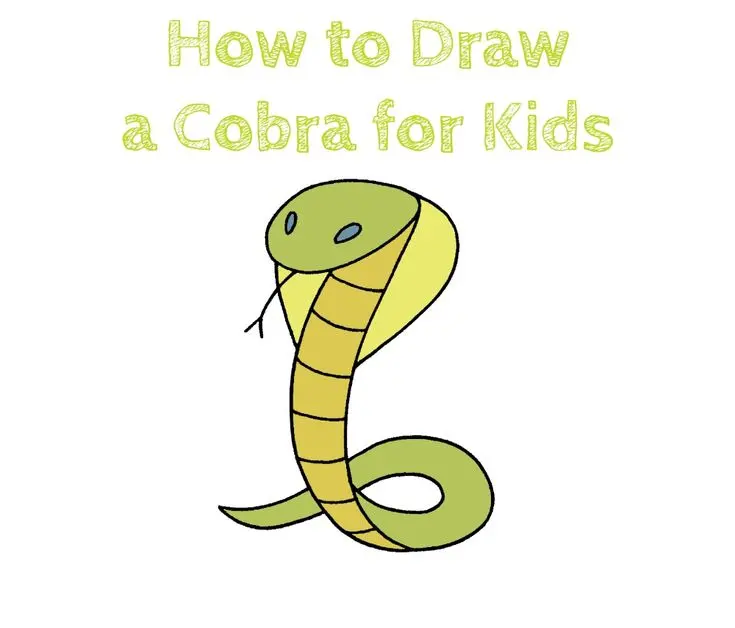
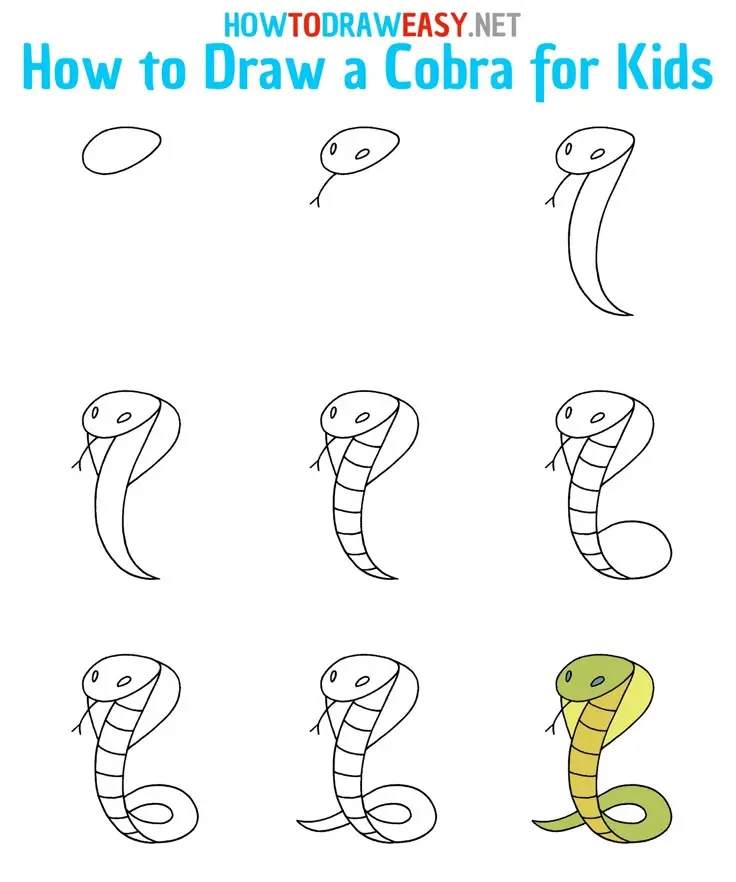
Drawing a cobra involves capturing its iconic hood and S-shaped posture. Begin by sketching a simple serpentine curve to establish the body’s flow. Add an oval for the head and a flared shape for the hood. Refine these forms with anatomical details like scales and eyes to create a realistic, menacing appearance.
On this page
How to structure a cobra drawing
The foundation of a successful cobra drawing lies in the initial gesture line. Start by drawing a light, flowing "S" shape or a coiled spiral to represent the snake’s spine. This line dictates the movement and energy of the creature before you add any volume or scale detail. Keep your pencil strokes very faint during this phase so you can easily erase or adjust the proportions.
Once the path of the body is established, build the volume around the line. Use a series of connected ovals or elongated cylinders to give the snake thickness. Remember that a cobra’s body is typically thickest in the middle and tapers gradually toward the tail. Ensure the head is clearly defined at the top of the curve, keeping it relatively small compared to the wide hood.
- Sketch a light "S" curve.
- Add a small oval for the head.
- Draw a wide, petal-like shape around the neck for the hood.
- Outline the body by thickening the "S" curve.
How to draw the cobra hood
The hood is the most recognizable feature of a cobra and requires careful attention to shape and symmetry. To draw it, imagine a large, rounded triangle or a pear shape extending from the back of the head down to the upper body. The hood should look like a flattened extension of the neck skin rather than a separate attachment. Use smooth, sweeping curves to define the edges, as these lines represent the stretched skin of the snake.
When detailing the hood, consider the specific species you are drawing, such as the Indian cobra or the King cobra. Many cobras feature distinct patterns on the back of the hood, often resembling an eye or a spectacle shape. You can add these markings by drawing a circular or U-shaped design in the center of the hood. Keep these markings centered to maintain the balance of the drawing.
- Use a light touch to define the outer edges of the hood.
- Add symmetrical markings if you want to depict a specific species.
- Ensure the transition from the hood to the neck is seamless.
Best shading techniques for snake scales
Shading is essential for making a snake look three-dimensional and realistic. Since snakes are covered in overlapping scales, you should use a cross-hatching or stippling technique to suggest texture. Start by identifying where the light source is coming from, and apply darker shadows on the opposite side of the body. This creates a sense of roundness and depth that prevents the snake from looking flat.
When drawing individual scales, avoid drawing every single one, as this can make the drawing look cluttered and cartoonish. Instead, focus on the highlights and shadows on the larger curves of the body. Use small, V-shaped marks or diamond patterns sparingly along the spine and sides to imply the texture of the skin. By concentrating these marks in the shaded areas, you create a convincing illusion of a textured, glossy surface.
- Apply highlights on the top curve of the body.
- Use darker pencil pressure in the crevices of the coils.
- Keep scale patterns consistent with the direction of the body.
Common mistakes when drawing snakes
One of the most frequent errors beginners make is drawing the head too large or too small for the body. A cobra’s head should be compact and sleek, blending smoothly into the neck. If the head is too bulky, it loses the predatory, stealthy look characteristic of the species. Always check your proportions against the length of the body before moving on to fine details.
Another common mistake is creating a body that looks like a stiff, rigid tube. Remember that snakes are extremely flexible and muscular creatures. If your drawing looks unnatural, try adding more tension to the curves or varying the thickness of the body along the length of the spine. Avoid making the tail end too abruptly; it should taper off into a fine, delicate point that follows the natural flow of the curve.
- Avoid perfectly straight lines; snakes are always curved.
- Do not draw the eyes too far forward; keep them on the sides of the head.
- Ensure the hood width is proportionate to the thickness of the snake's neck.
How to add realistic finishing touches
To finalize your cobra, focus on the eyes and the tongue. A cobra’s eye is typically small with a round pupil, giving it a piercing, focused gaze. Place the eyes slightly toward the front of the head to emphasize its predatory nature. You can add a thin, forked tongue flicking out from the mouth to bring a sense of life and movement to the piece. Keep the tongue thin and sharp to maintain the overall aesthetic.
Finally, consider the environment around the snake. Adding a few rocks, blades of grass, or a sandy texture beneath the coils can ground the drawing and provide context. Use a soft eraser to lift some graphite from the highlights on the scales to give the skin a wet or shiny appearance. Once you are satisfied with the shading and texture, use a darker pencil to outline the silhouette for a clean, professional finish that makes the cobra stand out.
Key facts
- A cobra is defined by its hood, which is created by the expansion of elongated neck ribs.
- Start your drawing with a vertical "S" curve to establish the snake’s flexible, upright posture.
- Draw the hood as a rounded, spade-like shape surrounding the upper third of the body.
- Use a series of small, overlapping ovals or diamonds to represent the scales along the belly.
- Keep the eyes small and circular, placed near the top of the head to emphasize the creature's predatory focus.
- Avoid drawing a perfectly straight line for the body; cobras are naturally fluid and curved.
The bottom line
Drawing a cobra is an exercise in capturing fluid motion and distinct anatomical features. By establishing a strong "S" curve first, you provide a foundation for the snake's iconic upright stance. Focus on the gradual expansion of the hood and the tapering of the tail to ensure realistic proportions. With practice, these basic structural steps allow you to build complexity and detail into your reptilian illustrations.
People also ask
How do I make the cobra's hood look realistic?
Focus on the transition between the head and the neck. The hood should flare out gradually from the base of the head rather than appearing as a separate attachment.
Should I draw the cobra with its mouth open or closed?
Beginners should start with the mouth closed to master the silhouette. An open mouth requires complex detail of the fangs and glottis, which can complicate the initial sketch.
What is the best way to draw snake scales?
Do not draw every individual scale on the entire body. Focus on adding texture near the edges and the hood, leaving the center of the body smoother to suggest light reflection.
How do I draw the cobra's tail?
The tail should taper significantly and end in a sharp, thin point. Ensure the tail is much longer than the head and hood combined to maintain proper proportions.
Can I use shading to give the cobra depth?
Yes, use cross-hatching or soft smudging along one side of the body. This creates a cylindrical volume, making the snake appear three-dimensional rather than flat.
What common mistake should I avoid when drawing the eyes?
Avoid drawing large, human-like eyes. Cobras have small, fixed pupils that should be placed within a narrow, almond-shaped eye socket to maintain a menacing, reptilian appearance.
This answer was created with the help of AI research tools and reference sources. Spotted an error? Let us know — we correct mistakes quickly. See our editorial policy.