How do you draw a tail?
Short answer
Drawing a tail requires establishing the base anatomy, defining the movement through a gesture line, and adding volume to match the creature’s species. Start by sketching a curved line that dictates the flow, then build the mass around it using tapered shapes to ensure the tail looks integrated and natural.
On this page
How to structure a tail for beginners
The foundation of any convincing tail is the spine. Most tails are extensions of the vertebral column, meaning they must follow a logical arc that reflects the animal's movement. Beginners should avoid drawing a stiff, straight line, as this makes the tail appear detached or lifeless. Instead, visualize the tail as a flexible, segmented rope that tapers gradually from the base to the tip.
To achieve a professional look, follow these foundational steps:
- Sketch a light, flowing "gesture line" that indicates the path of the tail.
- Draw a wide, rounded shape at the point where the tail connects to the pelvis.
- Gradually narrow the width of the shape as you move toward the end of the gesture line.
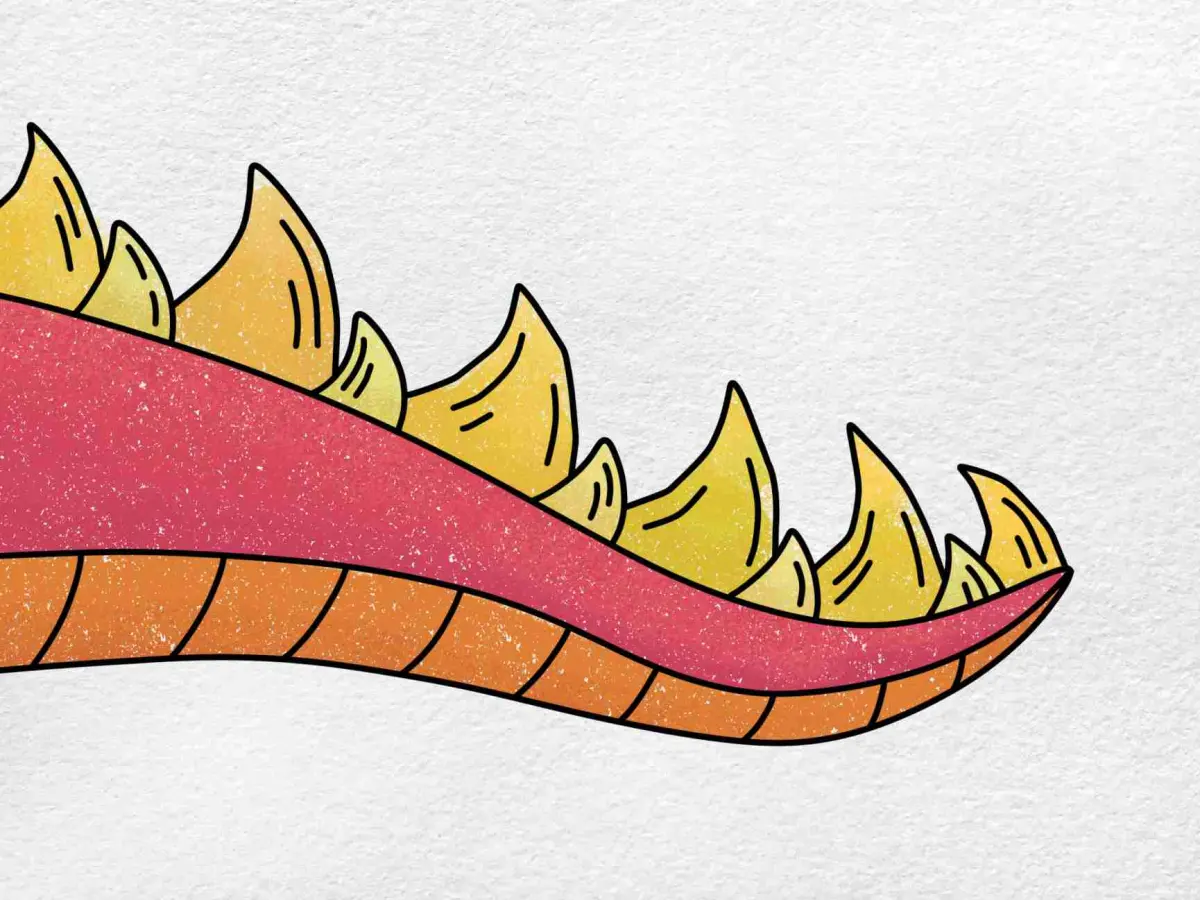
- Add subtle joints or segments if the animal has a bony tail, such as a reptile.
By treating the tail as a continuation of the spine rather than an afterthought, you ensure the anatomy remains consistent with the rest of the body.
How to draw fur and texture on tails
Adding texture is where the tail gains its distinct character. For mammals, the fur should generally flow away from the body toward the tip, following the direction of the tail's length. Avoid drawing individual hairs; instead, focus on clumps or "tufts" of fur. Use short, flicking strokes with your pencil to suggest the outer edge of the fur, keeping the silhouette varied rather than perfectly smooth.
When detailing the texture, consider these material properties:
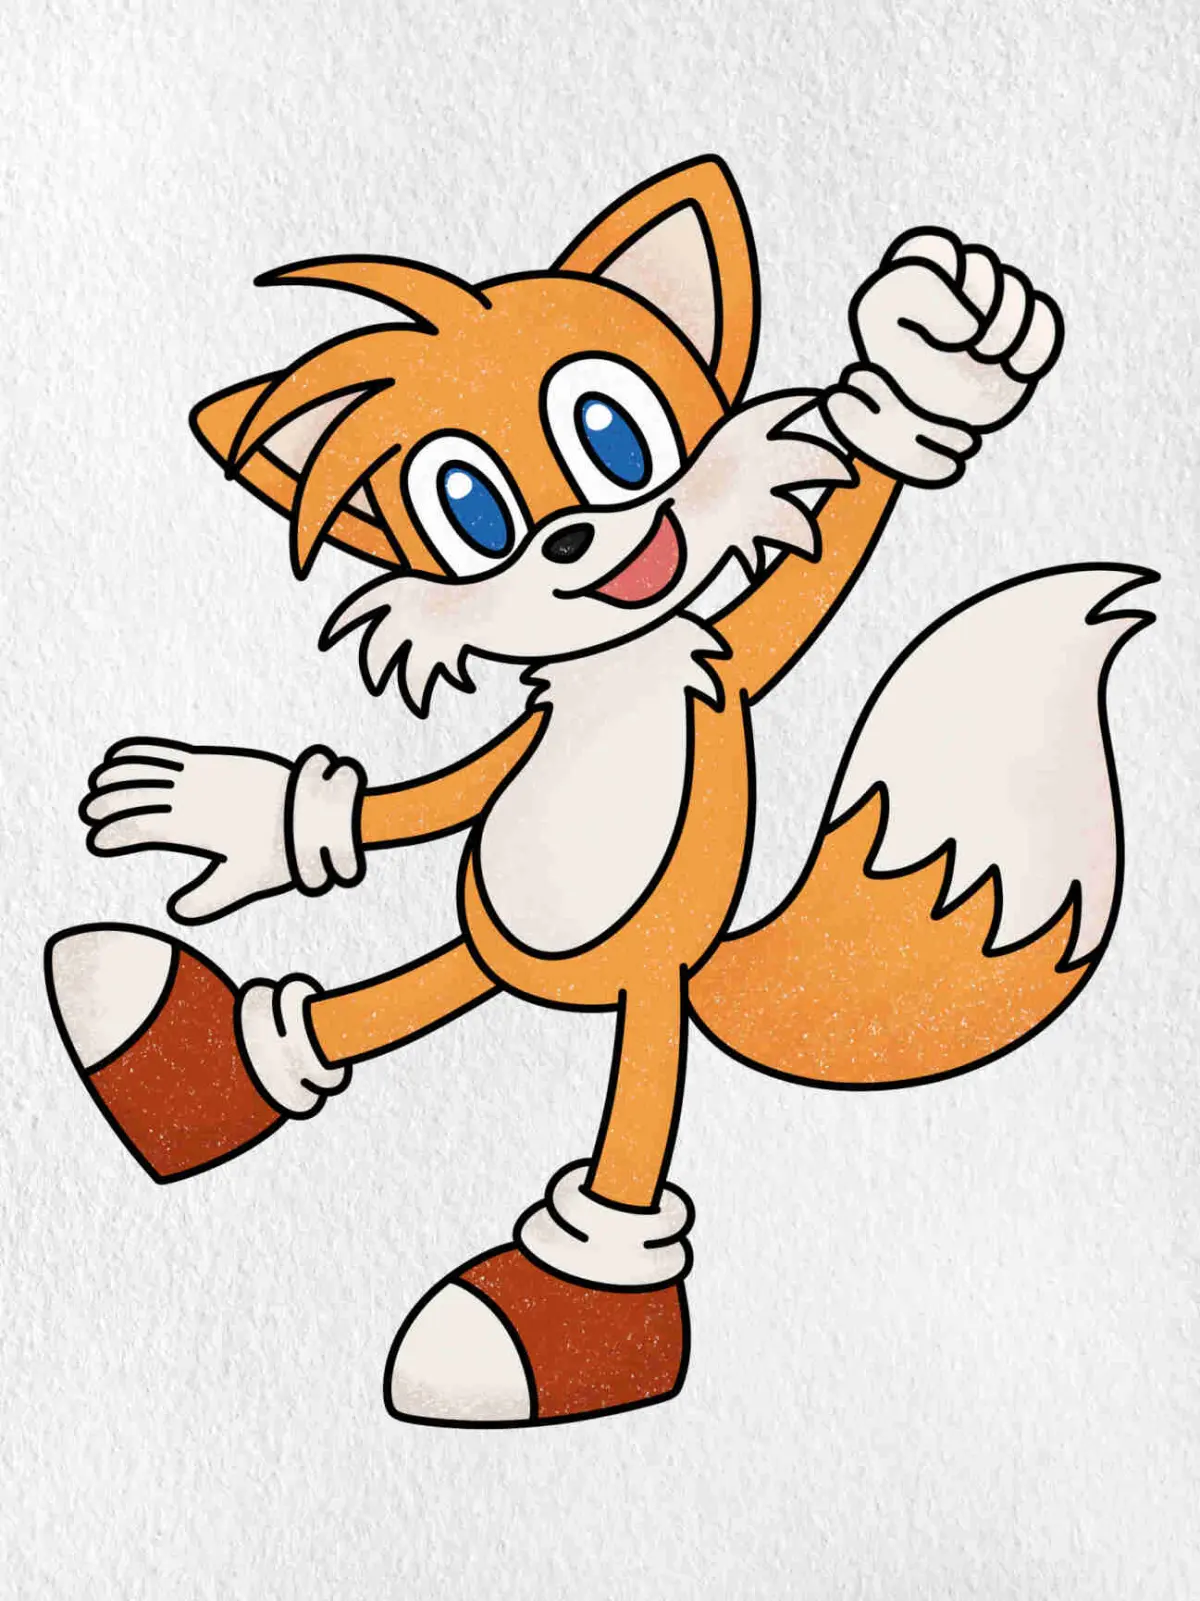
- Soft, fluffy tails like those of foxes require long, sweeping strokes that extend beyond the main shape.
- Sleek, short-haired tails like those of cats need tighter, more uniform lines that hug the form closely.
- Segmented or scaly tails, such as those on rodents or lizards, require overlapping geometric patterns that wrap around the circumference.
Always remember that light hits a cylindrical object differently. Keep the underside of the tail slightly darker to suggest a shadow, which adds significant depth.
Why tails look stiff or unnatural
A common issue in illustration is the "sausage tail," where the appendage looks like a uniform tube without any anatomical logic. This usually happens when the artist ignores the transition point at the base. The tail should emerge smoothly from the rump, blending into the musculature of the lower back. If the connection point is too abrupt, the tail will look like it was pasted onto the character rather than growing from it.
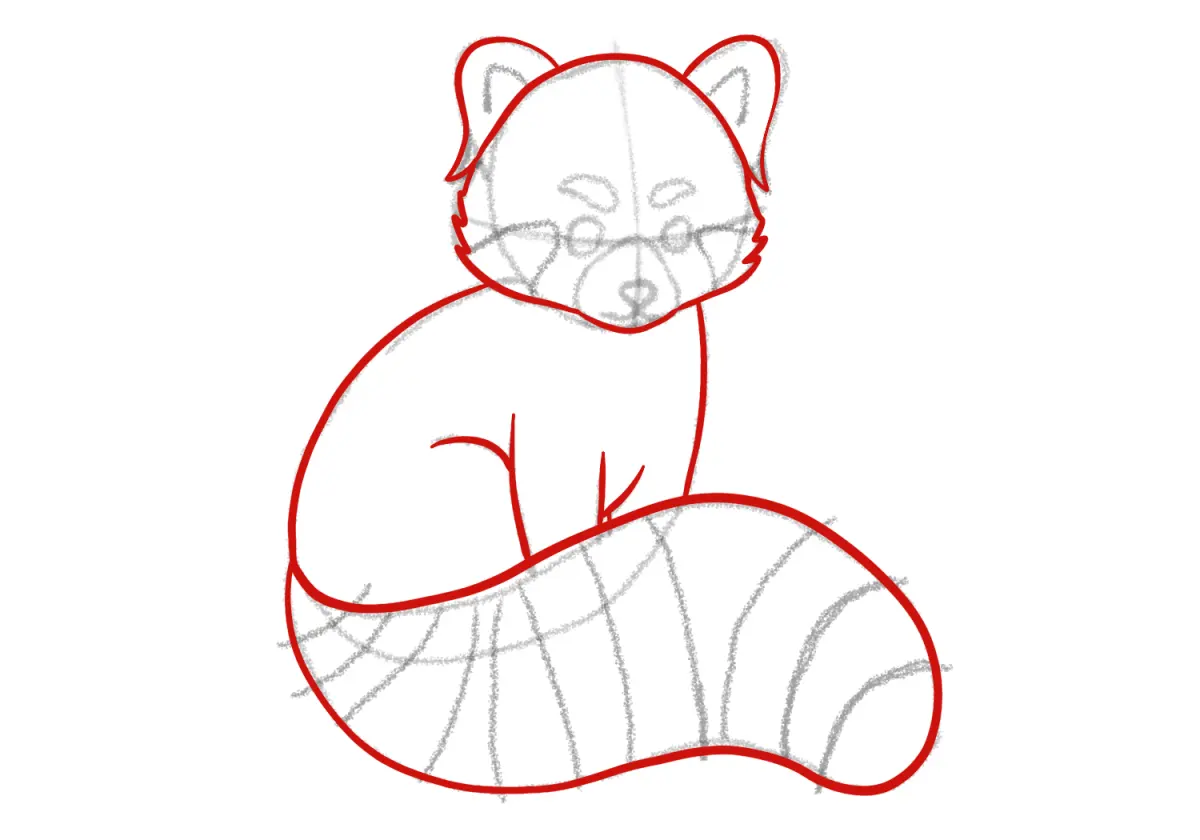
Another reason for unnatural results is the lack of "weight" in the drawing. A tail is a heavy, physical part of the body that responds to gravity and momentum. If a character is running, the tail should trail behind in an arc, reacting to the sudden change in direction. If the character is sitting, the tail should rest on the ground, bending at the points where it makes contact with the surface.
Common mistakes when drawing tails
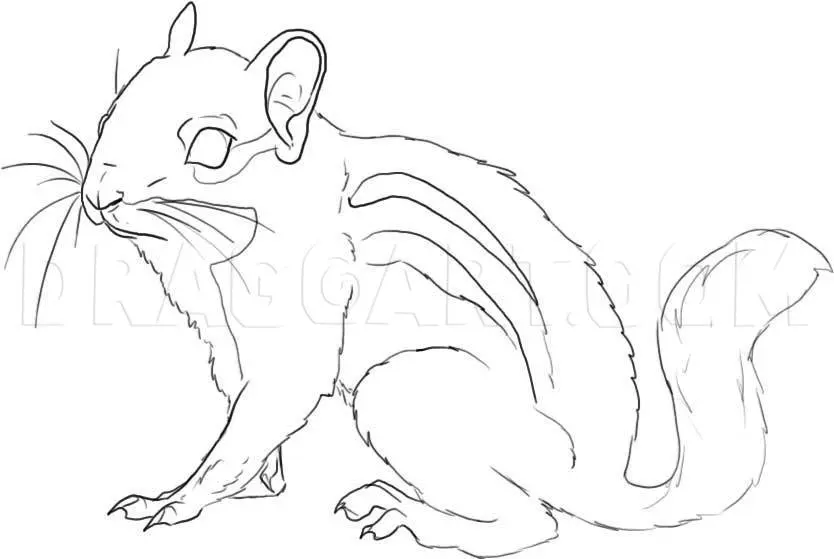
The most frequent error is failing to account for the tail's length in relation to the body. Many artists draw tails that are either too short to be functional or so long that they defy the laws of physics. As a general rule, observe the species you are drawing; for example, a house cat’s tail is typically about as long as its body, while a squirrel’s tail is shorter but much bushier.
Avoid these specific technical pitfalls:
- Drawing the tail as a flat 2D shape rather than a 3D cylinder.
- Ignoring the taper, resulting in a tail that is the same thickness at the tip as it is at the base.
- Placing the tail too high or too low on the spine, which disrupts the creature's center of gravity.
- Over-detailing the tip while leaving the rest of the tail blank, creating an unbalanced visual focus.
Best techniques for dynamic tail movement
To make your drawings feel alive, treat the tail as an expressive tool. In animal behavior, the tail is often the first part of the body to show emotion, such as a dog wagging its tail or a cat flicking it in irritation. You can convey this energy by using "S-curves" in your sketch. An S-curve provides a sense of tension and fluidity that a simple C-curve lacks, making the tail appear as though it is actively moving through the air.
When practicing, try these exercises:
- Draw a character in motion and sketch three different tail positions to see how it balances their pose.
- Study slow-motion footage of animals turning to see how their tails whip around to counterbalance their weight.
- Experiment with different thicknesses to see how it changes the character's silhouette and perceived personality.
By mastering the balance between the tail's structural anatomy and its fluid, expressive movement, you can elevate your creature designs from simple sketches to dynamic, believable illustrations that capture the essence of the animal.
Key facts
- Tails originate from the sacrum, the triangular bone at the base of the spine.
- Use a "line of action" to establish the tail's flow before adding volume.
- Vary the thickness by tapering the shape from a wide base to a pointed tip.
- Segment the tail into smaller, overlapping shapes to suggest flexibility and joints.
- Add fur texture by using short, irregular strokes rather than uniform lines.
- Consider the tail's weight and gravity to determine how it curves or hangs.
The bottom line
Drawing a tail effectively requires balancing anatomical structure with fluid movement. By establishing a primary line of action and tapering the volume from base to tip, you create a believable extension of the spine. Whether drawing a sleek or fluffy tail, focus on the silhouette and natural gravity. Practice observing real animals to master how different species carry their tails in various states of motion.
People also ask
How do I make a tail look like it is moving?
Draw the tail in an "S" curve or a wave pattern to imply motion. Avoid rigid, straight lines, as they suggest the tail is frozen or stiff.
Should the tail be drawn as one solid piece?
It is better to treat the tail as a series of connected cylinders or segments. This helps you visualize how the tail bends at specific points along its length.
How do I decide how long the tail should be?
Proportions vary by species, but a common rule is to make the tail reach the ground or the hocks of the animal. Use reference photos of specific animals to ensure anatomical accuracy.
What is the biggest mistake when drawing fur on a tail?
Many beginners draw individual hairs all over the surface, which looks cluttered. Instead, focus on the overall silhouette and add tufts of fur only at the edges and the tip.
How do I draw a fluffy tail versus a sleek one?
For a fluffy tail, use a wider, jagged outline that extends further from the central spine. For a sleek tail, keep the outline close to the core shape with minimal texture.
Does the tail connect to the body differently for different animals?
Yes, the connection point depends on the animal's posture and anatomy. Observe how the tail base blends into the rump muscles to create a natural, seamless transition.
This answer was created with the help of AI research tools and reference sources. Spotted an error? Let us know — we correct mistakes quickly. See our editorial policy.