How do you draw an otter for beginners?
Short answer
Drawing an otter involves breaking down its elongated, streamlined body into simple geometric shapes like ovals and circles. By focusing on the characteristic long tail, webbed paws, and whiskers, you can capture the animal's playful essence. Start with a basic skeleton, refine the contours, and add texture to the fur.
On this page
How to draw an otter step by step
To draw an otter, begin by visualizing the animal as a series of connected shapes. Otters are known for their long, flexible spines, so you should start with a gentle, horizontal curve for the back and a smaller circle for the head. Use a light pencil to sketch these forms, as you will need to erase or refine them later. Once the basic frame is in place, connect the head to the body with two smooth lines to represent the neck.
Follow these steps to build the anatomy:
- Draw a small circle for the head and a larger, elongated oval for the torso.
- Add a thick, tapering tail at the base of the torso, ensuring it looks like a natural extension of the spine.
- Sketch four short, sturdy legs positioned under the body, keeping them relatively close to the torso.
- Define the snout by adding a small rounded shape to the front of the head circle.
- Connect these shapes with fluid lines to form the otter’s sleek silhouette.
Best drawing tools for beginners
For those just starting, a standard HB graphite pencil is the most versatile tool for sketching outlines and initial construction lines. It allows you to create light marks that are easy to correct without damaging the paper. Pair this with a soft, white vinyl eraser, which lifts graphite cleanly without leaving smudges or tearing the surface of your sketchbook. A high-quality drawing paper with a slight "tooth" or texture is also beneficial, as it helps the graphite adhere better to the page.
If you wish to add depth, consider using a 2B or 4B pencil for shading. These softer leads create darker, richer tones that are perfect for defining the otter’s fur or the shadows under its belly. Keep a pencil sharpener nearby to maintain a fine point, which is essential for drawing fine details like whiskers, eyes, and the texture of the paws. Avoid using pens or markers until you are confident with your pencil sketch, as these mediums do not allow for mistakes.
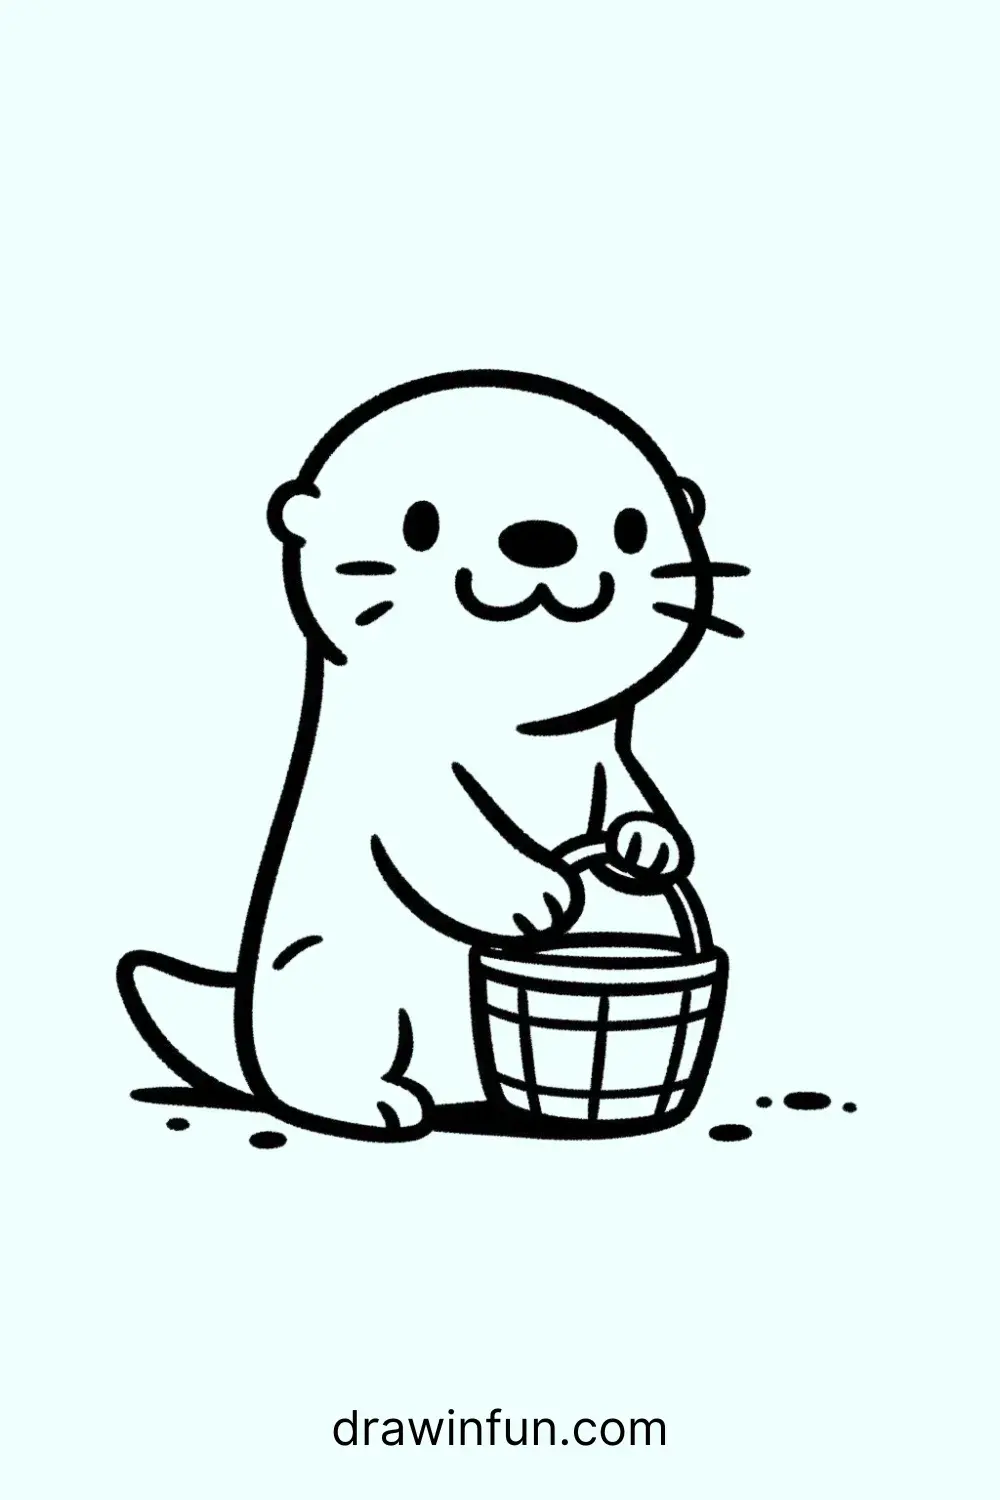
How to draw realistic otter fur
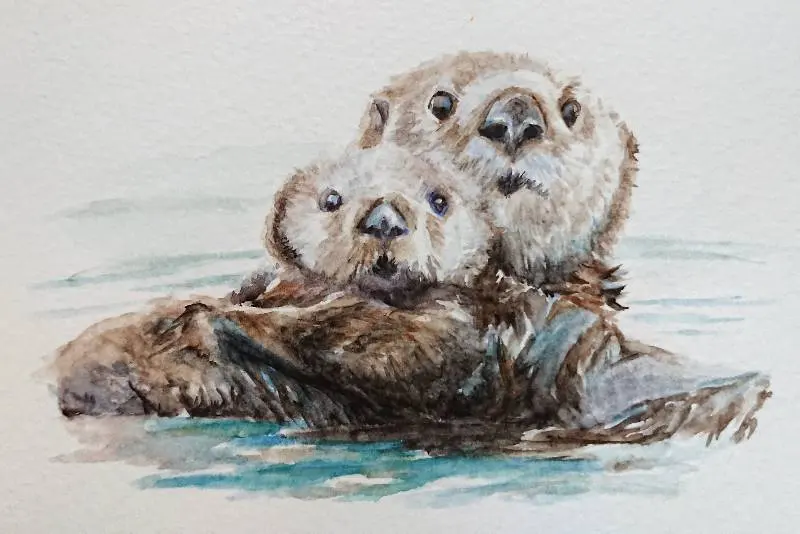
Capturing the texture of otter fur is about creating the illusion of density rather than drawing every single hair. Start by observing the direction of the fur, which typically grows from the head toward the tail. Use short, flicking pencil strokes that follow the curvature of the body. By varying the pressure of your pencil, you can create lighter highlights on the back and darker, denser patches in the shadows near the legs and under the chin.
Focus on these key areas to enhance realism:
- The head: Use very short, fine strokes to mimic the shorter fur near the eyes and nose.
- The belly: Keep the texture soft and slightly lighter to show the otter’s buoyant, waterproof undercoat.
- The tail: Use longer, sweeping strokes to emphasize the tail's thick, muscular structure.
- Highlights: Leave small patches of white paper visible to represent light reflecting off the otter's wet coat.
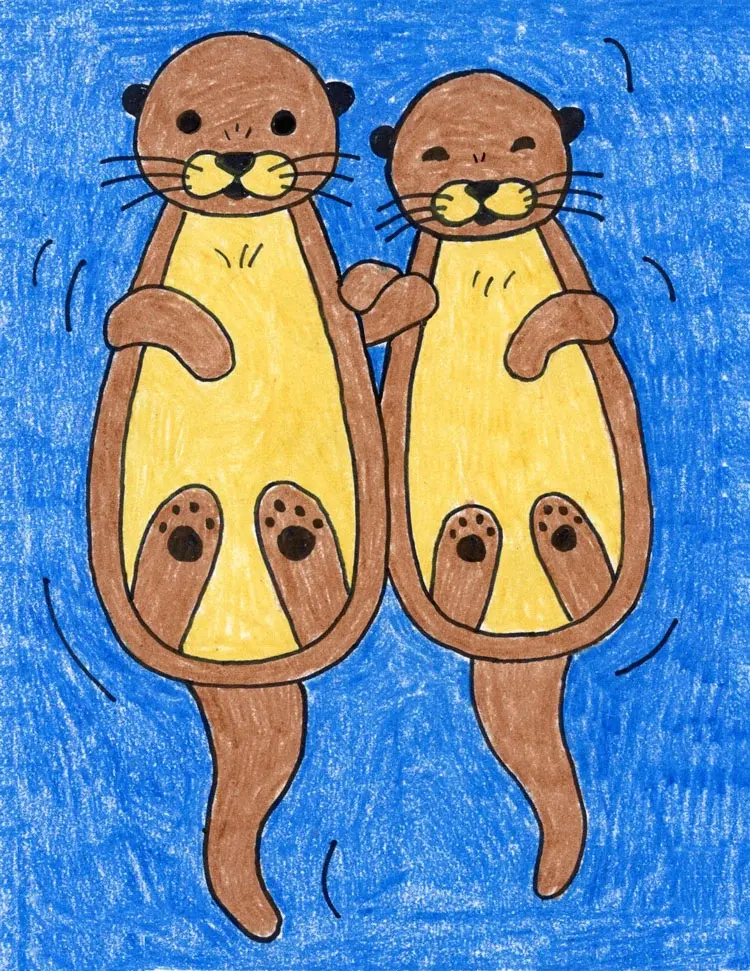
Common mistakes when drawing otters
A frequent error is making the otter’s neck too thin or too long. Otters have thick, muscular necks that transition smoothly into their shoulders, so avoid drawing a distinct, narrow neck like that of a bird. Another common mistake is ignoring the otter’s unique, webbed feet. Beginners often draw standard, clawed paws, but an otter’s feet are broad and paddle-like, designed for swimming. Always check your proportions against a reference photo to ensure the limbs are not too spindly.
Furthermore, many beginners forget to include the whiskers, which are vital for the animal's expression. Whiskers should be drawn as thin, slightly curved lines that extend outward from the snout. Avoid making them perfectly straight, as this makes the face look stiff and unnatural. If you find your drawing looks flat, it is likely because you have not established a clear light source. Always decide where the light is coming from and shade the opposite side of the otter to create a three-dimensional effect.
How to add personality to your drawing
To make your otter look lively, focus on the eyes and the posture. Otters are naturally curious, so drawing them with a slight tilt to the head can make them appear more engaged. Large, dark, circular eyes with a small white highlight will give the otter a friendly, alert expression. You can also experiment with different poses, such as an otter floating on its back or holding a small rock, which is a common behavior for sea otters.
Adding a simple environment can also provide context and character to your work. A few wavy lines beneath the otter can suggest water, while a simple rock formation can provide a base for the animal to rest upon. Keep the background minimal so that the otter remains the focal point of the composition. By combining accurate anatomy with these subtle expressive details, you can create a drawing that feels both technically sound and full of the playfulness that makes otters such beloved creatures.
Key facts
- Otters have elongated, streamlined bodies that are best represented by drawing a long, flexible oval shape.
- Focus on the head by drawing a small circle with a blunt, slightly flattened snout rather than a sharp point.
- The tail of an otter is thick at the base and tapers toward the end, acting as a rudder for swimming.
- Use simple, curved lines to suggest the webbed paws, which are essential for the animal's aquatic lifestyle.
- Keep the fur texture simple by using short, soft strokes rather than drawing every individual hair.
- Position the small, rounded ears near the top of the head to maintain the correct anatomical proportions.
The bottom line
Drawing an otter is an approachable task when you break the animal down into simple, rounded shapes. By focusing on the long, flexible body, a thick tail, and a blunt snout, you can capture the essence of this aquatic mammal. Practice these basic proportions first, then add subtle details like whiskers and fur texture to bring your sketch to life with character and anatomical accuracy.
People also ask
What is the most common mistake when drawing an otter?
Beginners often draw the neck too thin or separate from the body. Remember that otters have thick, muscular necks that blend seamlessly into their streamlined torso.
Should I use geometric shapes to start my drawing?
Yes, starting with basic shapes like ovals and circles helps establish the correct proportions. You can refine these into organic, flowing lines once the structure is set.
How do I make an otter look like it is swimming?
Draw the body in a gentle "S" curve to mimic the movement of an otter in the water. Keep the limbs tucked close to the body or positioned as if paddling.
Are there different types of otters to draw?
There are 13 species, including the sea otter and the river otter. Sea otters are generally bulkier and often depicted floating on their backs.
What is the best pencil technique for otter fur?
Use light, flicking motions with your pencil to create the appearance of dense, water-repellent fur. Avoid heavy, dark outlines that make the animal look stiff.
How do I draw the otter's whiskers effectively?
Use thin, sharp lines originating from the muzzle. Keep them sparse and varied in length to maintain a natural, realistic look.
This answer was created with the help of AI research tools and reference sources. Spotted an error? Let us know — we correct mistakes quickly. See our editorial policy.