How do you make a paper snowflake?
Short answer
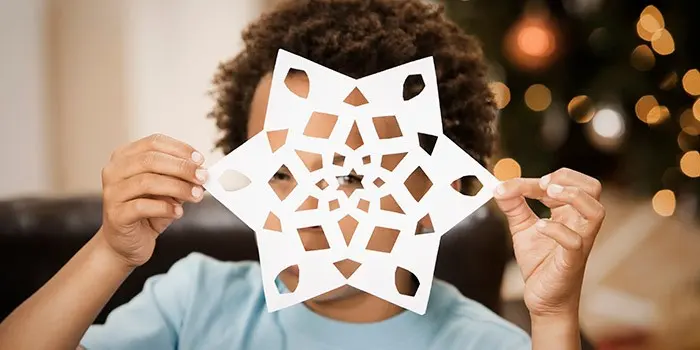
Making a paper snowflake involves folding a piece of paper into a triangle and cutting decorative shapes along the edges. By unfolding the paper, you reveal a symmetrical, six-pointed design. This simple craft relies on geometric principles to create intricate patterns, making it a popular activity for winter decorations and creative projects.
On this page
How to fold paper for a snowflake
To create a traditional six-pointed snowflake, you must start with a square piece of paper. If you only have standard rectangular printer paper, fold one corner down to meet the opposite edge and trim the excess rectangle. This creates a perfect square that is ready for the folding process. Once you have your square, fold it in half diagonally to form a large triangle.
Next, you must fold this triangle into thirds to achieve the six-pointed symmetry required for a realistic snowflake. Fold one corner of the triangle toward the opposite side, then fold the second corner over the first. Ensure the edges align as precisely as possible, as uneven folds will result in an asymmetrical snowflake. Crease these folds firmly with your fingernail to make the subsequent cutting process easier.
How to cut a paper snowflake
Once the paper is folded into a narrow wedge, you are ready to cut your design. Use a pair of sharp, pointed scissors to snip small shapes out of the folded edges. You can cut triangles, semicircles, or intricate zigzags along the sides. Keep in mind that the parts you cut away will become the negative space of your final design.
- Cut small notches along the long, folded edge to create holes in the center of the snowflake.
- Trim the wide top edge into a curve or a point to define the outer shape of the snowflake's arms.
- Avoid cutting all the way across the paper, as this will cause the snowflake to fall apart into separate pieces.
Best paper types for beginners
Choosing the right material is essential for success, especially if you are new to this craft. Standard white printer paper is the most common choice because it is thin enough to fold multiple times but sturdy enough to hold its shape. If the paper is too thick, such as cardstock, it becomes difficult to fold and even harder to cut through all the layers accurately.
If you want to add color or texture, consider using lightweight construction paper or origami paper. Origami paper is often thinner than standard paper and comes in squares, which saves you the step of trimming a rectangle. Avoid using glossy or coated papers, as these can be slippery and prone to tearing when you attempt to make tight, intricate folds or delicate cuts.
Why symmetry is important in snowflakes
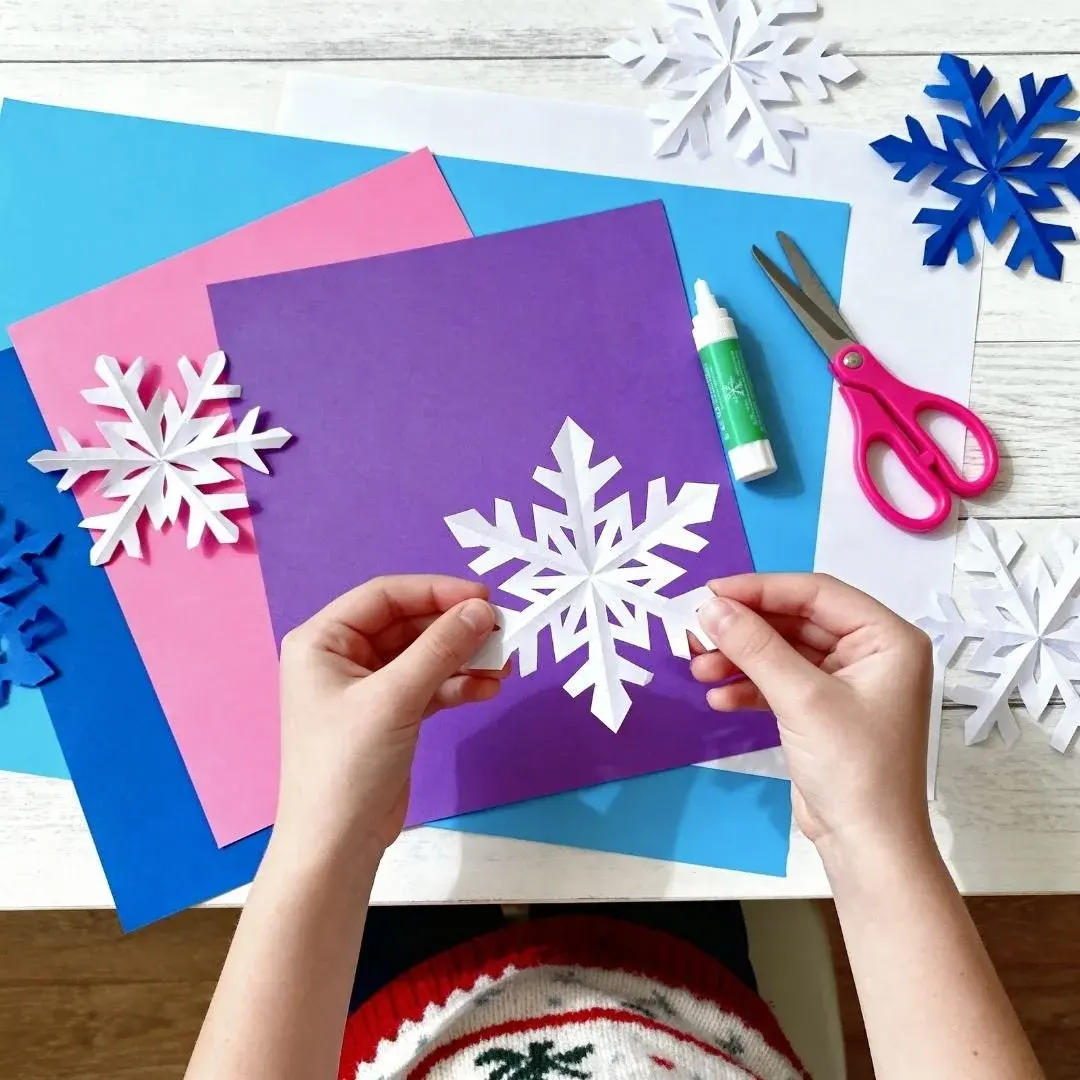
Natural snowflakes form hexagonal structures due to the way water molecules bond as they freeze. By folding your paper into six segments, you mimic this biological reality, resulting in a design that looks balanced and organic. If you fold the paper into four segments instead, you will create a four-pointed star, which is aesthetically pleasing but lacks the authentic appearance of a real snowflake.
The beauty of the paper snowflake lies in the repetition of patterns. When you cut a shape into the folded edge, that shape is mirrored across the entire paper once it is opened. This geometric consistency is what makes simple cuts look like complex, professional designs. Practice different patterns on scrap paper first to see how specific cuts translate into larger, symmetrical motifs across the unfolded surface.
Common mistakes when making snowflakes
One of the most frequent errors is cutting off the tips or corners that hold the snowflake together. If you remove too much paper from the center point or the outer edges, the snowflake will lose its structural integrity and fall apart. Always leave small "bridges" of paper between your cuts to ensure the design remains connected when you finally unfold it.
Another common mistake is failing to press the folds firmly enough. If the folds are loose, the paper layers will shift while you are cutting, leading to blurred or uneven patterns. Take your time during the folding phase to ensure every edge is crisp. Finally, do not rush the unfolding process; gently pull the layers apart to avoid tearing the delicate paper arms you have just finished crafting.
Key facts
- Use thin, lightweight paper like printer paper or origami sheets to ensure easy folding and cutting.
- Always start with a perfect square by folding one corner of a rectangular sheet to the opposite edge and trimming the excess.
- A standard snowflake requires folding the paper into a triangle three times to create a wedge shape.
- Use sharp, small-tipped scissors to achieve intricate details without tearing the delicate paper folds.
- Avoid cutting off the entire pointed tip of the triangle, as this creates a hole in the center of the snowflake.
- Keep the folds tight and crisp by running your fingernail along each crease to ensure symmetry.
The bottom line
Creating a paper snowflake is a classic craft that relies on simple geometry and careful cutting. By folding a square sheet into a wedge and removing small sections, you reveal a complex, symmetrical pattern upon unfolding. The secret to success lies in using thin paper, keeping your folds sharp, and leaving enough uncut paper to hold the structure together. It is an accessible way to celebrate seasonal traditions.
People also ask
Why is my snowflake falling apart when I unfold it?
You likely cut too close to the folded edges, which act as the structural support for the snowflake. Leave small bridges of paper between your cutouts to keep the design connected.
Can I use construction paper for snowflakes?
Construction paper is often too thick and brittle for detailed snowflakes. It is difficult to fold multiple times and prone to tearing when you attempt to unfold the final design.
How do I make a six-pointed snowflake instead of a four-pointed one?
To achieve the traditional six-pointed look, fold your square paper into a triangle, then fold it into thirds by overlapping the sides before cutting. This geometry mimics the natural hexagonal structure of real ice crystals.
Should I use a pencil to draw my design before cutting?
Drawing your pattern first is a great way to avoid mistakes and ensure a balanced design. Use a light touch with the pencil so the marks are not visible after the snowflake is unfolded.
What is the best way to flatten a finished snowflake?
Place your unfolded snowflake between the pages of a heavy book for several hours. The weight will press out the creases and leave you with a crisp, flat decoration.
Can I decorate my paper snowflakes?
You can apply glitter glue, metallic markers, or sequins to your snowflakes once they are complete. Ensure the adhesive is dry before hanging them to prevent warping the paper.
This answer was created with the help of AI research tools and reference sources. Spotted an error? Let us know — we correct mistakes quickly. See our editorial policy.