How do you make a pop-up card?
Short answer
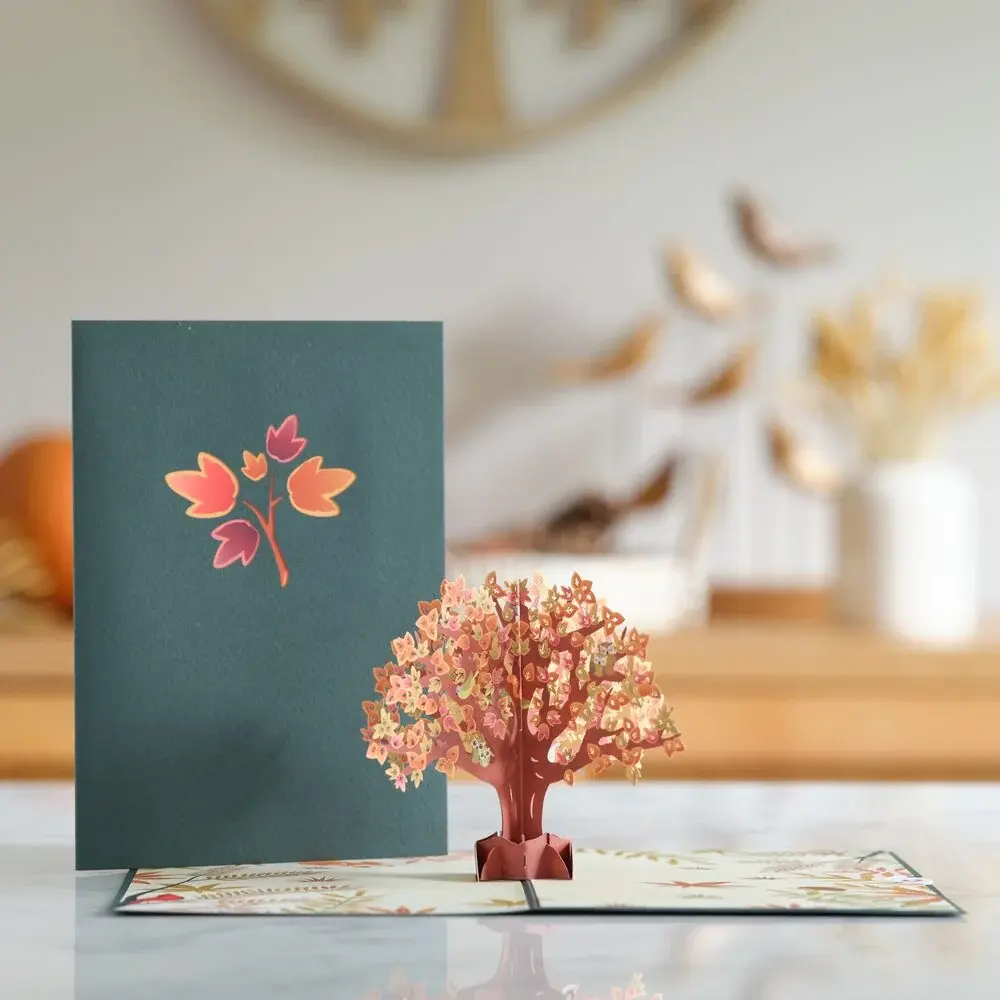
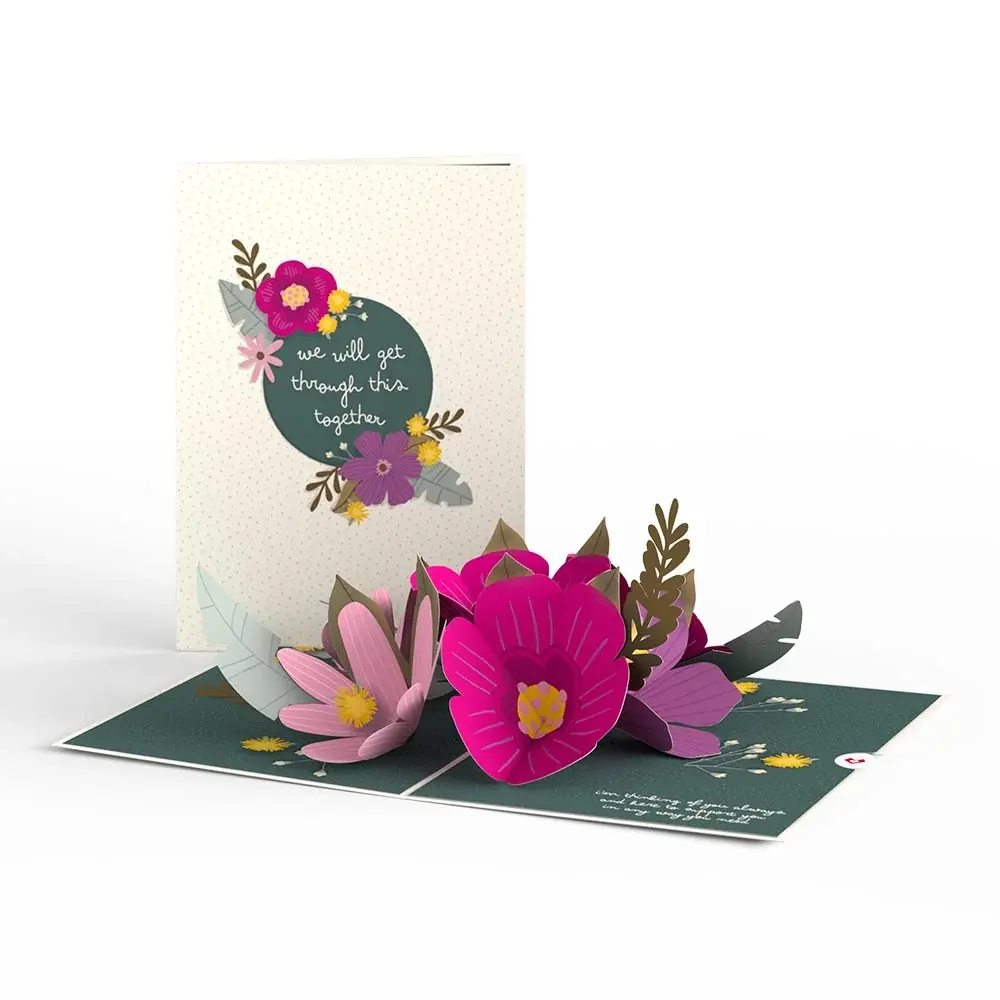
Making a pop-up card involves cutting and folding cardstock to create three-dimensional structures that rise when the card is opened. By using a base card and a separate pop-up mechanism, you create tension that forces the paper to lift. Precise measurements and clean, sharp creases are essential for a professional result.
On this page
How to design a simple pop-up mechanism
The most fundamental pop-up mechanism is the "box" or "parallel fold." This technique relies on two parallel cuts made into the fold of a piece of cardstock. Once the cuts are made, you push the paper between the cuts toward the inside of the card, creating a platform that stands upright when the card is opened. This platform acts as the stage for your design, allowing you to attach images, text, or decorations that appear to float when the recipient unfolds the paper.
To create this mechanism, follow these steps:
- Fold a piece of cardstock in half to create your base.
- Draw two parallel lines perpendicular to the center fold on the inside of the card.
- Use a craft knife to cut along these lines, ensuring you do not cut beyond the intended length.
- Fold the tab created between the cuts in the opposite direction of the main card fold.
- Open and close the card to ensure the tab pops out correctly.
Best materials for pop-up cards
Choosing the right paper weight is critical for the functionality of your card. Standard printer paper is generally too thin and flimsy, causing the mechanism to collapse or tear under its own weight. Instead, use cardstock between 65lb and 80lb (175–215 gsm). This thickness provides enough structural integrity to hold the pop-up shape while remaining flexible enough to fold flat without creating unsightly, bulky creases along the spine of the card.
In addition to paper, you will need a few essential tools to ensure clean results. A self-healing cutting mat is vital to protect your work surface, while a metal ruler ensures your cuts are perfectly straight. A bone folder is highly recommended for pressing down creases, as it creates sharp, professional lines that help the card move smoothly. Using a high-quality craft knife with a fresh blade is more effective than scissors, as it allows for precise starting and stopping points on the paper.
Why pop-up cards fail to close
The most common reason a pop-up card fails to close flat is an issue with the "hinge" or the alignment of the cuts. If your parallel cuts are not exactly the same length, or if the fold line between the cuts is not perfectly parallel to the main spine of the card, the mechanism will bind. This creates resistance, preventing the card from shutting completely and potentially causing the paper to crinkle or tear at the corners of the cuts.
Another frequent problem is the placement of decorations. If you attach a heavy or oversized element to the pop-up tab, it may extend beyond the edges of the card when closed. Always test your design by placing the attachment on the tab and closing the card slowly. If the attachment hits the outer edges, trim it down or move it closer to the center fold. Ensuring the pop-up mechanism is centered correctly within the card’s footprint is the best way to avoid these structural interference issues.
Common mistakes when making pop-up cards
One major mistake is failing to "score" the fold lines before folding. Scoring involves using a dull tool, such as an empty ballpoint pen or a dedicated scoring stylus, to create a groove in the paper. This weakens the fibers along the line, allowing for a crisp, clean fold. Without scoring, the paper often cracks or folds unevenly, which ruins the aesthetic quality of the card and can cause the mechanism to move sluggishly or get stuck during operation.
Another error is using too much adhesive. When attaching decorations to your pop-up tab, use a thin, even layer of glue or double-sided tape. Excess glue can seep out from the edges, causing the card to stick to itself when closed. Furthermore, avoid placing glue near the fold line of the tab, as this can prevent the paper from bending properly. Always apply adhesive only to the areas of the decoration that will sit flat against the tab, keeping the hinges free of residue.
How to add decorations to pop-up cards
Once your mechanism is functional, you can personalize the card with various artistic elements. You might draw directly onto the tab, or create a "bridge" by attaching a separate piece of cardstock across the tab. This bridge allows you to mount larger images or complex shapes that would be too heavy for a single tab. You can also use layers to create depth, placing smaller elements in the foreground and larger ones in the background to achieve a professional, multi-dimensional effect.
When adding these elements, consider the following tips for success:
- Use lightweight cardstock or heavy construction paper for attachments to keep the mechanism agile.
- Use a pencil to mark the exact placement of your decorations before applying any adhesive.
- Test the card’s movement every time you add a new layer to ensure the structure remains balanced.
- Incorporate pop-up elements that complement the theme of the card, such as hearts for anniversaries or stars for birthdays.
- Keep the design simple at first, gradually increasing complexity as you become more comfortable with the mechanics of paper engineering and folding techniques.
Key facts
- The basic mechanism of a pop-up card relies on a "V-fold," which uses a triangular paper support to push an element outward when the card opens.
- Always use cardstock between 65lb and 110lb for structural integrity, as standard printer paper is often too flimsy to support moving parts.
- Use a bone folder or the back of a butter knife to score all fold lines before folding to ensure crisp, clean edges.
- The "tab" is the most critical piece of a pop-up; it connects the moving element to the base card and must be glued precisely at the fold line.
- Avoid applying glue to the entire surface of the pop-up element, as this will prevent the card from closing flat.
- Always test the mechanism by closing the card halfway to ensure the pop-up element does not protrude past the outer edges.
The bottom line
Creating a pop-up card is a rewarding exercise in paper engineering that combines artistic creativity with precise geometry. By mastering the fundamental V-fold mechanism and using high-quality cardstock, you can construct intricate, three-dimensional designs. Always prioritize accurate scoring and careful glue placement to ensure your card functions smoothly. With patience and attention to detail, you can transform simple sheets of paper into engaging, interactive works of art.
People also ask
What is the best type of glue for making pop-up cards?
A quick-drying, acid-free glue stick or a precision-tip liquid adhesive is ideal. Avoid water-based glues that may warp the paper or cause it to bubble.
How do I prevent my pop-up card from bulging when closed?
Ensure that your pop-up elements are smaller than the dimensions of the card base. If the element is too tall or wide, it will catch on the outer fold.
Can I use scissors instead of a craft knife?
Yes, but a craft knife and a metal ruler provide much higher precision for intricate cuts. Scissors are better suited for cutting the outer shape of the card.
What is a "parallel fold" in pop-up design?
A parallel fold is a more advanced technique where the pop-up element is folded on a line parallel to the card's spine. This allows the object to rise vertically rather than at an angle.
Why does my pop-up element not stand up straight?
This usually happens if the fold lines are not perfectly aligned with the center crease of the card. Double-check your measurements to ensure the support is centered.
Is it better to decorate the card before or after assembly?
It is much easier to decorate your pop-up elements before gluing them into the base. Trying to add details once the mechanism is installed can be difficult and messy.
This answer was created with the help of AI research tools and reference sources. Spotted an error? Let us know — we correct mistakes quickly. See our editorial policy.