What is quilling?
Short answer
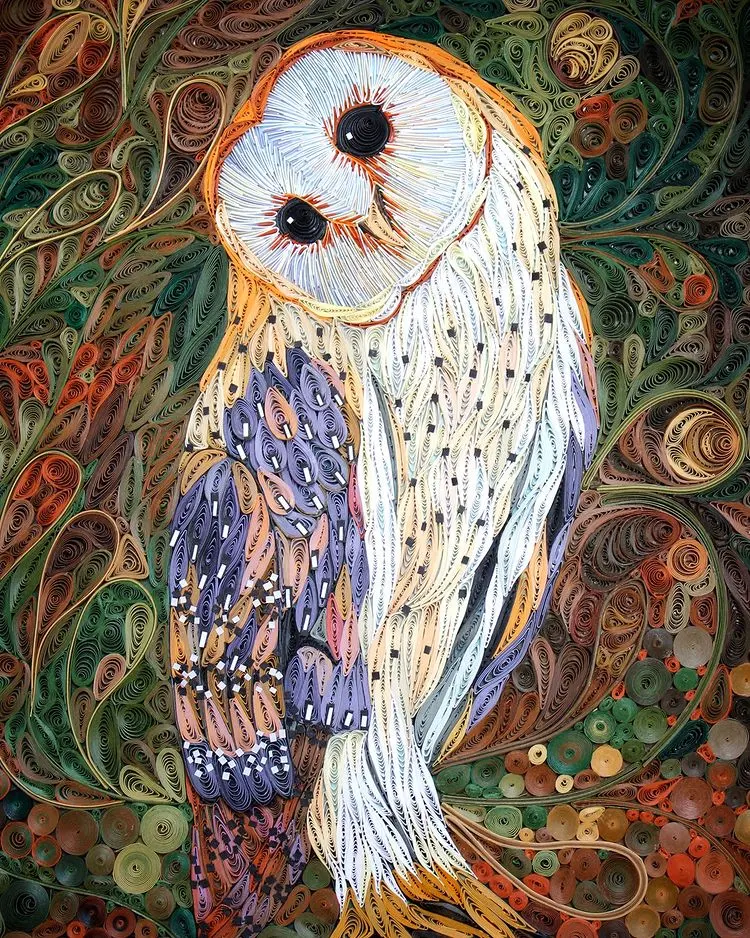
Quilling, also known as paper filigree, is an art form involving the use of thin strips of paper that are rolled, shaped, and glued together to create decorative designs. Historically practiced by Renaissance nuns and 18th-century ladies, it remains a popular craft for creating intricate greeting cards, jewelry, and framed wall art.
On this page
What is the history of quilling?
Quilling originated during the Renaissance, when French and Italian nuns and monks used gilded paper edges—often trimmed from books—to decorate religious objects. Because the paper was thin and resembled gold filigree, it served as an affordable alternative to expensive metalwork in churches and monasteries. By the 18th century, the craft became a popular pastime for aristocratic women in Europe, who used it to embellish tea caddies, cabinets, and workboxes.
The name "quilling" is derived from the tool traditionally used to roll the paper strips: a bird’s feather quill. Artisans would split the tip of the quill to hold the paper securely while winding it into tight coils. While the popularity of the craft waned during the Victorian era, it has experienced a significant global resurgence in the 21st century. Today, it is recognized not just as a hobby, but as a sophisticated paper-engineering technique used by professional artists to create complex, three-dimensional sculptures and intricate mosaic-style illustrations.
What tools do you need to start?
To begin quilling, you do not need an extensive collection of expensive equipment. Most beginners can get started with a few basic supplies that are readily available at craft stores. The most important item is the paper itself, which is usually sold in pre-cut strips ranging from 3mm to 10mm in width. You will also need a slotted tool to help roll the paper, a fine-tipped glue applicator, and a stable work surface.
- Quilling tool: A slotted needle or a fine-tipped stylus for winding paper.
- Quilling paper: Acid-free, colored paper strips in various widths.
- Precision glue: A clear-drying craft glue with a fine-tip nozzle.
- Tweezers: Essential for placing small, delicate shapes onto your base.
- Work board: A cork or foam board to pin your designs in place.
- Circle sizer: A template to ensure all your coils are uniform in diameter.
How to make basic quilling shapes
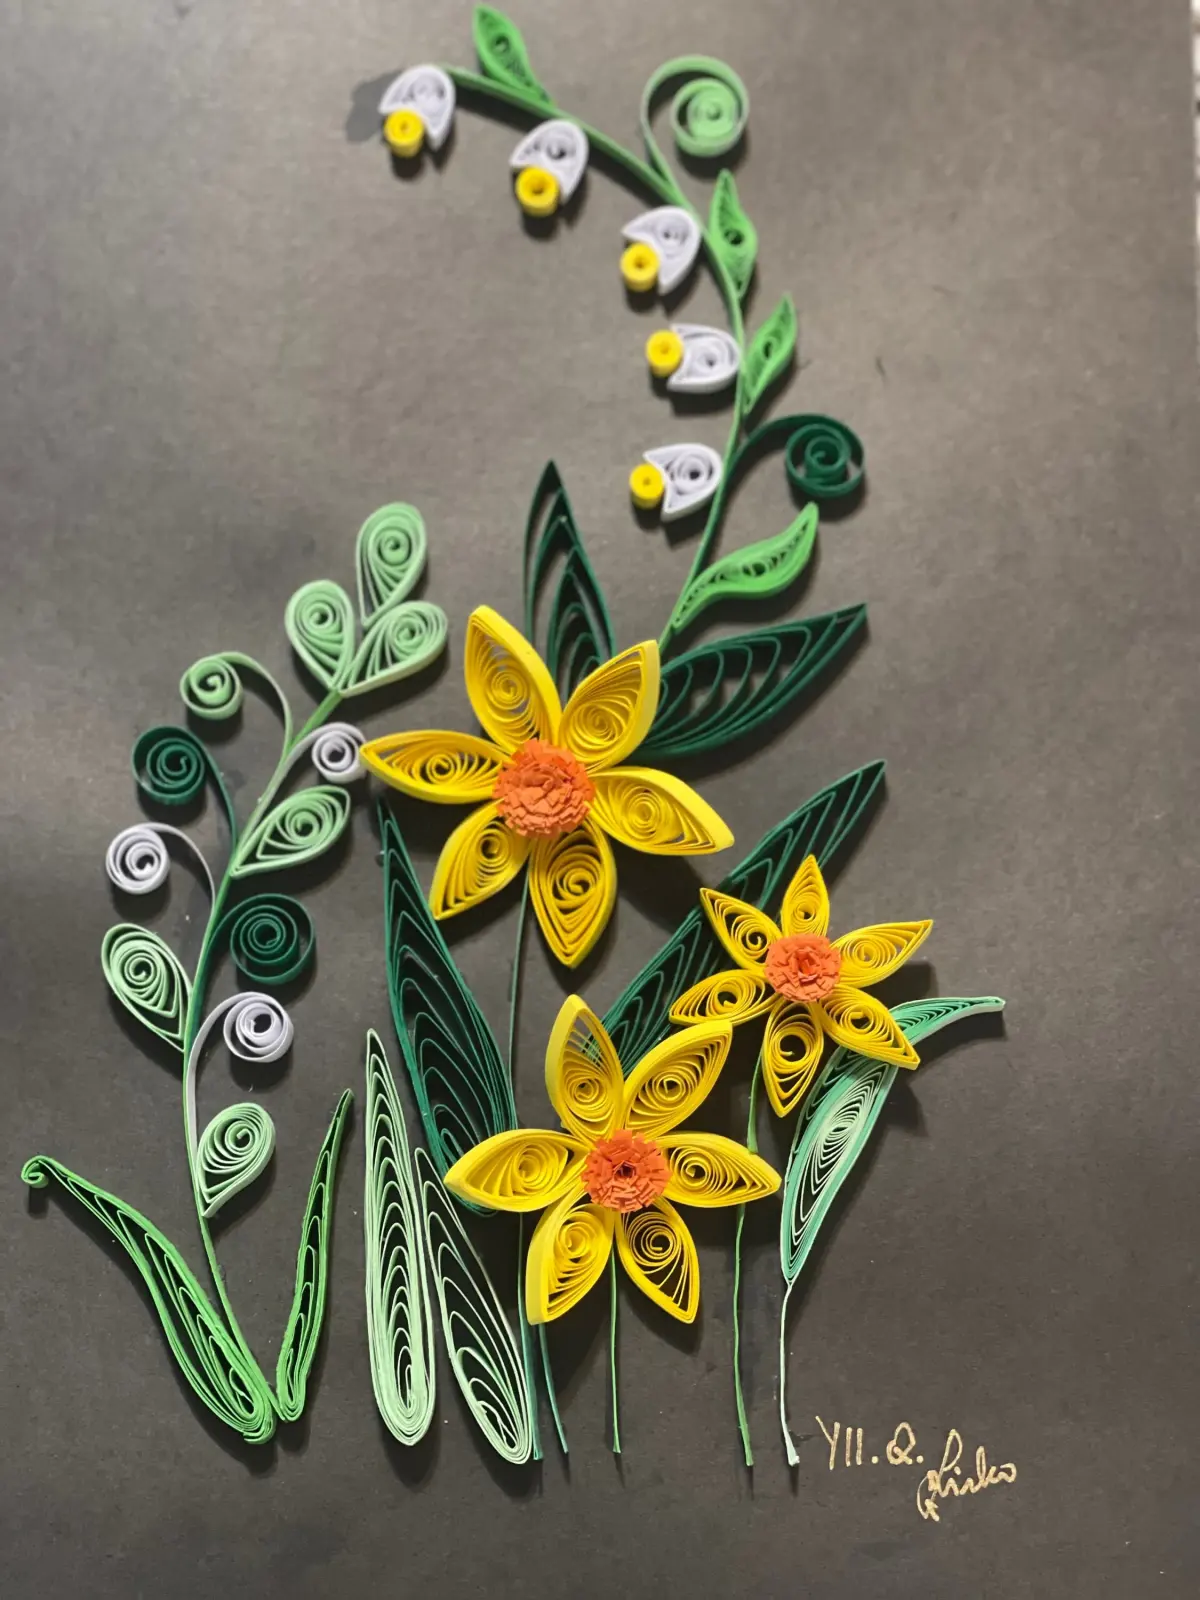
Creating a quilling design begins with mastering the "loose coil." Once you have rolled a strip of paper, you allow it to expand slightly before sealing the end with a tiny drop of glue. From this basic circle, you can pinch the edges to transform the coil into a variety of decorative shapes. These shapes serve as the building blocks for complex patterns, floral arrangements, and geometric designs.
- Teardrop: Pinch one side of a loose coil to create a point.
- Eye (Marquise): Pinch both opposite sides of a loose coil simultaneously.
- Square: Pinch four sides of a loose coil to create a box shape.
- Triangle: Pinch three sides of a loose coil to create a point at each corner.
- Crescent: Curve the teardrop shape inward to form a moon-like arc.
To create these shapes, hold the coil firmly between your thumb and index finger. Apply pressure evenly to ensure the center of the coil remains balanced. If you are making a symmetrical design, such as a flower, ensure you create an equal number of each shape before you begin the final assembly.
Common mistakes when quilling
The most frequent error beginners make is using too much glue. Because the paper strips are lightweight, a large drop of adhesive will soak through the paper, leaving unsightly stains and causing the coil to lose its crisp shape. Always use a toothpick or a precision applicator to apply the smallest possible amount of glue to the very end of the paper strip. Another common issue is inconsistent tension while rolling.
If your coils are too tight, they will not expand properly when placed in a circle sizer, resulting in uneven shapes. Conversely, if the tension is too loose, the coils will unravel or look floppy. Practice rolling the paper with a steady, firm grip, keeping the strip perpendicular to the tool. Avoid pulling the paper too hard, as this can cause the edges to fray or the paper to snap. If you find your shapes are consistently lopsided, check that your hands are clean and free of oils, which can make the paper slippery and difficult to manipulate during the shaping process.
Best tips for advanced quilling projects
Once you are comfortable with basic shapes, you can advance to "on-edge" quilling, also known as 3D quilling. In this style, the paper strips are glued vertically onto a base rather than lying flat. This technique creates a striking, shadow-box effect that adds depth and texture to your art. For these projects, use a heavier weight paper, as it provides the necessary structural integrity to stand upright without collapsing under its own weight.
When planning an advanced design, always sketch your pattern on a piece of paper first. Use this as a template by placing it under a clear acrylic sheet or a piece of wax paper. This allows you to build your design directly over the guide without the glue sticking to your pattern. Remember to work in sections, allowing the glue to set completely before moving to the next part of the project. By layering different colors and varying the height of your paper strips, you can create professional-grade pieces that mimic the appearance of intricate carvings or fine embroidery.
Key facts
- Quilling, also known as paper filigree, involves rolling, shaping, and gluing thin strips of paper into decorative designs.
- The practice dates back to the Renaissance, when French and Italian nuns used gilded paper scraps to decorate religious objects.
- Essential tools include a slotted quilling needle, fine-tipped tweezers, a circle sizer template, and acid-free craft glue.
- Standard quilling paper strips are typically 1/8 inch wide, though widths ranging from 1/16 to 1/4 inch are common for different effects.
- Beginners should avoid applying too much glue, as excess adhesive can warp the paper and leave visible, unsightly residue.
- Always allow your paper coils to expand naturally in a circle sizer before gluing the end to ensure uniform shapes.
The bottom line
Quilling is a timeless, meditative craft that transforms simple paper strips into intricate, three-dimensional art. By mastering basic rolling and pinching techniques, you can create everything from delicate floral greeting cards to elaborate framed portraits. Because it requires minimal space and affordable materials, it remains a popular creative outlet for artists of all skill levels looking to produce detailed, professional-looking decorative items by hand.
People also ask
Is quilling an expensive hobby to start?
Quilling is highly accessible and inexpensive. A basic starter kit containing a slotted tool, a pack of pre-cut paper strips, and glue can be purchased for under twenty dollars.
Can I use regular printer paper for quilling?
You can cut standard printer paper into thin strips, but it is often too thick to roll tightly. Dedicated quilling paper is thinner and more pliable, making it easier to achieve intricate, delicate shapes.
How do I keep my paper coils from unraveling?
Place a tiny dot of glue on the very end of the paper strip after you have finished shaping the coil. Hold the end down with tweezers for a few seconds until the glue sets firmly.
What are the most common shapes in quilling?
The basic shapes include the tight coil, loose coil, teardrop, marquise (eye), square, and triangle. These are created by pinching and flattening a basic round coil into specific geometric forms.
Is quilling difficult for people with poor hand dexterity?
While quilling requires precision, it is often used as a therapeutic activity to improve fine motor skills. Using ergonomic tools or larger paper strips can make the process more comfortable for beginners.
How long does a typical quilling project take to complete?
A simple greeting card design might take thirty minutes, while complex, multi-layered wall art can take several weeks. The time required depends entirely on the intricacy of the pattern and the number of coils used.
This answer was created with the help of AI research tools and reference sources. Spotted an error? Let us know — we correct mistakes quickly. See our editorial policy.