How do you paint tulips with watercolor?
Short answer
Painting tulips in watercolor requires a focus on fluid, organic shapes and layered color transparency. By utilizing wet-on-wet techniques for the petals and wet-on-dry for structural details, you can capture the flower's signature elegance. Success relies on controlling water ratios and allowing colors to bleed naturally to mimic the tulip's soft, vibrant texture.
On this page
Best watercolor supplies for beginners
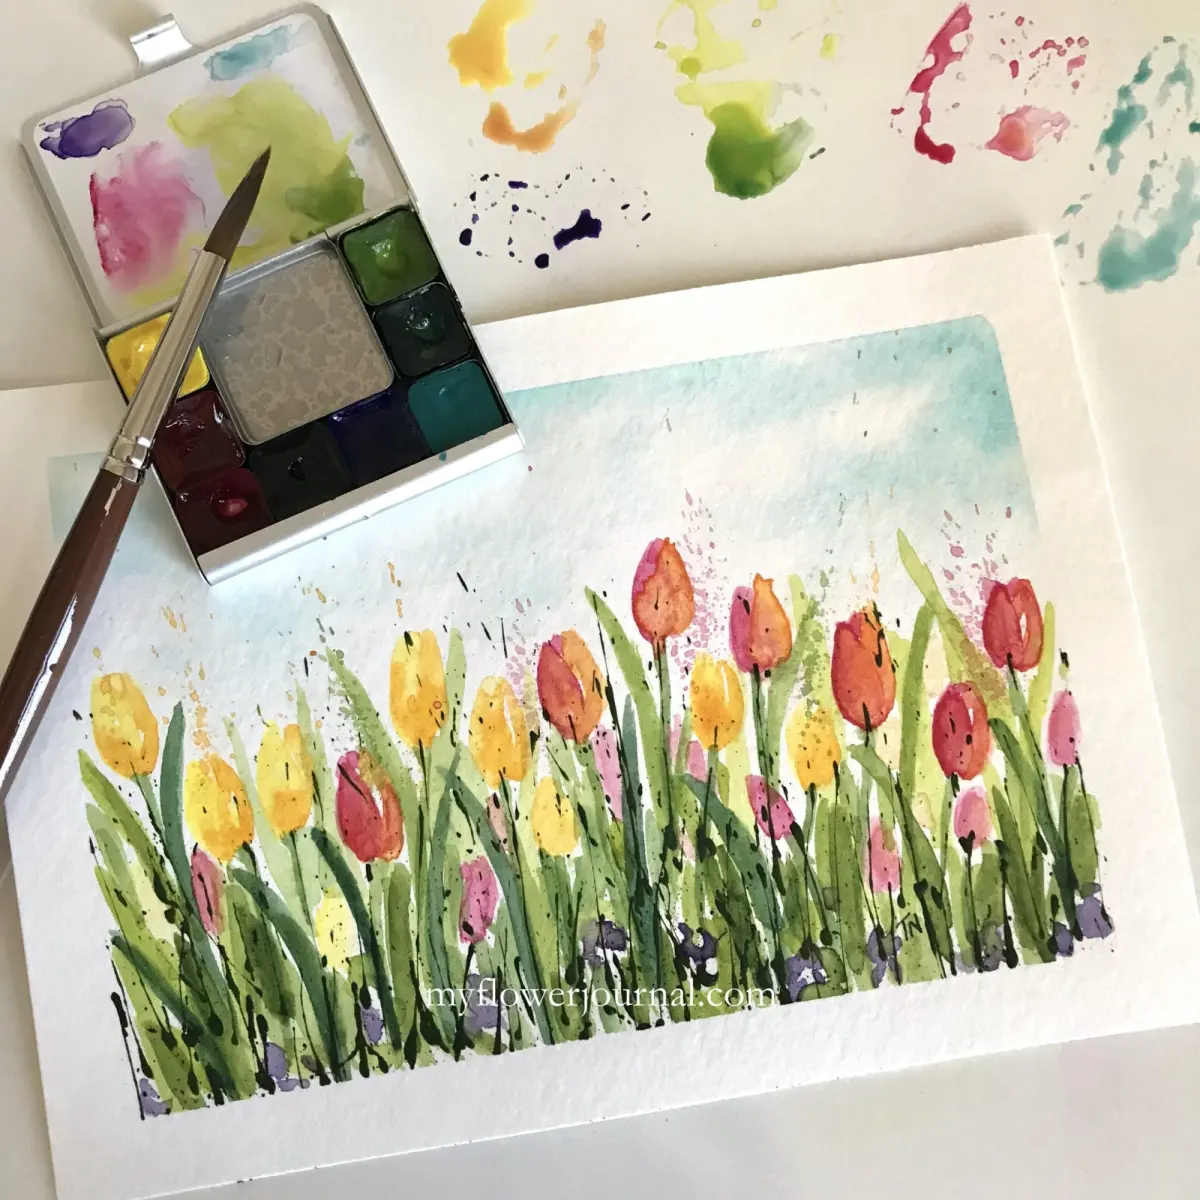
To achieve professional results, you must start with high-quality materials. Cold-press watercolor paper with a weight of at least 140 pounds (300 grams per square meter) is ideal because it absorbs water evenly without buckling. Synthetic or natural sable round brushes in sizes 4, 8, and 12 provide the versatility needed to create both broad petals and thin stems.
For your palette, select artist-grade pigments rather than student-grade sets to ensure better lightfastness and color intensity. Essential colors for tulips include:
- Cadmium Red or Alizarin Crimson for petals.
- Sap Green or Viridian for leaves and stems.
- Lemon Yellow for highlights or variegated varieties.
- Burnt Umber for deep shadows at the base of the flower.
A ceramic palette is preferred over plastic, as it prevents paint from beading and allows for more accurate mixing of water-to-pigment ratios.
How to sketch tulips for painting
Before touching your brush to paper, create a light graphite sketch to map out the tulip’s anatomy. Tulips are characterized by their cup-shaped blooms and long, lance-shaped leaves that wrap partially around the stem. Avoid drawing every vein or detail, as watercolor is best suited for suggesting form rather than outlining every edge. Use a hard lead pencil, such as an H or 2H, to keep your lines faint enough to disappear under transparent washes.
Focus on the composition by following these steps:
- Draw a simple oval or "U" shape to establish the main body of the flower.
- Add smaller, overlapping petal shapes to create depth and volume.
- Sketch a thick, sturdy stem that connects to the base of the cup.
- Draw long, sweeping leaves that curve gracefully, ensuring they do not look too rigid or symmetrical.
How to paint tulip petals with watercolor
The secret to realistic petals is the wet-on-wet technique, which allows colors to blend softly. Start by wetting the area of a single petal with clean water, then drop in your chosen red or pink pigment near the base. Let the pigment migrate naturally toward the edges, creating a gradient from dark to light. If the color becomes too intense, lift some of the pigment with a clean, damp brush while it is still wet.
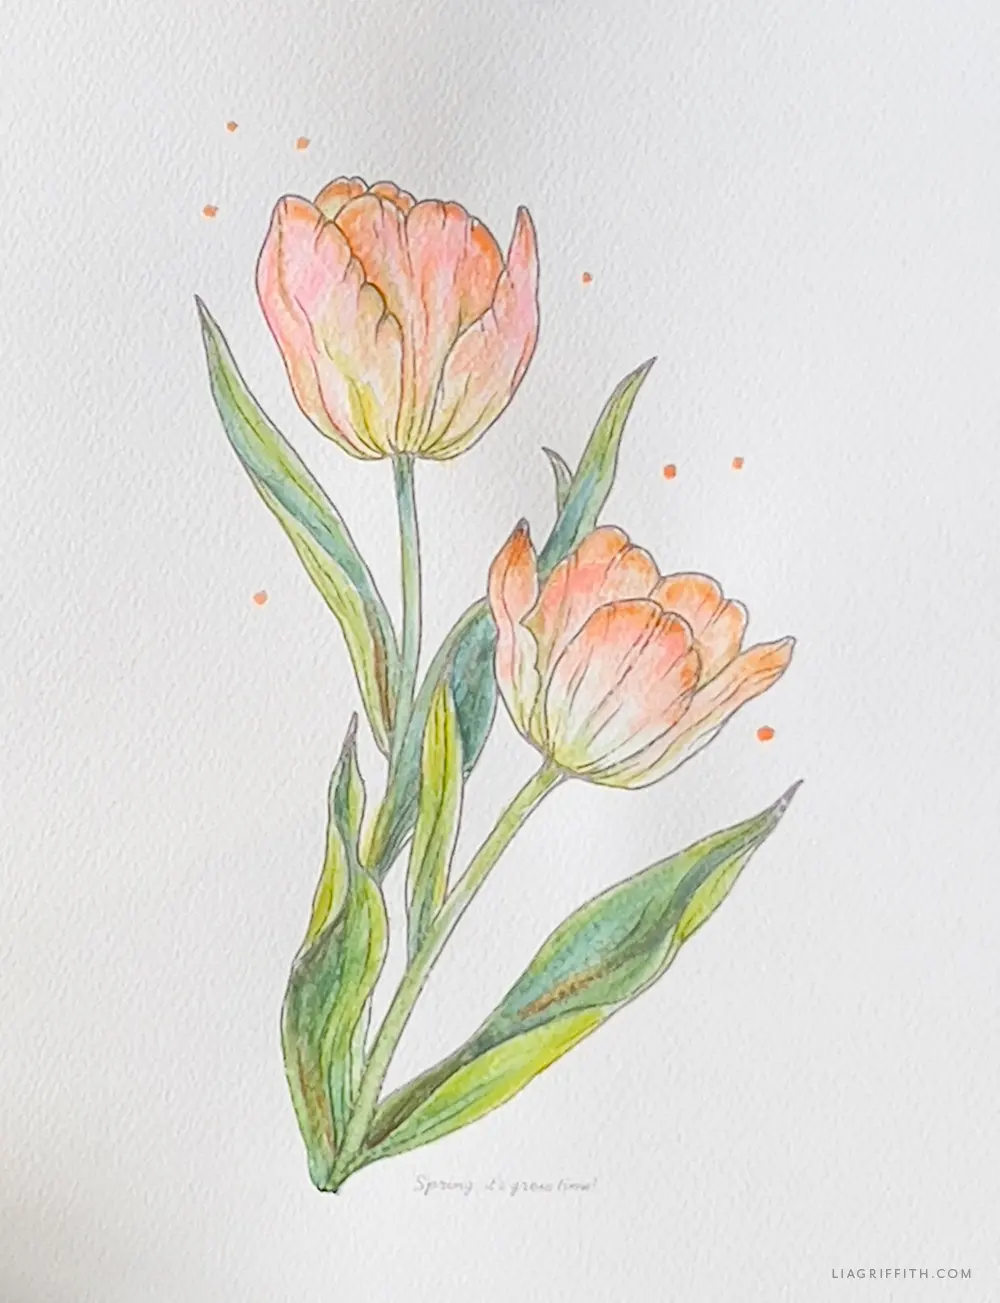
To create the characteristic shadows of a tulip, wait until the first layer is completely dry before adding a darker, concentrated glaze. This second layer defines the folds and curves of the petals without muddying the colors underneath. Remember that tulips are translucent; leaving small, unpainted white slivers of paper acts as a natural highlight, giving the flower a fresh, luminous appearance.
How to paint stems and leaves
Tulip foliage requires a different approach because leaves are generally more structured than petals. Use a wet-on-dry technique to maintain crisp edges along the leaf margins. Begin with a light wash of Sap Green, then while the paint is still damp, drop in a touch of blue or brown at the base to suggest shadow and weight. This variation in tone prevents the leaves from looking flat or cartoonish.
When painting the stem, use a continuous, fluid stroke to maintain the plant's natural grace. If you struggle with shaky hands, anchor your wrist on the edge of the table to steady your movement. Keep the stems slightly lighter in value than the darkest parts of the leaves to ensure the bloom remains the focal point of the painting. If the stem looks too stiff, add a slight curve to mimic the way tulips naturally lean toward a light source.
Common mistakes when painting tulips
One frequent error is overworking the paint, which leads to "muddy" colors and damaged paper fibers. Once you have placed a stroke, resist the urge to keep touching it; watercolor settles best when left alone to dry. Another common issue is using too much water, which causes the pigment to lose its saturation and create unwanted blooms or cauliflower-like textures on the paper. Always test your brush load on a scrap piece of paper before applying it to your main work.
To avoid these pitfalls, keep these guidelines in mind:
- Never use black paint to create shadows; instead, mix complementary colors like red and green to achieve a natural, deep gray.
- Ensure your water container is clean, as dirty water will dull the vibrancy of your petals.
- Do not rush the drying process; if you paint over a damp layer, the colors will bleed uncontrollably.
- Practice patience by allowing each section to dry fully before adding fine details like veins or stem textures.
Key facts
- Use cold-press watercolor paper with a weight of at least 140lb (300gsm) to prevent buckling when applying wet washes.
- Always start with the lightest colors, such as pale yellow or soft pink, and layer darker pigments gradually to build depth.
- Utilize a round brush size 6 or 8 for the petals and a smaller size 2 or 4 brush for the delicate stems and leaves.
- Keep a clean paper towel or a dry brush nearby to "lift" excess pigment if you make a mistake or need to create highlights.
- Paint the tulip petals using the "wet-on-dry" technique to ensure crisp edges, or "wet-on-wet" for soft, blended color transitions.
- Allow each layer to dry completely before adding shadows to avoid muddying the colors or creating unwanted blooms in the paint.
The bottom line
Painting tulips requires a balance of patience and technique. By layering light washes and allowing sufficient drying time, you can capture the elegant, structural beauty of these flowers. Focus on controlling your water-to-pigment ratio to maintain vibrant hues. With practice, you will learn to manipulate the brush to create the signature curves and delicate stems that define the tulip’s unique and iconic silhouette.
People also ask
What is the best type of watercolor paint for beginners?
Tube watercolors are excellent for mixing large amounts of color, while pan sets are more portable and easier to manage. Student-grade paints are sufficient for practice, but artist-grade paints provide better pigment concentration and lightfastness.
How do I keep my tulip colors from looking muddy?
Avoid overworking the paper by applying too many brushstrokes in one area while it is still damp. Clean your brush thoroughly between color changes and ensure one layer is dry before applying the next.
Should I outline my tulips with a pen before painting?
Using a waterproof fine-liner pen allows you to define shapes clearly, which is helpful if you prefer a botanical illustration style. Without an outline, you achieve a more fluid, loose watercolor look that relies on brushwork for shape.
How do I create realistic shadows on tulip petals?
Mix a complementary color or a touch of neutral grey into your base petal color to create a darker shade. Apply this to the base of the petals or where they overlap to suggest volume and light direction.
Why are my tulip leaves turning out too dark?
You likely used too much pigment and not enough water on your brush. Always test your color intensity on a scrap piece of paper before applying it to your main painting.
How can I make the edges of my tulips look sharp?
Use a brush with a fine point and ensure the paper is completely dry before painting the final details. A steady hand and controlled moisture levels are essential for achieving crisp, defined petal edges.
This answer was created with the help of AI research tools and reference sources. Spotted an error? Let us know — we correct mistakes quickly. See our editorial policy.