How do you draw a tulip?
Short answer
Drawing a tulip involves sketching a simple, elongated cup shape atop a sturdy, curved stem. By layering basic geometric forms like ovals and teardrops, you can create a realistic botanical illustration. Focus on the signature overlapping petals and the smooth, lance-shaped leaves to capture the flower's elegant, minimalist profile accurately.
On this page
How to draw a tulip step by step
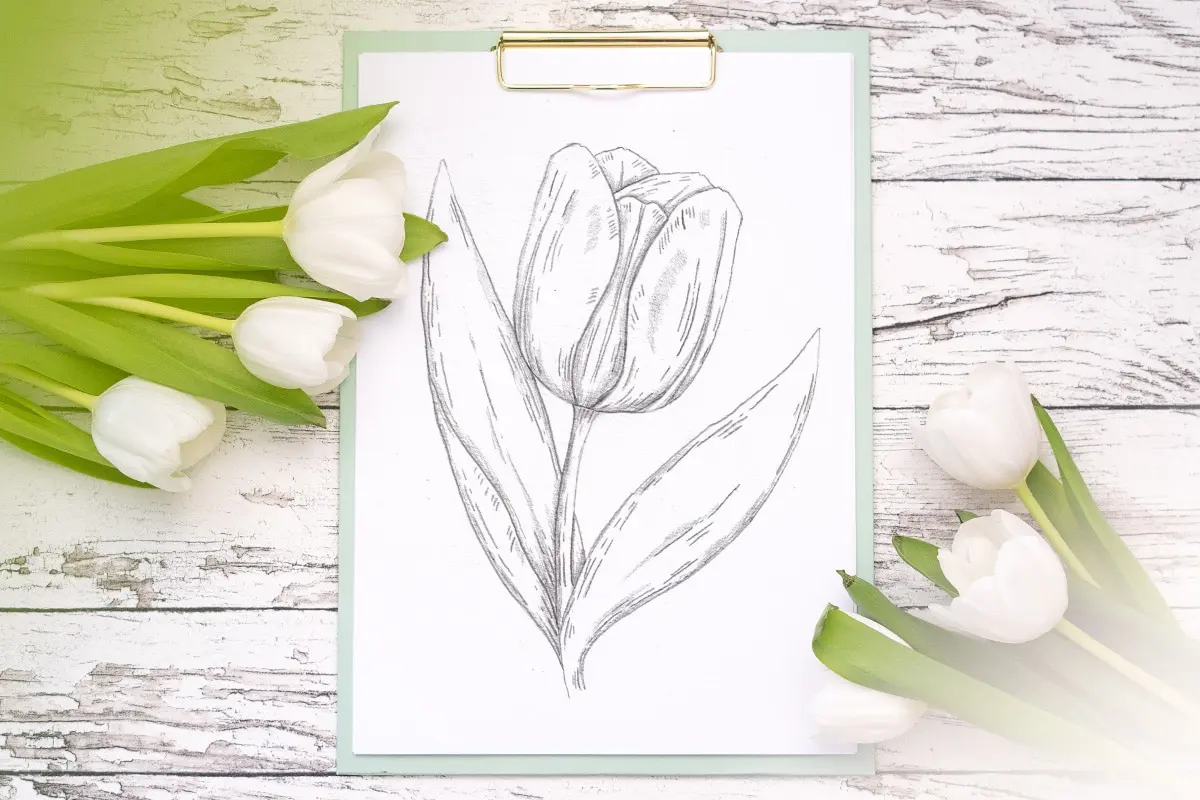
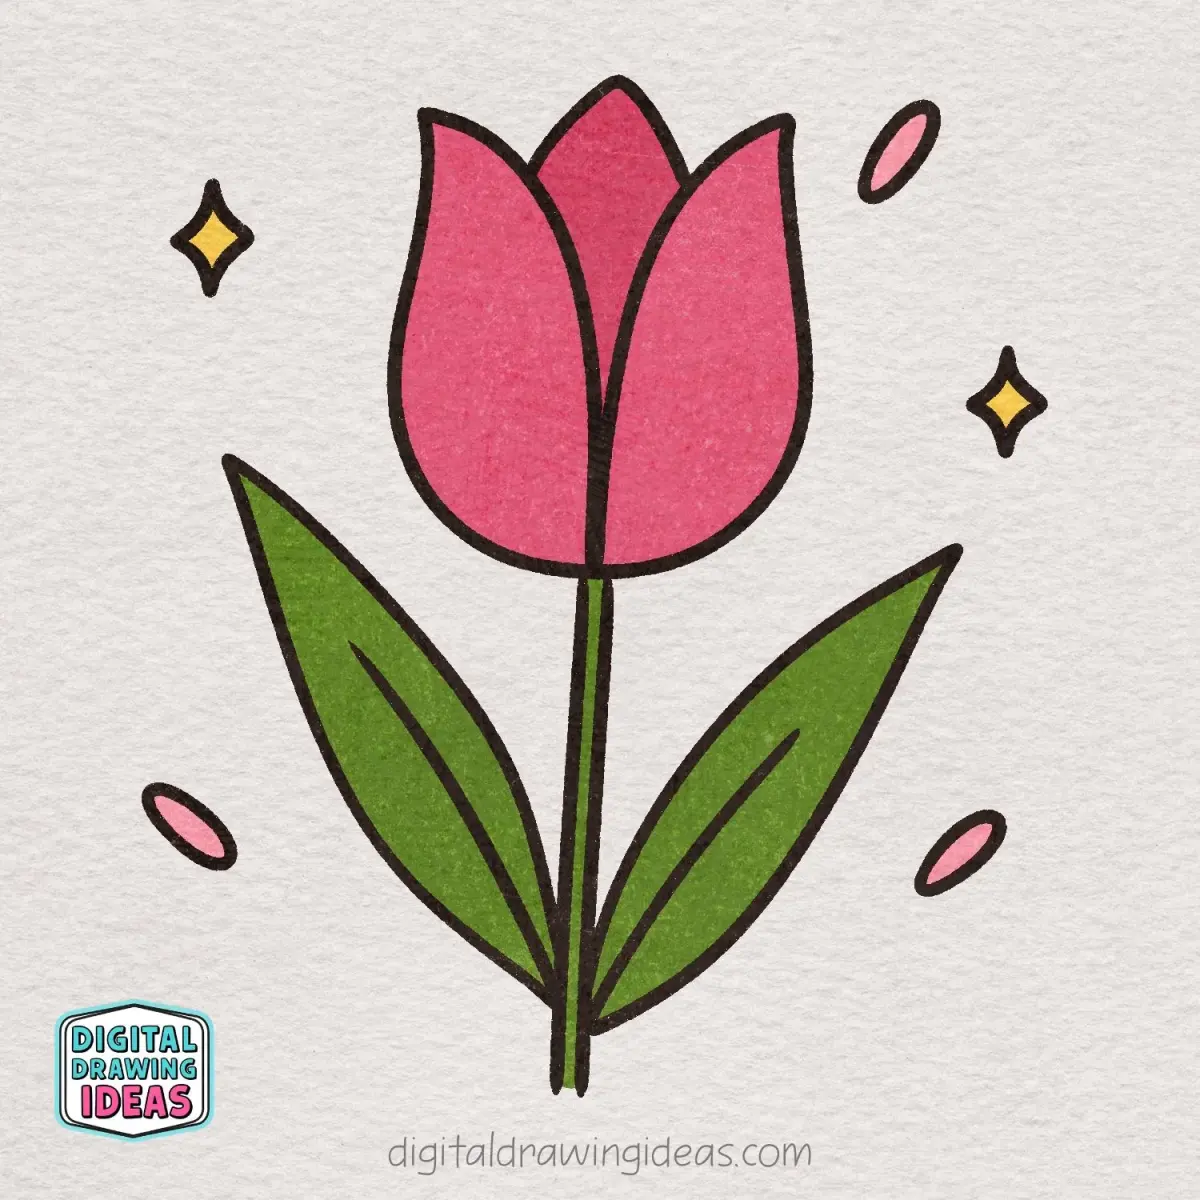
To begin your drawing, establish the basic structure of the flower head. Start by sketching a light, inverted teardrop or an elongated oval to serve as the primary cup. This shape provides the foundation for the central petals. Once the cup is defined, add two smaller, curved shapes on either side to represent the outer petals that wrap around the center. These should slightly overlap the main body to create a sense of depth and volume.
After the flower head is positioned, draw a single, thick, slightly curved line extending downward from the base of the cup to form the stem. Tulips are known for their strong, upright stalks, so avoid making the line too wavy or fragile. Finally, add one or two large, lance-shaped leaves at the base of the stem. These leaves should be long and pointed, curving gently away from the stalk to mimic the natural growth pattern of the plant.
Best drawing tools for beginners
For those just starting, a standard HB graphite pencil is the most versatile tool. It allows for light sketching that can be easily erased, which is essential when you are refining the curves of the petals. You should also have a soft white eraser on hand to clean up construction lines once the final shape is established. Using high-quality, medium-weight drawing paper ensures that your lines remain crisp without smudging too easily during the process.
If you wish to add color, consider using colored pencils or watercolor markers. These mediums allow for smooth blending, which is necessary for the soft gradients found on tulip petals. When selecting colors, look for vibrant reds, yellows, or purples, as these are the most iconic shades for this flower. Using a set of at least 12 colors will provide enough variation to create realistic highlights and shadows on the petals.
- Start with a sharp HB pencil for light outlines.
- Use a kneaded eraser to lift away excess graphite.
- Apply light pressure to build up color layers gradually.
- Use a darker shade at the base of the petals for depth.
- Finish with a fine-liner pen to define the final silhouette.
Why tulip petals look different from other flowers
Tulip petals are distinct because they possess a rigid, waxy texture and a very specific geometric arrangement. Unlike the ruffled or delicate petals of a rose, tulip petals are structurally firm and often form a symmetrical, closed cup shape. When drawing them, pay close attention to the way the petals meet at the base. They do not fan out randomly but instead grow from a singular, bulbous point, which gives the flower its characteristic architectural look.
Another unique feature is the way light interacts with the tulip's surface. Because the petals are relatively smooth and thick, they reflect light in broad, soft patches rather than tiny, sparkling points. When shading your drawing, use long, sweeping strokes that follow the curve of the petal. This technique emphasizes the smooth surface and helps the viewer perceive the three-dimensional volume of the flower head. Avoid short, choppy marks, as these will make the petals appear fuzzy or textured like a different species.
Common mistakes when drawing tulips
A frequent error is drawing the stem too thin or perfectly straight. A tulip stem must support a heavy bloom, so it should have a noticeable thickness and a natural, slight curve. If the stem looks like a stiff wire, the flower will appear artificial. Always ensure the stem connects directly to the center of the cup base, as an offset connection can make the flower look unbalanced or ready to fall over.
Another common mistake involves the placement of the leaves. Beginners often draw leaves that look like thin blades of grass or attach them too high up on the stem. In reality, tulip leaves are broad, fleshy, and usually emerge from the very bottom of the stalk near the soil line. By keeping the leaves grounded at the base and giving them a wide, sweeping curvature, you will achieve a much more authentic representation of the plant's anatomy.
- Drawing the flower head too round or spherical.
- Forgetting to overlap the petals to create depth.
- Making the stem too long and spindly.
- Neglecting the slight inward curve at the tip of the petals.
- Using flat, uniform shading that removes the petal's volume.
How to add realistic texture and shading
To elevate your drawing, focus on the transition between light and shadow. The base of the tulip cup is usually the darkest area because the petals overlap and block the light. Use your pencil to apply denser shading in these crevices, gradually lightening your touch as you move toward the tips of the petals. This gradient effect is what makes the flower look like a living, breathing object rather than a flat, two-dimensional sketch.
Additionally, consider adding subtle veins to the leaves. Use very light, delicate lines that follow the length of the leaf, curving slightly to match its shape. Do not overdo this detail, as a few well-placed lines are more effective than a crowded, messy pattern. By combining smooth shading on the petals with a few linear details on the leaves, you create a balanced composition that highlights the natural beauty of the tulip.
Key facts
- Tulips belong to the genus Tulipa and are characterized by a cup-shaped flower head with three petals and three sepals.
- Start your drawing by sketching a simple "U" shape or a teardrop to establish the primary volume of the flower head.
- Use a slight "S" curve for the stem to mimic the natural, organic flexibility of the plant.
- Draw leaves as long, pointed ovals that wrap partially around the base of the stem for a realistic appearance.
- Avoid drawing perfectly symmetrical petals, as natural tulip petals often overlap and vary slightly in size.
- Use light, gestural pencil strokes initially to map out proportions before committing to darker, final outlines.
The bottom line
Drawing a tulip is an exercise in capturing organic curves and simple geometric volumes. By starting with a basic teardrop shape for the head and adding a flexible, S-curved stem, you create a natural foundation. Focus on the overlapping petals and long, pointed leaves to add character. With patience and attention to light, you can transform these simple shapes into a beautiful, lifelike botanical illustration.
People also ask
What is the best medium for drawing flowers?
Graphite pencils are ideal for beginners because they allow for easy erasing and layering of shadows. Colored pencils or watercolors are excellent choices once you are comfortable with basic forms and want to add vibrancy.
How do I make my tulip drawing look three-dimensional?
Focus on shading the base of the petals where they meet the stem, as this area is usually darkest. Use a light source to determine where highlights should fall on the curved edges of the petals.
Should I draw the tulip from a reference photo or real life?
Drawing from real life is the best way to understand the complex angles and textures of a tulip. If a live flower is unavailable, a high-resolution photograph provides a consistent reference for light and shadow.
How can I draw the texture of a tulip petal?
Keep your strokes soft and follow the direction of the petal's curve. Avoid heavy lines, as tulip petals are delicate and smooth, often requiring only subtle gradients to suggest their texture.
Why do my tulip drawings look stiff?
Stiffness often occurs when lines are too straight or the flower is perfectly centered. Introduce slight curves in the stem and tilt the flower head to one side to create a more natural, dynamic composition.
Do I need to draw the bulb of the tulip?
You only need to draw the bulb if you are creating a botanical study showing the entire life cycle. For a standard floral sketch, focusing on the stem, leaves, and cup-shaped head is sufficient.
This answer was created with the help of AI research tools and reference sources. Spotted an error? Let us know — we correct mistakes quickly. See our editorial policy.