How do you draw a hand holding a pencil step by step?
Short answer
Drawing a hand holding a pencil requires breaking the complex anatomy into simple geometric shapes. By establishing the palm as a square and the fingers as cylinders, you can map the grip accurately. Focus on the tension between the thumb and index finger to create a realistic, functional pose for your drawing.
On this page
How to structure the hand and pencil
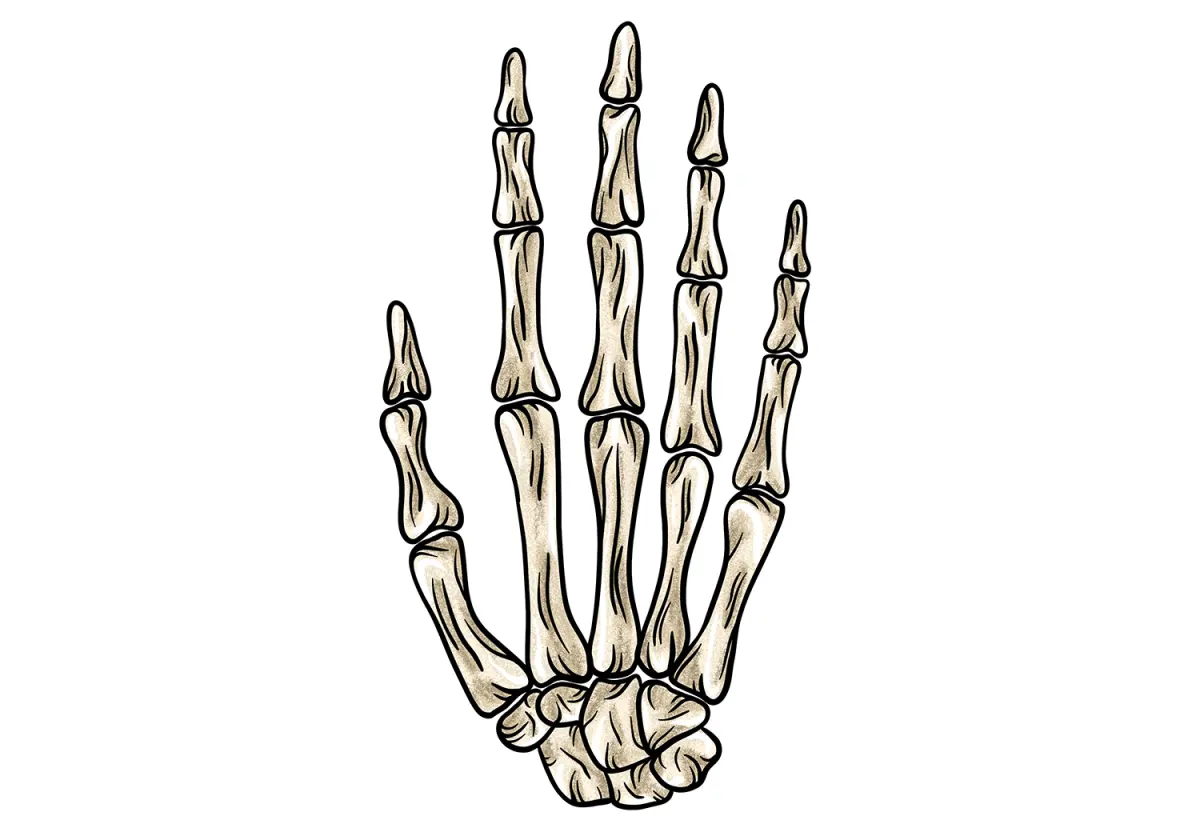
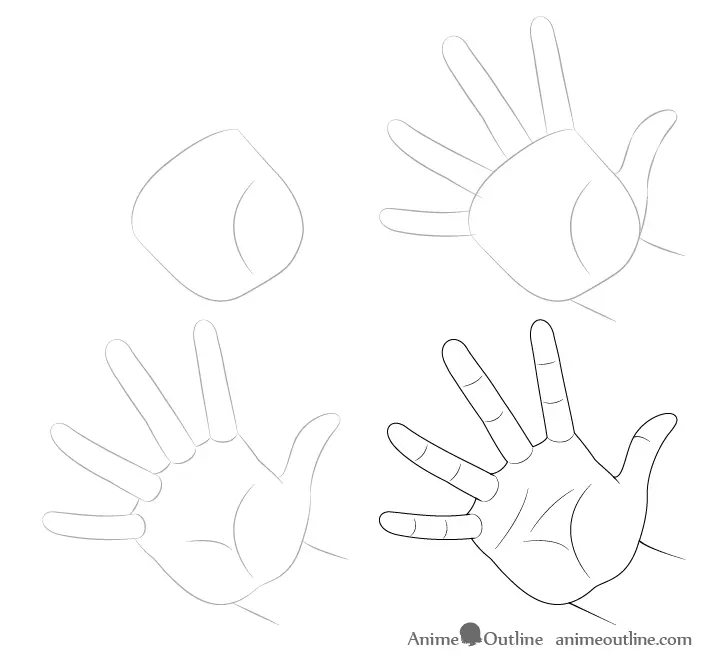
Begin by drawing a flat, slightly tilted square to represent the palm. This provides a solid foundation for the hand's proportions. From the top corners of the square, sketch the fingers as elongated cylinders. Remember that the middle finger is typically the longest, while the pinky is significantly shorter and sits lower on the palm.
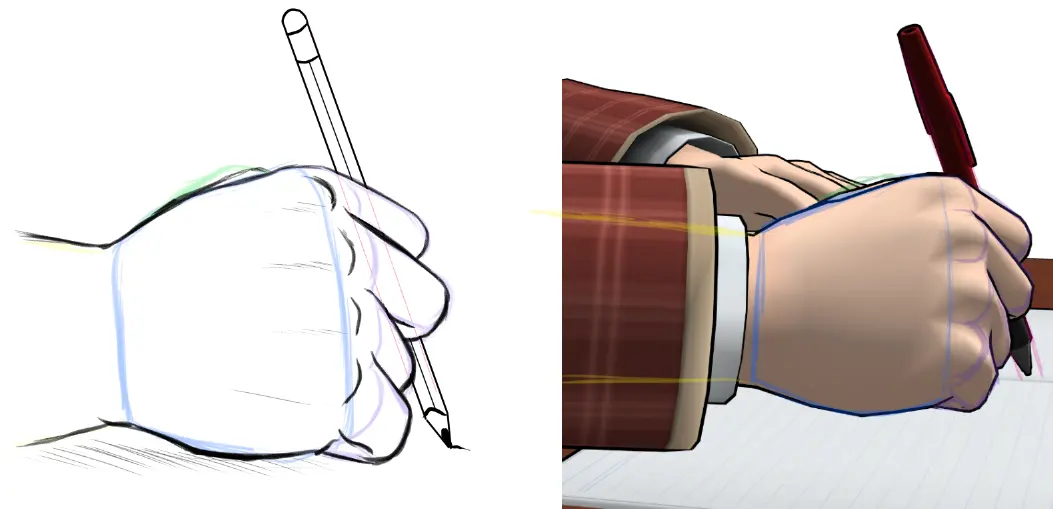
Next, place the pencil diagonally across the palm. The pencil should rest against the base of the thumb and the side of the index finger. Use these steps to establish the basic framework:
- Sketch a square for the palm base.
- Draw a line indicating the angle of the pencil.
- Add cylinders for the fingers, noting the joints.
- Connect the thumb to the side of the palm near the wrist.
Keep your initial lines very light. This allows you to adjust the proportions before committing to the final contours of the skin and knuckles.
How to draw the grip accurately
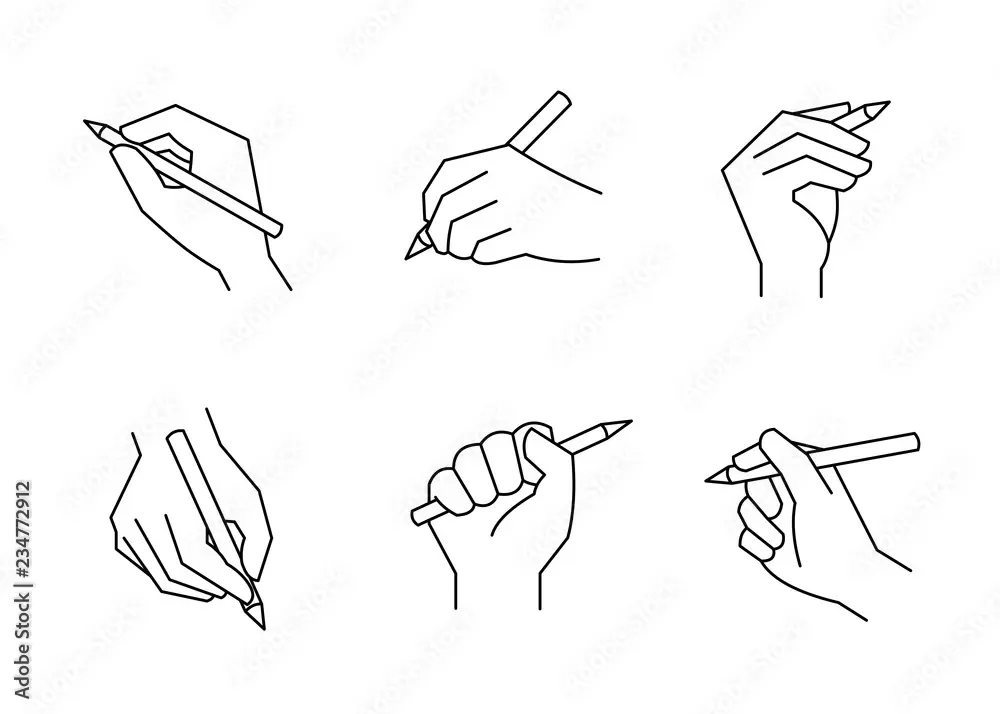
The grip is defined by the interaction between the thumb, index finger, and middle finger. The index finger should rest on top of the pencil, while the thumb provides support from the side. The middle finger acts as a shelf underneath, supporting the weight of the pencil. This "tripod grip" is the most common way humans hold writing instruments.
Pay close attention to the negative space created between the fingers and the pencil. This gap is crucial for making the drawing look natural rather than stiff. If the fingers look like they are floating, you have likely missed the contact points. Ensure the skin appears to compress slightly where the fingers touch the pencil, as this adds a necessary sense of weight and physical reality to your work.
Best techniques for shading hands
Shading gives the hand its three-dimensional volume. Start by identifying your light source, which dictates where the highlights and shadows fall. Generally, the top of the hand and the knuckles will catch the most light. Use soft, cross-hatched strokes to build up shadows in the crevices between fingers and along the palm's underside.
Focus on these areas to create depth:
- The shadow cast by the thumb onto the side of the palm.
- The dark area beneath the pencil where it touches the paper.
- The subtle gradients along the cylindrical fingers.
- The highlight on the protruding knuckles.
Avoid using harsh, solid black lines for shadows. Instead, layer your graphite gradually. This technique allows you to control the transition from light to dark, making the skin appear soft and supple rather than metallic or flat.
Common mistakes when drawing hands
One of the most frequent errors is making the fingers too long or too thin. Human fingers are thick and fleshy, not like rigid sticks. Another common mistake is ignoring the wrist's anatomy. The wrist is not a straight line; it curves slightly and connects to the forearm with distinct tendons and bone structures. Beginners often draw the hand as if it is disconnected from the arm, which ruins the overall composition.
Furthermore, many artists forget the perspective of the pencil. If the pencil is pointed toward the viewer, it should appear shorter due to foreshortening. Always check that the pencil aligns with the direction of the fingers. If the pencil looks like it is hovering above the hand, re-examine your contact points. Small adjustments to the placement of the thumb often resolve these spatial issues immediately.
How to practice drawing hands effectively
The best way to improve is through consistent observation. Spend time sketching your own hand in various positions while holding a pencil. Use a mirror to view your hand from different angles, which helps you understand how the joints bend and how the skin folds during movement. Take photographs of your hand to study the complex geometry of the knuckles and tendons at your own pace.
Try these exercises to build your skills:
- Sketch your hand from life for ten minutes every day.
- Focus exclusively on the thumb's movement in different grip styles.
- Practice drawing just the knuckles to understand their alignment.
- Combine hand studies with simple objects to practice interaction.
Consistency is more important than perfection in the early stages. By breaking the hand down into these manageable components, you will eventually develop the muscle memory required to draw hands holding objects with confidence and technical precision. Keep your pencil sharp and your observations keen to ensure steady progress over time.
Key facts
- Use basic geometric shapes like cylinders for fingers and a trapezoid for the palm to establish correct proportions.
- The pencil should align with the index finger’s knuckle to create a realistic point of contact.
- Observe the "webbing" between the thumb and index finger, as this area creates a distinct triangular negative space.
- Keep the wrist slightly arched to suggest tension and natural movement in the hand.
- Sketch the pencil as a straight line first to ensure the angle of the grip is consistent.
- Avoid drawing fingers as straight tubes; add slight curves to represent the joints and fleshy pads.
The bottom line
Drawing a hand holding a pencil requires breaking the complex anatomy into simple, manageable shapes. By starting with a structural foundation for the palm and fingers, you ensure proper proportions before adding details. Focus on the negative space between the digits and the natural curvature of the joints. With consistent practice and careful observation of your own hand, you will develop the ability to render realistic, expressive sketches.
People also ask
How do I make the hand look less stiff?
Focus on the slight overlap of the fingers as they wrap around the pencil barrel. Adding subtle wrinkles at the knuckles and slight curves to the fingertips helps convey a relaxed, natural posture.
Should I draw the pencil before or after the hand?
It is best to sketch the pencil first as a guide line. This establishes the angle of the grip and helps you position the thumb and fingers accurately around the shaft.
How do I accurately position the thumb?
The thumb usually rests against the side of the pencil, while the index and middle fingers provide pressure from above. Ensure the thumb joint is visible to show the pivot point of the grip.
What is the most common mistake when drawing hands?
Beginners often make the fingers too short or uniform in length. Remember that the middle finger is typically the longest, followed by the ring and index fingers, which are similar in size.
How can I show pressure on the pencil?
Draw the index finger slightly depressed into the wood of the pencil. Showing a small indentation or a slight flattening of the finger pad indicates that the hand is actively gripping the tool.
Do I need to draw every knuckle?
You do not need to outline every knuckle, as this can make the hand look skeletal. Instead, use light shading or small, strategic lines to suggest the presence of joints without over-detailing.
This answer was created with the help of AI research tools and reference sources. Spotted an error? Let us know — we correct mistakes quickly. See our editorial policy.