How can I draw hands in different poses easily?
Short answer
Drawing hands effectively requires breaking complex anatomy into simple geometric shapes like boxes and cylinders. By focusing on the palm as a central foundation and using the fingers as articulated extensions, you can construct any pose. Consistent practice with basic mannequin structures allows you to master perspective, foreshortening, and natural finger articulation.
On this page
How to simplify hand anatomy for drawing
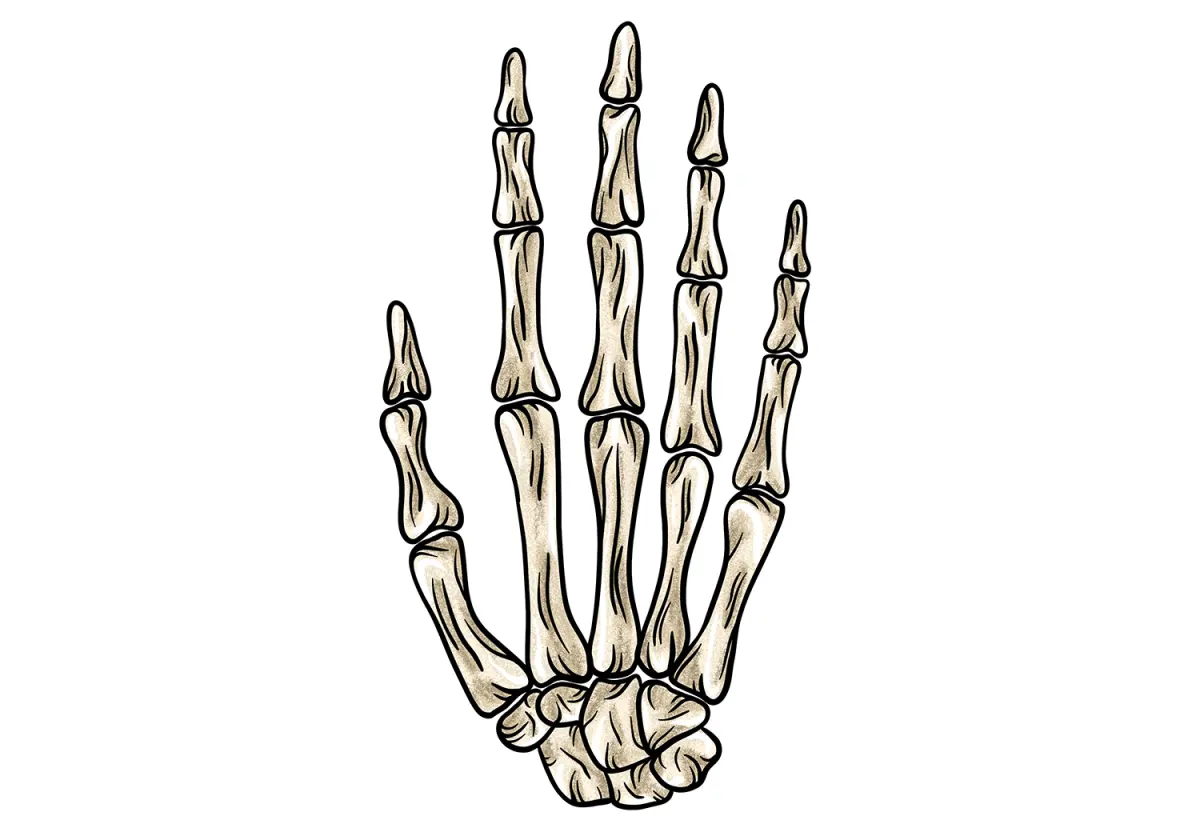
The human hand is a complex structure consisting of 27 bones, but you can simplify it into three primary components: the palm, the fingers, and the thumb. Treat the palm as a flat, slightly trapezoidal block. This block serves as the anchor for all movement. By visualizing the palm as a rigid box, you establish a clear perspective before adding the more flexible elements.
Once the palm is established, represent the fingers as cylinders or rectangular prisms. Each finger has three segments, while the thumb has two. Connecting these segments with simple hinges or spheres helps maintain correct proportions. Beginners often struggle because they try to draw individual skin folds or nails too early. Instead, focus on the volume of the shapes first. Think of the hand as a collection of blocks in space, which makes rotating and angling the hand in different poses significantly easier.
How to use a mannequin method for poses
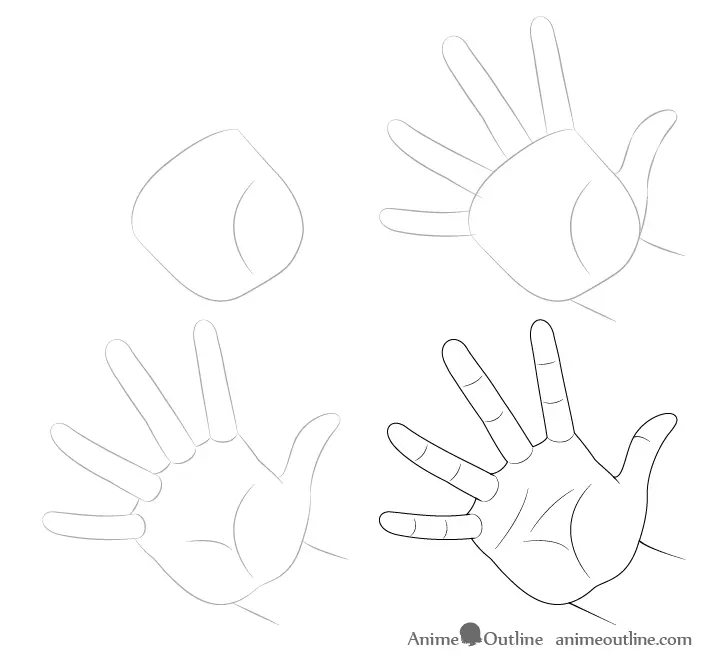
The mannequin method involves sketching the hand using basic primitive shapes to map out a pose before adding details. This technique ensures that your proportions remain consistent regardless of the angle. When you start a drawing, always define the palm's orientation first, as it dictates the direction of the fingers.
- Draw a flat trapezoid to represent the palm.
- Attach a smaller, angled box at the side to serve as the thumb base.
- Add four cylinders of varying lengths to represent the fingers.
- Use small spheres at the joints to indicate where the fingers bend.
- Refine the outlines by connecting these shapes with smooth, organic lines.
By following these steps, you create a skeletal framework that supports the final drawing. This structural approach prevents the hand from looking flat or distorted, allowing for complex gestures like pointing, grasping, or waving.
Why hands look distorted in different poses
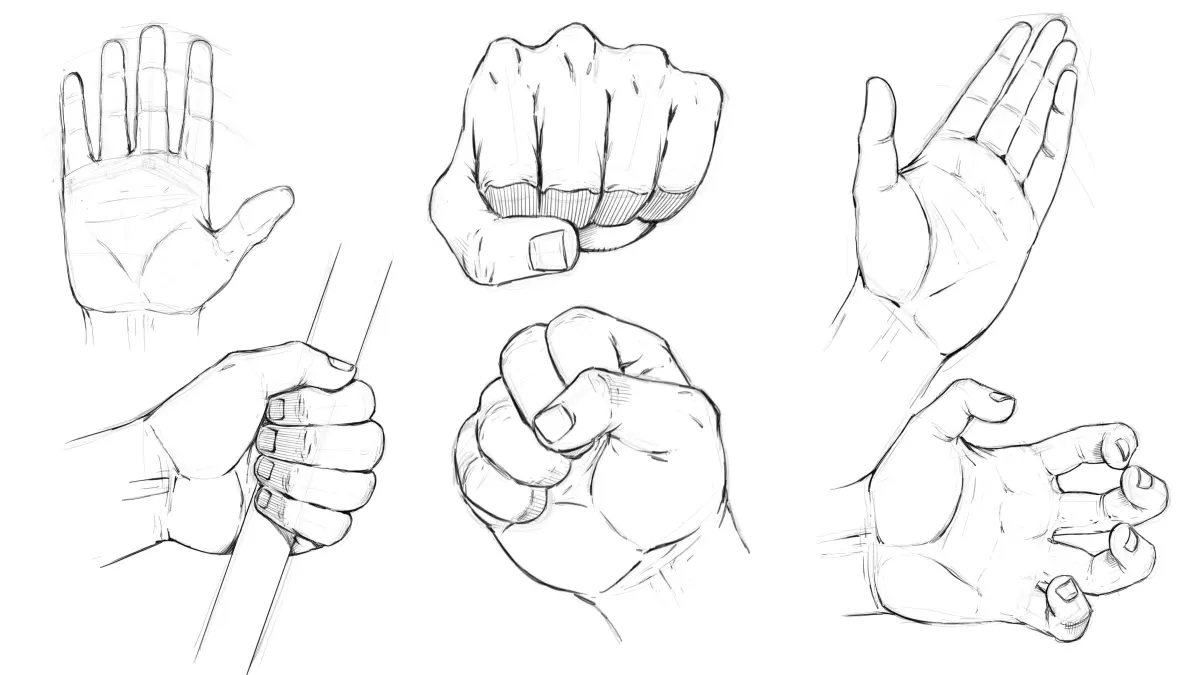
Distortion often occurs when the artist fails to account for foreshortening, which is the visual compression of an object as it moves toward or away from the viewer. When a finger points directly at the camera, it should appear as a circle or a very short shape rather than a long cylinder. Ignoring this optical reality makes the hand look like a collection of disconnected parts.
Another common issue is failing to maintain the "fan" shape of the fingers. When fingers are spread, they radiate from a common point at the base of the palm, not from a straight line. If you draw them parallel, the hand will appear unnatural. Always check the negative space between the fingers to ensure the silhouette reads correctly. If the silhouette looks awkward, the internal details will not save the drawing. Viewing your work in a mirror or flipping the canvas can help you spot these perspective errors quickly.
Best practice exercises for beginners
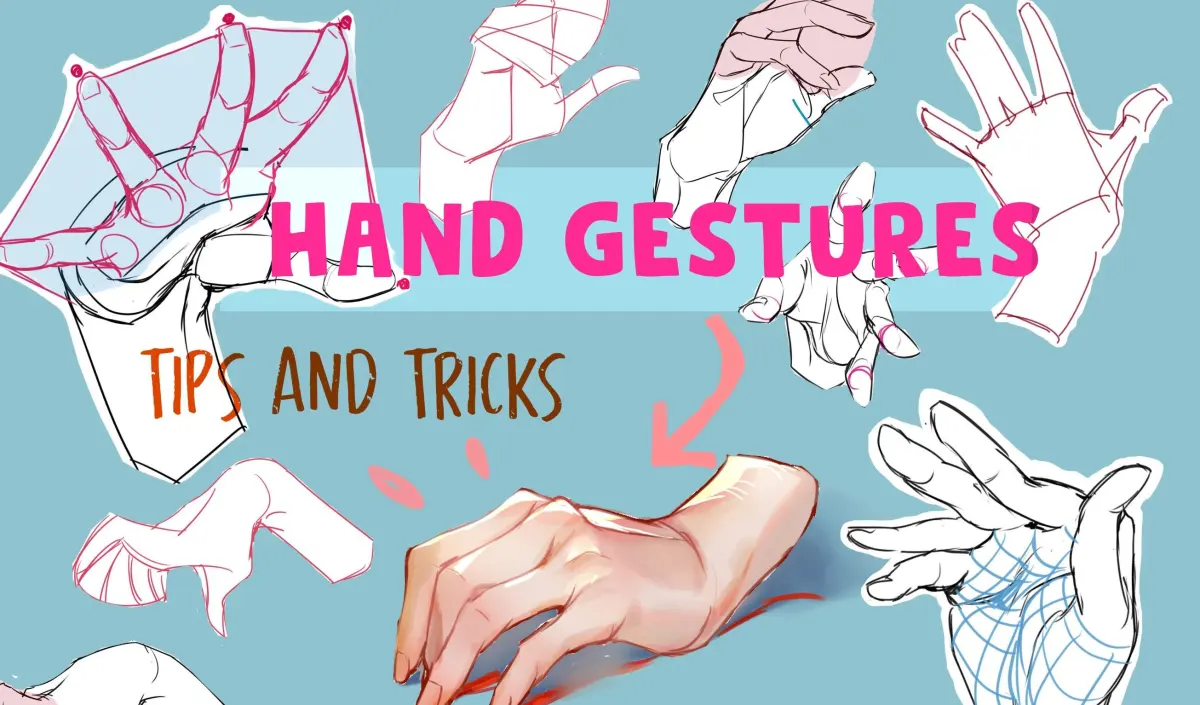
Consistent practice is essential for building muscle memory and understanding the spatial relationships of the hand. Dedicate time to sketching hands from life, using your own hand as a reference. Since you can move your hand into any position, it is the most accessible tool for learning anatomy. Set a timer for five minutes and sketch as many different hand positions as possible without worrying about perfection.
- Practice drawing hands from multiple angles, including top-down and bottom-up views.
- Focus on the "rhythm" of the hand, where the fingers follow a gentle arc rather than a straight line.
- Study the length of the middle finger compared to the palm; it is typically roughly the same length.
- Sketch hands in motion to capture the flow of the wrist and the tension of the tendons.
- Use a light pencil to map out the structure and a darker pen to finalize the contours.
Common mistakes when drawing hands
One of the most frequent mistakes is drawing fingers that are too short or too thin. The fingers should be roughly the length of the palm itself. When they are drawn too small, the hand loses its functional appearance and looks like a claw. Another error is neglecting the wrist. The wrist is not a straight line but a complex joint that connects the hand to the forearm, and it should be drawn with a slight curve to suggest its cylindrical nature.
Avoid drawing fingers as "sausages" with uniform thickness. Fingers taper toward the tips and have distinct knuckles that break the surface. If you ignore these anatomical landmarks, the hand will appear rubbery and weak. Finally, do not forget the thumb's unique range of motion. The thumb sits on a different plane than the other four fingers, which allows it to rotate and touch the palm. By paying attention to these specific structural nuances, you will significantly improve the realism and clarity of your hand drawings over time.
Key facts
- The human hand contains 27 bones, including 8 carpals in the wrist, 5 metacarpals in the palm, and 14 phalanges in the fingers.
- Simplify the palm into a flat, five-sided pentagon shape to establish the base for finger placement.
- Use the length of the middle finger as a measuring tool; the palm is typically equal in length to the middle finger.
- Draw cylinders or boxes for finger segments to maintain consistent volume and perspective in different poses.
- Always sketch the "action line" of the wrist and fingers first to capture the flow of a gesture before adding anatomical detail.
- Practice drawing the hand from a reference mirror, as your own hand is the most accessible model for studying complex foreshortening.
The bottom line
Mastering hand anatomy requires moving beyond surface details to understand the underlying skeletal structure. By simplifying the palm into geometric shapes and treating fingers as interconnected cylinders, you can maintain consistent proportions in any pose. Focus on the relationship between the thumb and the palm, and prioritize the overall gesture over intricate shading. Consistent practice using your own hand as a reference will yield the best results.
People also ask
Why do my hands look like claws or mittens?
This usually happens because you are drawing fingers as flat, two-dimensional shapes rather than three-dimensional cylinders. Focus on the thickness of each knuckle and ensure the fingers overlap slightly to create depth.
How do I handle perspective when fingers are pointing toward the viewer?
Use the principle of foreshortening, where objects appear shorter as they move closer to the eye. Draw the closest segment of the finger largest and overlap the subsequent segments behind it to imply distance.
Should I draw the fingers individually or as a group?
It is more effective to group the fingers into a single mass for the initial sketch. Once the gesture is established, refine the individual fingers by carving them out of that primary shape.
How do I determine the correct spacing between fingers?
Remember that fingers spread from a central point at the knuckles, not from the base of the palm. Keep the gaps between fingers narrow and consistent to avoid a "webbed" appearance.
What is the most common mistake when drawing the thumb?
Beginners often attach the thumb too high or too low on the side of the hand. The thumb originates from the center of the palm and has a wider range of motion than the other four fingers.
How can I improve my hand drawing speed?
Practice gesture drawing sessions where you limit yourself to 30 or 60 seconds per pose. This forces you to focus on the essential silhouette rather than getting bogged down in fingernails or skin folds.
This answer was created with the help of AI research tools and reference sources. Spotted an error? Let us know — we correct mistakes quickly. See our editorial policy.