How do you draw glasses step by step?
Short answer
Drawing glasses involves constructing a symmetrical frame structure around the eyes. Start by sketching two horizontal shapes connected by a bridge, then add the temples extending toward the ears. Focus on maintaining consistent lens thickness and alignment with the face’s perspective to ensure the eyewear looks natural and proportional on the subject.
On this page
How to draw glasses step by step
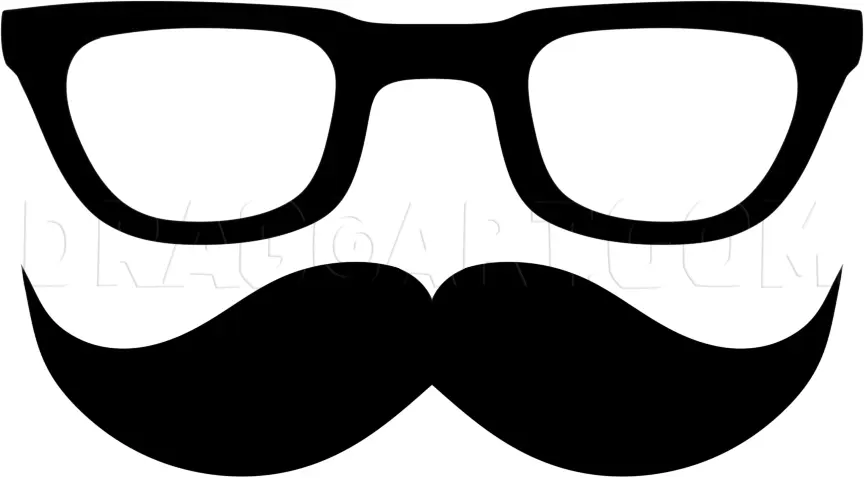
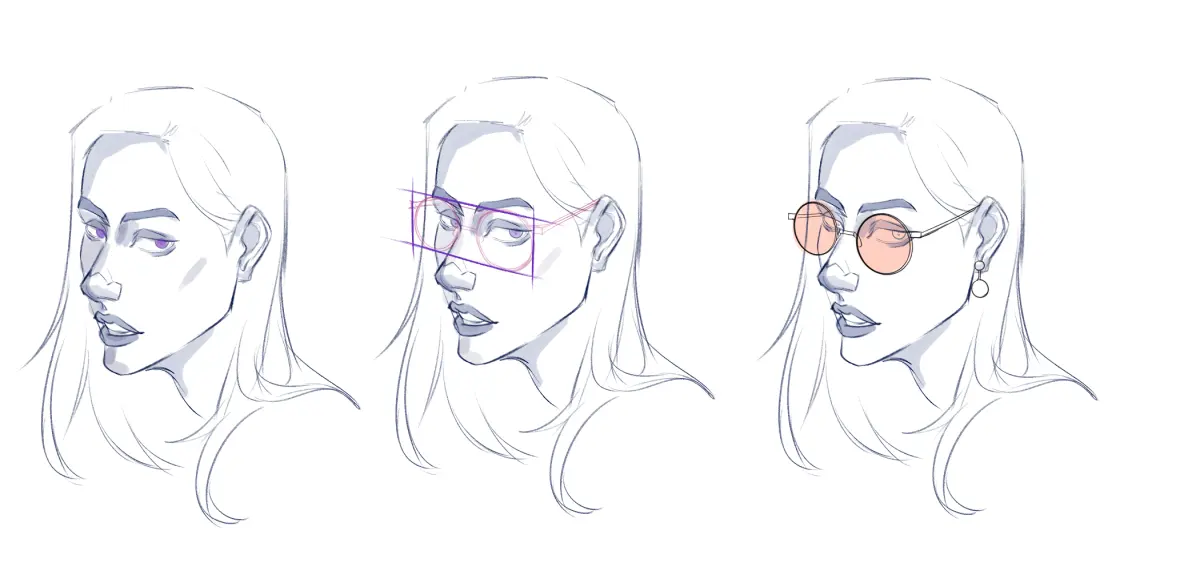
To draw glasses accurately, begin by establishing the horizontal alignment of the eyes. Lightly sketch two shapes—circles, squares, or ovals—that sit directly over the eye sockets. Ensure the bridge of the nose is accounted for by leaving a small gap between the two lenses. Once the basic frames are set, draw the bridge connecting the two lenses and the hinges where the arms attach.
Refine the thickness of the frames to match the desired style, such as thin wire rims or thick plastic frames. Add the temples, which are the arms of the glasses, by drawing them extending from the hinges toward the ears. Remember that these arms should follow the contour of the head rather than drawing them as straight, rigid lines. Finally, add subtle shading to the lenses to suggest depth and transparency, ensuring the eyes remain visible beneath the glass.
Best tools for drawing glasses for beginners
Beginners should utilize graphite pencils, specifically an HB for initial outlines and a 2B for adding definition to the frames. Using a mechanical pencil is often helpful for drawing the precise, thin lines required for wire-rimmed spectacles. A kneaded eraser is essential for lifting graphite without damaging the paper, allowing for clean adjustments to the frame’s symmetry.
For those looking to add professional polish, consider these tools:
- A fine-liner pen to finalize the outline after erasing construction lines.
- A blending stump to create soft shadows on the bridge and temples.
- A ruler or straightedge to ensure the bridge and temple heights remain perfectly parallel.
- A white gel pen to add highlights on the lenses, which simulates the reflection of light on glass surfaces.
How to ensure symmetry in glasses drawings
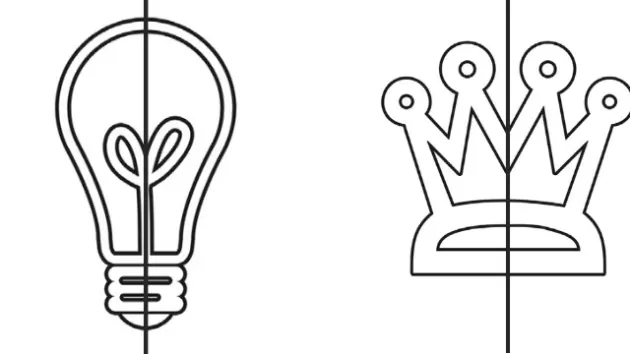
Symmetry is the most challenging aspect of drawing eyewear because even slight deviations are immediately noticeable to the viewer. The most effective technique is to draw a faint horizontal center line across the face before starting the frames. This guide line ensures that both lenses sit at the exact same height, preventing the glasses from appearing crooked on the subject’s face.
- Draw a light horizontal guideline across the bridge of the nose.
- Mark the width of each lens on this line to ensure equal spacing.
- Sketch the frames simultaneously, moving back and forth between the left and right sides.
- Periodically flip your drawing upside down or look at it in a mirror to spot lopsided shapes.
- Use a ruler to verify that the hinges are positioned at the same distance from the center.
Common mistakes when drawing glasses
A frequent error is drawing the glasses as flat shapes that do not wrap around the curvature of the head. Glasses are three-dimensional objects; if the temples are drawn as straight lines extending from the side of the face, they will look detached. Always ensure the arms curve slightly to follow the skull's shape toward the ears. Another common mistake is neglecting the perspective of the lenses. If the head is turned, the lens closer to the viewer should appear slightly wider than the lens further away.
Avoid these common pitfalls to improve your accuracy:
- Drawing the bridge too high or too low, which distorts the nose shape.
- Making the frames too thick, which can obscure the eyes and facial expressions.
- Forgetting to account for the thickness of the frame material, which should have a slight inner and outer edge.
- Drawing the lenses as perfectly flat circles when they should be slightly elliptical to match the eye socket.
How to add realistic details to glasses
Adding realistic details transforms a simple outline into a professional illustration. Start by drawing the "rim" or the thickness of the frame material, which adds weight and realism. You can also add small reflections on the lenses by leaving tiny, unshaded white spots. These highlights suggest that the glasses are made of glass or plastic, which naturally catch light from the environment.
Consider adding these final touches to enhance your work:
- Draw the nose pads as small, translucent teardrop shapes resting on the bridge of the nose.
- Add a subtle shadow cast by the frames onto the cheekbones to ground the glasses on the face.
- Include the temple tips, which are the curved ends that hook behind the ears, to provide a sense of stability.
- Use cross-hatching or stippling to indicate the texture of metal or plastic frames, giving the accessory a distinct material quality.
Key facts
- Start by drawing a horizontal guideline to ensure both lenses are perfectly level and symmetrical.
- Use basic geometric shapes like circles, squares, or ovals as the foundation for the frames.
- Draw the bridge, the piece connecting the lenses, slightly higher than the center of the frames for a natural look.
- Add thickness to the frames by drawing a secondary, parallel line inside or outside your initial shape.
- Connect the frames to the temples—the arms that go over the ears—at the top outer corners.
- Consider the perspective; if the head is turned, one lens should appear slightly narrower than the other.
The bottom line
Drawing glasses effectively relies on symmetry and proper placement. By starting with a horizontal guideline and using simple geometric shapes, you can build a balanced frame structure. Always remember to consider the perspective of the face, ensuring the temples curve naturally toward the ears. With practice, these foundational steps allow you to draw various styles, from classic round frames to modern, angular designs with ease.
People also ask
Should I draw the lenses or the frames first?
Always draw the outer frame shape first to establish the overall size and style. You can then draw a smaller inner shape to represent the lens thickness before adding details.
How do I make glasses look like they are sitting on a nose?
Draw the bridge of the glasses so it overlaps the bridge of the nose. Adding a small shadow underneath the frames helps ground them on the face.
What is the best way to draw round glasses?
Use a compass or trace a circular object to ensure the lenses are perfectly round. Keep the frame thickness consistent throughout the entire circumference to maintain balance.
How do I draw the temples of the glasses?
Extend the temples from the top outer corners of the frames toward the ears. Remember to curve them downward slightly as they reach the ear position to suggest they are resting on the head.
Why do my glasses look lopsided?
This usually happens because the horizontal guideline was omitted. Always sketch a light, straight line across the face first to ensure both lenses sit at the same height.
Can I draw glasses without drawing the eyes first?
It is better to draw the eyes first to ensure the glasses are positioned correctly on the face. Placing the frames too high or too low can make the character look distorted.
This answer was created with the help of AI research tools and reference sources. Spotted an error? Let us know — we correct mistakes quickly. See our editorial policy.