How do you draw a pagoda?
Short answer
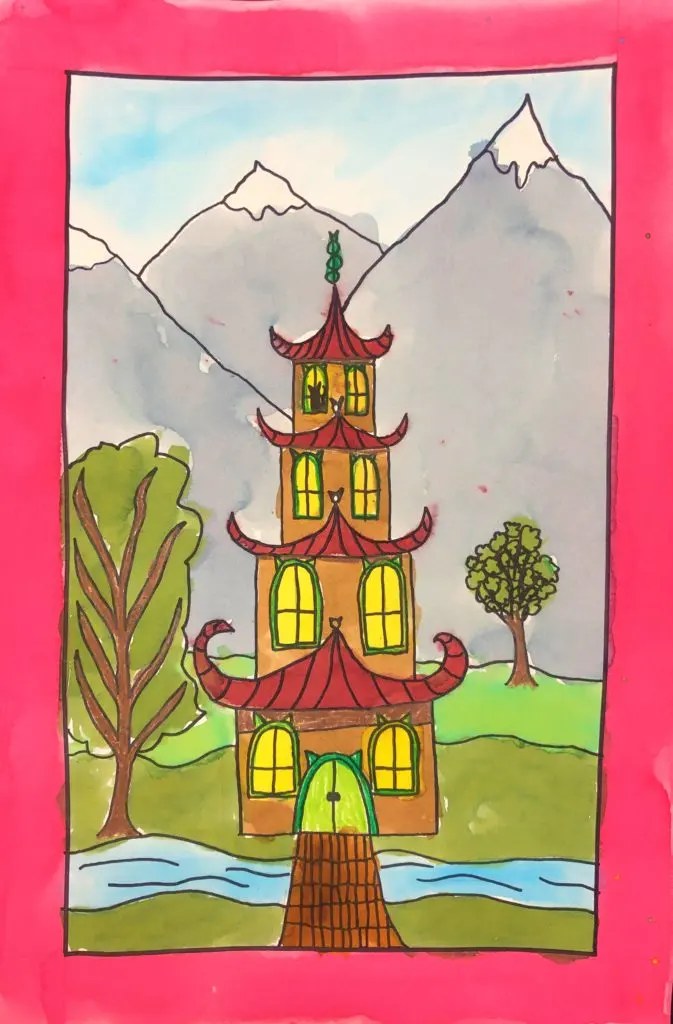
Drawing a pagoda requires capturing its iconic tiered structure and sweeping, upturned eaves. Start by sketching a central vertical axis to ensure symmetry, then build the tower using stacked, trapezoidal levels. Focus on the distinct roof curves and intricate bracket systems, finishing with a decorative spire at the very top.
On this page
How to structure a pagoda drawing
The defining characteristic of a pagoda is its verticality and rhythmic repetition. Begin your drawing by sketching a light vertical line down the center of your paper to serve as a guide for symmetry. This ensures that your tiers remain aligned as you move upward. Pagodas traditionally feature an odd number of stories, so aim for three, five, or seven levels to achieve an authentic aesthetic.
When building the framework, use rectangles for the main bodies of each floor. Make each subsequent level slightly narrower than the one below it to create a tapering effect. This perspective shift is essential for giving the structure a sense of height and stability. Keep your initial lines very faint, as you will need to erase the internal structural lines once you begin detailing the roof segments and decorative elements.
What tools are best for beginners
For those new to architectural drawing, a standard set of graphite pencils ranging from 2H to 4B provides the necessary versatility. Use the harder 2H pencil for your initial layout and structural guidelines, as these leave light marks that are easy to remove. The softer 4B pencil is ideal for adding depth, shadows, and the bold lines of the roof eaves.
- Use a ruler to maintain perfectly straight lines for the main walls and vertical supports.
- Employ a fine-liner or technical pen for the final outline to give the drawing a crisp, professional appearance.
- Keep a kneaded eraser handy to lift graphite without damaging the paper texture.
- Use a blending stump to smooth out the shading beneath the eaves, which creates the illusion of depth.
A smooth-surfaced sketchbook is preferable to textured paper, as it allows for the precise, clean lines required for architectural detail.
How to draw curved pagoda roofs
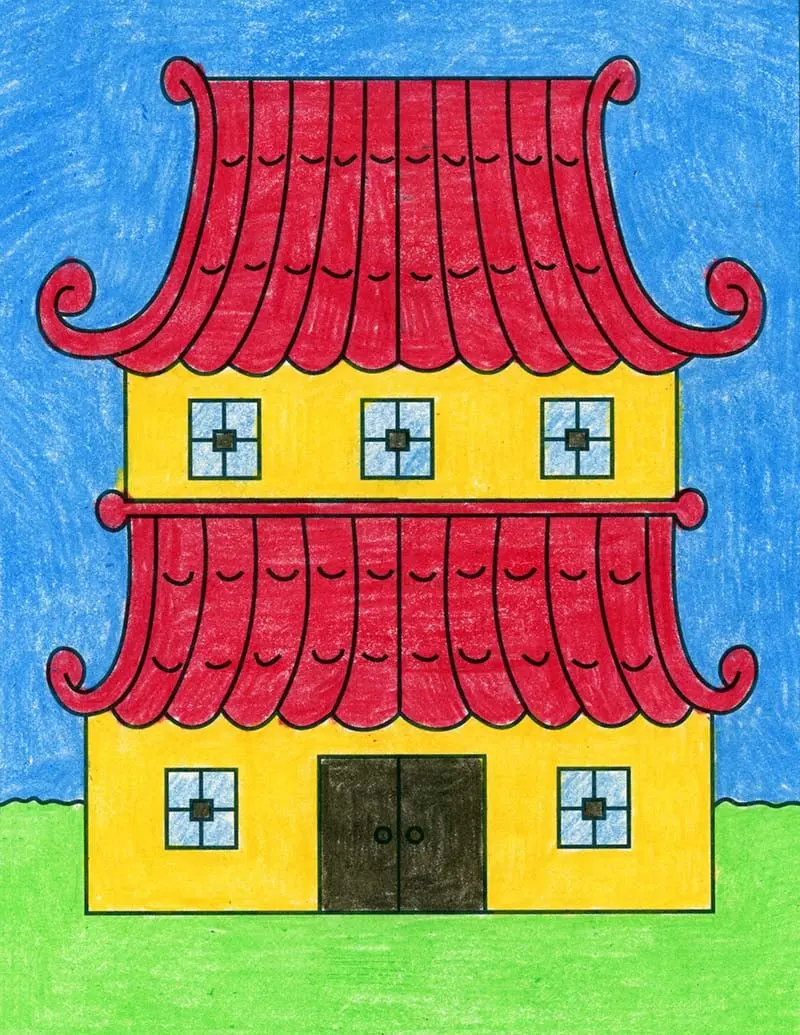
The sweeping, upturned eaves are the most recognizable feature of East Asian architecture. To draw these, start by sketching a horizontal line that extends slightly beyond the width of the wall. At the ends of these lines, draw a subtle upward curve. Connect these points back to the main structure using a concave line that mimics the weight and drape of traditional clay tiles.
The roof should look like it is floating slightly above the wall, supported by complex wooden bracket systems known as dougong. You do not need to draw every individual bracket; instead, use small, repeating geometric shapes like triangles or squares to suggest the density of the support structure. This level of detail adds visual interest and grounds the drawing in reality. Remember that the roof overhang should be substantial to protect the walls from rain, so do not be afraid to make them wide.
Common mistakes when drawing pagodas
A frequent error is neglecting the tapering ratio of the tiers. If each level is not significantly smaller than the one below, the pagoda will look like a stack of identical boxes rather than a graceful tower. Always check your proportions by comparing the width of the top floor to the base. If the decrease in size is too subtle, the structure will lose its elegant, pyramidal silhouette.
Another common mistake is ignoring the spire, or sorin, which sits atop the highest roof. This vertical element is not just a decoration; it is a vital component that balances the visual weight of the entire structure. Ensure the spire is centered perfectly and includes a series of rings or a flame-shaped finial. Without this crowning feature, the pagoda will appear incomplete or truncated, lacking the spiritual significance typically associated with these historic monuments.
Why perspective matters in architectural drawing
Even in a simple drawing, understanding basic perspective helps the viewer perceive the pagoda’s massive scale. If you are drawing the pagoda from a low angle, you should see the underside of the eaves, which adds a sense of monumentality. If you are viewing it from a distance, the horizontal lines of the roof should remain parallel to the horizon line to maintain a sense of balance and harmony.
- Establish a horizon line early to anchor the building in its environment.
- Use atmospheric perspective by making the details at the very top slightly less defined than those at the base.
- Add a few simple landscape elements, such as pine trees or stone lanterns, to provide a sense of scale and context.
- Ensure that the shading is consistent, with a clear light source coming from one direction to cast realistic shadows under the eaves.
By focusing on these spatial relationships, you transform a simple geometric exercise into a convincing representation of a historic architectural masterpiece.
Key facts
- Pagodas are defined by their stacked, tiered roofs with upturned eaves, which originated from the Indian stupa.
- Use a central vertical axis line to ensure the symmetry of the tiers, as pagodas are almost always balanced.
- Draw the base wider than the top tiers to create a stable, tapering silhouette that mimics traditional wooden construction.
- Incorporate a "finial" or spire at the very top, which represents the sacred axis connecting earth and heaven.
- Use horizontal lines for the eaves and slightly curved lines for the roof edges to capture the iconic "sweeping" look.
- Avoid drawing too many stories; traditional pagodas typically feature an odd number of tiers, such as three, five, or seven.
The bottom line
Drawing a pagoda requires a focus on symmetry, tapering proportions, and the iconic tiered roof structure. By establishing a central axis and using an odd number of levels, you can capture the essential silhouette of these historic buildings. Remember to emphasize the upturned eaves and the crowning spire, which provide the structure with its distinct spiritual and architectural character, ensuring a recognizable and balanced final drawing.
People also ask
Why do pagodas have an odd number of levels?
In many East Asian cultures, odd numbers are considered auspicious and represent growth or the heavens. This architectural tradition is deeply rooted in Buddhist symbolism and aesthetic balance.
What materials were pagodas originally built from?
Early pagodas in China were primarily constructed from wood, which allowed for the intricate, interlocking bracket systems seen in the eaves. Later, stone and brick became common to improve fire resistance and structural longevity.
How do you draw the bracket system under the eaves?
Simplify the complex "dougong" bracket system by drawing small, repeating triangular or rectangular shapes beneath the roofline. These represent the wooden blocks that support the heavy, overhanging eaves.
Are all pagodas square-shaped?
While square bases are common, pagodas can also be hexagonal, octagonal, or circular. The shape of the base dictates the geometry of the roof tiers above it.
What is the purpose of the spire at the top?
The spire, known as a "sorin" in Japan, serves as a lightning rod and a symbolic representation of the Buddhist cosmos. It is often the most ornate part of the structure.
Should I use a ruler for a pagoda drawing?
Using a ruler for the main vertical axis and horizontal roof lines helps maintain the necessary precision. However, freehand sketching for the curved eaves adds a more natural, organic feel to the architecture.
This answer was created with the help of AI research tools and reference sources. Spotted an error? Let us know — we correct mistakes quickly. See our editorial policy.