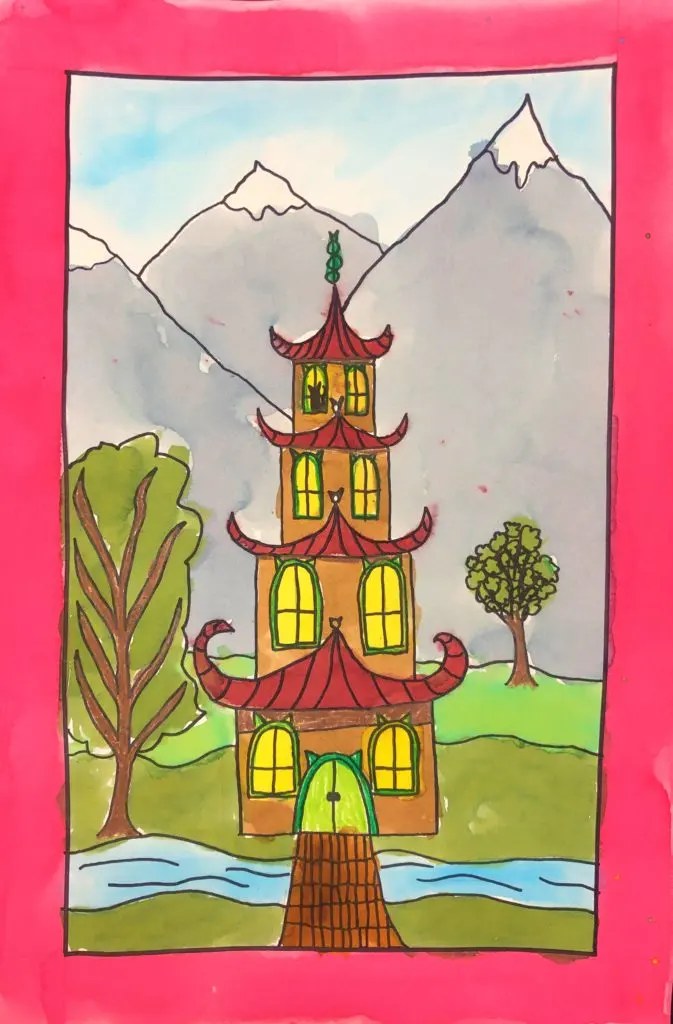
What is the easiest way to draw a castle tower?
Short answer
The easiest way to draw a castle tower is to use a simple rectangular prism as your base, topped with a smaller cylinder or cone for the roof. By utilizing basic geometric shapes and adding vertical lines for battlements, you can create a convincing, three-dimensional structure without needing complex artistic training.
On this page
How to draw a basic castle tower
The most efficient method for drawing a castle tower involves breaking the structure down into three distinct geometric components. Start by sketching a tall, vertical rectangle to serve as the main body of the tower. This provides the foundation for the masonry walls. Once the rectangle is set, draw an oval on top of it to act as the base for the roof, then add a triangle or a smaller cylinder above that oval to represent the turret or spire.
Using these simple shapes ensures that your tower maintains proper proportions from the start. If you struggle with freehand drawing, use a ruler to keep your vertical lines parallel, as crooked walls can make the tower appear unstable. Focus on the silhouette first, as the overall shape is more important for recognition than intricate surface details during the initial drafting phase.
- Draw a tall, narrow rectangle.
- Place a flat oval on top of the rectangle.
- Draw a triangle on top of the oval for a pointed roof.
- Add a horizontal line near the top for the battlements.
Best tools for castle drawing beginners
For those just starting, a standard HB graphite pencil is the best tool because it allows for light, erasable guidelines. You should also keep a white vinyl eraser nearby to clean up the construction lines once you have finalized the main outlines. A ruler is essential for beginners to ensure that the vertical walls of the tower remain perfectly perpendicular to the ground, which is a hallmark of defensive architecture.
If you prefer to add depth, a set of fine-liner pens can be used to trace over your pencil work once you are satisfied with the structure. Avoid using heavy pressure with your pencil in the early stages, as indentations can ruin the paper and make shading look uneven later. Using a light touch helps you maintain control and makes the final transition to permanent ink or shading much smoother and more professional.
- HB pencil for initial sketching.
- Vinyl eraser for clean corrections.
- Ruler for straight vertical edges.
- Fine-liner pen for final outlines.
Why perspective matters in tower drawing
Perspective is the technique used to create the illusion of three-dimensional depth on a flat surface. When drawing a castle tower, you should consider the "vanishing point," which is the spot on the horizon where parallel lines appear to converge. Even a simple tower benefits from slight perspective adjustments, such as curving the horizontal lines of the battlements to match the curvature of the tower's base.
If you draw the top of the tower as a perfectly flat line while the base is curved, the drawing will look disjointed and unrealistic. Always ensure that the curves at the bottom of the tower and the curves at the top are consistent with each other. This alignment tricks the human eye into perceiving the tower as a solid, rounded object rather than a flat, two-dimensional shape on the page.
Common mistakes when drawing towers
One of the most frequent errors is failing to align the roof with the base of the tower. If the roof is centered incorrectly or does not follow the perspective of the walls, the tower will appear to lean or collapse. Another common mistake is drawing battlements that are too large or too small relative to the tower, which ruins the sense of scale. A castle tower should look like it could realistically house a person.
Additionally, many beginners forget to add thickness to the walls. By drawing a secondary line inside the main outline of the battlements, you create the appearance of depth, suggesting that the stone is thick and defensive. Avoid making the tower perfectly symmetrical in every single detail, as real stone structures often have slight irregularities that add character and historical authenticity to your illustration.
- Misaligning the roof with the base.
- Drawing battlements that lack thickness.
- Forgetting to account for the horizon line.
- Making the tower too wide for its height.
How to add texture to stone towers
Once the structure is complete, adding texture is the final step to making your tower look like it is made of stone. Instead of drawing every single brick, focus on adding small, irregular horizontal lines and occasional vertical cracks along the surface. This suggests the presence of masonry without cluttering the drawing or making it look like a cartoon. Focus these details near the base and corners to emphasize the weight of the structure.
Shading is equally important for texture. Choose a single direction for your light source, such as the top left, and shade the opposite side of the tower accordingly. By keeping one side of the tower darker, you provide a clear sense of volume and mass. Use cross-hatching or soft smudging to create shadows, ensuring the transition from light to dark is gradual to reflect the solid, rounded nature of a traditional stone castle tower.
Key facts
- Start by drawing a simple rectangle to serve as the main body of the tower.
- Add a triangle on top of the rectangle to represent the conical roof.
- Incorporate a small rectangular notch at the top of the wall to create a crenelated battlement.
- Use a vertical line down the center of the tower to help maintain symmetry while sketching.
- Draw a thin, arched shape near the bottom to represent the entrance door.
- Avoid drawing too many windows, as a single narrow slit window is more historically accurate for defensive towers.
The bottom line
Drawing a castle tower is most effective when you start with basic geometric shapes like rectangles and triangles. By focusing on structural symmetry and adding essential features like crenellations and narrow slit windows, you can quickly create a recognizable design. Remember to use light shading to provide depth, ensuring the tower looks solid and imposing rather than flat, which is the most common mistake for beginners.
People also ask
Why do castle towers have jagged tops?
Those jagged tops are called battlements or crenellations. They were designed to provide cover for archers while allowing them to fire arrows through the gaps.
What is the difference between a tower and a turret?
A tower is a tall, independent structure that reaches the ground. A turret is a smaller, decorative or functional tower that projects from the corner of a wall or building.
Should I use a ruler for drawing a castle?
Using a ruler helps create the sharp, geometric lines characteristic of stone masonry. Freehand drawing can add a rustic, weathered look, but a ruler ensures structural clarity.
How do I make the tower look three-dimensional?
Add shading to one side of the tower to suggest a light source. You can also draw the roof as a slightly curved cone rather than a flat triangle.
What are the best materials for a beginner sketch?
A graphite pencil is best for initial outlines because it can be erased easily. Follow up with a fine-liner pen to make the final tower structure stand out.
Why are castle windows usually so small?
Historically, windows were kept narrow to prevent enemies from climbing through them. Small openings also helped maintain the structural integrity of the thick stone walls.
This answer was created with the help of AI research tools and reference sources. Spotted an error? Let us know — we correct mistakes quickly. See our editorial policy.