How do you draw a skeleton hand?
Short answer
Drawing a skeleton hand requires understanding the underlying anatomy of the 27 bones in the human hand. By sketching the carpals, metacarpals, and phalanges as simple geometric shapes, you can build a realistic structure. Focus on the proportions of the fingers and the articulation points to ensure the hand looks anatomically accurate.
On this page
How to structure the hand bones
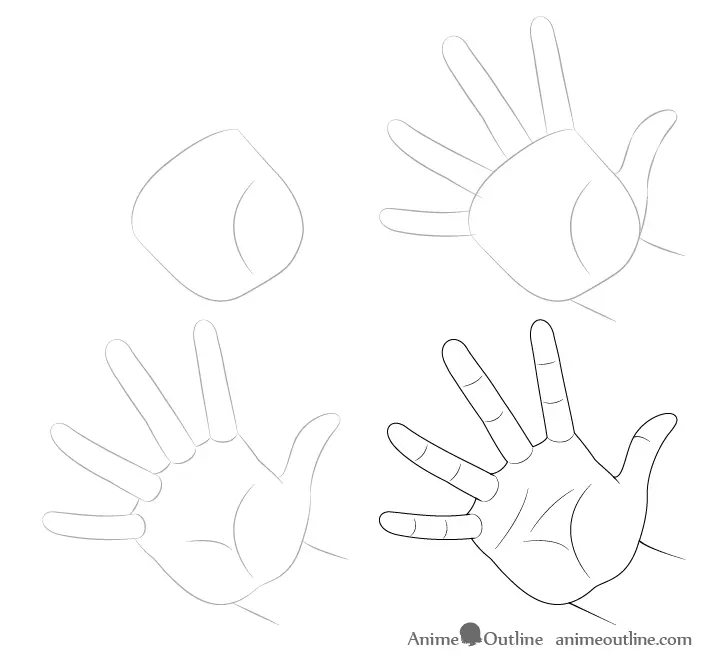
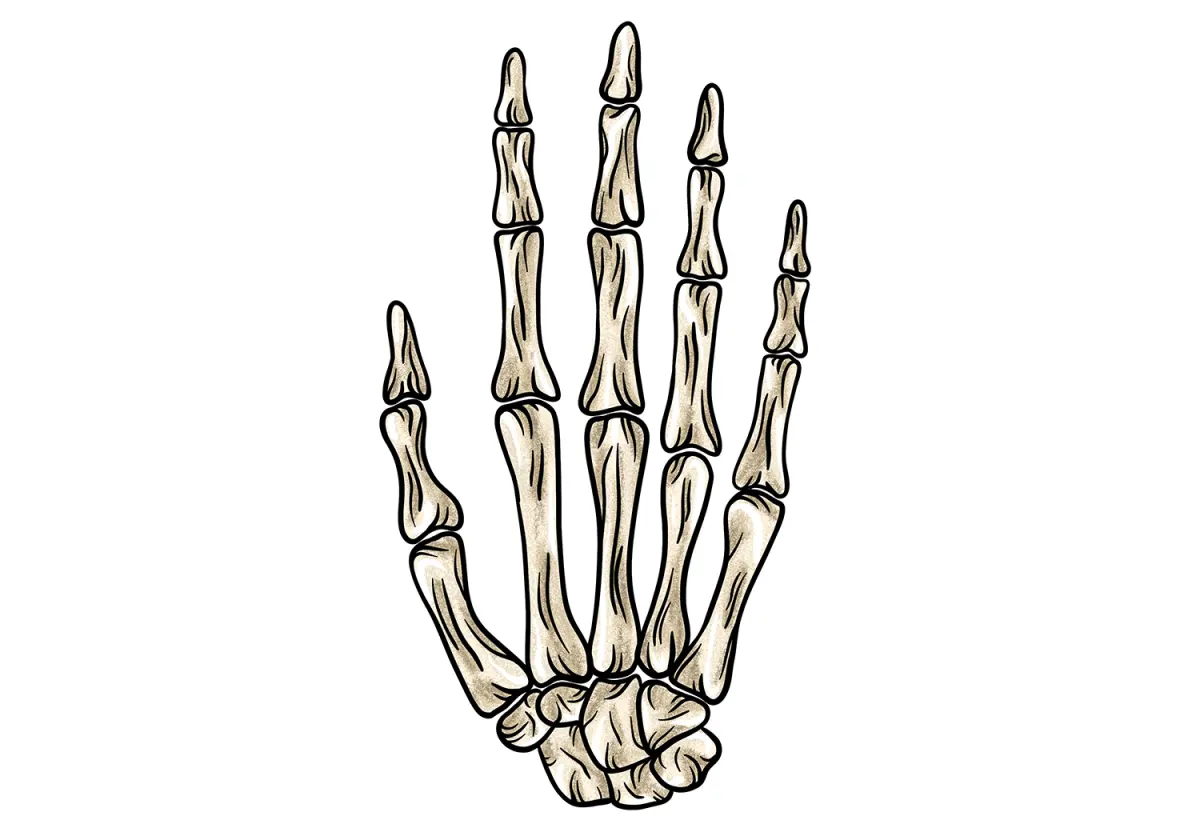
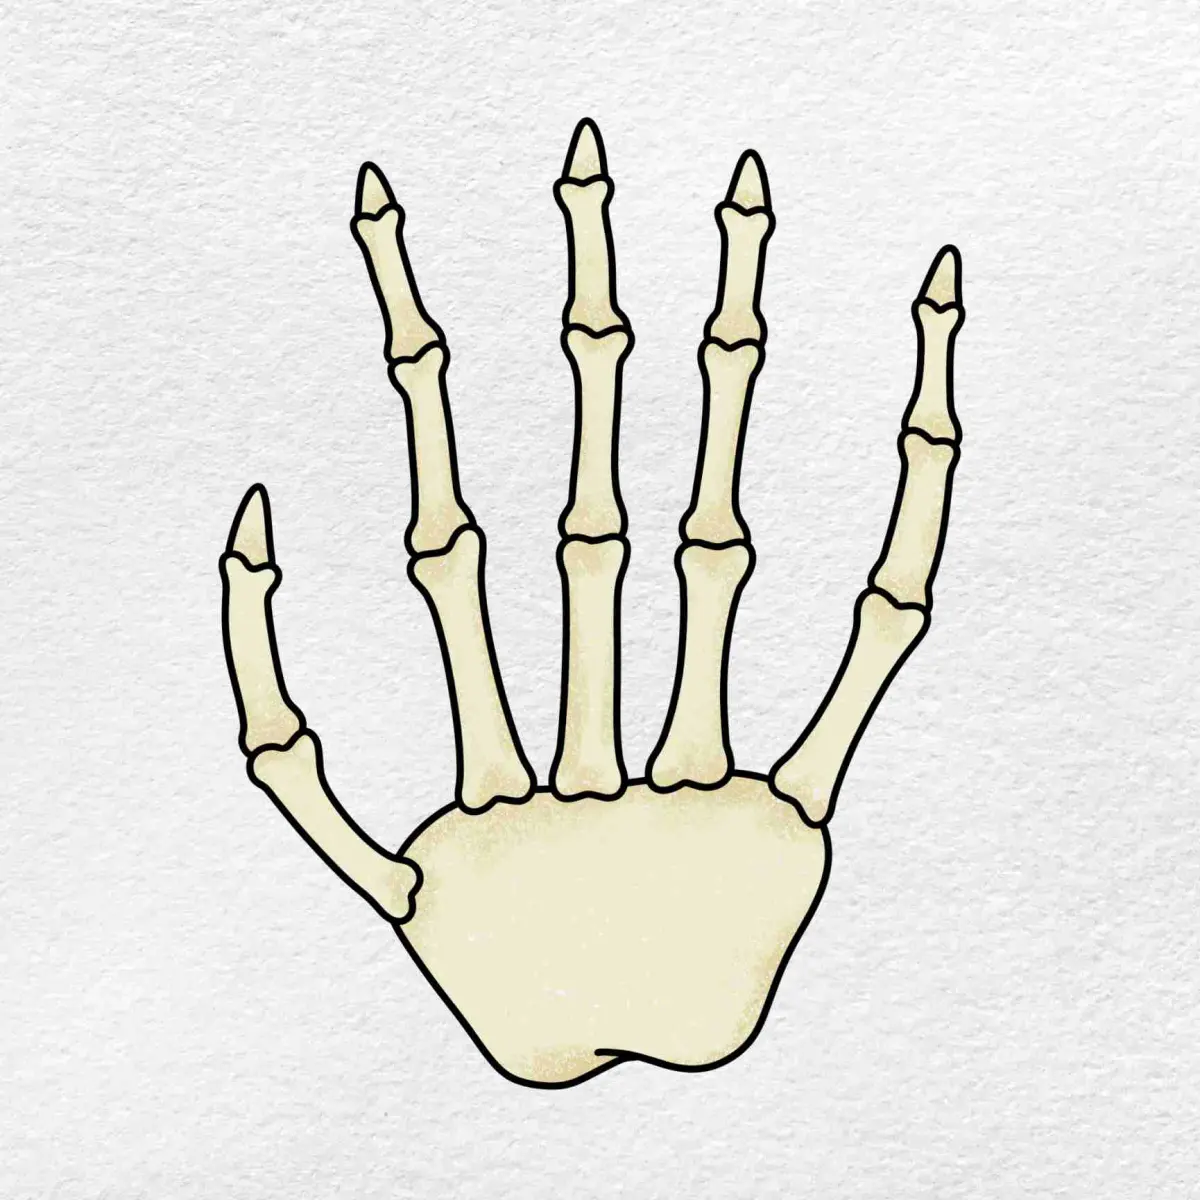
The human hand is composed of three distinct groups of bones: the carpals in the wrist, the metacarpals in the palm, and the phalanges in the fingers. When drawing, start by sketching a trapezoid for the wrist and five radiating lines for the metacarpals. This provides a structural foundation that ensures the fingers do not appear disconnected from the palm.
To achieve accuracy, remember that the thumb has only two phalanges, while the other four fingers have three. Sketching these as small, rounded cylinders or rectangular blocks helps define the joints. Keep your initial lines light, as these serve as a roadmap for the final skeletal definition. Focus on the following proportions:
- The middle finger is usually the longest digit.
- The palm width is roughly equal to the length of the middle finger.
- The wrist joint is narrower than the palm area.
How to draw finger joints and knuckles
Knuckles are the most prominent features of a skeleton hand. These are the heads of the metacarpals and the bases of the phalanges. When drawing them, represent the joints as slightly enlarged, rounded spheres where the bones meet. This adds a sense of volume and realism, preventing the fingers from looking like flat, rigid sticks.
Pay close attention to the articulation points where the bones pivot. In a skeleton, these gaps are visible because the cartilage and soft tissue are absent. You can emphasize this by drawing small, circular indentations at each joint. Ensure the joints align correctly along the fingers so the hand maintains a natural gesture. Common techniques include:
- Drawing small circles at every point where two bones connect.
- Connecting the circles with straight lines to represent the bone shafts.
- Adding slight curves to the bone shafts to mimic the natural taper of human fingers.
Best tools for drawing skeletons
For beginners, a graphite pencil with a range of hardness, such as an HB for sketching and a 2B for shading, is ideal. The HB pencil allows for light, erasable guidelines, while the 2B provides the depth needed to make the bones pop against the background. Using a kneaded eraser is also essential for lifting graphite to create highlights on the bone surfaces.
Paper choice matters as much as the pencil. A smooth, medium-weight drawing paper prevents the graphite from smudging too easily while allowing for fine detail work. If you are working on a larger scale, consider using a blending stump to smooth out the shadows in the crevices between bones. This adds a professional, three-dimensional quality to your illustration. Remember these tips:
- Always keep your pencils sharp for precise bone edges.
- Use a light touch to avoid indenting the paper surface.
- Work from the wrist upward to maintain consistent anatomical flow.
Why skeleton hands look unnatural
An unnatural appearance often stems from incorrect bone length or poor spacing between the carpals. If the fingers are too short or the palm is too narrow, the hand will lose its human character. Another common issue is failing to account for the natural curve of the hand; even in a skeletal state, the fingers possess a slight, graceful arc.
Perspective also plays a significant role in the final look. If the hand is reaching toward the viewer, the metacarpals should appear foreshortened. This means the bones will look shorter and wider than they would in a flat, side-on view. If the bones look like they are floating apart, double-check your connection points. Ensure that each bone segment is properly anchored to the next, as this provides the structural integrity required for a believable skeletal representation.
Common mistakes when drawing bones
One frequent error is drawing the bones as perfectly straight, uniform rods. Real human bones have subtle curves and varying thicknesses, particularly at the ends where they form joints. Avoid making the phalanges identical in size; the index and ring fingers have distinct lengths, and the thumb sits at a different angle than the rest of the digits.
Another mistake is neglecting the negative space between the bones. In a skeleton, the gaps between the metacarpals are just as important as the bones themselves. These spaces define the shape of the hand and provide depth. By carefully observing the shadows within these gaps, you create a sense of weight and realism. Avoid these common pitfalls to improve your work:
- Drawing the thumb as if it were a standard finger.
- Ignoring the slight taper of the finger bones toward the fingertips.
- Making the wrist appear too wide or disconnected from the forearm.
- Forgetting to add small cracks or texture to the bone surfaces to suggest age.
Key facts
- The human hand contains 27 individual bones, including 8 carpals in the wrist, 5 metacarpals in the palm, and 14 phalanges in the fingers.
- Start your sketch by drawing a trapezoid for the wrist and five radiating lines to represent the metacarpals.
- Phalanges are not uniform cylinders; they are slightly tapered and feature bulbous joints that resemble rounded knuckles.
- The thumb is unique because it only has two phalanges, while the other four fingers each contain three.
- When drawing the joints, use small ovals or circles to ensure the fingers have a realistic range of motion.
- Avoid drawing perfectly straight lines; bones have natural curves and slight irregularities that add anatomical authenticity to your work.
The bottom line
Drawing a skeleton hand requires understanding the underlying structure of the 27 bones that compose the human palm and fingers. By focusing on the radiating metacarpals and the varying lengths of the phalanges, you can create a convincing anatomical study. Prioritize joint placement and natural curvature over rigid lines, and always utilize reference images to ensure your proportions remain accurate throughout the sketching process.
People also ask
How do I make the fingers look like they are bending?
Focus on the joints, which act as hinges. Draw the bones as separate segments connected by these joints, ensuring the segments shorten in perspective as they bend toward or away from the viewer.
Should I draw the bones as smooth tubes or textured objects?
Bones are not perfectly smooth. Add subtle ridges, small pits, and a slightly porous texture to the surface to make them appear more realistic rather than like plastic pipes.
What is the most common mistake when drawing a skeleton hand?
The most frequent error is making the fingers the same length. Remember that the middle finger is the longest, followed by the ring and index fingers, with the pinky being the shortest.
How do I draw the wrist bones accurately?
Do not try to draw all eight carpal bones individually unless you are doing a medical illustration. Instead, draw a compact, blocky shape that suggests the density of the wrist joint.
How do I show the space between the bones?
Use deep shadows between the metacarpals and phalanges. This negative space helps define the individual bones and creates a sense of depth and volume in your drawing.
Is it better to use a reference photo or draw from imagination?
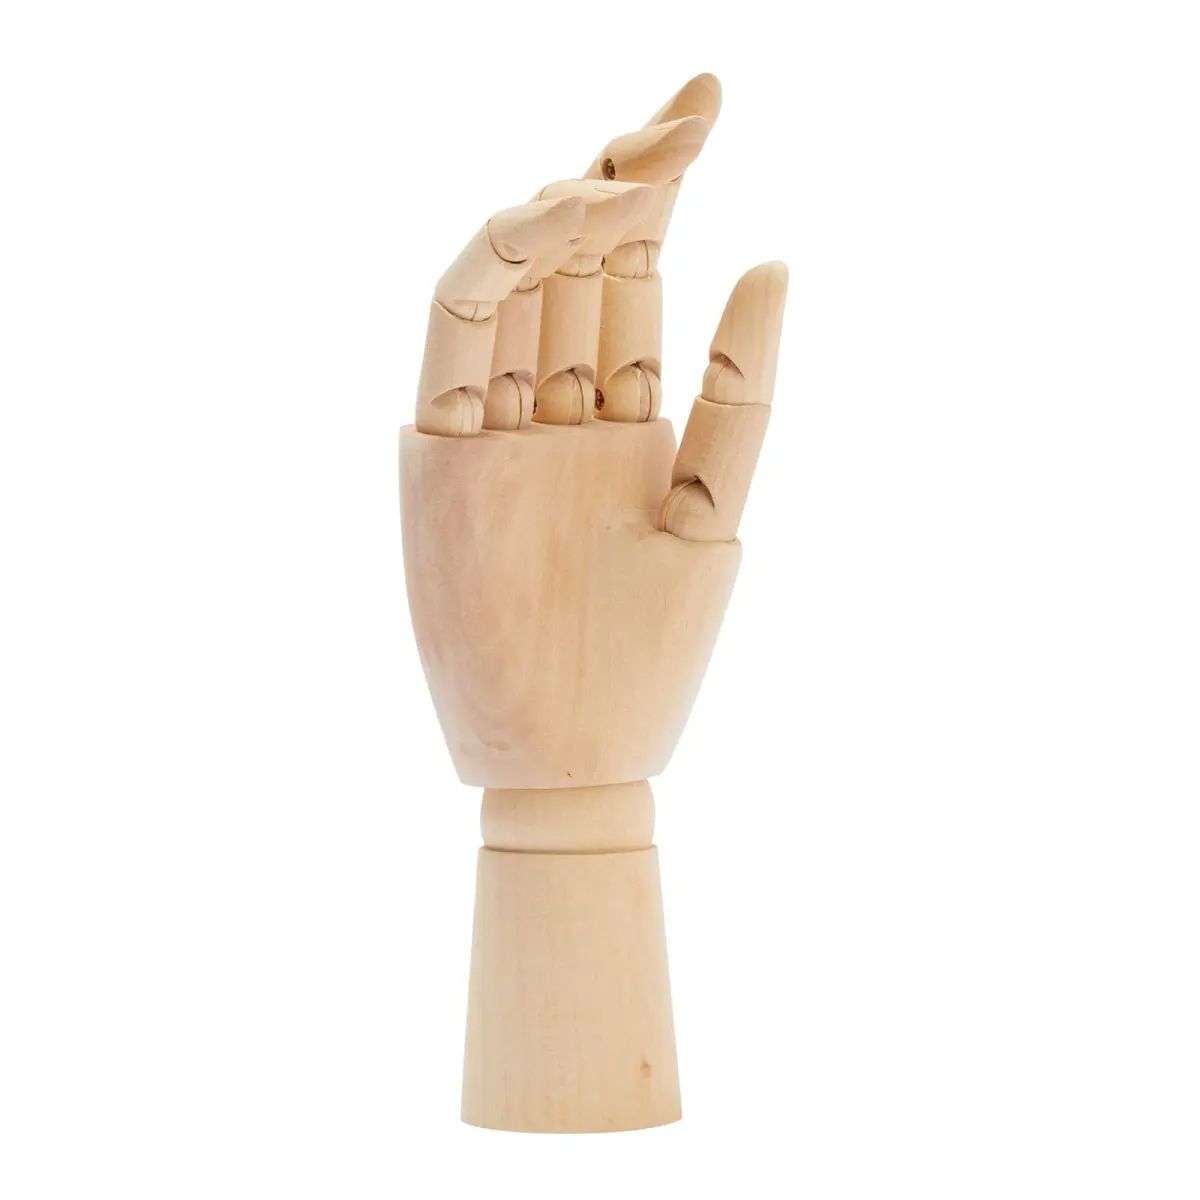
Always use a reference photo or a plastic anatomical model. Even experienced artists rely on visual aids to capture the complex angles and proportions of the human hand correctly.
This answer was created with the help of AI research tools and reference sources. Spotted an error? Let us know — we correct mistakes quickly. See our editorial policy.