How do you use a wooden hand model?
Short answer
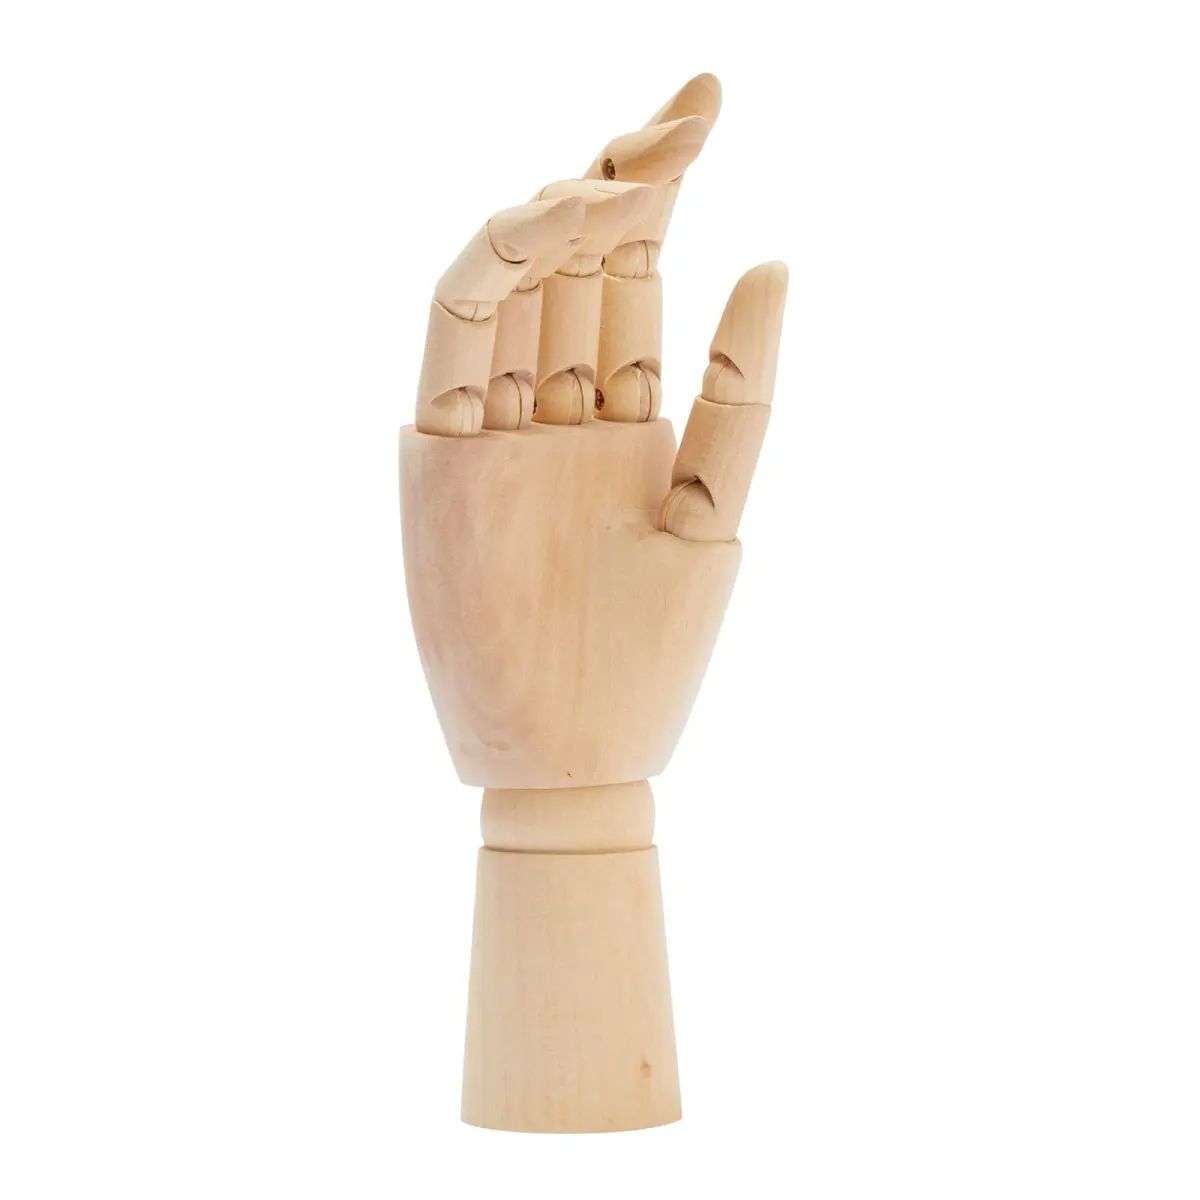
A wooden hand model is a reference tool used by artists to study human anatomy, proportions, and complex gestures. By adjusting the articulated joints, you can replicate specific poses to draw from life. It serves as a static guide to help you understand how light, shadow, and foreshortening interact on the hand.
On this page
How to adjust a wooden hand model for drawing
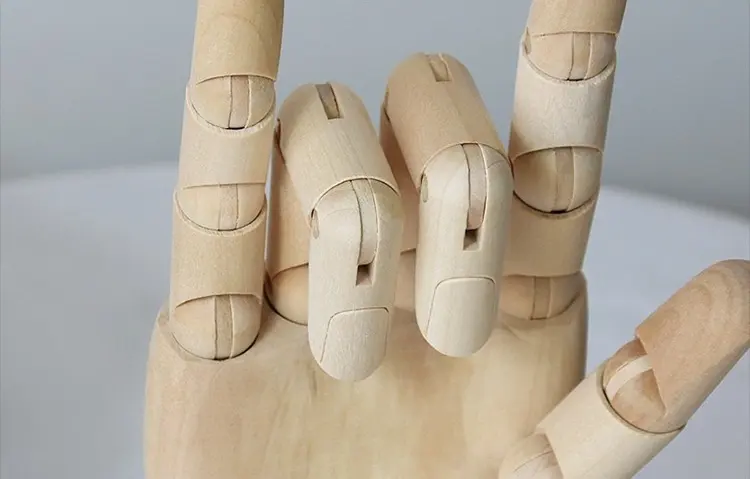
To begin using your wooden hand, gently manipulate the fingers and wrist to achieve the desired pose. Most models feature ball-and-socket joints or simple pivots that allow for a wide range of motion. Start by setting the wrist at an angle, then move the thumb and fingers to mimic a natural grasp or a pointing gesture. If the joints feel stiff, avoid forcing them, as the wood can crack or the internal elastic bands may snap. Instead, apply steady, gentle pressure to coax the pieces into place.
Once the hand is positioned, place it on a stable surface at eye level. You may need to use a small block or a piece of clay to prop it up if the model does not stand well on its own. Ensure your light source is consistent, as the wooden surface will clearly display how shadows fall across the knuckles and palm. This makes it an ideal tool for practicing value studies and understanding how light wraps around complex, cylindrical shapes.
Best techniques for beginners to study anatomy
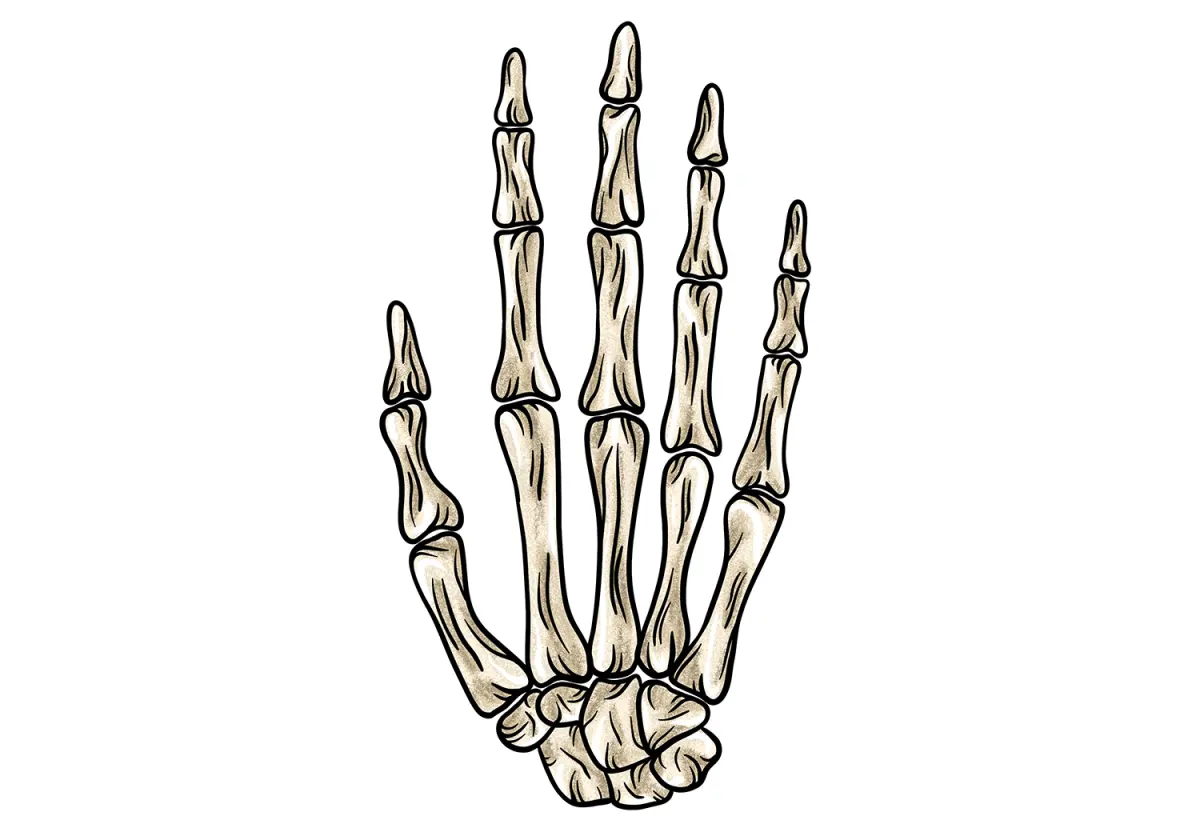
Beginners should focus on breaking the hand down into simple geometric volumes rather than obsessing over fine details. A wooden hand is essentially a collection of cylinders and boxes, which simplifies the complex structure of the human skeleton. By observing the model, you can learn how the fingers taper and how the palm functions as a rigid base for the digits. This foundational knowledge is essential for drawing hands that look anatomically correct rather than flat or distorted.
Follow these steps to maximize your learning sessions:
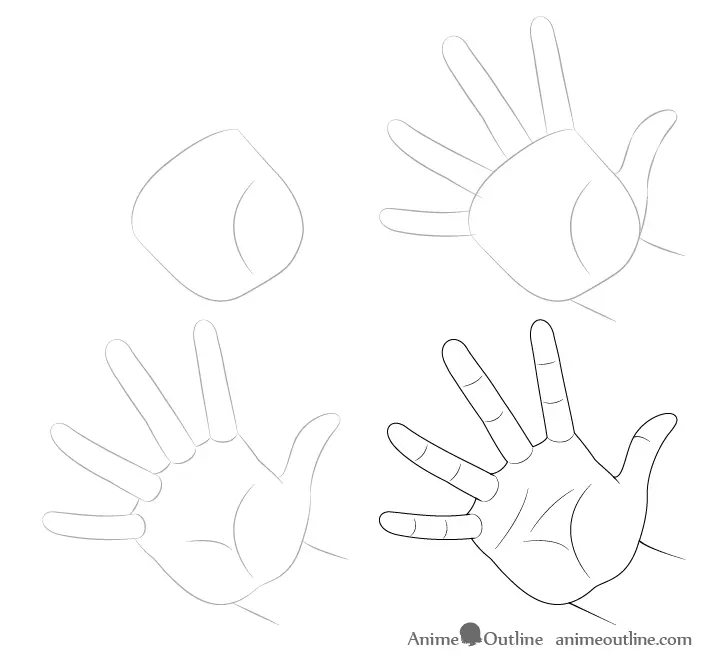
- Sketch the hand from the model using only basic shapes like circles for joints and rectangles for finger segments.
- Observe the negative space created between the fingers and the palm to ensure your proportions are accurate.
- Rotate the model slightly to see how the same pose changes when viewed from a different perspective.
- Practice drawing the hand from at least three different angles to build a three-dimensional understanding of its structure.

Why proportions are important when using a model
Proportions are the most critical aspect of drawing a realistic hand. A wooden model is typically sculpted with idealized proportions, which helps you internalize the relationship between the length of the fingers and the size of the palm. For instance, the middle finger is usually the longest, and the base of the thumb sits lower on the hand than the other fingers. If you ignore these ratios, your drawings will appear unnatural, regardless of how well you shade the final image.
When using the model, pay close attention to the "landmarks" of the hand. Notice where the knuckles align and how the skin folds when the fingers are curled. By comparing the wooden model to your own hand, you can identify where the model might be simplified for manufacturing purposes. Use the model as a structural guide, but always verify the details against your own anatomy to ensure your final drawing retains a sense of organic life.
Common mistakes when posing a wooden hand
One of the most frequent errors is creating poses that are physically impossible for a human hand. Because wooden models have limited joint movement, users often force them into positions that defy human anatomy, such as bending fingers backward or rotating the wrist beyond its natural range. Always test the pose on your own hand before committing it to your drawing. If you cannot comfortably replicate the pose yourself, your drawing will likely look stiff or broken to the viewer.
Another common mistake is neglecting the perspective of the fingers. Users often draw fingers as if they are all on the same flat plane, even when the model is positioned in a way that creates depth. To avoid this, look for foreshortening, where the fingers closest to the viewer appear larger and shorter than those further away. If you fail to account for this depth, the hand will look like a flat cutout rather than a solid, three-dimensional object.
How to maintain your wooden hand model
Proper maintenance ensures your wooden hand remains a useful tool for years. Keep the model in a dry, cool environment, as extreme humidity can cause the wood to expand or warp, making the joints stick. If the joints become loose over time, you can often tighten them by adjusting the small screws usually located on the sides of the fingers or wrist. Use a small screwdriver carefully to increase the tension, but do not overtighten, as this can strip the threads or damage the wood.
If you plan to use the model frequently, consider these maintenance tips:
- Dust the model regularly with a soft cloth to prevent buildup in the joints.
- Avoid using oils or polishes that might make the surface too slippery or sticky for long-term use.
- Store the model in a protective box or bag when not in use to prevent accidental drops that could break the delicate wooden fingers.
- Inspect the internal elastic cords periodically for signs of fraying or loss of elasticity, which may eventually require a professional repair or replacement.
Key facts
- Wooden hand models feature articulated joints, typically including a wrist, knuckles, and individual finger segments.
- Most models are scaled to represent an average adult human hand, though sizes vary from 7 to 12 inches.
- Use a light touch when adjusting fingers, as the small wooden dowels and elastic cords can snap under excessive force.
- Place the model on a stable surface or use a mounting rod to keep it upright during long drawing sessions.
- Apply a thin layer of graphite or charcoal to the model to help visualize how light and shadow fall across complex planes.
- Always return the model to a neutral, relaxed position after use to maintain the tension of the internal elastic bands.
The bottom line
A wooden hand model is a versatile tool for artists seeking to master human proportion and complex perspective. By treating it as a structural framework rather than a perfect replica, you can effectively map out light, shadow, and foreshortening. Treat the delicate joints with care to ensure longevity, and always prioritize observing real-life anatomy alongside your model to refine your artistic accuracy and technical skill.
People also ask
Are wooden hand models anatomically perfect?
No, these models are stylized representations designed for general proportions rather than medical accuracy. They lack the subtle skin folds and complex muscular structure of a real hand, serving primarily as a structural guide.
Can I use the model to practice drawing foreshortening?
Yes, the articulated joints allow you to position the fingers toward or away from the viewer. This is an excellent way to study how shapes overlap and diminish in size due to perspective.
What material are these models usually made from?
Most professional-grade models are crafted from seasoned hardwood, such as Schima superba or beech. These woods are chosen for their durability and smooth finish, which prevents splintering during frequent adjustments.
How do I fix a finger that has become loose?
Most models use internal elastic cords that can be tightened by adjusting the tension screw often located at the base of the wrist. If the elastic has snapped, you may need to disassemble the segments to thread a new cord.
Should I paint or stain my wooden hand model?
While you can customize your model, adding paint or thick finishes can interfere with the movement of the joints. If you must modify it, use a light wood stain or a thin matte spray to preserve the articulation.
Can I use the model to hold objects?
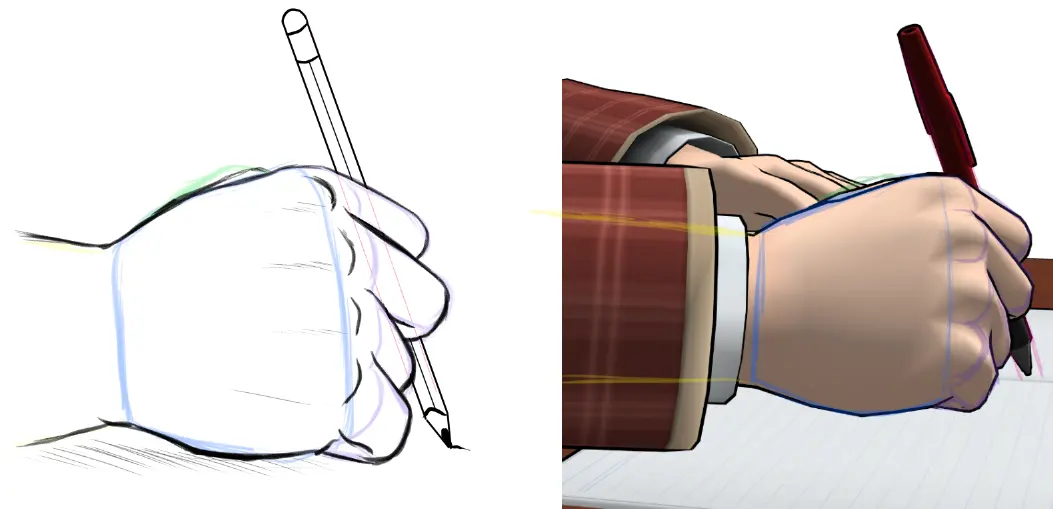
You can pose the fingers to grip lightweight items like pencils or brushes for reference. Avoid placing heavy objects in the model’s grasp, as the tensioned joints are not designed to support significant weight.
This answer was created with the help of AI research tools and reference sources. Spotted an error? Let us know — we correct mistakes quickly. See our editorial policy.