How do you draw a magnolia?
Short answer
Drawing a magnolia requires capturing its characteristic large, waxy petals and sturdy, woody stems. Begin by sketching a central cup shape, then layer overlapping, teardrop-shaped petals around it. Focus on the subtle curves and shadows to create volume, using soft graphite or charcoal to emphasize the flower’s elegant, organic structure and heavy texture.
On this page
How to structure a magnolia drawing
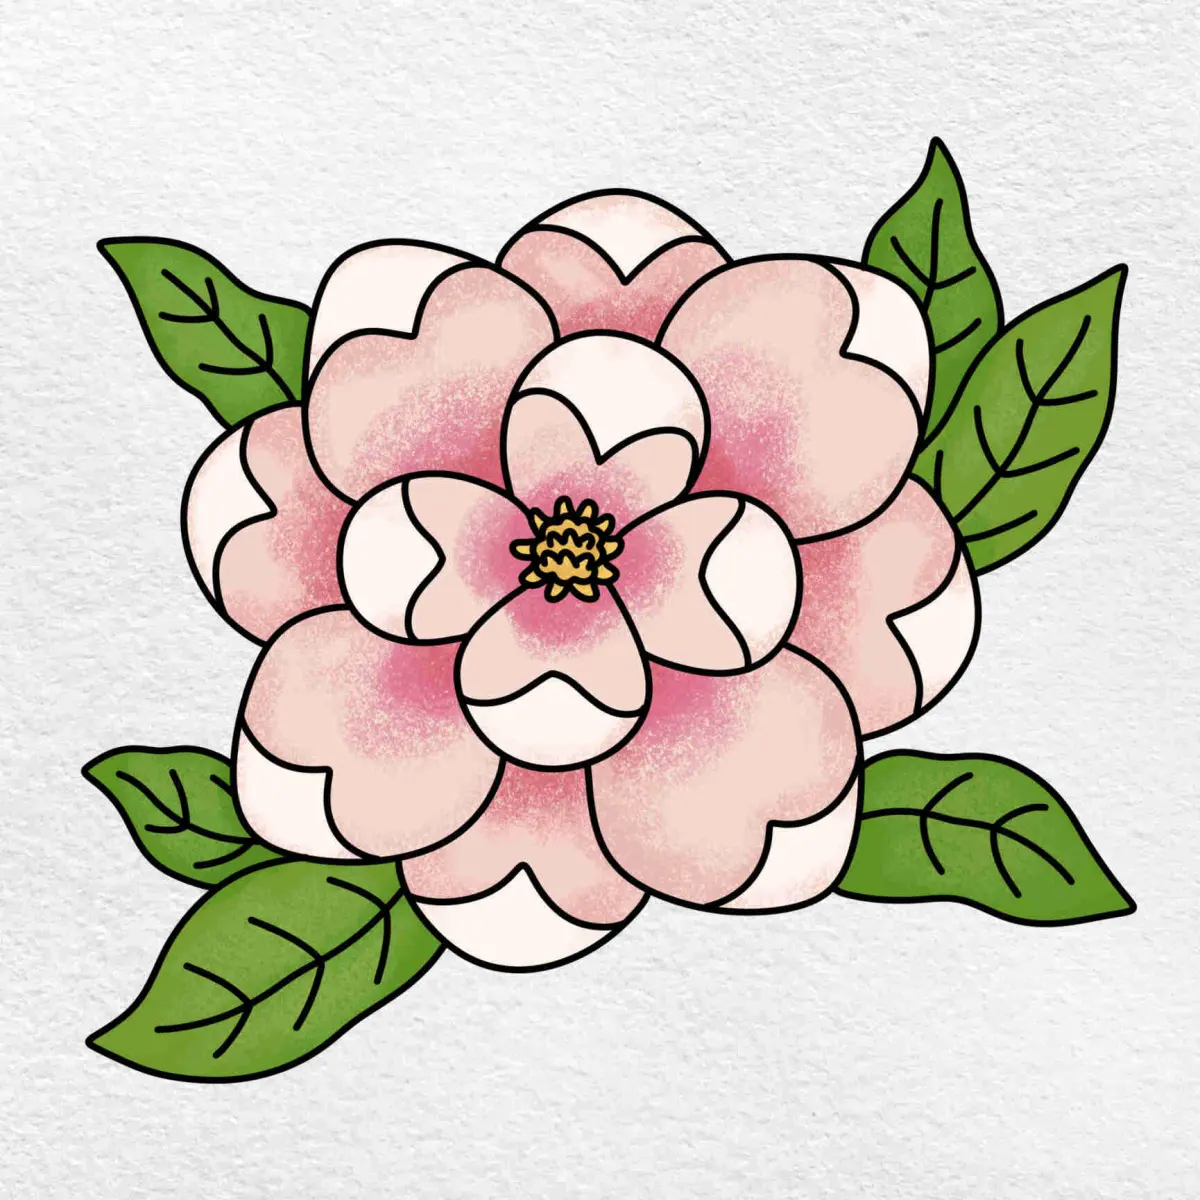
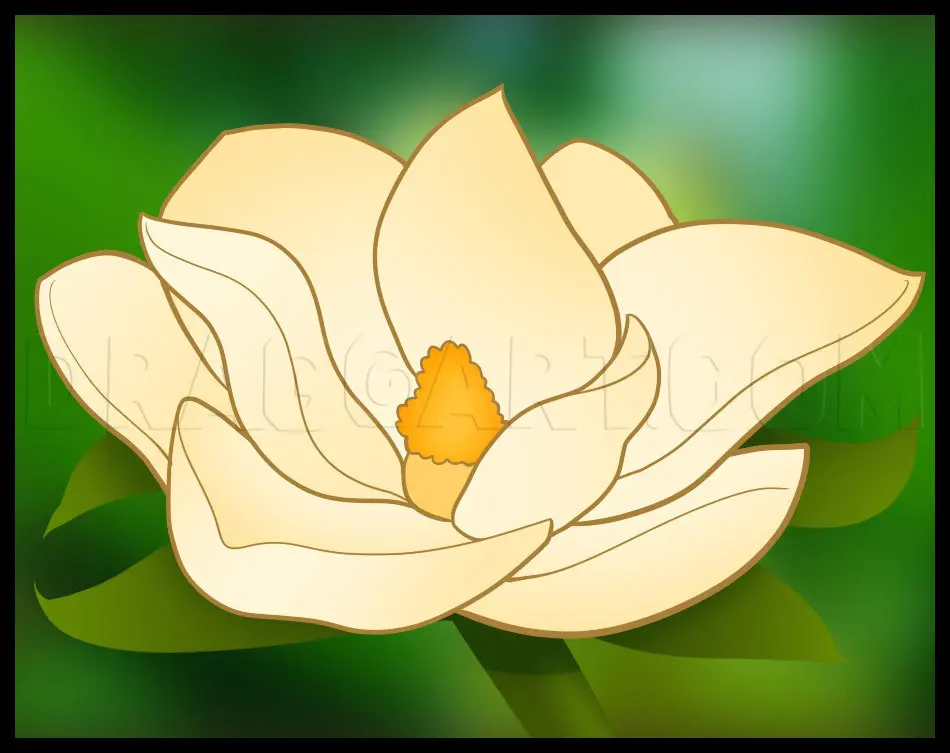
The magnolia is defined by its substantial, fleshy petals that often overlap in complex, swirling patterns. To begin, lightly sketch a central oval or bowl shape to serve as the heart of the flower. From this core, extend large, rounded petals that taper slightly at the base. Aim for a sense of weight; magnolia petals are not thin like roses but have a thickness that should be reflected in your line work.
Use a light touch with your pencil during the initial layout phase. If you press too hard, you will indent the paper, making it difficult to erase or blend later. Observe the way the petals fold over one another, creating deep crevices where light cannot reach. By establishing these structural boundaries early, you provide a roadmap for the shading process that will follow.
Best tools for drawing magnolias
For beginners, a set of graphite pencils ranging from 2H to 4B is ideal for capturing the subtle gradations of a magnolia. The harder 2H pencils are perfect for light, preliminary outlines and fine details on the edges of the petals. The softer 4B pencils allow you to build up the deep, velvety shadows found in the center of the bloom. A kneaded eraser is also essential for lifting highlights and correcting minor errors.
Consider using the following tools to enhance your final result:
- Smooth-finish drawing paper to prevent unwanted texture from interfering with petal shading.
- A blending stump to soften the transition between light and shadow on the curved surfaces.
- A precision sharpener to keep your pencil points fine for detailing the stamens.
- A white gel pen or charcoal pencil for adding sharp highlights to the waxy petal edges.
How to shade petals for realism
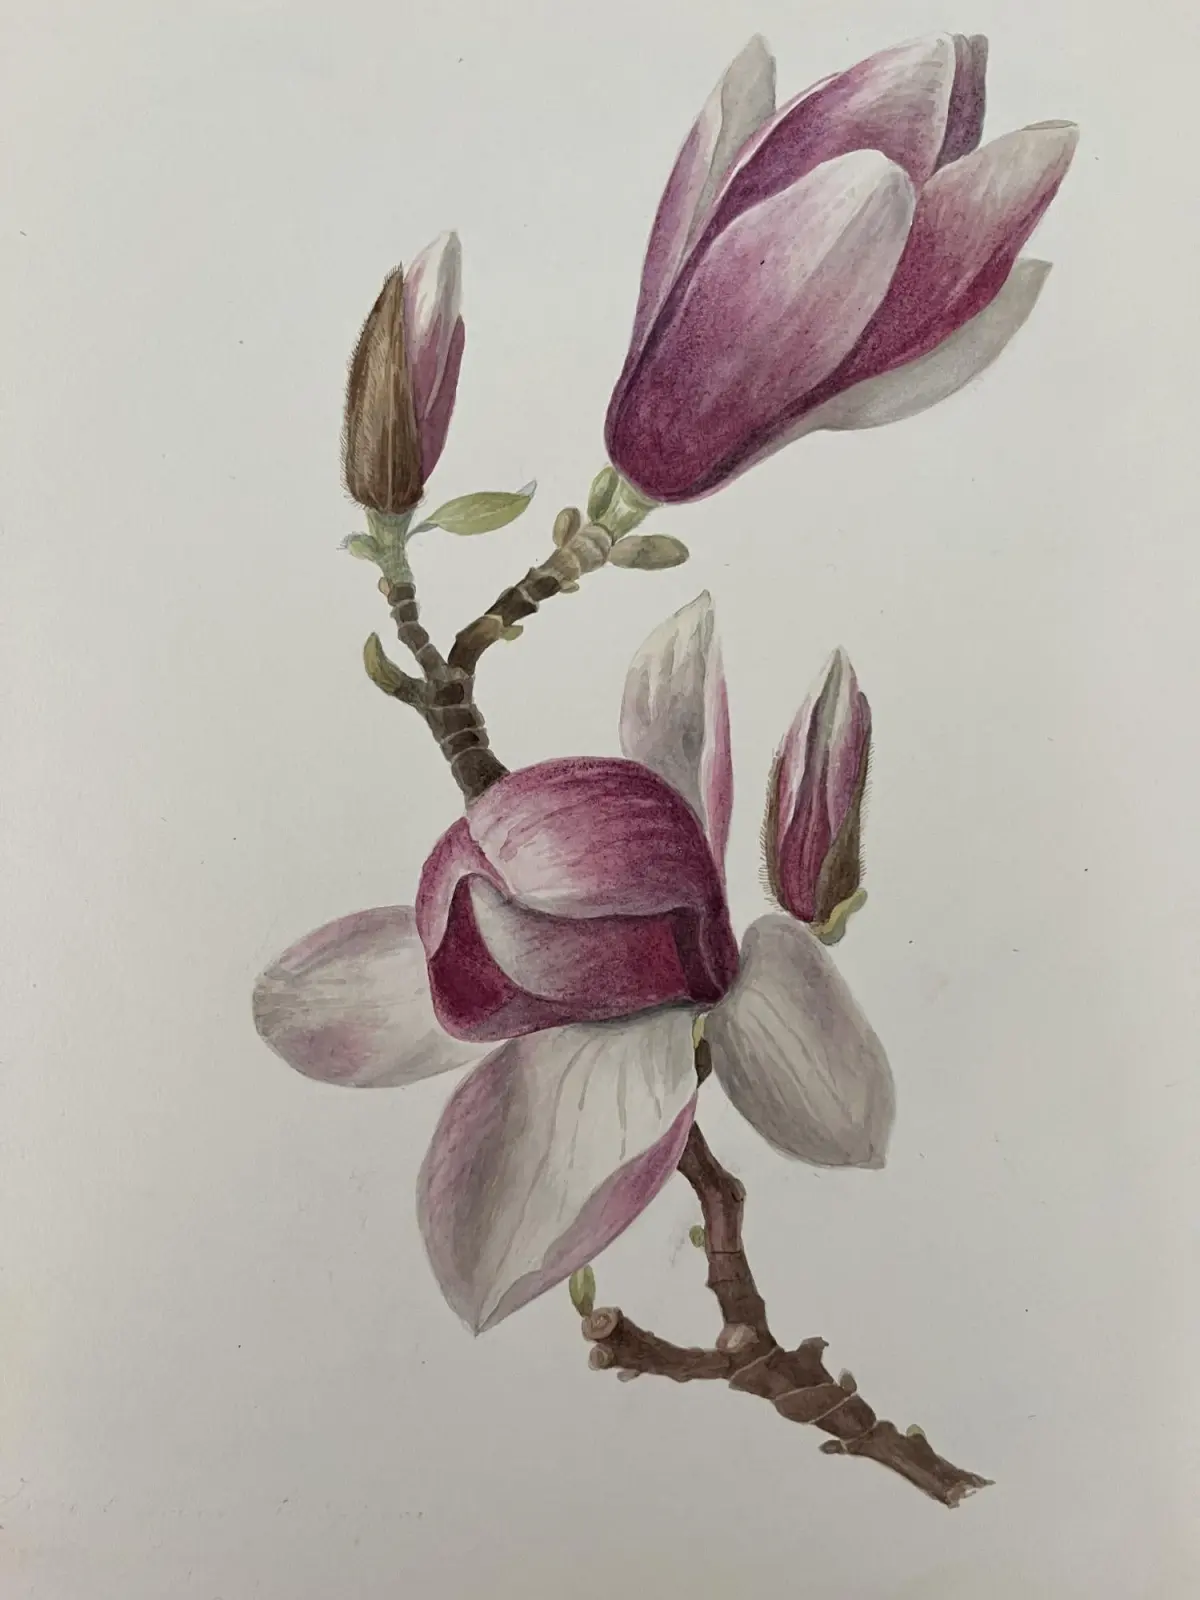
Shading is the most critical step in making a magnolia appear three-dimensional. Because magnolia petals have a waxy, reflective surface, they often feature sharp transitions between bright highlights and deep, soft shadows. Start by identifying the primary light source and shade the opposite side of each petal accordingly. Use long, sweeping strokes that follow the natural curve of the petal to suggest its volume and smooth texture.
Follow these steps to achieve a realistic finish:
- Identify the darkest areas, usually where petals overlap or meet the central stem.
- Apply a light base layer of graphite across the entire petal surface.
- Use a blending stump to smooth the graphite, ensuring no harsh lines remain on the petal surface.
- Use a kneaded eraser to lift thin strips of graphite, creating the bright, reflective highlights characteristic of magnolia petals.
- Deepen the shadows near the base of the flower to create a sense of depth and density.
Common mistakes when drawing magnolias
A frequent error is making the petals appear too symmetrical or uniform in size. In nature, magnolia petals are irregular and often show slight bruising or curling at the edges. Avoid drawing perfect, identical shapes, as this makes the flower look artificial. Instead, vary the length and curvature of each petal to reflect the organic, slightly chaotic growth pattern of the actual plant.
Another common mistake is neglecting the weight of the flower. Because magnolias are heavy, they often droop slightly on their stems. If you draw the flower perfectly upright, it may look stiff or unnatural. Ensure the stem is thick enough to support the bloom and consider adding a slight tilt to the flower head. Finally, do not outline every single petal with a dark, heavy line, as this flattens the image and obscures the soft, delicate transitions between the overlapping layers.
Techniques for adding leaves and stems
The leaves of a magnolia are just as important as the flower itself, as they provide a dark, glossy contrast to the pale petals. Magnolia leaves are thick, leathery, and often dark green on top with a fuzzy, brown underside. When drawing them, use darker, more aggressive shading to distinguish them from the delicate petals. Focus on the prominent central vein that runs down the length of each leaf, as this adds structural interest to your composition.
To integrate leaves effectively, follow these guidelines:
- Keep the leaf edges slightly irregular to mimic natural wear and tear.
- Use cross-hatching to build up the deep, rich tones of the foliage.
- Leave small, thin white lines along the veins to indicate the glossy surface reflecting light.
- Position the leaves so they frame the flower rather than competing with it for attention.
- Vary the orientation of the leaves to create a dynamic sense of movement around the central bloom.
Key facts
- Magnolias are characterized by large, waxy, cup-shaped petals that overlap in a spiral pattern.
- Start your sketch with a central oval to represent the core bud before adding surrounding petals.
- Use a light graphite pencil (2H) to map out the structure before darkening lines with a softer (2B or 4B) lead.
- Focus on the base of the flower where petals are thicker and cast deeper shadows.
- Magnolia leaves are thick, leathery, and oval-shaped with a distinct central vein.
- Avoid drawing perfectly symmetrical petals, as natural magnolias have slight variations in shape and curve.
The bottom line
Drawing a magnolia requires observing the plant's natural asymmetry and waxy texture. By starting with a simple structural skeleton and layering petal shapes from the center outward, you can achieve a realistic form. Focus on the interplay of light and shadow at the base of the petals to create depth. With patience and attention to the organic curves, you will successfully capture the elegance of this iconic flower.
People also ask
How do I create depth in a magnolia drawing?
Apply heavier pressure at the base of the petals where they meet the stem. Use a blending stump to smooth out transitions between light and shadow on the curved surfaces.
Should I draw the stem first or the petals?
It is best to draw the flower head first to establish the scale of your composition. Once the petals are positioned, draw the stem connecting to the base to ensure proper alignment.
What is the best way to draw the texture of a magnolia petal?
Use long, sweeping strokes that follow the contour of the petal. Leave small white gaps to represent highlights where light hits the waxy, reflective surface.
How many petals should a magnolia have?
Magnolia flowers typically have between 6 and 12 petals, depending on the specific species. You do not need to count them exactly, but aim for an odd number to create a more natural, asymmetrical look.
Can I use ink for drawing magnolias?
Ink is excellent for capturing the clean, bold lines of magnolia petals. Practice with pencil first, then use fine-liner pens to add cross-hatching for shadow and definition.
How do I draw the center of the magnolia flower?
The center consists of a cone-like structure called the receptacle. Draw a small, bumpy cylinder in the middle and surround it with thin, upright stamens to give it a realistic, textured appearance.
This answer was created with the help of AI research tools and reference sources. Spotted an error? Let us know — we correct mistakes quickly. See our editorial policy.