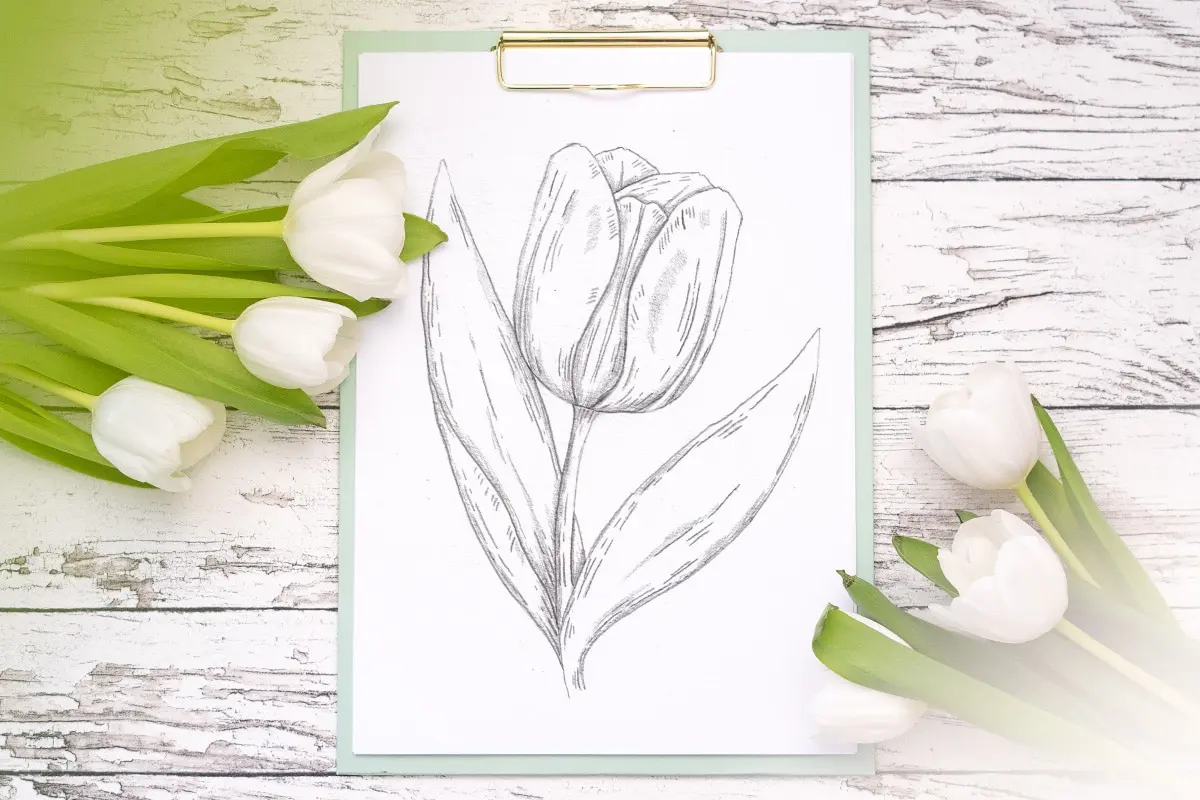
How do you draw a hibiscus flower?
Short answer
Drawing a hibiscus flower involves sketching a large, trumpet-shaped bloom with five overlapping petals and a prominent central stamen. Begin by establishing the basic circular structure, then refine the petal edges with wavy lines. Focus on the distinct, elongated tube extending from the center to capture the flower’s iconic tropical silhouette accurately.
On this page
How to structure a hibiscus drawing
The hibiscus is defined by its radial symmetry and large, open petals. To begin, draw a light circle to represent the overall size of the bloom. Divide this circle into five roughly equal sections to guide the placement of the petals. Keep these initial lines very faint, as they serve only as a blueprint for the final shape.
Once your guidelines are set, sketch the central column, or stamen, which protrudes from the middle of the flower. This structure is essentially a long, thin tube that extends well beyond the petals. At the very tip of this tube, add a small cluster of circles to represent the pollen-heavy anthers. This central feature is the most recognizable part of the hibiscus and provides the necessary focal point for the rest of your drawing.
Best drawing techniques for beginners
When moving from the basic structure to the final form, focus on the organic, wavy edges of the petals. Avoid drawing perfectly straight lines, as hibiscus petals are naturally ruffled and soft. Use a light touch to create overlapping shapes, ensuring that one petal appears to sit behind the next to create a sense of depth.
- Draw a central circle and a long, vertical line extending from the middle.
- Outline five broad, teardrop-shaped petals radiating from the center.
- Add subtle, wavy indentations along the outer edges of each petal.
- Draw the stamen tube with a slight thickness, ensuring it tapers toward the top.
- Add small, circular dots at the end of the stamen to represent the pollen.
Focusing on these steps helps beginners maintain control over the proportions while allowing for the natural, flowing beauty of the flower to emerge through the pencil strokes.
How to add realistic detail and texture
Texture is what separates a flat sketch from a lifelike botanical illustration. Hibiscus petals often feature delicate veins that radiate from the center toward the outer edges. Use light, feathery lines to indicate these veins, following the natural curve of each petal. Do not draw every single vein; instead, select only the most prominent ones to suggest detail without cluttering the drawing.
Shading is equally important for creating a three-dimensional appearance. Identify where the light source is coming from and shade the areas where petals overlap or curve inward. Use a cross-hatching or smooth blending technique to transition from dark shadows near the base of the flower to lighter tones at the petal tips. This contrast highlights the soft, velvety texture of the petals, making the flower appear to lift off the page.
Common mistakes when drawing hibiscus
A frequent error is drawing the petals too symmetrically or stiffly. Nature rarely produces perfect, identical shapes, so vary the size and curve of each petal slightly to achieve a more realistic look. Another common mistake is neglecting the connection point where the petals meet the stem. The petals should appear to emerge from a central base, rather than simply floating around the stamen.
- Making the stamen too short or too thick, which ruins the flower's elegant proportions.
- Forgetting to show the overlap between petals, which makes the flower look like a flat paper cutout.
- Adding too many heavy, dark lines that obscure the delicate nature of the petals.
- Failing to account for the curve of the petals, which should look like they are cupping the center.
By checking these common pitfalls, you can adjust your drawing early in the process to ensure a professional and balanced result.
How to refine your final composition
The final stage of the drawing process is about cleaning up your guidelines and adding finishing touches. Use an eraser to remove the initial circle and construction lines, leaving only the clean, final outlines. If you are working in graphite, you may want to go over your main lines with a slightly softer pencil to add weight and definition to the edges of the petals.
Consider adding a few leaves to the background to frame the flower. Hibiscus leaves are typically dark green, serrated, and oval-shaped, which provides a nice contrast to the large, smooth petals of the bloom. By placing one or two leaves behind the flower, you anchor the subject in a natural setting. Step back from your work periodically to view the entire composition from a distance, which helps you spot any imbalances in the overall shape or shading before you declare the drawing complete.
Key facts
- A hibiscus flower typically features five large, overlapping petals arranged in a circular pattern.
- The most defining feature is the long, prominent central stamen column that extends well beyond the petals.
- Draw the petals with wavy or scalloped edges to mimic the natural, delicate texture of the bloom.
- Use a light pencil sketch to establish the circular base before detailing the specific petal overlaps.
- The stamen column should be drawn as a long, thin tube with small, pollen-bearing anthers clustered at the tip.
- Hibiscus flowers are radially symmetrical, meaning they look balanced when viewed from directly above.
The bottom line
Drawing a hibiscus flower is a rewarding exercise in capturing organic, radial symmetry. By focusing on the distinctive five-petal arrangement and the elongated central stamen column, you can create a recognizable botanical sketch. Remember to emphasize the wavy petal edges and the layered depth through careful shading. With consistent practice of these simple structural steps, you will master the elegant form of this iconic tropical bloom.
People also ask
How do I make the petals look realistic rather than flat?
Add subtle shading lines radiating from the center of the flower toward the outer edges of the petals. This creates a sense of depth and highlights the natural veins found in hibiscus foliage.
Should I draw the stem attached to the flower?
Yes, drawing a thick, sturdy stem emerging from the base of the flower adds anatomical accuracy. Ensure the stem connects to a small, cup-shaped structure called the calyx at the base of the petals.
What is the best way to draw the pollen-bearing anthers?
Draw small, rounded shapes or dots clustered around the top third of the central stamen column. Varying the size and spacing of these dots will make the texture appear more organic.
How do I handle the overlapping of the five petals?
Draw one petal fully, then draw the next so that one of its edges tucks behind the previous petal. This simple layering technique creates the illusion of a three-dimensional, blooming flower.
Are there different types of hibiscus to consider when drawing?
Yes, the Hibiscus rosa-sinensis is the most common tropical variety with wide, flat petals. Other species, like the Rose of Sharon, have a more trumpet-like shape that requires a narrower base.
What common mistake should I avoid when sketching the flower?
Avoid making the petals perfectly symmetrical or uniform in size. Real flowers have slight irregularities, so varying the curves and widths of each petal will make your drawing look much more lifelike.
This answer was created with the help of AI research tools and reference sources. Spotted an error? Let us know — we correct mistakes quickly. See our editorial policy.