How do you draw bubbles?
Short answer
Drawing a bubble requires capturing its spherical volume through strategic shading and highlights. You must define the circular outline, place a primary light reflection, and apply a gradient that transitions from dark to light. By layering these elements, you create the illusion of a transparent, liquid surface floating in space.
On this page
How to draw a bubble step by step
To draw a realistic bubble, you must focus on the interaction between light and a curved, transparent surface. Start by drawing a perfect circle using a compass or a light hand motion. Because bubbles are spheres, they possess a consistent curvature that dictates how light hits the surface. Once the circle is established, identify your light source to determine where the highlight will appear.
- Sketch a light, thin circle to serve as your base shape.
- Draw a slightly curved, crescent-shaped highlight near the top edge of the circle.
- Add a smaller, secondary reflection on the opposite side to suggest transparency.
- Use a soft graphite pencil to shade the area directly beneath the primary highlight.
- Blend the shading toward the edges, leaving the bottom of the bubble slightly lighter to imply reflected light from the ground.
Best drawing tools for beginners
For those new to rendering transparent objects, choosing the right medium is essential for achieving smooth gradients. Graphite pencils ranging from 2H to 4B offer the necessary control to build up layers of tone without damaging the paper. A 2H pencil is ideal for initial light sketches, while a 4B pencil allows for the deep, rich shadows required to make the bubble pop against the background.
- Kneaded erasers are crucial for lifting graphite to create crisp, clean highlights.
- Blending stumps or tortillons help smooth out transitions between shadow and light.
- Smooth, hot-press watercolor paper or bristol board prevents unwanted texture from interfering with the bubble’s glassy appearance.
- White gel pens or opaque white gouache are excellent for adding final, sharp highlights that cannot be achieved by erasing alone.
Why bubbles look transparent
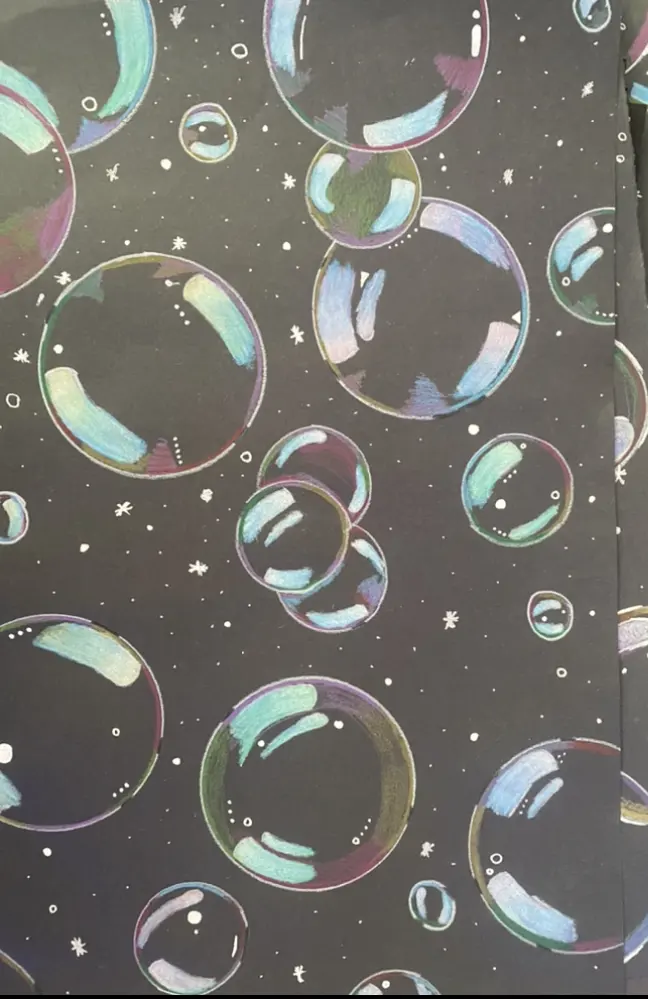
The appearance of transparency in a drawing is a result of how you manipulate light and shadow. A bubble is essentially a thin film of soap that reflects its surroundings while also allowing light to pass through it. To depict this, you must avoid outlining the entire circle with a heavy, dark line. Instead, use broken, faint lines to suggest the delicate nature of the soap film.
The center of the bubble should remain relatively clear, while the edges should be darker to define the sphere's volume. By keeping the middle sections lighter, you simulate the effect of light refracting through the liquid. Remember that a bubble is not a solid object; it is a lens. Incorporating subtle distortions of the background behind the bubble can further enhance the perception of depth and realism.
Common mistakes when drawing bubbles
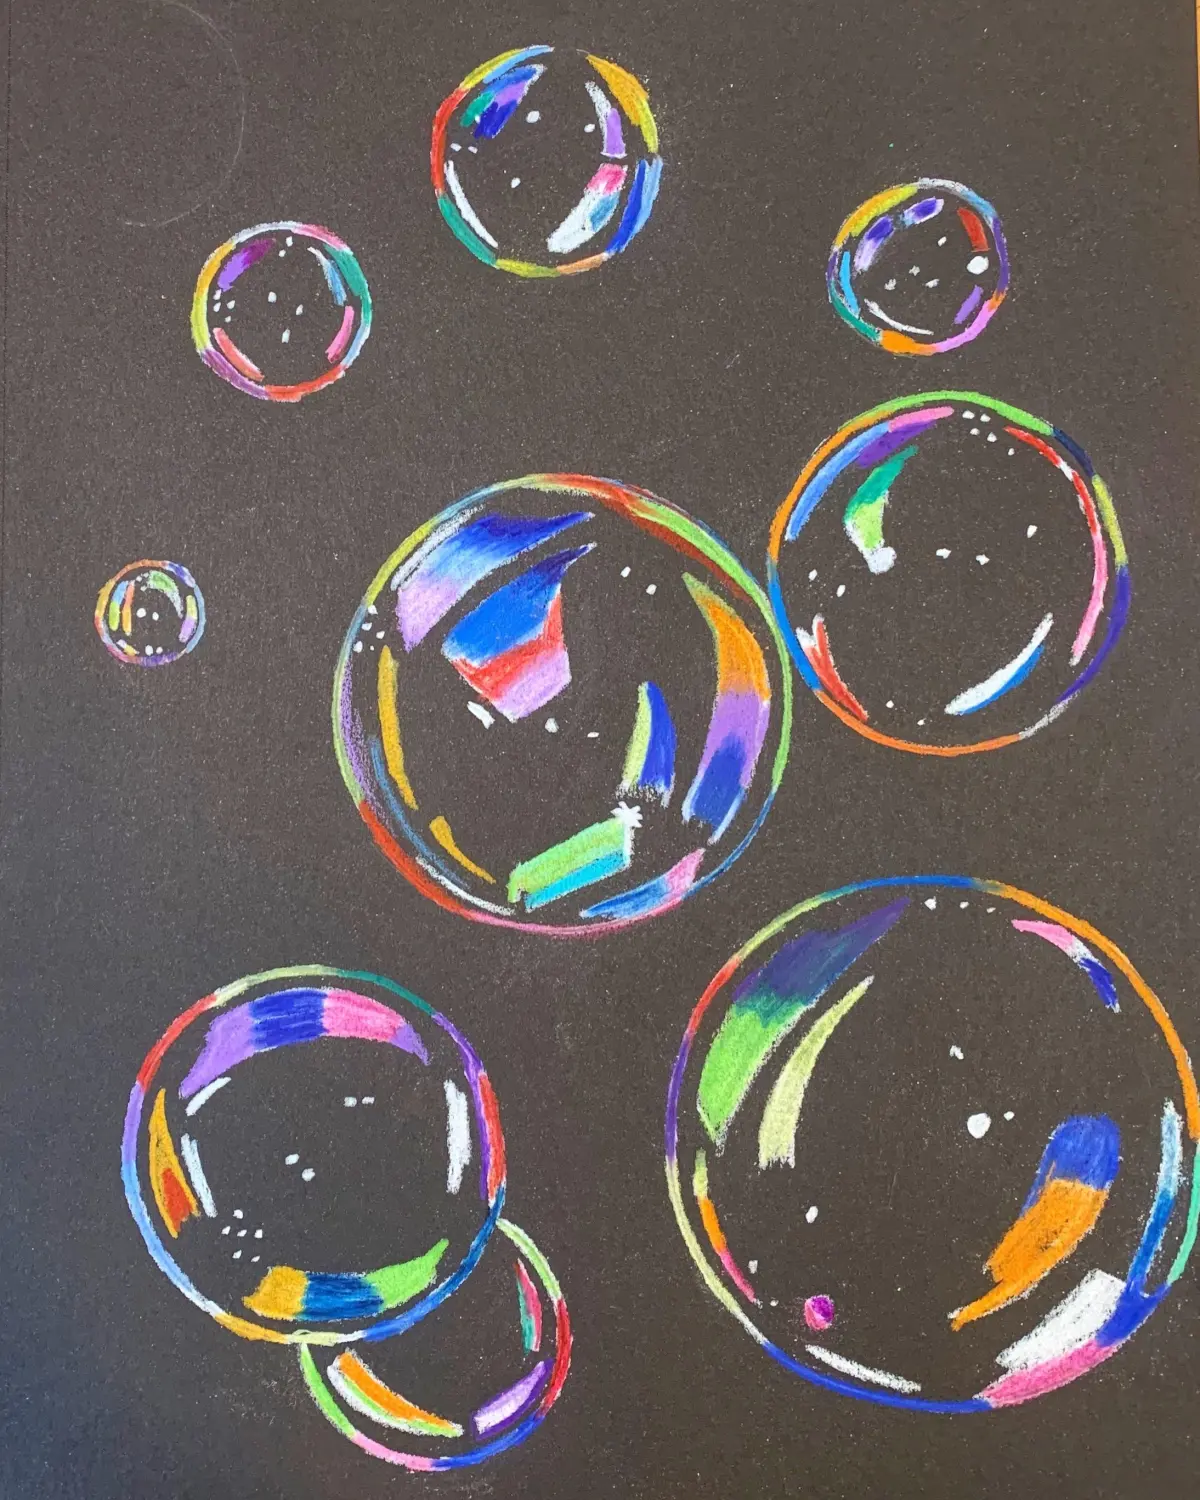
One of the most frequent errors is creating a bubble that looks like a solid marble or a flat disc. This usually happens when the artist uses uniform shading or places the highlight in the center of the circle. To avoid this, always place your primary highlight off-center, following the curve of the sphere. Additionally, failing to include a "cast shadow" on the ground beneath the bubble makes it appear as though it is floating in a vacuum.
Another mistake is using harsh, dark outlines that make the bubble look like a heavy metal ball. Use a light touch and allow the shading to define the form rather than the contour line. If the bubble appears too dark, you have likely over-shaded the interior. Remember that the majority of the bubble should be light, with only specific areas of shadow used to indicate its curved surface and internal structure.
How to add color to bubbles
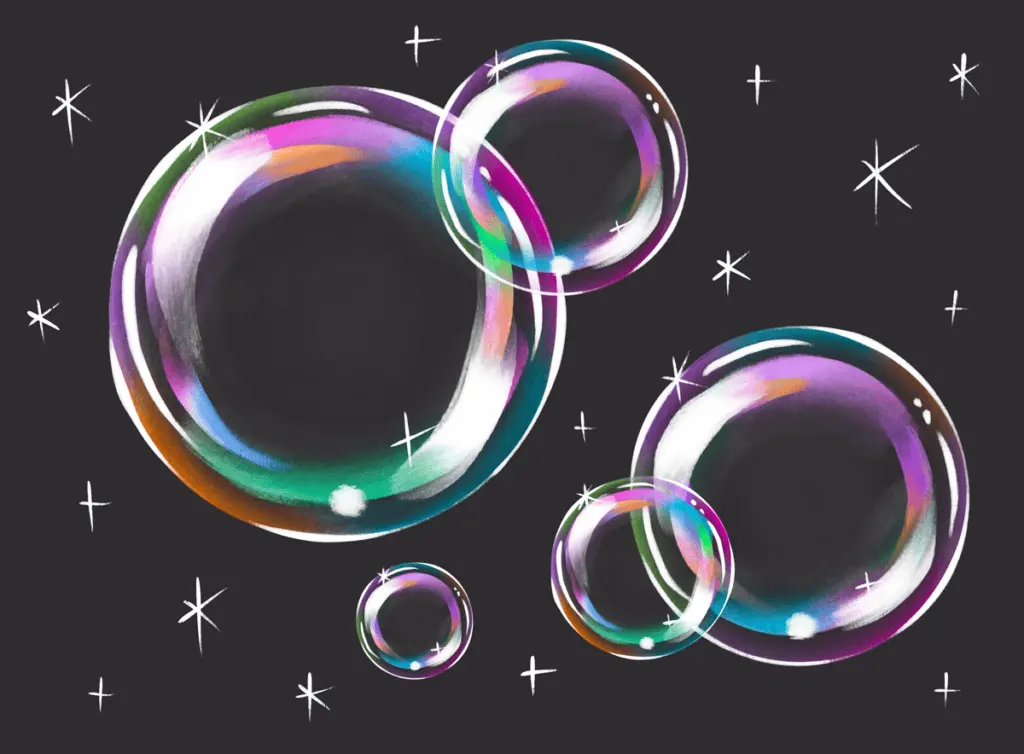
Adding color to your bubble drawings transforms them from simple sketches into vibrant, iridescent spheres. Bubbles naturally exhibit a spectrum of colors due to thin-film interference, where light waves reflect off both the inner and outer surfaces of the soap film. When using colored pencils or markers, apply light washes of blue, violet, and pink in a circular motion to mimic the swirling nature of the surface.
Focus on creating soft, blended transitions between colors rather than sharp lines. Keep the center of the bubble bright and saturated, while allowing the edges to fade into softer, muted tones. By layering these colors, you can replicate the shifting, rainbow-like appearance of a real soap bubble. Always maintain your white highlights, as they are the most important element for ensuring the bubble retains its glassy, liquid quality regardless of the colors you choose to apply.
Key facts
- Bubbles are spheres because surface tension minimizes surface area for a given volume.
- Start with a perfect circle, but leave a small gap in the outline to suggest a highlight.
- Use a light blue or white color for the inner glow to mimic light refraction.
- Add a curved white crescent on the upper side to represent the primary light reflection.
- Place a smaller, soft-edged highlight on the opposite side to show light passing through the bubble.
- Cast a faint, blurry shadow directly beneath the bubble to ground it in the scene.
The bottom line
Drawing a convincing bubble relies on mastering transparency, reflection, and shadow. By treating the bubble as a spherical lens rather than a simple circle, you can create depth through subtle color gradients and distorted background imagery. Always anchor your bubbles with a soft cast shadow and use sharp, high-contrast highlights to define the glossy surface. Practice these techniques to capture the delicate, ephemeral nature of soap bubbles.
People also ask
What is the best medium for drawing realistic bubbles?
Graphite pencils are excellent for learning value, but alcohol-based markers or digital brushes work best for capturing transparency. These tools allow for smooth blending, which is essential for the soft gradients found on bubble surfaces.
Why do my bubbles look like flat circles instead of spheres?
You are likely omitting the internal gradients and the cast shadow. A sphere requires a transition from light to dark across its surface, and a shadow underneath provides the necessary spatial context.
How do I create the iridescent effect on a bubble?
Use thin, wavy lines of purple, pink, and yellow along the edges of the bubble. These colors represent the thin-film interference caused by light reflecting off the inner and outer surfaces of the soap film.
Should I draw the background inside the bubble?
Yes, but it should be slightly distorted and muted. Because a bubble acts as a convex lens, objects seen through it appear warped, inverted, or magnified depending on the viewing angle.
How do I make a group of bubbles look natural?
Vary the sizes and overlap the circles to create depth. Ensure that the highlights on all bubbles in a cluster align with the same light source to maintain consistent illumination.
Is it necessary to use a pure white for highlights?
Using a pure white gel pen or opaque paint for the final highlights creates a sharp contrast. This pop of brightness is what convinces the human eye that the surface is glossy and reflective.
This answer was created with the help of AI research tools and reference sources. Spotted an error? Let us know — we correct mistakes quickly. See our editorial policy.