How do you draw a bus?
Short answer
Drawing a bus involves constructing a rectangular chassis, adding circular wheels, and defining the cabin through geometric shapes. Start by sketching a long, horizontal box to establish the vehicle's length. Add details like windows, doors, and headlights to provide realism. With practice, you can master the proportions and perspective required for professional results.
On this page
How to draw a basic bus shape
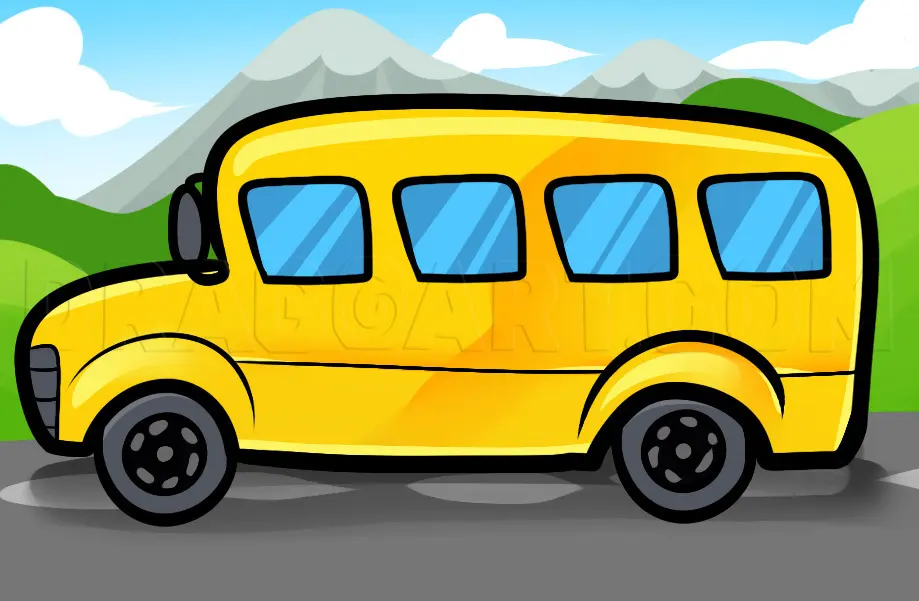
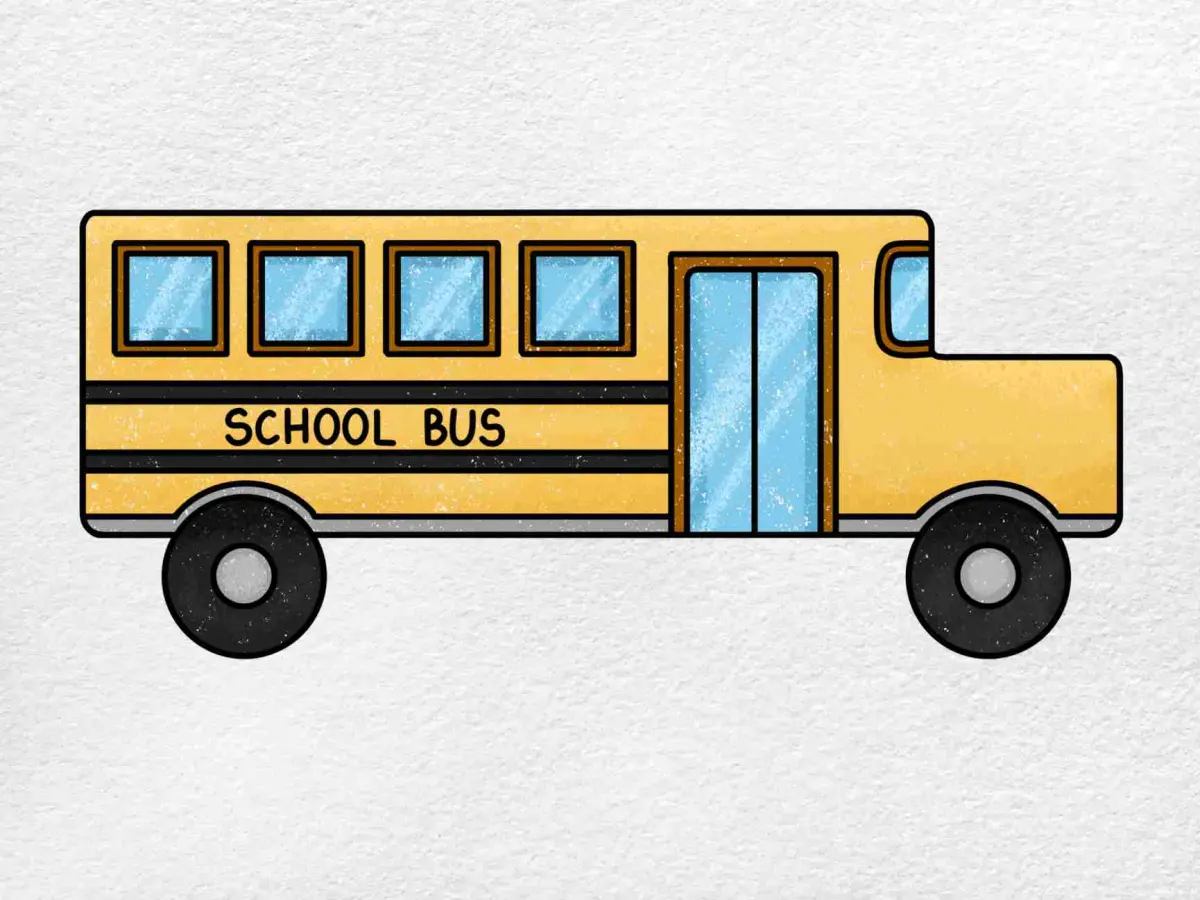
The most effective way to draw a bus is to begin with a simple rectangular foundation. Imagine the vehicle as a long, horizontal block that stretches across your paper. Use a pencil to lightly sketch this main body, ensuring the length is significantly greater than the height. This base shape will serve as the anchor for all subsequent details, such as the wheels and windows.
Once the rectangle is established, you can refine the silhouette by rounding the corners slightly to mimic the aerodynamic design of modern buses. Consider the perspective you want to achieve; a side view is the easiest for beginners, while a three-quarter view adds depth. Use a ruler if you struggle with straight lines, but keep your initial strokes light so they can be easily erased or adjusted later.
- Draw a long, low rectangle for the main body.
- Add a smaller, slightly thinner rectangle on top for the roof section.
- Sketch two circles at the bottom, positioned toward the front and back, to serve as the wheels.
- Connect the wheels to the body with small arches to represent the wheel wells.
Best drawing tools for beginners
Selecting the right tools can significantly improve your drawing experience. For the initial sketch, use a hard-lead pencil, such as an H or HB grade, which produces faint, easily erasable lines. As you progress to defining the final form, switch to a softer 2B or 4B pencil to create darker, more confident outlines. High-quality drawing paper with a slight tooth, or texture, will help the graphite adhere better and prevent smudging.
In addition to pencils, keep a kneaded eraser nearby. Unlike traditional rubber erasers, a kneaded eraser can be molded into specific shapes to lift away graphite from small areas without damaging the paper surface. A fine-liner pen or a technical drawing marker is also useful for adding final, permanent details once your pencil work is complete. These tools allow for precise line weights, which help differentiate between the bus's main structure and its smaller mechanical components.
- HB Pencils for light, preliminary sketching.
- 2B Pencils for adding depth and darker shadows.
- Kneaded erasers for precision cleaning and highlights.
- Fineliner pens for permanent, crisp outlines.
- A ruler or straight edge to ensure structural accuracy.
How to add realistic details
After establishing the core shape, focus on the features that make a bus recognizable. Start by dividing the side of the rectangle into smaller segments to represent the windows. Most city buses feature a series of rectangular panes along the upper half of the body. Ensure these windows are evenly spaced to maintain a sense of structural balance and realism.
Next, add the doors and headlights. A standard transit bus usually has a set of folding doors near the front. Draw these as a vertical rectangle with a thin line down the center. For the headlights, place two small circles or squares at the front corners of the bus. Adding a front grille—often a series of horizontal or vertical slats—will further enhance the mechanical appearance of the vehicle. Finally, add small details like side mirrors, windshield wipers, and the bus's license plate to provide a finished, professional look.
Why perspective is important
Perspective is the technique used to create the illusion of three-dimensional depth on a flat surface. When drawing a bus, you must decide where your vanishing point lies. If you are viewing the bus from the side, the lines representing the top and bottom of the vehicle should appear to converge toward a single point in the distance. Without proper perspective, the bus will look flat, distorted, or unrealistic.
To practice, try drawing a simple grid that recedes toward the horizon line. Place your bus within this grid to ensure that the proportions remain consistent. If the front of the bus is closer to the viewer, it should appear larger than the rear. This subtle change in size is what convinces the human eye that the object occupies actual space. Always check your horizontal lines against the horizon to ensure the bus does not appear to be tilting or floating.
Common mistakes when drawing buses
One of the most frequent errors is neglecting the scale of the wheels. Often, beginners draw wheels that are too small or positioned too far toward the center of the chassis. In reality, bus wheels are robust and located near the front and rear bumpers to support the heavy weight of the vehicle. Another common mistake is failing to account for the thickness of the frame. A bus is not just a flat shape; it has depth, thickness, and complex mechanical components underneath.
Avoid drawing overly complicated details before you have perfected the overall proportions. If the main rectangular body is out of balance, no amount of window or wheel detail will fix the drawing. Always step back from your work periodically to view the entire image from a distance. This helps you spot alignment issues that are not visible when you are focused on a single section. By taking your time to establish the foundation, you ensure a high-quality result.
Key facts
- A bus is essentially a long rectangular prism, so start by drawing a large, elongated box as your foundation.
- Use a vanishing point on the horizon line to ensure your perspective is accurate and the bus looks three-dimensional.
- Place the wheels slightly inward from the front and back edges of the bus body to create a realistic sense of balance.
- Standard city buses typically feature large, rectangular windows that run along the side, which helps define the vehicle's scale.
- Include a door on the right side of the front half to indicate where passengers enter and exit.
- Avoid making the bus look too flat by adding shading to the bottom edge and the side opposite your light source.
The bottom line
Drawing a bus is a rewarding exercise in perspective and geometric construction. By starting with a basic rectangular frame and adding consistent details like wheels, windows, and doors, you can create a convincing vehicle. Focus on maintaining straight lines and proper proportions to ensure the bus looks stable. With practice, these fundamental structural steps will allow you to draw various bus models with ease and accuracy.
People also ask
What is the best way to draw wheels on a bus?
Draw two circles for each wheel: a larger outer circle for the tire and a smaller inner circle for the rim. Ensure they are aligned horizontally so the bus does not look like it is leaning.
Should I use a ruler when drawing a bus?
Using a ruler is highly recommended for beginners to maintain the straight, clean lines characteristic of a bus's chassis. Once you are comfortable with the proportions, you can transition to freehand sketching.
How do I make the bus look like it is moving?
Add motion lines behind the tires and tilt the bus slightly forward to suggest speed. You can also blur the background to emphasize the vehicle's forward momentum.
How many windows should I draw on a standard bus?
Most city buses have between five and seven side windows depending on the length of the vehicle. Space them evenly to maintain a professional and realistic appearance.
Where should the headlights be placed?
Headlights are typically positioned on the lower front corners of the bus. Adding a slight glow effect or a bright highlight can make them appear illuminated.
How do I draw the bus interior?
If you are drawing an open-door view, sketch simple rectangles for seat rows. Keep them uniform in size and align them with the side windows for proper spatial orientation.
This answer was created with the help of AI research tools and reference sources. Spotted an error? Let us know — we correct mistakes quickly. See our editorial policy.