How do you draw a mug for beginners?
Short answer
Drawing a mug involves constructing a cylinder using basic geometric shapes and perspective. By sketching an oval for the top rim and connecting it to a base with parallel vertical lines, you create a three-dimensional form. Adding a curved handle and refining the details completes the object with professional depth and proportion.
On this page
How to draw a basic mug shape
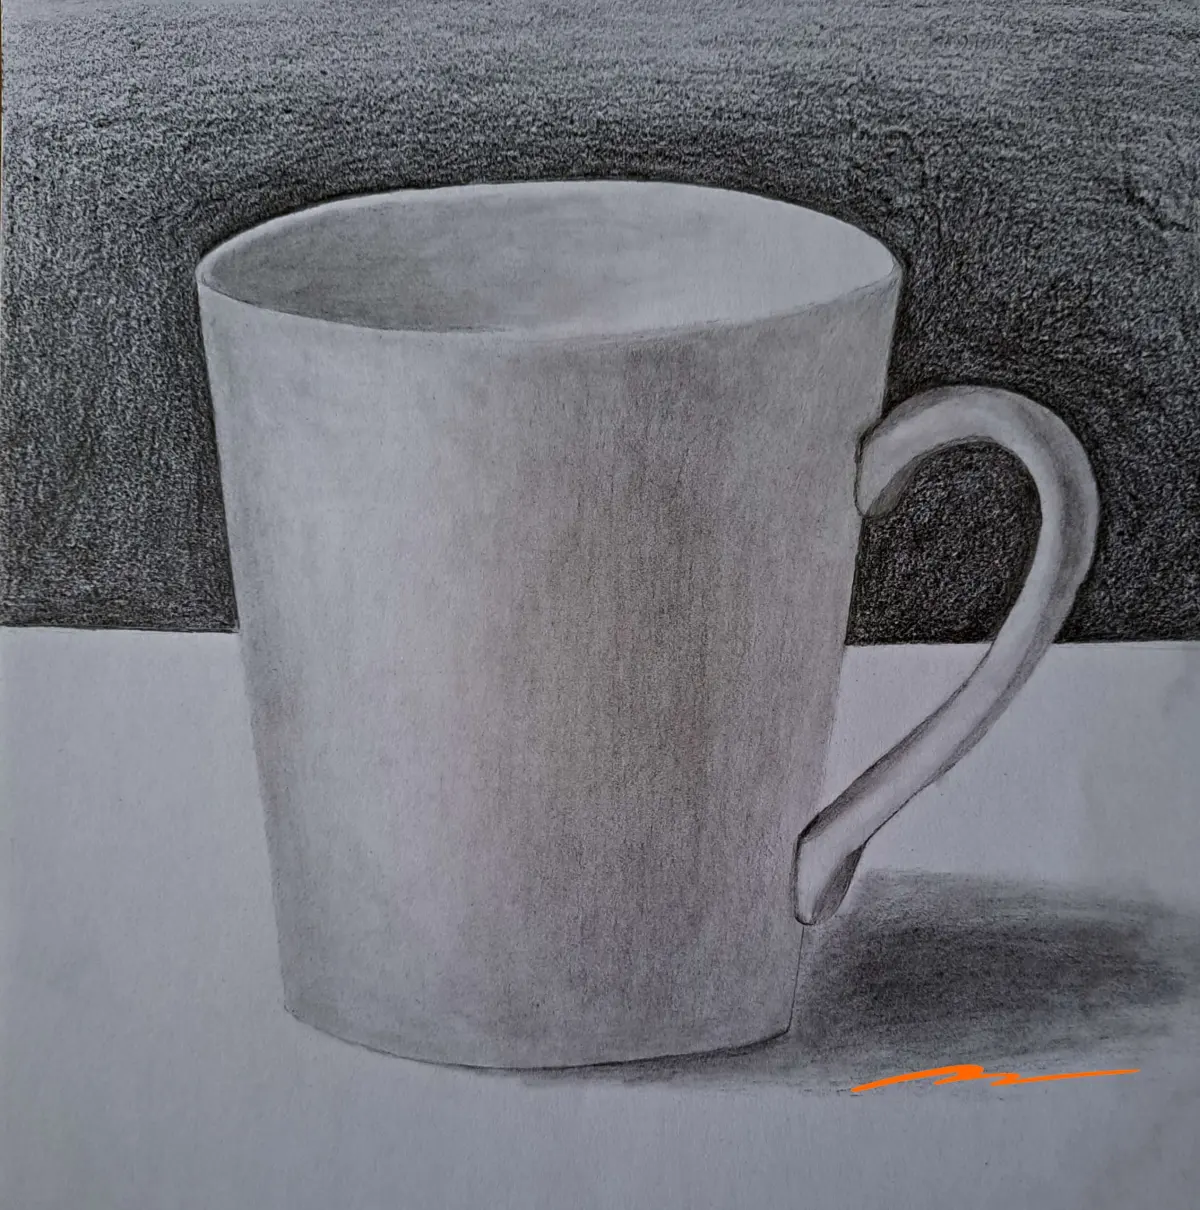
To draw a mug, start by visualizing it as a simple cylinder. Begin by drawing a flattened oval, known as an ellipse, which represents the top opening of the mug. The width of this ellipse determines the overall size of your mug, while its narrowness dictates the viewing angle. A very thin ellipse suggests you are looking at the mug from eye level, while a wider, rounder ellipse implies you are looking down into it.
Once the top ellipse is established, draw two vertical lines extending downward from the widest points of the ellipse. These lines should be parallel to ensure the mug does not look lopsided. Connect the bottom of these lines with a curved line that mirrors the shape of the top ellipse. This creates the base of the mug, providing a solid foundation for the structure.
- Lightly sketch the top ellipse using a soft pencil.
- Extend vertical lines downward from the edges.
- Draw a curved line at the bottom to close the cylinder.
- Erase any internal guidelines to clean up the shape.
How to add a handle to a mug
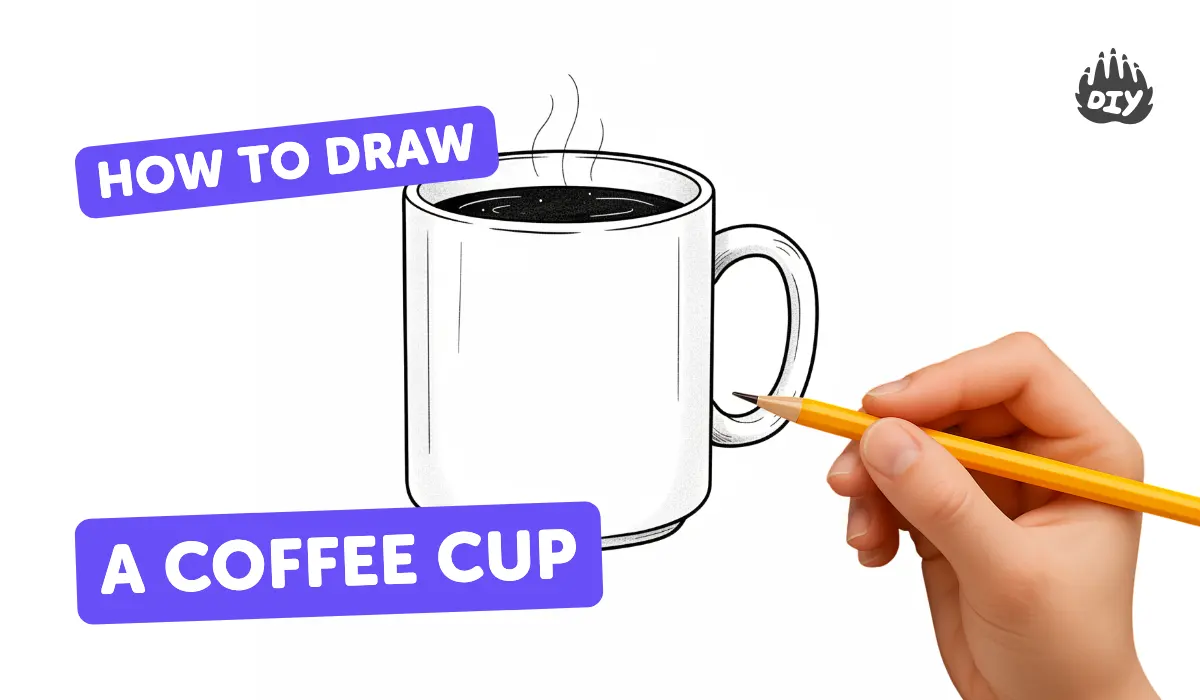
The handle is the defining feature of a mug, but it is often the most challenging part to draw accurately. To begin, draw a small, sideways "C" shape or a D-shape on the side of your cylinder. This serves as the outer edge of the handle. Next, draw a second, slightly smaller "C" shape inside the first one to create the thickness of the handle material.
Pay close attention to where the handle attaches to the body of the mug. The top of the handle usually connects near the rim, while the bottom connects about two-thirds of the way down the side. Ensure the handle looks like it is physically attached by curving the lines where they meet the mug’s surface. This helps create the illusion of volume and prevents the handle from looking like a flat sticker.
- Keep the handle shape consistent with the curve of the mug.
- Ensure the top and bottom attachment points are aligned vertically.
- Use a slightly thicker line for the handle to make it pop.
- Add a small shadow inside the handle loop to suggest depth.
Best drawing tools for beginners
For those just starting, a standard HB graphite pencil is the most versatile tool for sketching the initial shapes. It is soft enough to be erased easily if you make a mistake, yet dark enough to see your progress. You should also have a kneaded eraser, which can be molded into precise points to remove small, unwanted lines without damaging the paper surface.
When you are ready to finalize your drawing, consider using a 2B or 4B pencil to add darker shadows and crisp outlines. These softer leads allow for richer, darker tones that give your mug a sense of weight. Using a smooth, acid-free sketchbook paper will also help your pencil strokes glide more easily. Avoid using heavy pressure early on, as this can leave indentations on the paper that are difficult to correct later.
- Use an HB pencil for light construction lines.
- Use a 2B pencil for shading and final outlines.
- Keep a kneaded eraser handy for subtle corrections.
- Choose a smooth-surfaced paper for cleaner lines.
Why mugs look distorted in drawings
Distortion often occurs when the curves of the top and bottom ellipses do not match. If the top ellipse is rounder than the bottom one, the mug will appear to be leaning or collapsing. The secret is to ensure the curvature of the bottom line is slightly more pronounced than the top, as this mimics the way human eyes perceive objects in perspective. This technique, known as foreshortening, is essential for creating realistic depth.
Another common issue is inconsistent vertical lines. If your lines slant inward or outward, the mug will look like a cone or a hourglass rather than a standard cylinder. Always check your vertical lines against the edge of your paper to ensure they remain parallel. If you struggle with this, use a ruler to lightly mark the vertical boundaries before you begin drawing the curves. Consistent verticality is the hallmark of a well-constructed, professional-looking drawing.
Common mistakes when drawing mugs
One frequent error is drawing the handle as a flat, two-dimensional shape. Beginners often forget that the handle has its own thickness and light-catching surface. By failing to draw the inner curve of the handle, the object loses its three-dimensional quality. Always remember to draw the inner edge, which shows the viewer that the handle is a solid, graspable object.
Another mistake is neglecting the shadow cast by the mug. Without a shadow, the mug will appear to be floating in space rather than sitting on a surface. Draw a soft, elongated oval shape extending from the base of the mug to ground it. Additionally, avoid making your outlines too dark too early. Heavy, dark lines can make a drawing look cartoonish and limit your ability to add realistic shading later. By keeping your initial lines light, you maintain control over the final appearance of your work.
Key facts
- A mug is essentially a cylinder, so practice drawing tubes and ellipses before attempting the final shape.
- Use a light pencil touch for your initial construction lines to make erasing easier later.
- The top and bottom of the mug should be represented by matching ellipses to create a sense of depth.
- Draw the handle as a separate "C" or "D" shape attached to the side of the cylinder.
- Perspective is key; the closer the mug is to the viewer, the wider the ellipses should appear.
- Add a curved line inside the top ellipse to represent the inner rim and the depth of the mug.
The bottom line
Drawing a mug is an excellent exercise in mastering basic geometric forms and perspective. By starting with a simple cylinder and refining the ellipses, you create a realistic foundation. Focus on the connection points of the handle and the consistency of your shading to add depth. With consistent practice, you will learn to visualize everyday objects as collections of simple shapes, improving your overall drawing technique significantly.
People also ask
How do I make the mug look 3D?
Add shading to one side of the cylinder and underneath the handle to create volume. Consistent light sources help define the form.
Why does my mug look lopsided?
This usually happens when the ellipses at the top and bottom are not parallel. Ensure both curves follow the same horizontal axis.
Should I use a ruler for the sides?
Avoid rulers, as they make the mug look unnatural. Use freehand lines to give the object a more organic, hand-drawn appearance.
How do I draw the liquid inside?
Draw a horizontal line or a slightly curved ellipse inside the mug below the rim. This line should be parallel to the top ellipse.
What is the best pencil for sketching?
An HB pencil is ideal for light construction lines, while a 2B or 4B pencil works well for adding darker shadows.
How do I draw a handle that looks attached?
Overlap the handle lines slightly where they meet the mug body. Erase the hidden lines inside the handle connection to show it is joined.
This answer was created with the help of AI research tools and reference sources. Spotted an error? Let us know — we correct mistakes quickly. See our editorial policy.