How do you draw a tennis racket?
Short answer
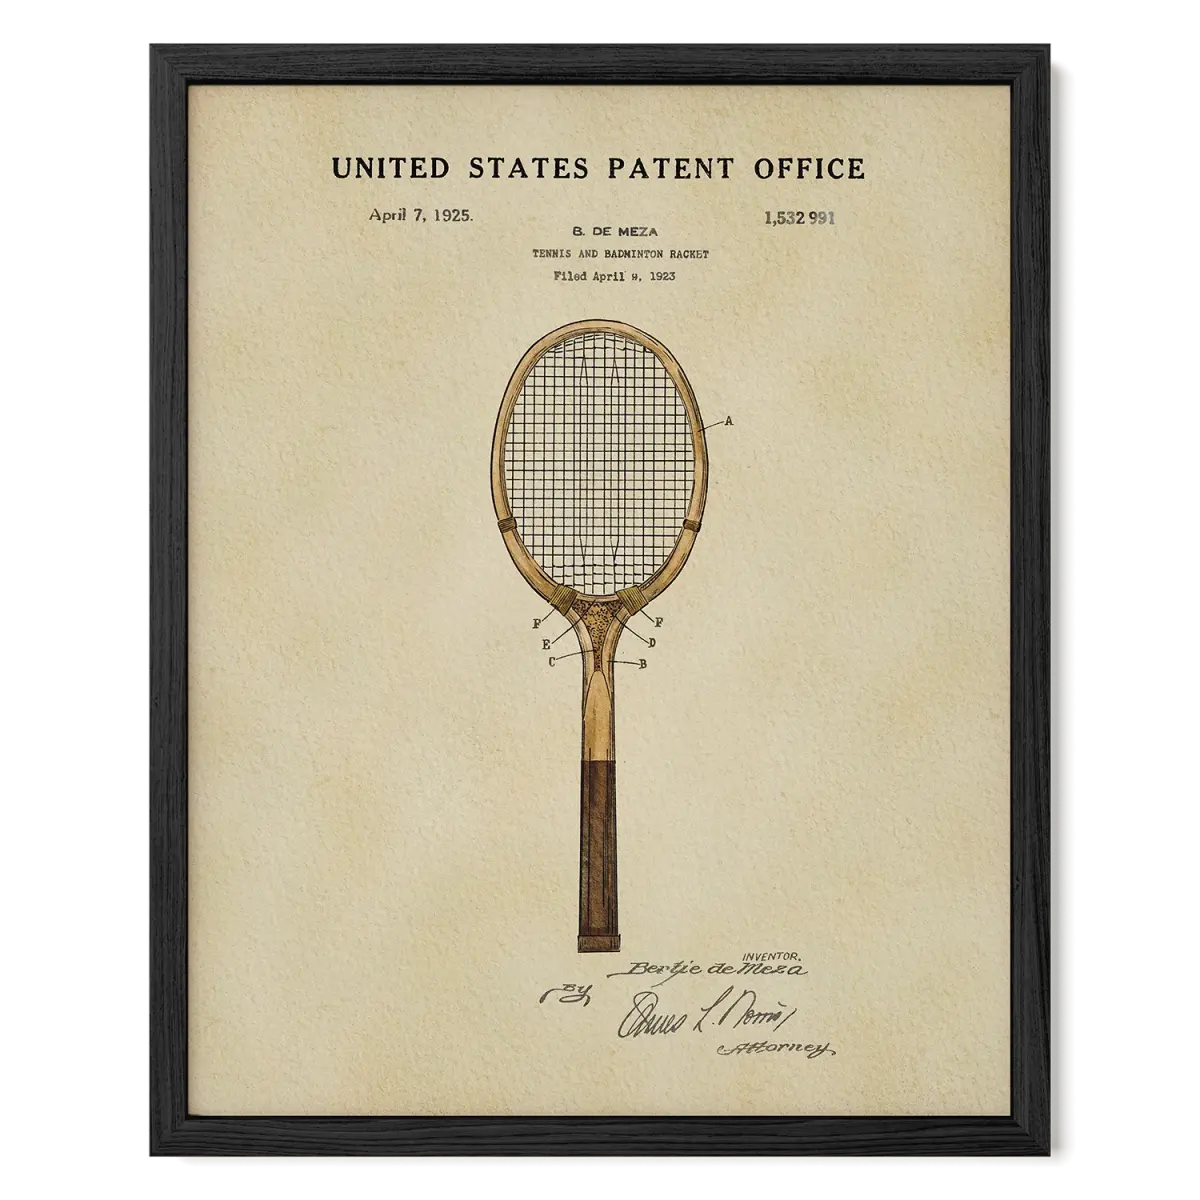
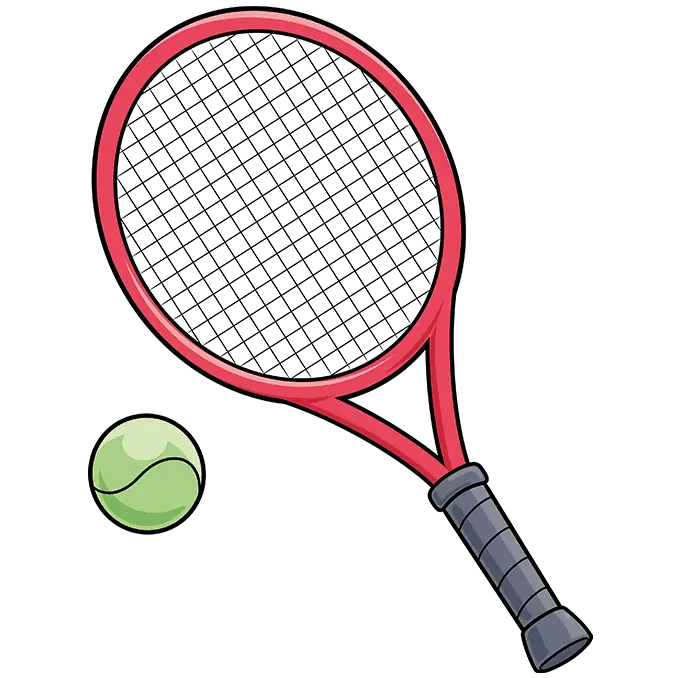
Drawing a tennis racket requires capturing the iconic oval head, the throat, and the handle. Begin by sketching a large, slightly elongated oval attached to a sturdy, rectangular shaft. Use consistent geometric shapes to define the frame's thickness, then add the intersecting grid of strings to complete the classic sports equipment silhouette.
On this page
How to draw a tennis racket frame
The foundation of a realistic tennis racket is the head, which is essentially a large, vertical oval. Start by drawing a light, thin oval shape on your paper, ensuring the bottom is slightly more tapered than the top. Once the oval is established, draw a second, smaller oval inside the first to create the thickness of the frame. This "double-rim" technique provides the necessary depth to make the racket look three-dimensional rather than flat.
After finalizing the head, extend two parallel lines downward from the base of the oval to form the throat. This section connects the head to the handle and acts as the structural support for the racket. Keep these lines symmetrical to ensure the racket looks balanced and functional. If you are aiming for a modern look, you can curve these lines slightly outward before they meet the handle, mimicking the aerodynamic designs seen in professional gear since the 1990s.
How to add the handle and grip
The handle is the most straightforward part of the drawing but requires attention to proportion. Extend the throat lines downward into a long, rectangular shape that terminates in a flat or slightly rounded base. To represent the grip, add a series of diagonal lines wrapping around the rectangle. This texture signifies the overgrip tape used by players to maintain friction during intense matches.
- Draw the rectangular handle extending roughly one-third the length of the head.
- Add a small, horizontal rectangular cap at the very bottom, known as the butt cap.
- Use light, slanted strokes across the handle to simulate the overlapping layers of grip tape.
- Ensure the handle width is consistent, typically measuring about one-third the width of the racket head.
Avoid making the handle too thin, as this will make the entire racket appear fragile and unrealistic. A standard grip should feel substantial enough to support the weight of the head.
How to draw tennis racket strings
Drawing the strings is the most time-consuming step, but it provides the essential detail that defines the object. Start by drawing a series of vertical, parallel lines running from the top of the inner frame to the bottom. Space these lines evenly, leaving enough room to cross them with horizontal lines later. Once the vertical "mains" are in place, draw horizontal lines across them to form a grid pattern.
- Use a ruler to ensure your lines remain perfectly straight and parallel.
- Maintain consistent spacing between strings to simulate the professional tension of a real racket.
- Stop the strings exactly at the inner edge of the frame to show they are anchored to the grommets.
- Add a small "X" or a logo in the center of the string bed if you want to add a professional touch.
Do not worry if the grid is not perfectly square, as many modern rackets feature varying string densities. The key is to maintain the illusion of a woven mesh rather than just drawing random intersecting lines.
Common mistakes when drawing tennis rackets
One of the most frequent errors is failing to maintain symmetry between the left and right sides of the racket. If the oval head is lopsided, the entire drawing will look distorted and unusable. To prevent this, use light construction lines to divide your paper vertically before you start. These guidelines help you mirror the curves of the frame accurately, ensuring the head is centered perfectly over the handle.
Another common mistake is neglecting the thickness of the frame. Beginners often draw a single line for the head, which makes the racket look like a wire hoop rather than a piece of sports equipment. Always remember to draw the interior and exterior rims of the frame. Additionally, avoid drawing the strings too close to the edge of the frame, as they must attach to the grommet holes located on the inner side of the rim.
Best shading techniques for a realistic look
Shading brings your drawing to life by defining the material of the racket, which is often made of carbon fiber or graphite. Use a soft graphite pencil to apply a gradient along the sides of the frame, keeping the edges lighter to simulate a reflective surface. Focus on the curves of the oval head, as these areas catch the most light. Darken the areas where the throat meets the head to create a sense of depth and connection.
For the strings, use a lighter touch to ensure they do not overpower the frame. You can add a subtle shadow on the handle where the hand would typically grip the racket, which adds a tactile quality to the image. Finally, use an eraser to highlight the very edge of the frame, creating a "specular highlight" that mimics the glossy finish of modern tennis gear. By carefully balancing light and shadow, you transform a simple line drawing into a professional-looking representation of a high-performance tennis racket.
Key facts
- A tennis racket consists of three main parts: the head (oval frame), the throat (connecting piece), and the handle (grip).
- The head of a standard tennis racket is typically an elongated oval, measuring roughly 10 to 12 inches in length.
- Strings are drawn as a cross-hatched grid, usually consisting of 16 vertical (main) strings and 19 horizontal (cross) strings.
- The handle is a rectangular shape with rounded corners, usually about 4 to 5 inches long, extending from the throat.
- To achieve symmetry, draw a vertical centerline first to ensure both sides of the frame mirror each other perfectly.
- A common mistake is drawing the frame too thin; a professional racket frame is thick and aerodynamic to withstand high-tension stringing.
The bottom line
Drawing a tennis racket requires balancing geometric precision with fluid curves. By starting with a central guide line and building the frame from the oval head down to the handle, you ensure proper proportions. Focus on the cross-hatched string pattern and the distinct transition at the throat to add realism. With practice, these structural steps allow you to capture the dynamic essence of this essential sports equipment.
People also ask
How do I make the strings look realistic?
Draw the vertical lines first, spacing them evenly, then overlay the horizontal lines to create a woven pattern. Ensure the lines curve slightly to follow the contour of the oval frame.
Should I use a ruler for the frame?
While a ruler helps with straight lines on the handle, the head is naturally curved and looks more organic when drawn freehand. Use light, sketchy strokes to build the oval shape before darkening the final outline.
How long should the throat be?
The throat usually occupies about one-third of the total length of the racket. It should taper inward from the head to meet the handle seamlessly.
What is the best way to shade the racket?
Apply shading to one side of the frame to suggest a rounded, cylindrical surface. Use cross-hatching or smooth gradients to differentiate the grip texture from the smooth, painted frame.
How do I draw the grip tape?
Add diagonal lines running across the handle to represent the overlapping layers of overgrip. This creates a distinct visual contrast against the solid, smooth surface of the racket head.
Can I draw the racket at an angle?
Yes, use perspective by drawing the head as a flattened ellipse rather than a perfect circle. This adds depth and makes the drawing appear three-dimensional rather than flat.
This answer was created with the help of AI research tools and reference sources. Spotted an error? Let us know — we correct mistakes quickly. See our editorial policy.