How do you draw realistic teeth?
Short answer
Drawing realistic teeth requires understanding that they are not flat, white rectangles, but translucent, three-dimensional volumes embedded in curved gums. Focus on subtle shading, varying opacity, and the specific anatomical shapes of incisors, canines, and molars. By layering highlights and shadows, you create the depth necessary for a lifelike appearance.
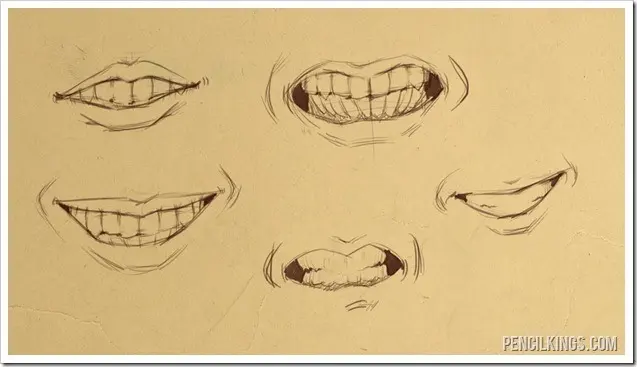
On this page
How to structure the anatomy of teeth
Teeth are organized in an arch, not a straight line. When drawing them, you must visualize the dental arch as a horseshoe shape that recedes into the mouth. Because of this curvature, the teeth in the front appear wider, while those toward the back are foreshortened and angled away from the viewer. Avoid drawing a flat row of squares, as this creates a cartoonish, unnatural look.
Instead, map out the gums first. The gum line follows the curve of the teeth and creates a soft, scalloped border. Each tooth has a unique shape: incisors are chisel-like, canines are pointed, and premolars are more rounded. Use these basic geometric forms to build your foundation. Remember that teeth are not perfectly symmetrical; slight irregularities in their edges and spacing will make your drawing appear far more authentic and human.
How to use shading for depth and volume
Teeth are rounded objects, meaning they have a highlight, a mid-tone, and a core shadow. The brightest point is usually near the center of the tooth, where light hits the convex surface. As the tooth curves toward the gaps between teeth, the value should darken significantly. Use a kneaded eraser to lift highlights, which adds a sense of glassy, enamel-like texture.
The shadows between teeth, known as embrasures, are rarely pure black. They are deep, narrow recesses that should be rendered with soft transitions. Avoid using harsh, thick outlines around each tooth. Instead, define the separation between teeth by carefully shading the sides of each tooth, allowing the transition of light to suggest the gap. This technique creates a sense of volume that makes the teeth look like they are sitting in the jaw.
- Identify the primary light source to determine where the highlights fall.
- Apply a light base tone across all teeth to establish the mid-tones.
- Use a sharp pencil to darken the narrow gaps between the teeth.
- Soften the transitions with a blending stump to mimic the smooth surface of enamel.
- Use a kneaded eraser to add sharp, thin highlights along the biting edges.
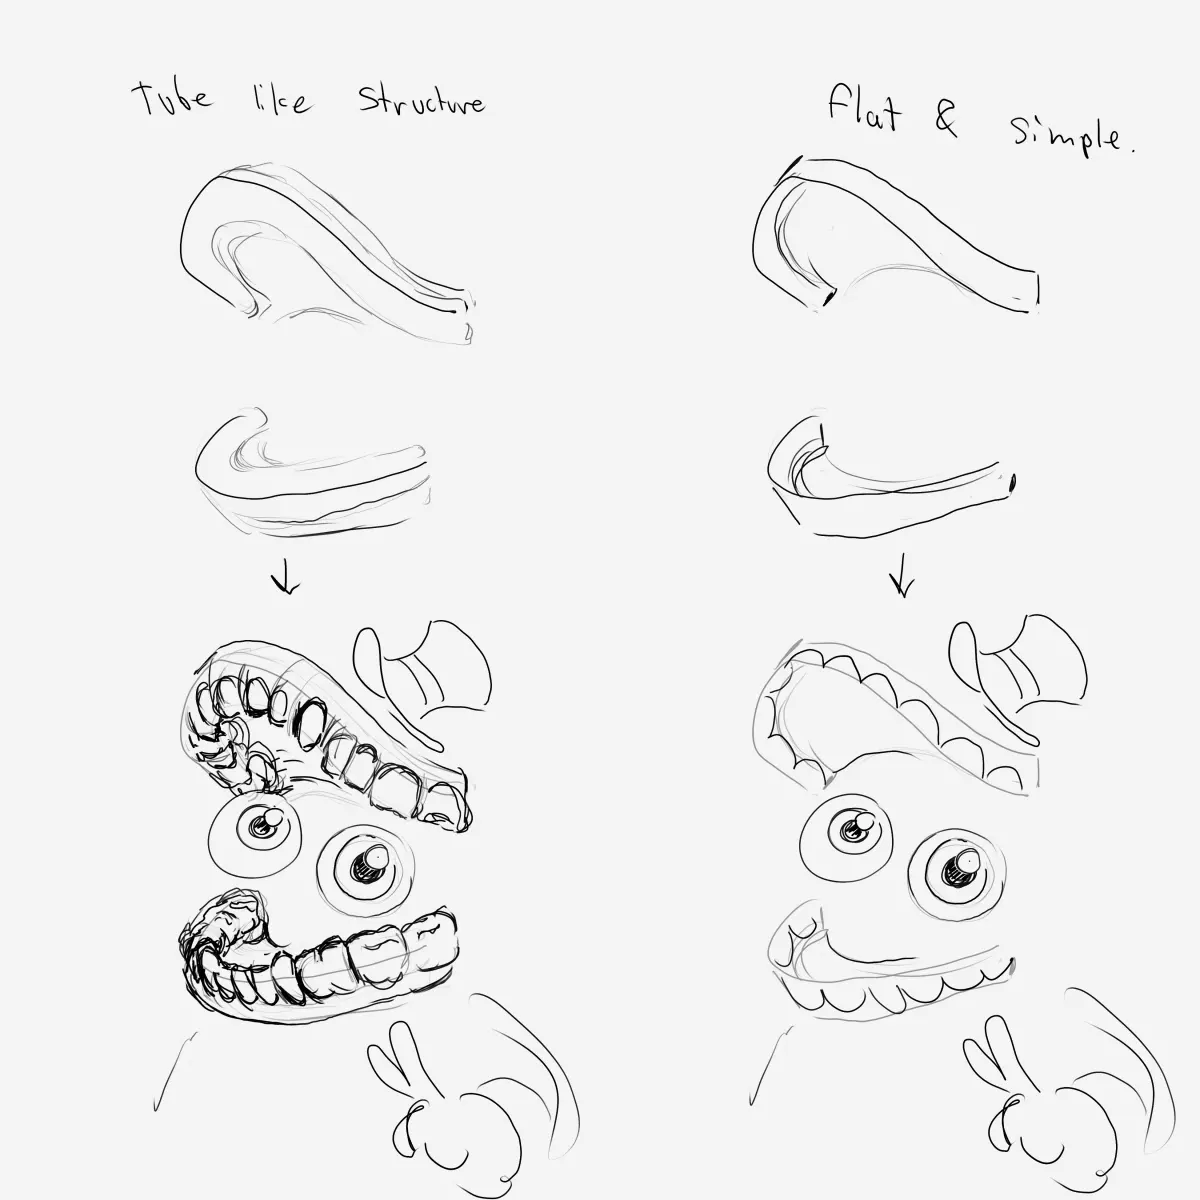
Why teeth look translucent and glassy
Enamel is a translucent material, not opaque white plastic. The biting edge of a tooth is often thinner and more transparent than the base near the gums. In a realistic drawing, the very bottom edge of the incisors should be slightly lighter or even show a hint of the darkness from the inside of the mouth. This subtle transparency is the key to achieving a professional, realistic look.
Avoid using pure white for the entire tooth. If you fill the teeth with stark white, they will look like dentures or flat paper cutouts. Use a range of cool grays, creams, and off-whites to represent the natural coloration of enamel. By keeping the highlights crisp but the base tones varied, you simulate the way light penetrates the surface of a real tooth before bouncing back to the viewer.
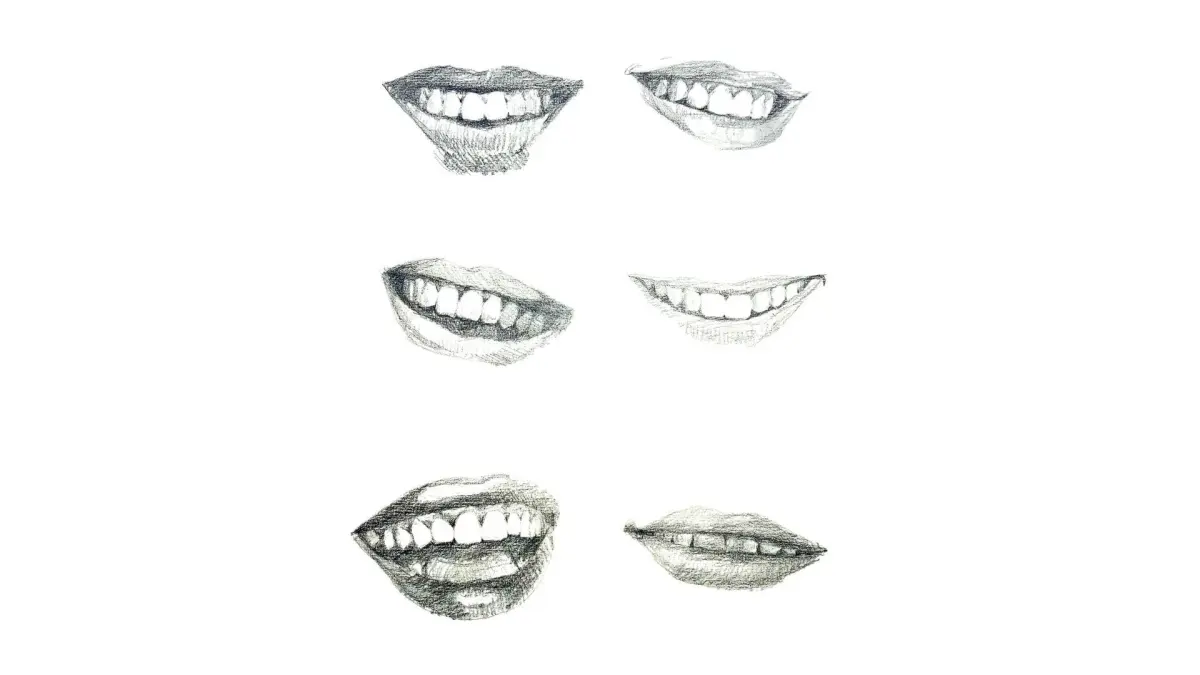
Common mistakes when drawing teeth
The most frequent error is outlining every tooth with a heavy, dark line. This creates a "fence" effect that flattens the drawing and destroys the illusion of depth. Teeth should be defined by the contrast between light and shadow, not by ink or graphite borders. If you find your drawing looks like a grid, erase the lines between the teeth and replace them with soft, directional shading.
Another common mistake is making the teeth perfectly uniform in size and color. Human teeth have natural variations in shape, and they are rarely a single, flat shade of white. Ignoring the perspective of the dental arch also leads to errors, as beginners often draw back teeth as large as front teeth. Always check your proportions against the curve of the jaw to ensure that the teeth recede correctly into space.
- Avoid drawing teeth as perfectly rectangular shapes.
- Do not use heavy outlines; use value transitions instead.
- Ensure the teeth follow the curvature of the jawline.
- Vary the shading to account for the translucency of the enamel.
- Keep the gums in mind, as they provide the necessary context for the teeth.
Best techniques for adding final details
The final stage of drawing teeth involves adding the subtle textures that define realism. Use a sharp pencil to add tiny, vertical striations on the surface of the enamel. These lines should follow the contour of the tooth, curving slightly to match the rounded shape. These small details break up the flat areas of tone and suggest the microscopic texture of real dental enamel.
Finally, consider the interaction between the lips and the teeth. The teeth are framed by the mouth, and the shadows cast by the upper lip often fall across the top of the teeth. Adding this cast shadow helps ground the teeth within the face. By focusing on these final, delicate adjustments, you transform a simple study of shapes into a sophisticated, realistic rendering that captures the true nature of the human smile.
Key facts
- Teeth are not pure white; they contain subtle variations of yellow, gray, and blue tones.
- The gum line follows the curvature of the jaw, creating a rounded arch rather than a flat line.
- Each tooth has a unique shape, with incisors being chisel-like and molars featuring complex, bumpy surfaces.
- Highlighting the edges of the teeth creates a sense of moisture and enamel thickness.
- Teeth are not perfectly uniform; slight irregularities and overlaps make them appear natural rather than artificial.
- Shadows between teeth are rarely pitch black; they usually contain reflected light from the surrounding mouth cavity.
The bottom line
Drawing realistic teeth requires moving beyond the stereotype of a uniform, bright white grid. Focus on the subtle curvature of the dental arch, the varying shapes of individual teeth, and the soft, fleshy transition of the gums. By prioritizing light, shadow, and natural imperfections over rigid outlines, you can create a lifelike smile that feels authentic, balanced, and anatomically grounded within the context of the human face.
People also ask
Should I outline every individual tooth?
Avoid drawing hard, continuous lines between every tooth, as this makes them look like a picket fence. Instead, use subtle shading and small gaps to suggest separation.
How do I make teeth look three-dimensional?
Focus on the cylindrical shape of each tooth by placing highlights near the center and darker shadows toward the sides. This technique creates the illusion of volume and depth.
Why do my teeth drawings look like dentures?
This often happens when teeth are drawn too perfectly or symmetrically. Introduce slight variations in height, angle, and spacing to mimic the organic nature of real human anatomy.
How do I draw the gums correctly?
Treat the gums as a fleshy, rounded transition between the teeth and the lips. Use soft, blended shading rather than sharp lines to represent their soft texture.
What is the best way to shade the mouth interior?
The inside of the mouth is a deep, dark space. Use a soft lead pencil to create a dark background, which makes the lighter, reflective surfaces of the teeth pop forward.
How do I capture the texture of enamel?
Enamel is hard and reflective, so use sharp, crisp highlights. Keep your eraser clean to create bright, clean white spots that suggest a polished, glossy surface.
This answer was created with the help of AI research tools and reference sources. Spotted an error? Let us know — we correct mistakes quickly. See our editorial policy.

