How do you draw a dock?
Short answer
Drawing a dock requires establishing a vanishing point to create depth, followed by sketching parallel lines for the deck planks and vertical supports for the pilings. By using a horizon line and consistent perspective, you can transform a simple rectangle into a realistic structure that appears to recede into the water.
On this page
How to draw a dock in perspective
The most effective way to draw a realistic dock is by using one-point perspective. Begin by drawing a horizontal line across your page to represent the horizon where the sky meets the water. Place a single dot, known as the vanishing point, somewhere along this line. All lines representing the sides of the dock must eventually converge at this specific point to create the illusion of depth.
Once the vanishing point is set, draw two diagonal lines extending from the bottom of your page toward that point. These lines define the width and orientation of your dock. Next, draw horizontal lines connecting these two diagonals at regular intervals to represent the individual wooden planks. As the planks get closer to the vanishing point, draw them closer together to simulate the effect of distance.
How to sketch dock pilings and supports
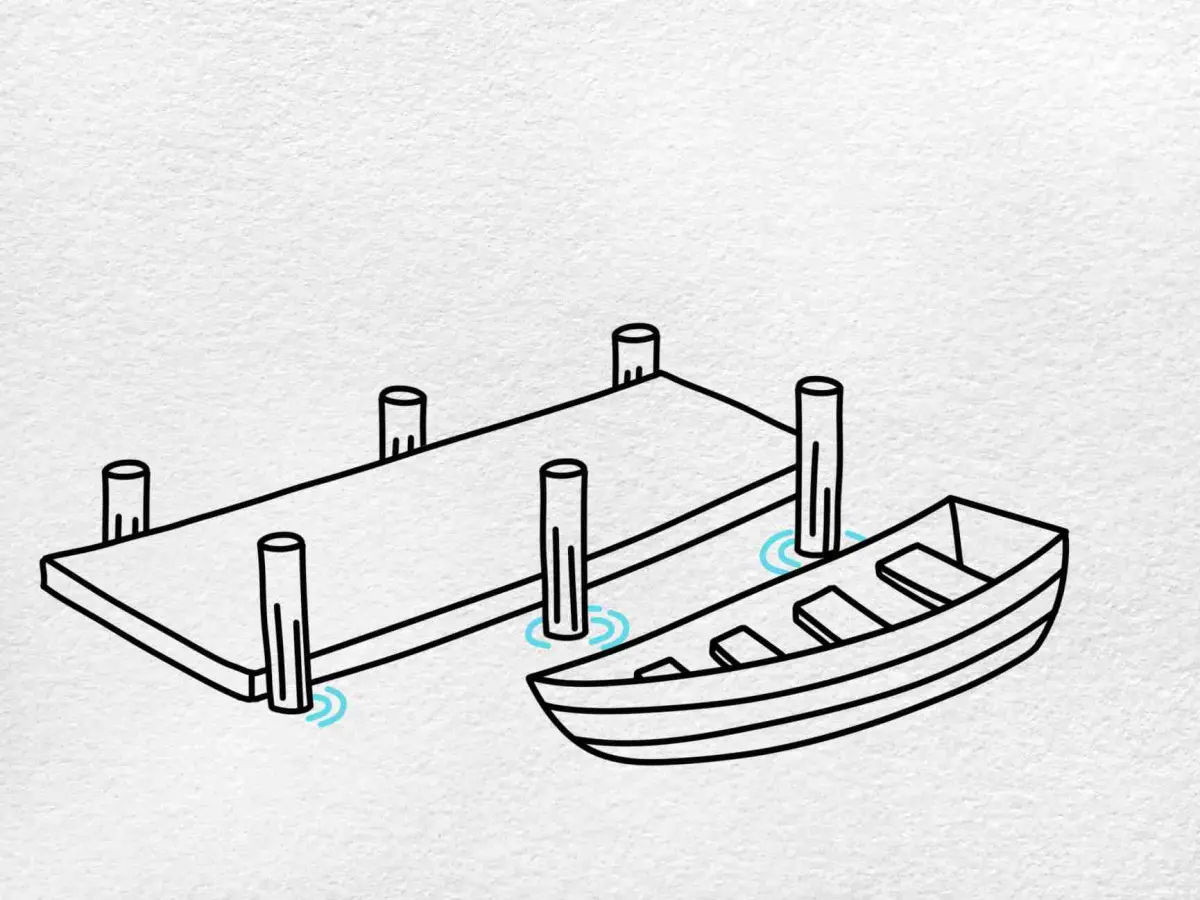
Pilings are the vertical posts that hold the dock above the water. To draw them, place vertical lines at the corners of your dock segments. Ensure these lines are perfectly perpendicular to the bottom edge of your paper to maintain a sense of stability. If the dock is long, add a few extra pilings along the sides, making them slightly shorter as they approach the horizon line.
To give the pilings a three-dimensional appearance, use these steps:
- Draw a small oval at the top of each vertical line to represent the circular cross-section of the post.
- Add a slight curve to the bottom of the piling where it meets the water to suggest a reflection.
- Use vertical shading on one side of each piling to indicate the direction of the light source.
- Connect the pilings to the main structure with small horizontal cross-beams for added detail.
Best drawing tools for beginners
For those just starting, a standard graphite pencil set ranging from HB to 4B is ideal. HB pencils are perfect for light construction lines that need to be erased later, while 4B pencils allow for darker, bolder lines on the finished structure. Use a high-quality white vinyl eraser to clean up your vanishing point lines once the main structure is complete.
Consider using a ruler or a straightedge to keep your perspective lines sharp and accurate. While freehand drawing is a valuable skill, a straightedge ensures that your dock does not look warped or unstable. If you want to add texture to the wood, a fine-liner pen can be used to add grain patterns once the pencil sketch is finalized.
How to add realistic water details
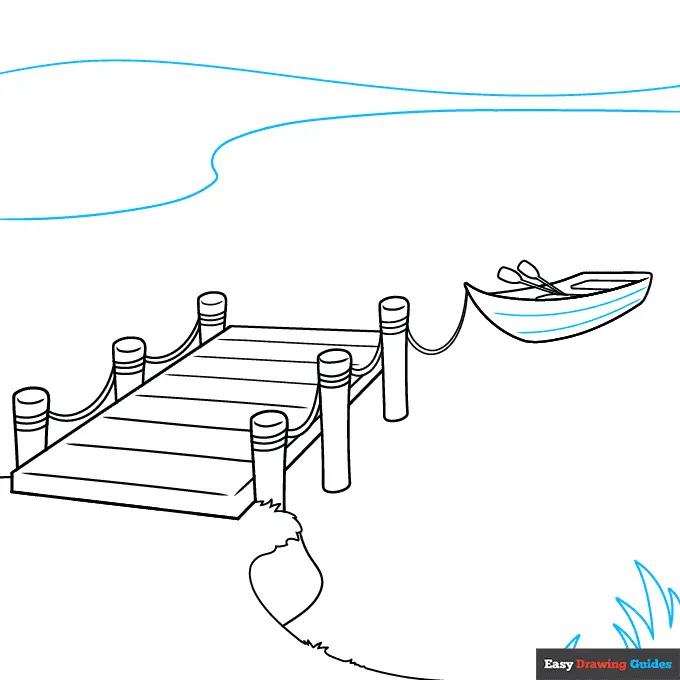
A dock is rarely seen in isolation, so the surrounding water plays a major role in the overall composition. Use horizontal, wavy lines near the base of the pilings to suggest ripples and movement. Keep these lines sparse near the foreground and increase their density as they move toward the horizon to create a sense of scale and distance.
To enhance the visual impact of your drawing, consider these techniques:
- Use light, horizontal strokes to create a reflection of the dock directly beneath the pilings.
- Leave small, unshaded gaps in the water area to represent highlights or sunlight reflecting off the surface.
- Add a few darker horizontal lines near the bottom of the page to indicate depth and proximity to the viewer.
- Incorporate subtle shading around the base of the pilings to ground the structure firmly in the water.
Common mistakes when drawing a dock
A frequent error is failing to maintain consistent perspective, which results in a dock that looks like it is tilting or floating incorrectly. Always double-check that your side rails are pointing exactly toward the vanishing point. If your horizontal planks are not parallel to the horizon line, the dock will appear distorted and unnatural to the viewer.
Another common mistake is neglecting the scale of the pilings. Beginners often draw pilings that are too thin or too short, making the dock look fragile. Remember that objects closer to the viewer should be larger and more detailed than those in the distance. By carefully observing how the size of the dock decreases as it recedes, you can create a professional-looking drawing that captures the true essence of a waterfront scene.
Key facts
- A dock drawing should begin with a horizon line to establish the water level and perspective.
- Use a two-point perspective grid to ensure the wooden planks appear to narrow as they recede into the distance.
- Draw the vertical pilings as simple cylinders, ensuring they are slightly longer than the depth of the water.
- Add cross-bracing between pilings to provide structural realism and visual interest to the support system.
- Vary the thickness of your lines to create depth, using thicker strokes for foreground elements and thinner ones for distant parts.
- Include subtle reflections directly beneath the pilings to anchor the structure to the water surface.
The bottom line
Drawing a convincing dock relies on mastering perspective and structural detail. By establishing a clear vanishing point and using varying line weights, you create a sense of depth that draws the viewer’s eye toward the horizon. Remember to ground your structure with reflections and natural textures like wood grain. With these foundational techniques, you can accurately represent any waterfront scene with confidence and artistic precision.
People also ask
What is the most common mistake when drawing a dock?
The most common error is failing to align the planks with the vanishing point. If the lines of the wood do not converge correctly, the dock will appear tilted or flat rather than receding into the distance.
Should I draw the water before or after the dock?
It is best to draw the dock structure first to establish the composition. Once the dock is set, you can add water ripples and reflections around the pilings to integrate the structure into the environment.
How do I make the wood look weathered?
Use light, irregular horizontal hatching across the planks to simulate grain. Adding small cracks or knots at random intervals helps break up the monotony of straight lines and adds texture.
Do I need to draw every single plank?
You do not need to draw every plank if the dock is very long. Focus on detail in the foreground and simplify the texture as the planks move toward the vanishing point.
How do I show that the dock is sitting on water?
Draw horizontal, slightly wavy lines around the base of the pilings. These lines should be darker near the wood and fade out as they move away to suggest movement and depth.
What tools are best for sketching a dock?
A graphite pencil with a range of hardness, such as HB for outlines and 4B for shadows, is ideal. A fine-liner pen can also be used to add crisp, permanent details once your initial sketch is complete.
This answer was created with the help of AI research tools and reference sources. Spotted an error? Let us know — we correct mistakes quickly. See our editorial policy.