How do you draw mountains with a pencil?
Short answer
Drawing mountains requires establishing a jagged horizon line, layering atmospheric perspective, and using directional shading to define volume. By focusing on asymmetrical shapes and varying your pencil pressure, you create depth. Start with simple geometric triangles, then refine the edges with irregular cracks and shadows to achieve a realistic, rugged appearance.

On this page
How to sketch mountain shapes for beginners
To begin drawing mountains, avoid drawing perfectly symmetrical, uniform triangles. Nature rarely produces identical slopes, so focus on creating irregular, jagged lines that vary in height and steepness. Start by sketching a light, horizontal guideline across your paper to represent the base of the range. Build your peaks by connecting lines at different angles, ensuring that some mountains overlap others to suggest distance.
When sketching the initial outlines, keep your pencil strokes loose and light. You want to establish the "silhouette" of the range before committing to heavy details. Think of the mountain as a series of planes rather than a flat surface. Use these steps to guide your initial layout:
- Draw a long, wavy line that rises and falls to create the main ridge.
- Add smaller, secondary peaks in front of the main ridge to create depth.
- Vary the width of the bases so that no two mountains look identical.
- Keep the lines sketchy and broken rather than solid, as this mimics the rocky texture of stone.
Best pencil techniques for mountain shading
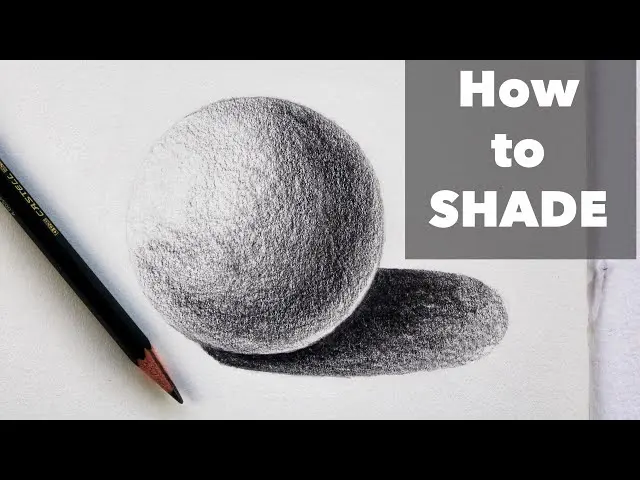
Shading is the most critical element for transforming a flat outline into a three-dimensional mountain. To create volume, identify a consistent light source, such as the upper right corner. The side of the mountain facing the light should remain relatively bright, while the opposite side requires darker, denser graphite application. Use a 2B or 4B pencil for these shadows to achieve a rich, dark tone.
To add texture, use "hatching" and "cross-hatching" techniques. These involve drawing parallel lines that follow the slope of the mountain face. As you move toward the base or the shadowed side, increase the density of your lines. You can also use a blending stump or a piece of tissue to soften the transitions between light and dark areas. Remember that rocks have sharp edges, so avoid over-blending your shadows, as this can make the mountain look like a soft, rounded hill instead of a rugged peak.
How to create depth with atmospheric perspective
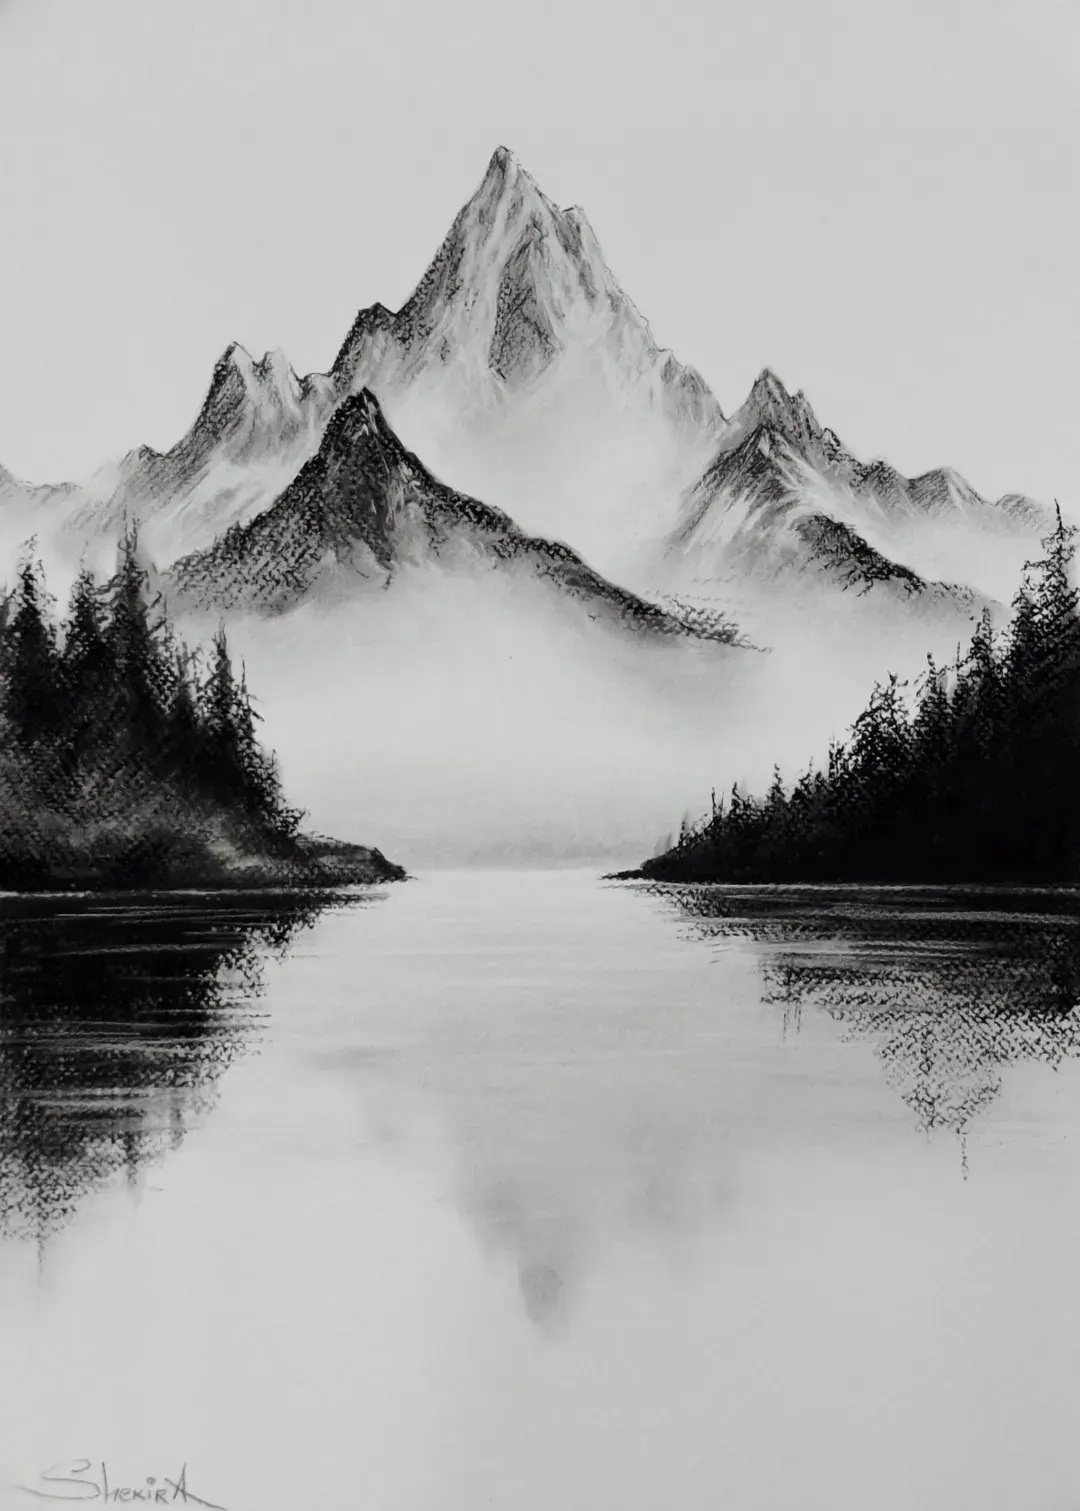
Atmospheric perspective is the technique of making objects appear farther away by reducing their contrast and detail. Mountains that are closer to the viewer should be drawn with dark, crisp lines and high-contrast shading. As the mountains recede into the background, use a lighter touch and less detail. The furthest peaks should look faint and almost transparent, blending into the sky.
To achieve this effect effectively, follow these guidelines:
- Use a harder pencil, such as an HB or 2H, for background mountains to keep the lines faint.
- Limit the amount of texture or "cracks" visible on distant peaks.
- Ensure the foreground mountains have the darkest shadows and the brightest highlights.
- Leave the background mountains slightly blurred, as the atmosphere naturally scatters light over long distances.
By following these rules, you create a sense of scale that makes the viewer feel the vast distance between the foreground and the distant horizon.
Common mistakes when drawing mountains
One of the most frequent errors is drawing mountains that appear too uniform or "cartoonish." Beginners often repeat the same mountain shape multiple times, which creates a rhythmic, artificial look that does not exist in nature. To avoid this, observe real photographs of mountain ranges and notice how the ridges break off at unpredictable intervals. Another common mistake is applying uniform pressure throughout the entire drawing, which results in a flat, two-dimensional image.
Another issue is the lack of "grounding." If the base of your mountain range is not clearly defined, the peaks will look like they are floating in mid-air. Always ensure that the bottom of your mountains connects to a foreground element, such as a valley, a forest, or a body of water. This connection provides context and scale. Additionally, avoid using your finger to smudge graphite, as the oils from your skin can create uneven, muddy patches on the paper that are difficult to erase or correct later.
How to add texture and realistic details
Once the basic shading is complete, it is time to add the "character" of the mountain. Use a sharp, fine-point pencil to add small, jagged lines that represent rock faces, crevices, and ridges. These details should follow the contours of the mountain, wrapping around the peaks to emphasize their volume. Focus on the areas where light meets shadow, as this is where the most interesting textures are revealed.
Consider adding snow caps to the peaks to provide a high-contrast focal point. Use a kneaded eraser to lift graphite from the top of the peaks, creating bright, white areas that represent snow or ice. You can also add small, V-shaped marks scattered along the slopes to suggest distant trees or boulders. By carefully placing these details, you draw the viewer's eye across the landscape. Remember that less is often more; a few well-placed, sharp lines are far more effective at suggesting a rocky surface than hundreds of messy, indistinct scribbles.
Key facts
- Use an H or HB pencil for light initial outlines and a 4B or 6B pencil for deep shadows.
- Draw jagged, irregular lines rather than smooth curves to mimic the natural texture of rock formations.
- Establish a consistent light source to determine which side of the mountain receives highlights and which remains in shadow.
- Apply atmospheric perspective by keeping distant mountains lighter and less detailed than those in the foreground.
- Use a kneaded eraser to lift graphite and create highlights on snow-capped peaks or rocky ridges.
- Vary the pressure of your pencil strokes to create tonal gradients, which add a sense of three-dimensional volume.
The bottom line
Drawing convincing mountains relies on mastering contrast and irregular geometry. By establishing a clear light source and varying your pencil pressure, you can create depth and volume. Remember to prioritize jagged, broken lines over smooth ones to capture the rugged nature of stone. Through the strategic use of highlights and atmospheric perspective, you can transform simple sketches into dramatic, realistic landscapes that convey scale and majesty.
People also ask
Should I use a blending stump to smooth out my mountain shading?
Using a blending stump or tissue can help create soft, misty effects, but over-blending often makes mountains look muddy. Use it sparingly to maintain the sharp, crisp edges that define rugged peaks.
How do I make mountains look far away?
To suggest distance, reduce the contrast and detail of the mountain as it recedes into the background. Distant mountains should be drawn with lighter, thinner lines and less distinct shadows compared to foreground elements.
Why do my mountains look like flat triangles?
Flatness usually occurs because of uniform shading or perfectly straight edges. Break up the silhouette with irregular angles and ensure the shadows follow the contours of the rock face to suggest depth.
What is the best way to draw snow on a mountain?
Leave the white of the paper untouched for the brightest snow highlights. Use a sharp eraser to carve out jagged, irregular patches of white against the darker, shadowed rock textures.
How do I draw realistic mountain ridges?
Focus on the "spine" of the mountain by creating a sharp change in value where two planes meet. Darken one side of the ridge while keeping the other side lighter to emphasize the sharp angle.
Can I use cross-hatching for mountain textures?
Cross-hatching is an excellent technique for building dense, dark shadows in rocky crevices. Keep the lines tight and follow the direction of the slope to reinforce the physical structure of the mountain.
This answer was created with the help of AI research tools and reference sources. Spotted an error? Let us know — we correct mistakes quickly. See our editorial policy.