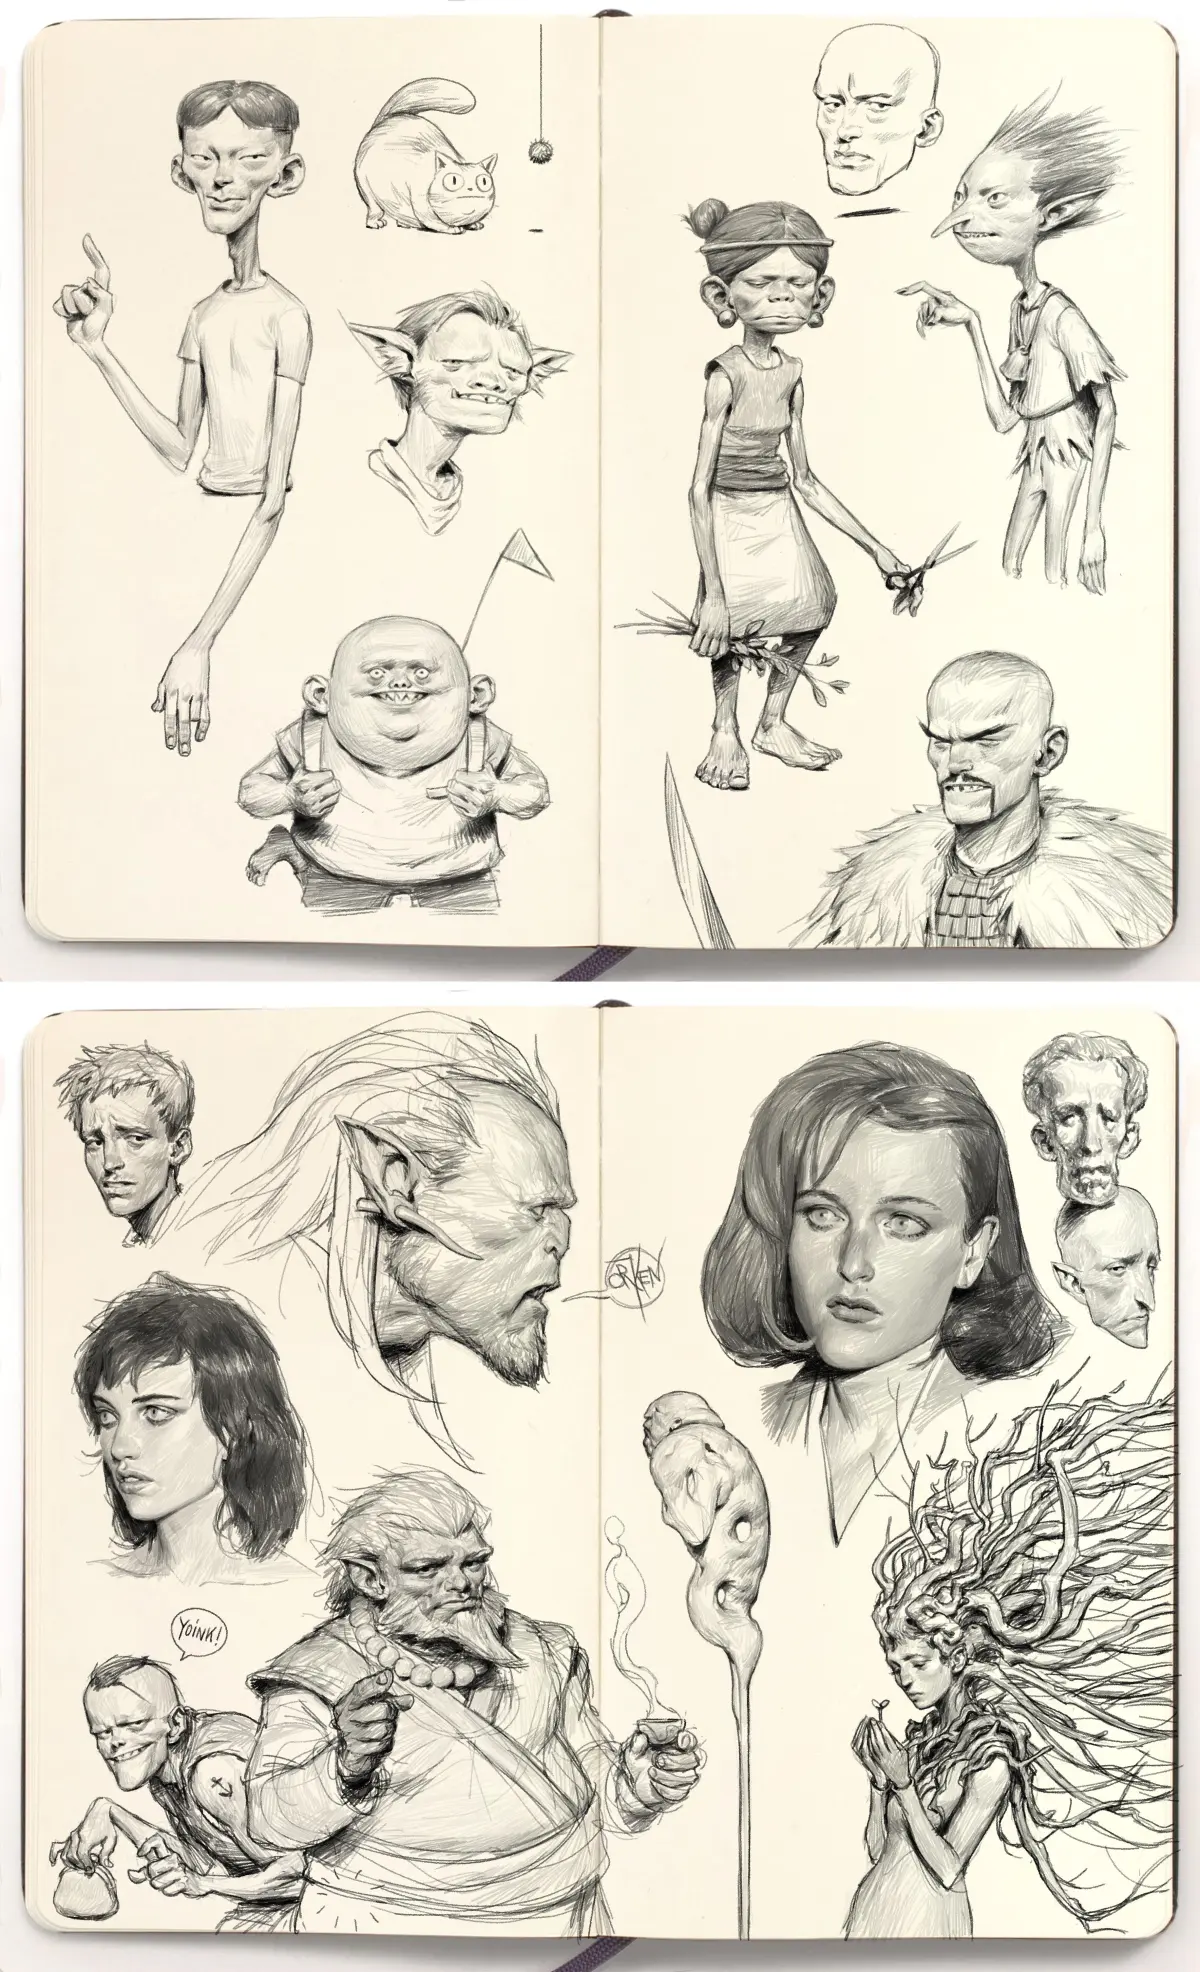
How do you start drawing as a beginner?
Short answer
Begin drawing by acquiring a few basic tools, such as graphite pencils and a sketchbook, and committing to daily practice. Focus on observing shapes rather than details, mastering fundamental techniques like shading and perspective. Consistency is more important than natural talent; start with simple exercises to build hand-eye coordination and confidence.

On this page
What equipment do I need to start drawing?
You do not need expensive professional supplies to begin your artistic journey. A basic kit should include a set of graphite pencils ranging from 2H (harder, lighter lead) to 6B (softer, darker lead), which allows for a full spectrum of tones. You will also need a high-quality eraser, preferably a kneaded eraser, which can be molded into different shapes to lift graphite without damaging the paper surface. A dedicated sketchbook with acid-free paper is essential to track your progress over time.
Beyond these basics, consider adding a sharpener and a blending stump for smoothing out transitions between light and shadow. Avoid purchasing large, complex sets immediately, as they can be overwhelming and often contain unnecessary specialized tools. Focus on getting comfortable with the weight and feel of a standard pencil. Quality paper makes a significant difference in how the graphite adheres, so choose a medium-weight drawing paper that can withstand multiple erasures.
How to learn the fundamentals of drawing
The foundation of all drawing lies in the ability to see objects as a collection of basic geometric shapes. Every complex form, whether it is a human figure or a landscape, can be broken down into spheres, cubes, cylinders, and cones. By practicing how to construct these primitives, you develop the spatial awareness necessary to draw more intricate subjects accurately. Start by sketching these shapes from different angles to understand how light interacts with three-dimensional surfaces.
Once you are comfortable with shapes, focus on the following core concepts to improve your technical accuracy:
- Perspective: Learn how parallel lines converge at a vanishing point to create the illusion of depth.
- Proportion: Use comparative measurement to ensure the parts of your drawing relate correctly to the whole.
- Value: Practice creating a range of tones from pure white to deep black to give your drawings volume and weight.
- Composition: Arrange elements within your frame to guide the viewer’s eye and create visual balance.
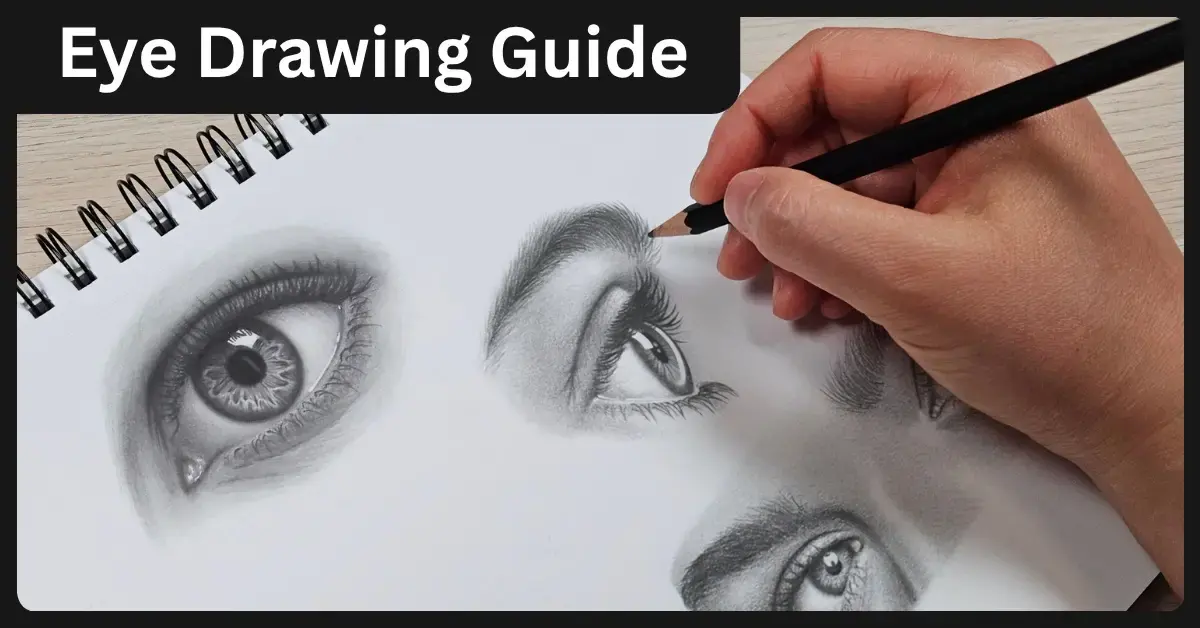
How long does it take to get better at drawing?
Improvement in drawing is a gradual process that depends more on deliberate practice than innate ability. Most beginners notice significant progress within three to six months of consistent daily effort. If you dedicate just 20 to 30 minutes each day to focused exercises, you will develop the "muscle memory" required for steady line work and precise shading. It is helpful to date your drawings and store them in a portfolio to objectively observe how your control and observation skills evolve over time.
Do not be discouraged by slow progress, as artistic growth often occurs in plateaus followed by sudden breakthroughs. Mastery is not a destination but a continuous refinement of your ability to translate what you see onto paper. To maintain momentum, vary your practice sessions between structured technical exercises and free-form sketching. This balance prevents burnout and keeps the process enjoyable while ensuring that you are consistently building the necessary foundational skills for more advanced artistic projects.
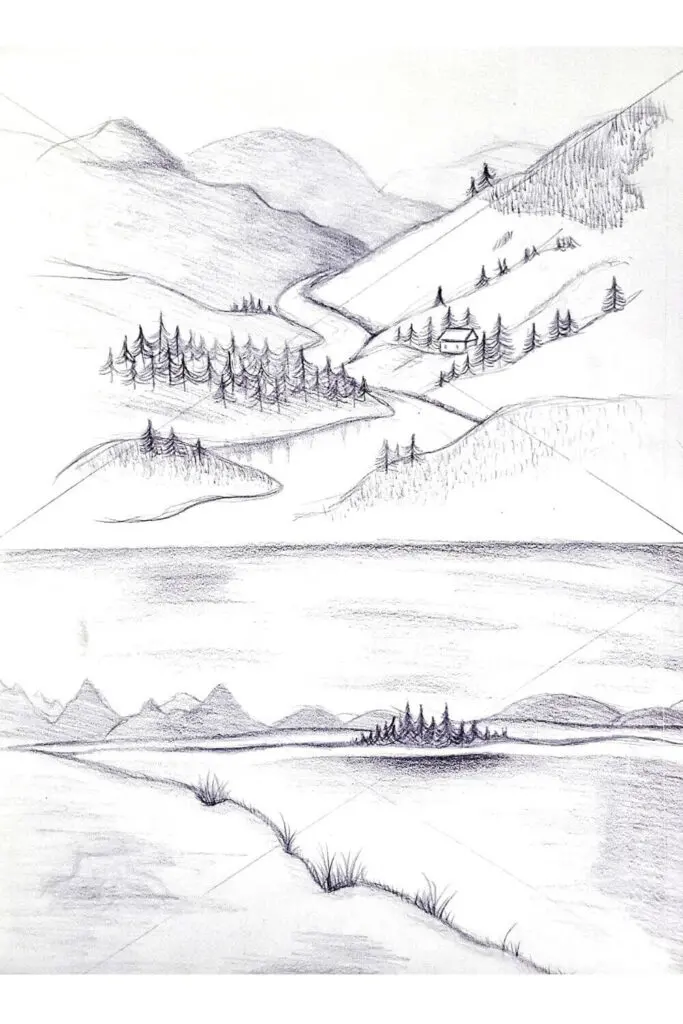
Common mistakes when starting to draw
One of the most frequent errors beginners make is focusing on fine details before establishing the overall structure of the subject. This often leads to drawings that are out of proportion or skewed in perspective. Always begin with light, loose "gesture" lines to map out the general placement and size of objects. Only after you are satisfied with the underlying structure should you begin to refine the outlines and add specific details or complex textures.
Another common pitfall is the fear of making mistakes, which leads to hesitant, "hairy" lines. Instead of drawing with short, choppy strokes, practice making long, confident marks. If you make a mistake, use your kneaded eraser to lift the graphite gently rather than scrubbing the paper. Remember these guidelines to avoid common setbacks:
- Stop pressing too hard, as heavy lines are difficult to erase and can indent the paper.
- Avoid smudging your work with your hand; place a clean sheet of paper under your palm.
- Do not compare your early work to the finished pieces of professional artists with years of experience.
- Stop drawing from memory; always use a reference photo or a physical object to train your observation.
How to stay motivated to keep drawing
Maintaining motivation can be difficult when your results do not match your vision. To combat frustration, set small, achievable goals for every session, such as filling one page with different types of hatching or sketching a single object from three different angles. Celebrate these small wins rather than focusing solely on the final outcome of a complex piece. Joining a local art group or participating in online drawing challenges can also provide a sense of community and accountability that keeps you engaged.
Finally, keep your sketchbook accessible so that drawing becomes a natural part of your daily routine. Observe the world around you even when you are not holding a pencil; notice how shadows fall on buildings or how light reflects off surfaces. This habit of active observation will naturally inform your drawing sessions and make the process feel less like a chore and more like a rewarding exploration of the visual world. Consistency will eventually transform your initial curiosity into a lifelong skill.
Key facts
- Start with a basic graphite pencil set ranging from 2H (hard) to 6B (soft) to control line darkness and texture.
- Practice drawing fundamental geometric shapes like spheres, cubes, and cylinders to build the foundation for complex objects.
- Use high-quality drawing paper with a slight "tooth" or texture to help the graphite adhere better to the surface.
- Spend at least 15 minutes daily on "gesture drawing," which involves capturing the movement and form of a subject quickly.
- Hold your pencil further back from the tip to encourage looser, more fluid strokes rather than stiff, cramped lines.
- Keep a dedicated sketchbook to track your progress and avoid the pressure of creating a masterpiece on every page.
The bottom line
Starting your drawing journey requires patience and a commitment to consistent, daily practice. By focusing on fundamental geometric shapes, observing your surroundings with intent, and utilizing simple tools, you build the necessary motor skills and visual perception. Avoid the urge to rush toward complex subjects; instead, celebrate the incremental progress found in your sketchbook. Mastery is a long-term process defined by persistence and disciplined observation.
People also ask
Do I need to buy expensive professional art supplies?
No, beginners should start with affordable, basic tools like standard drawing pencils, a kneaded eraser, and a simple sketchbook. Mastering the fundamentals is more important than the brand of your materials.
How long does it take to become good at drawing?
Skill acquisition depends on consistent practice rather than innate talent, with most people seeing significant improvement after three to six months of daily effort. Deliberate practice focused on specific techniques accelerates this timeline.
Should I learn to draw from life or from photographs?
Drawing from life is superior for understanding depth, light, and perspective, as cameras often flatten images. Use photographs only when physical subjects are unavailable or for reference details.
What is the most important skill for a beginner to master?
Learning to "see" like an artist is the most critical skill, which involves observing the negative space and the relationships between shapes. Once you accurately perceive proportions, your technical execution will naturally improve.
How do I fix mistakes without getting frustrated?
View every error as a necessary part of the learning process rather than a failure. Use a kneaded eraser to lift graphite gently, or incorporate the mistake into a new part of the drawing.
Is it necessary to learn color theory immediately?
Focus entirely on mastering line, value, and shading in black and white before introducing color. Understanding how light creates shadows is the prerequisite for effectively using color later.
This answer was created with the help of AI research tools and reference sources. Spotted an error? Let us know — we correct mistakes quickly. See our editorial policy.