How do you draw a person kneeling?
Short answer
Drawing a kneeling person requires establishing a stable base by anchoring the knees and feet to the ground. Focus on the compression of the torso against the thighs and the shift in the center of gravity. By mapping the joints first, you maintain anatomical proportions while capturing the figure’s weight and balance.
On this page
How to structure the human skeleton for kneeling
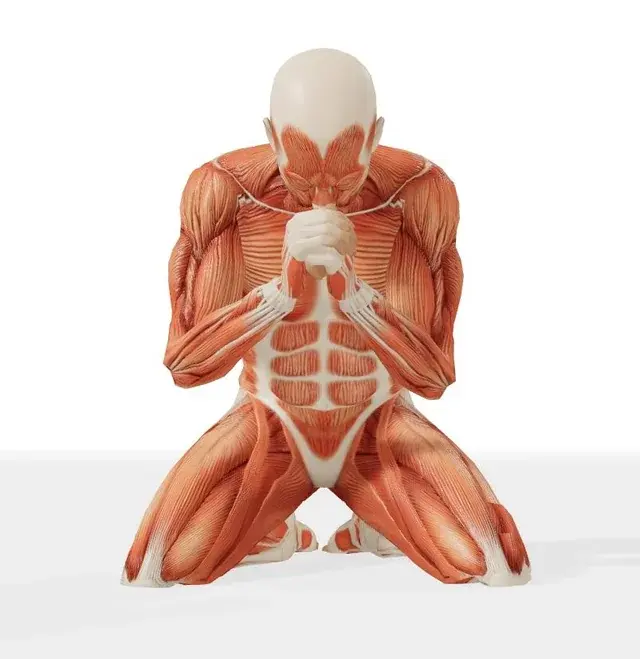
The foundation of a kneeling figure lies in the alignment of the pelvis, spine, and lower limbs. When a person kneels, the femur bones move from a vertical position to a horizontal or angled one, depending on whether they are sitting on their heels or kneeling upright. Start by drawing a bean-shaped oval for the rib cage and a smaller box for the pelvis. Connect these with a curved line representing the spine, which naturally arches forward or backward to maintain balance.
To ensure the figure looks grounded, map out the joints using circles. Place two circles for the knees, which act as the primary contact points with the ground. From these, draw the lower legs extending backward or resting flat against the floor. By establishing these anchor points early, you prevent the figure from appearing as if it is floating in space. Always check that the head remains aligned over the center of mass to keep the posture believable.
How to draw the legs and feet in kneeling poses
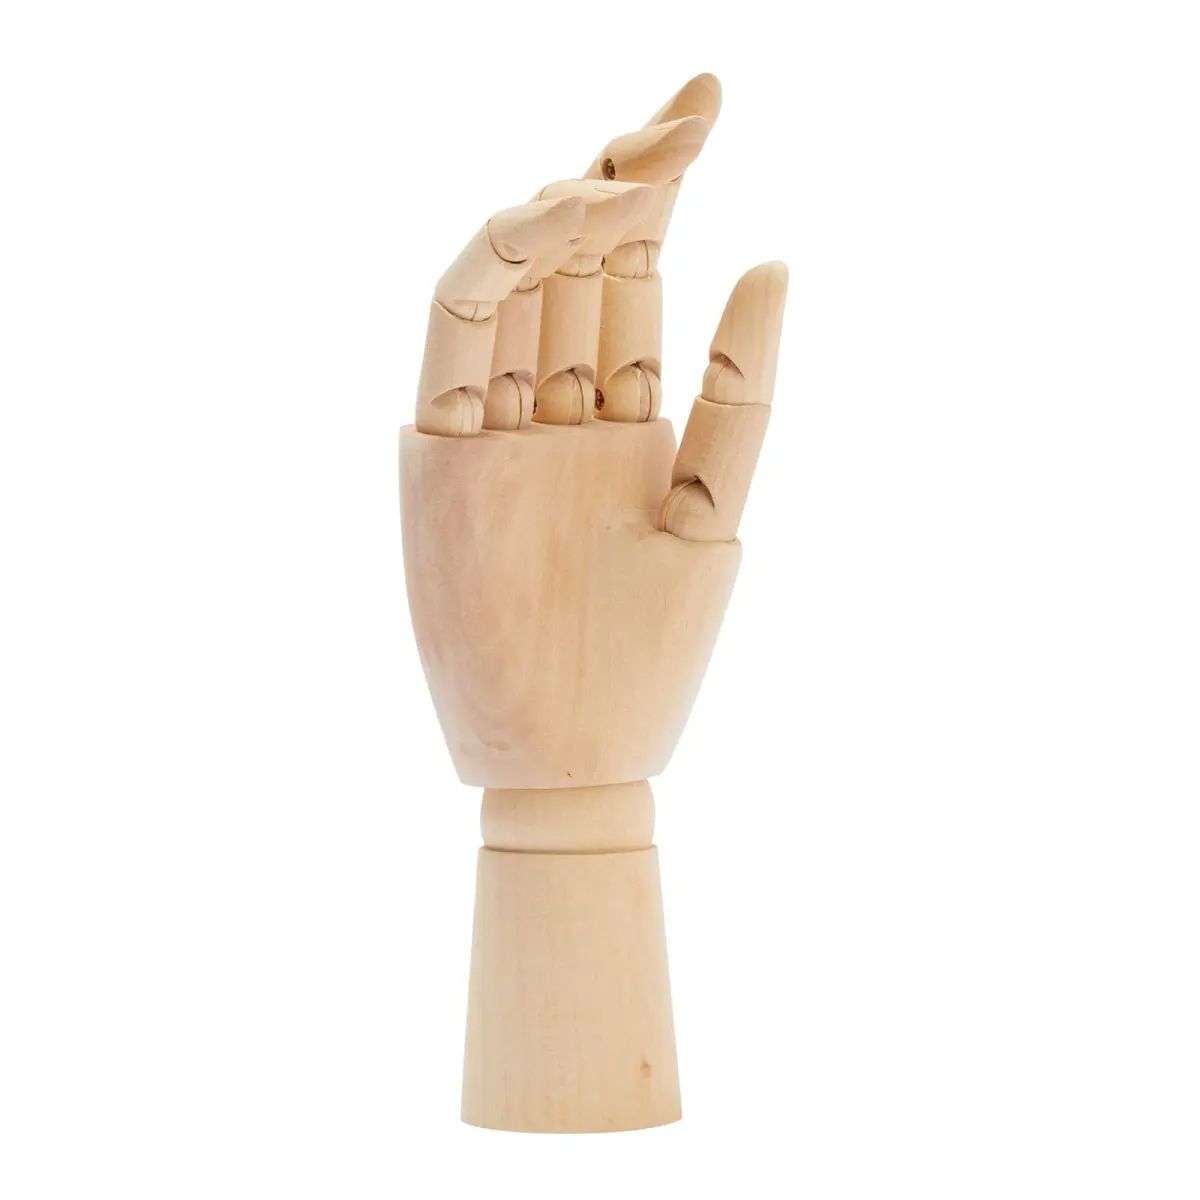
Drawing the legs requires careful attention to foreshortening, as the limbs are often angled toward the viewer. The upper leg (femur) will appear shorter than usual because it is seen from an end-on perspective. Focus on the transition from the hip joint to the knee, ensuring the thigh maintains enough volume to support the weight of the torso. If the character is kneeling with toes tucked, the feet will appear as compact, wedge-like shapes behind the knees.
- Sketch the femur as a tapered cylinder connecting the hip to the knee.
- Draw the lower leg (tibia and fibula) extending back, keeping the calf muscle visible if the knee is bent sharply.
- Define the feet by drawing the heel and the ball of the foot, noting that the arch will be highly compressed.
- Add the ankles, which should be positioned close to the ground to emphasize the weight being transferred downward.
Common mistakes when drawing kneeling figures
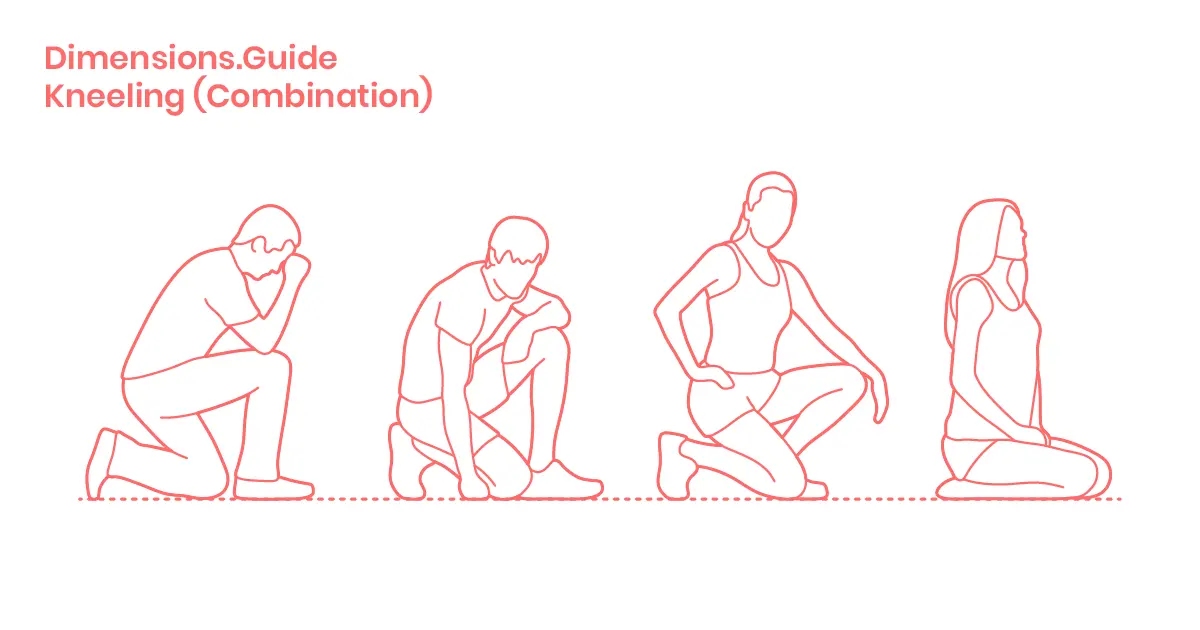
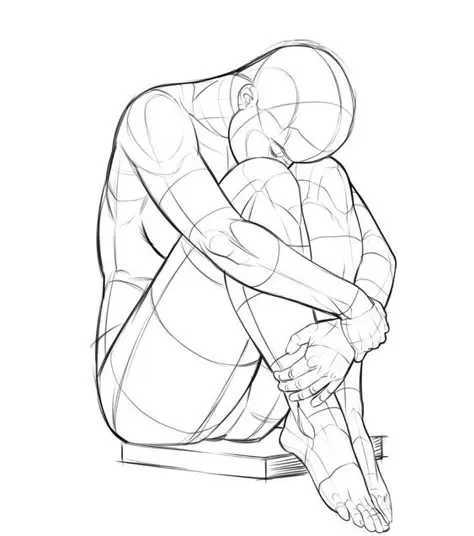
One of the most frequent errors is failing to account for the compression of the body. When a person kneels, the torso often leans forward or rests against the thighs, which causes the abdomen to fold. Beginners often draw the torso too long, making the figure look like it is standing on its knees rather than resting on them. Always remember that the weight of the upper body must be clearly supported by the lower limbs to avoid a disjointed appearance.
Another common mistake is ignoring the perspective of the knees. If the knees are not drawn as solid, weight-bearing objects, the figure will lack stability. Additionally, artists often forget to adjust the clothing folds; fabric will bunch up significantly at the back of the knee and around the waist. By studying how cloth reacts to the pressure of the bent joints, you can add realism to your drawing. Avoid drawing the feet too large, as they are often partially hidden by the legs.
Why the center of gravity matters
The center of gravity is the invisible point around which the body's weight is balanced. In a kneeling position, this point shifts significantly lower than it would be in a standing pose. If the character is kneeling upright, the center of gravity should fall directly between the two knees. If they are leaning forward, the weight shifts toward the knees and the hands, if they are touching the ground. Failing to align the head and shoulders with this center point will make the pose look unnatural or prone to tipping over.
- Keep the head centered over the hips to maintain a vertical, regal kneeling pose.
- Shift the head forward of the knees if the character is performing an action like praying or picking something up.
- Use a vertical plumb line in your sketch to verify that the weight distribution makes physical sense.
- Ensure the shoulders are not pulled too far back, which would cause the figure to look like it is falling backward.
Best techniques for adding realistic detail
To bring your drawing to life, focus on the interaction between the body and the surface beneath it. Add subtle shadows where the knees and feet press into the ground or a cushion, as this creates a sense of contact and weight. Use hatching lines to indicate the tension in the muscles of the thighs and the stretch of the fabric over the glutes. These small details indicate that the figure is actively supporting itself rather than just hovering.
Finally, consider the anatomy of the knee joint itself. The patella, or kneecap, is a distinct, bony shape that should be clearly defined, even through fabric. By highlighting the bony landmarks of the knees and ankles, you provide a sense of structural integrity to the pose. Use softer, rounded lines for the fleshy parts of the thighs and calves, contrasting them with the harder, angular lines of the joints. This balance of soft and hard edges creates a professional, anatomically correct illustration that conveys both grace and physical effort.
Key facts
- The human torso remains upright when kneeling, creating a vertical line from the shoulders to the hips.
- The knees should be placed directly beneath the pelvis to maintain a realistic center of gravity.
- Foreshortening occurs in the lower legs when viewed from the front, making them appear shorter than they are.
- The spine naturally curves into an S-shape even when the body is in a static kneeling position.
- Weight distribution shifts toward the knees, causing the thighs to angle slightly toward the ground.
- Use a simple stick-figure sketch to establish the proportions of the limbs before adding muscle mass.
The bottom line
Drawing a kneeling person requires a solid grasp of skeletal alignment and weight distribution. By prioritizing the verticality of the torso and the placement of the knees beneath the hips, you create a stable foundation. Focus on the natural curvature of the spine and the foreshortening of the lower legs to add depth. With practice, these structural elements will help you capture a realistic and balanced kneeling pose.
People also ask
How do I draw the feet when a person is kneeling?
If the person is kneeling on their shins, the feet should be extended backward with the toes touching the ground. If they are kneeling on one knee, place the front foot flat on the floor to provide a stable base.
What is the most common mistake when drawing a kneeling figure?
Artists often make the thighs too short, which makes the figure look like it is floating or hovering. Ensure the femur length matches the torso length to keep the proportions believable.
Should the arms hang straight down while kneeling?
The arm position depends on the action, but gravity usually pulls them toward the floor. If the figure is resting, the hands often touch the thighs or the ground for balance.
How do I show the weight of the body on the knees?
Draw the fabric of the pants or clothing bunching up slightly at the knee joint. This visual cue suggests pressure and contact with the surface below.
Does the head tilt change when kneeling?
The head typically remains level unless the figure is looking down at something specific. Avoid tilting the head too far, as this can make the figure look unnatural or off-balance.
Is it easier to draw a kneeling person from the side or the front?
The side profile is generally easier because it clearly shows the angles of the hip, knee, and ankle. Frontal views require complex foreshortening that can be difficult for beginners to master.
This answer was created with the help of AI research tools and reference sources. Spotted an error? Let us know — we correct mistakes quickly. See our editorial policy.