How do you draw feathers?
Short answer
Drawing feathers requires focusing on the central shaft, known as the rachis, and the branching barbs that extend from it. By establishing a firm structural line and layering thin, overlapping strokes to represent the vane, you can create realistic textures. Consistent light sources and careful attention to individual barb direction are essential.
On this page
How to draw the basic structure of a feather
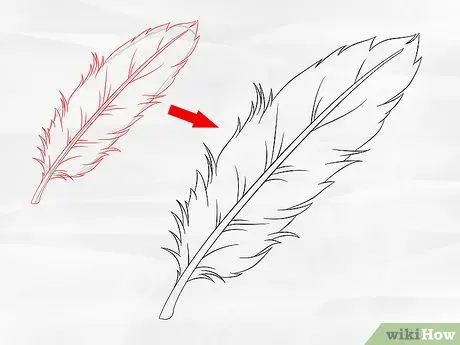
Every feather begins with a central, rigid spine called the rachis. To draw this accurately, start by sketching a light, slightly curved line that dictates the overall flow and movement of the feather. This line provides the anchor for all subsequent details and prevents the final drawing from looking stiff or unnatural.
Once the rachis is set, define the outer silhouette of the feather’s vane. This shape varies significantly depending on the species; for instance, flight feathers are often asymmetrical and elongated, while downy feathers appear fluffy and rounded. Keep your preliminary outline very faint so you can easily erase or refine it as you add texture.
- Draw a long, gentle curve to represent the rachis.
- Outline the outer boundary of the vane, keeping it light.
- Mark the base where the feather attaches to the bird, known as the calamus.
Best drawing tools for beginners
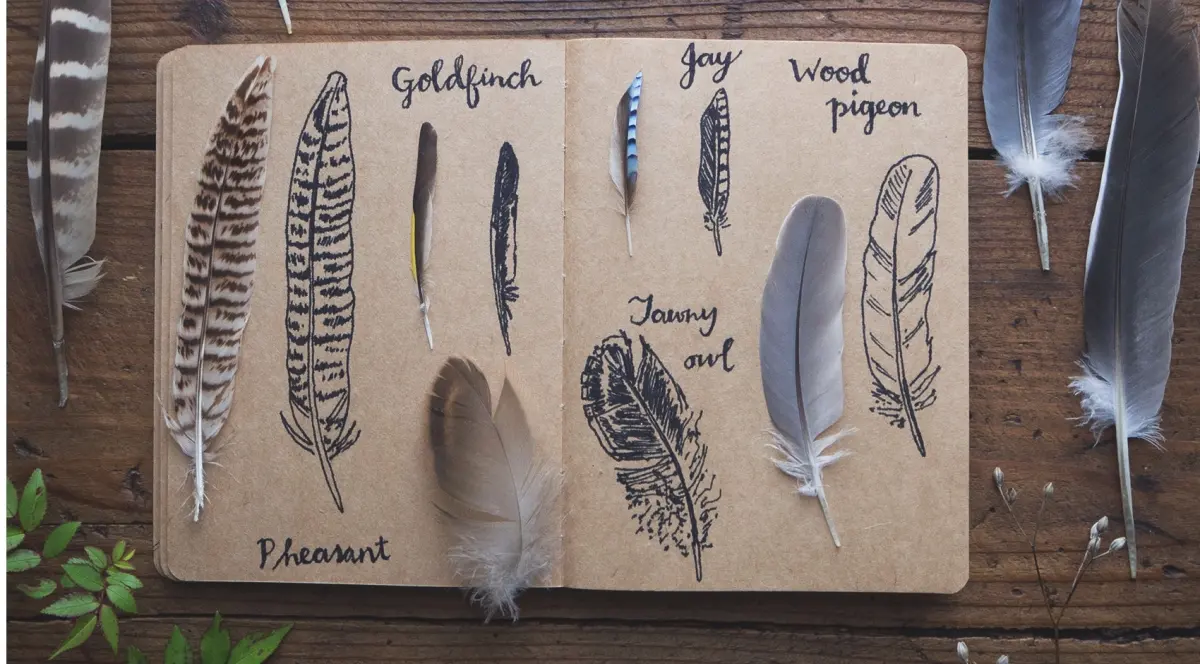
For those new to rendering feathers, using a range of graphite pencils provides the most control over value and texture. A hard pencil, such as an H or 2H, is ideal for the initial structural lines because it creates light, non-smudging marks. A softer pencil, like a 2B or 4B, allows you to build up the darker shadows necessary for depth.
In addition to pencils, a kneaded eraser is a vital tool for creating highlights within the feather. You can mold it into a sharp point to lift graphite from the page, which effectively mimics the delicate, light-catching sheen of individual barbs. Using a high-quality, smooth-surfaced drawing paper will also help you achieve cleaner lines when detailing the fine structure of the vane.
- Use an H pencil for the initial guide lines.
- Use a 2B pencil for shading the mid-tones.
- Use a 4B or 6B pencil for the deepest shadows near the rachis.
- Keep a kneaded eraser handy for creating highlights.
How to render realistic feather texture
The texture of a feather is defined by its barbs, which are the thin filaments branching off the rachis. To draw these, use short, rhythmic strokes that follow the angle of the vane. Start your strokes at the rachis and flick outward toward the edge of the feather, lifting your pencil at the end of each stroke to create a tapered look.
As you move toward the outer edge of the feather, the barbs should become slightly lighter and more spaced out. Avoid drawing every single barb, as this can make the drawing appear cluttered or mechanical. Instead, focus on grouping them into clusters, which suggests the presence of thousands of individual filaments without requiring exhaustive detail. This technique creates a sense of volume and softness.
Why feathers look flat in drawings
A common reason for a flat appearance is the lack of a clear light source. Feathers are three-dimensional objects with a curved surface, meaning one side of the rachis will often be in shadow while the other catches the light. By establishing where the light is coming from, you can apply shading to the barbs to give the feather a rounded, organic form.
Another issue is ignoring the overlapping nature of the vane. Feathers are not flat sheets; they are composed of overlapping layers that create subtle ridges and valleys. If you draw all your strokes at the exact same angle and length, the feather will appear like a static drawing rather than a living part of a bird. Varying the length of your strokes and adding slight curves to the barbs will help break up the monotony.
Common mistakes when drawing feathers
One frequent error is drawing the rachis as a perfectly straight, uniform line. In nature, the rachis is thicker at the base and tapers toward the tip, and it often possesses a slight, natural bend. If the rachis is too thick or perfectly centered, the feather will lose its realistic character and look like a manufactured object.
Another mistake is failing to account for the "fluff" at the base of the feather. Near the calamus, the barbs are often looser and more disorganized compared to the tightly packed barbs of the vane. Beginners often make the mistake of drawing the entire feather with the same high level of tight, uniform detail. Remember to soften your strokes as you approach the base to accurately depict the transition from the structured vane to the downy, insulating section of the feather.
Key facts
- A feather consists of a central shaft called the rachis and flat, branching structures known as barbs.
- Start by drawing a long, slightly curved line to establish the rachis, which provides the feather's spine.
- Sketch the outline of the vane as a teardrop or oval shape, keeping the base narrower than the middle.
- Draw fine, diagonal lines radiating outward from the rachis to represent individual barbs.
- Add texture by varying the pressure of your pencil, creating darker, denser lines near the base.
- Use an eraser to create white gaps or "splits" in the vane to mimic the natural wear of a bird's plumage.
The bottom line
Drawing a convincing feather requires balancing the rigid structure of the central rachis with the delicate, flowing nature of the barbs. By establishing a strong spine first and layering fine, diagonal strokes with varied pressure, you can capture the essence of avian plumage. Focus on the interplay of light and shadow near the shaft to provide depth, ensuring your final result looks organic rather than stiff.
People also ask
What is the difference between a contour feather and a down feather?
Contour feathers form the bird's outer shape and have a rigid, organized structure. Down feathers are fluffy, lack a firm rachis, and provide insulation close to the skin.
Should I draw the barbs in a straight or curved line?
Barbs should follow a gentle curve that flows away from the rachis. Avoid drawing them perfectly straight, as this makes the feather look stiff and artificial.
How do I make a feather look realistic rather than like a leaf?
Focus on the "barbules," which are the tiny hooks connecting the barbs. Adding small, irregular notches along the outer edge of the vane creates a more authentic, organic appearance.
What pencil grade is best for drawing feathers?
Use an HB pencil for the initial outline and a 2B or 4B pencil for shading. Softer leads allow you to build up the dark, velvety texture of the inner vane.
Why does my feather drawing look flat?
You likely lack depth in your shading. Ensure the area immediately touching the rachis is the darkest, as this creates a shadow that gives the feather a three-dimensional, curved form.
Can I use a blending stump to smooth out the barbs?
Avoid excessive blending, as it destroys the fine, individual lines that define a feather. Use a sharp pencil tip to maintain the crisp, hair-like quality of the barbs.
This answer was created with the help of AI research tools and reference sources. Spotted an error? Let us know — we correct mistakes quickly. See our editorial policy.