How do you draw a bird flying?
Short answer
Draw a flying bird by establishing a fluid gesture line that captures the arc of the wings and the momentum of the body. Focus on the primary feathers, which act as the bird’s engine, and maintain a streamlined silhouette. Observe how gravity and air resistance shape the wings into distinct, curved planes.
On this page
How to structure a bird in flight
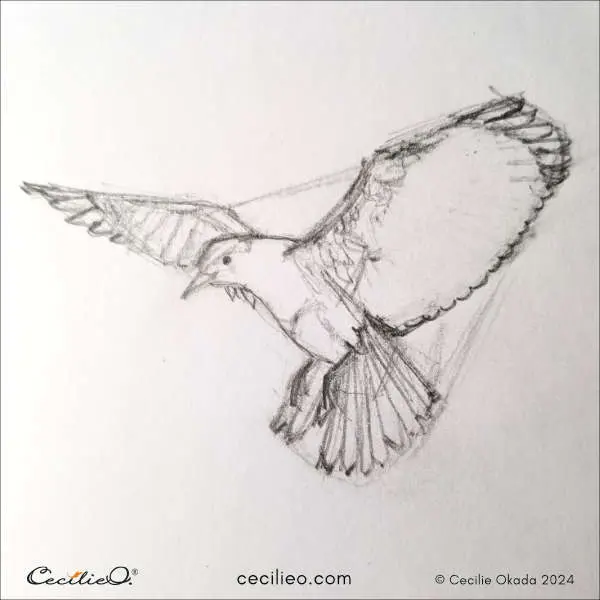
The foundation of a convincing flying bird is the gesture line, an invisible curve that runs from the beak through the spine to the tip of the tail. This line dictates the bird’s energy and direction. Before adding details, sketch a simple oval for the torso and a smaller circle for the head. Position the wings relative to the shoulder joints, which are located at the upper front of the torso.
When drawing the wings, visualize them as two elongated triangles extending from the body. The angle of these triangles changes depending on whether the bird is in the upstroke or the downstroke. For a bird in mid-flight, the wings should form a shallow "M" or "W" shape, reflecting the tension in the flight muscles. Keep your initial sketches light, as these structural lines will be erased or covered by feather textures later in the process.
How to draw bird wings correctly
Wings are not flat surfaces; they are complex structures composed of primary, secondary, and covert feathers. The primary feathers are the longest and most rigid, located at the wingtips, while the secondary feathers are shorter and closer to the body. To draw them accurately, follow these steps:
- Map out the wing span by drawing a long, slightly curved line from the body.
- Divide the wing into three distinct sections: the upper arm, forearm, and the hand portion where primary feathers attach.
- Draw the primary feathers as long, overlapping blades that fan out like fingers.
- Add the shorter, rounded secondary feathers along the rear edge of the forearm.
Avoid drawing every single feather individually, as this makes the wing look stiff and unnatural. Instead, group feathers into clusters or "shingles" to suggest volume and movement. Focus on the silhouette of the wing, as the outer edge defines the bird’s aerodynamic shape against the sky.
Best techniques for capturing motion
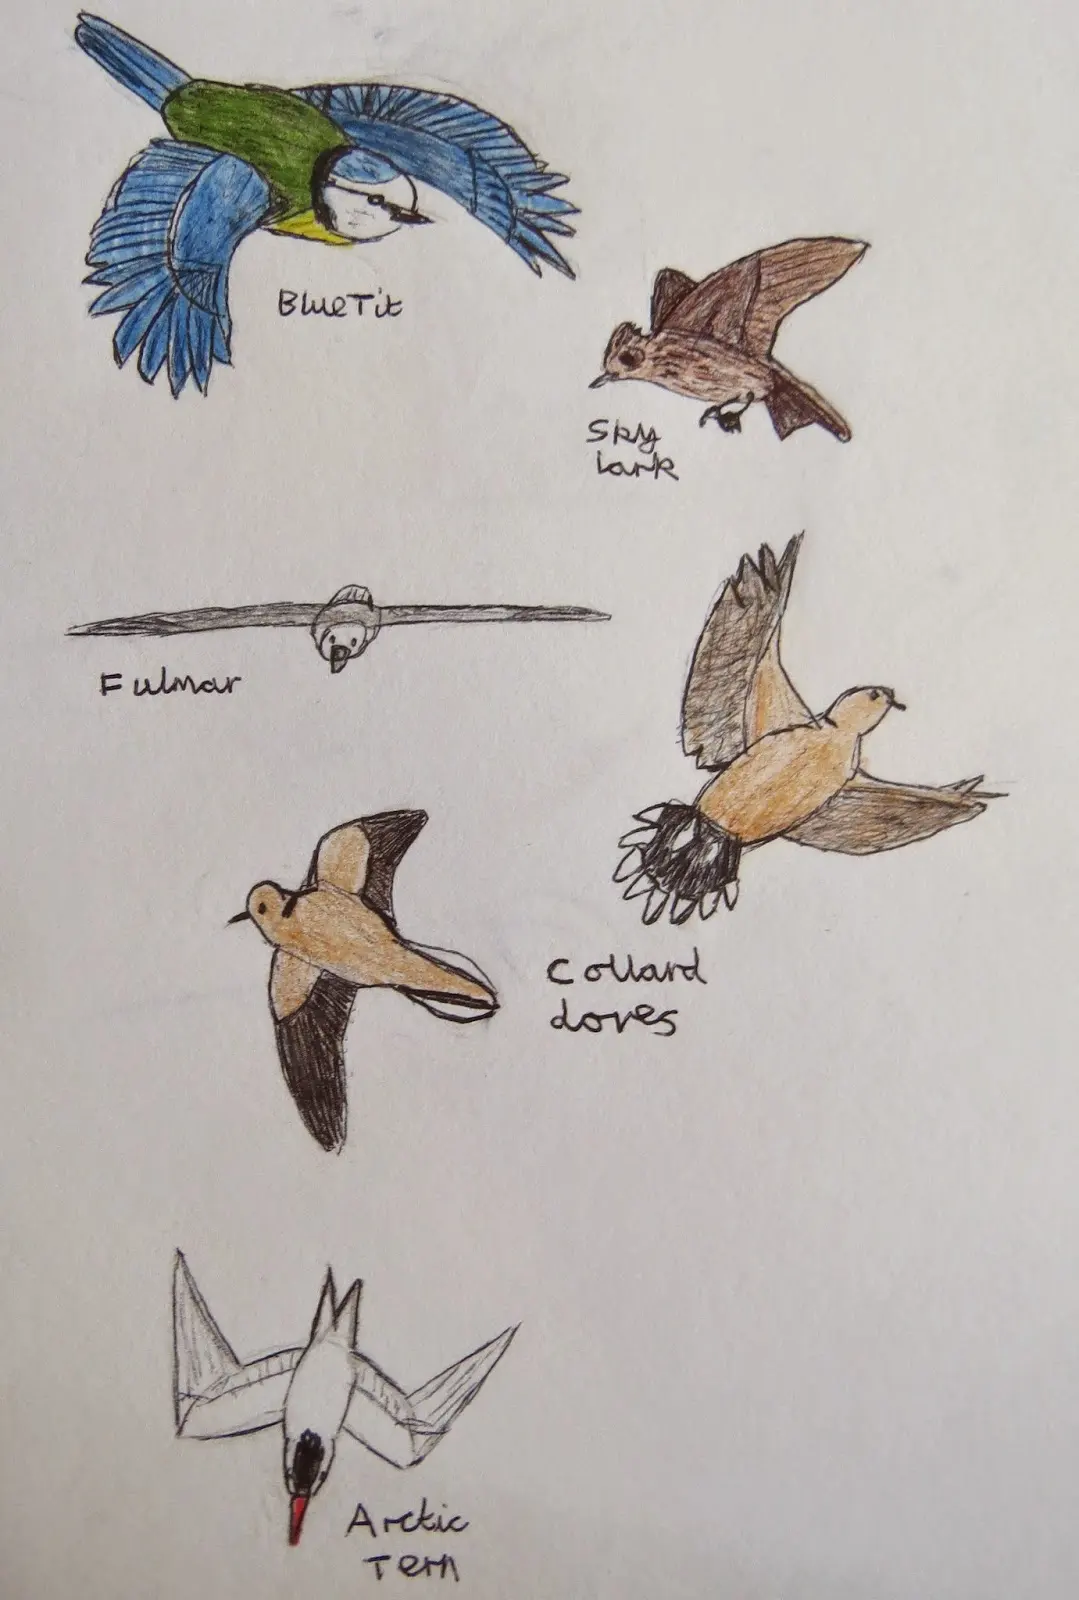
Motion is conveyed through the tension of the wing posture and the position of the tail. A bird in a power stroke will have wings pulled downward and forward, while an upstroke shows wings folded slightly closer to the body to reduce drag. Use "action lines" or blurred edges at the wingtips to imply high speed. The tail acts as a rudder, so angling it slightly can show the bird turning or banking in mid-air.
Study reference photos of birds like the peregrine falcon or the common swift to understand how they manipulate their feathers during flight. Notice how the feathers at the wingtips often separate slightly due to air pressure, creating a jagged, fingered appearance. By varying the length and curve of these outer feathers, you can depict the bird accelerating or preparing to land. Keep your marks fluid and confident to maintain the sense of forward momentum.
Common mistakes when drawing birds
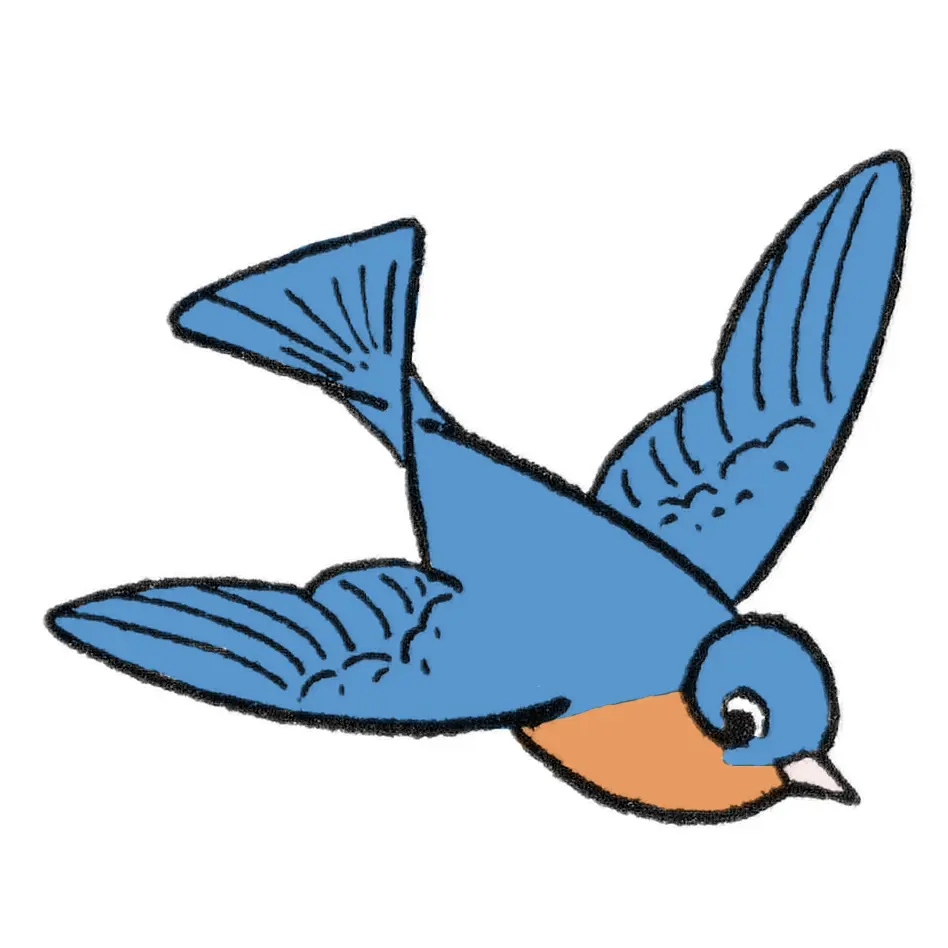
A frequent error is placing the wings too far back on the body, which makes the bird appear anatomically impossible and unbalanced. Always ensure the wings connect to the chest area, as this is where the massive pectoral muscles are located. Another common mistake is making the bird’s body too round or static. A flying bird is a streamlined machine; its body should be elongated and sleek to cut through the air efficiently.
Avoid symmetry in your drawings unless the bird is viewed directly from the front or back. In almost every other perspective, one wing will appear slightly larger or at a different angle than the other due to foreshortening. Additionally, do not neglect the head position. A bird’s head usually remains relatively steady while the body and wings work to navigate the air. If the head is tilted, it should reflect the bird’s focus on a target or a change in flight path.
How to add detail and finish
Once the structure is sound, focus on the feather patterns and lighting. Light typically hits the top of the wings, creating highlights, while the underside remains in shadow. Use hatching or cross-hatching to define the depth of the feathers, especially where they overlap near the wing joints. Adding subtle texture to the chest and belly helps ground the bird in three-dimensional space, making it look less like a flat cutout.
Finally, consider the environment. A bird in flight interacts with the wind, so adding a few soft, loose feathers or suggesting the direction of the breeze can enhance the realism of your piece. Clean up your initial construction lines with a kneaded eraser, leaving only the primary contours and essential feather details. By refining the edges and ensuring the proportions remain consistent with the species you are depicting, you will create a dynamic and accurate representation of a bird in its natural element.
Key facts
- Use an elongated oval for the body, tilting it slightly to suggest the direction of flight.
- Draw the wings as two wide, shallow "M" shapes or stretched arches attached to the upper third of the body.
- Keep the primary feathers at the wingtips spread apart like fingers to convey aerodynamic lift.
- Position the head near the front of the body oval, keeping it small to maintain realistic proportions.
- Add a fan-shaped tail at the rear to act as a rudder for balance and steering.
- Observe the "downstroke" where wings are cupped downward, versus the "upstroke" where they are folded closer to the body.
The bottom line
Drawing a bird in flight relies on capturing the tension in the wings and the overall flow of the body. By focusing on the articulation of the wing joints and the fanning of primary feathers, you can create a sense of weight and movement. Avoid static, symmetrical poses; instead, embrace the subtle asymmetries that occur as birds navigate the air to achieve a truly lifelike result.
People also ask
How do I make the bird look like it is moving fast?
Draw the wings angled sharply backward and streamline the body into a tighter, more aerodynamic shape. Adding slight motion blur lines behind the wingtips can further emphasize high speed.
Should the wings be symmetrical when drawing a flying bird?
Rarely, as birds constantly adjust their wings to navigate wind currents. Drawing one wing slightly higher or more bent than the other creates a dynamic, natural pose.
What is the most common mistake when drawing wings?
Beginners often draw wings as flat, stiff boards attached to the sides. Instead, remember that wings are flexible limbs with joints at the shoulder, elbow, and wrist.
How do I draw feathers without drawing every single one?
Focus on the large primary and secondary feathers at the edges of the wing. Use simple, overlapping strokes to suggest the texture rather than outlining every individual feather.
Does the bird's tail position matter?
Yes, the tail is essential for stability and braking. A fanned-out tail suggests the bird is slowing down or landing, while a closed, narrow tail indicates high-speed cruising.
How do I determine the correct wing span?
A general rule for most birds is that the total wingspan should be at least double the length of the bird’s body. Check reference photos of specific species, as proportions vary significantly between hawks and songbirds.
This answer was created with the help of AI research tools and reference sources. Spotted an error? Let us know — we correct mistakes quickly. See our editorial policy.