How do you draw a ballerina?
Short answer
Drawing a ballerina requires capturing the elegant lines of the human form in motion. Focus on the central axis of the body to establish balance, then layer the anatomical structure with fluid, graceful curves. By prioritizing proportions and the characteristic turnout of the legs, you can effectively depict a dancer’s poise and strength.
On this page
How to structure a ballerina’s pose
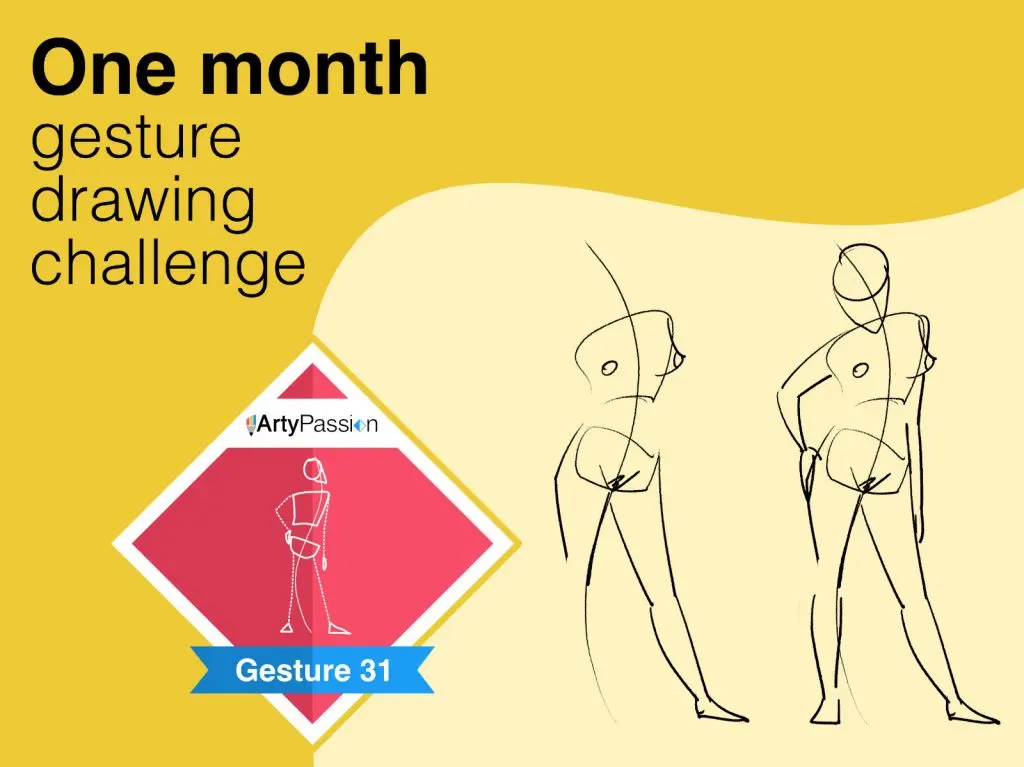
The foundation of a convincing figure drawing is the gesture line, which represents the dancer's movement and balance. Start by drawing a light, sweeping curve that follows the spine and extends through the supporting leg. This line dictates the flow of the pose and ensures the figure does not appear stiff or static. Once the gesture is established, plot the head, rib cage, and pelvis as simple geometric shapes to maintain correct proportions.
A ballerina’s anatomy is defined by the concept of "turnout," where the legs rotate outward from the hip. When sketching the lower body, ensure the knees and feet point away from the center line to convey this technical accuracy. Use these steps to build the frame:
- Sketch a vertical line of action to determine the tilt of the torso.
- Place ovals for the head, chest, and hips, ensuring they are aligned with the gravity of the pose.
- Draw thin, tapered lines for the limbs, marking joints with small circles to track the articulation.
Best drawing techniques for beginners
Beginners often struggle with the complexity of the human figure, so it is best to simplify the body into basic cylinders and spheres. Focus on the "line of beauty," an S-curve that often appears in a dancer’s silhouette, particularly when they are in an arabesque or port de bras. By emphasizing these long, continuous lines, you create a sense of grace that defines the ballet aesthetic.
Keep your initial marks very light so you can refine the contours without leaving heavy indentations on the paper. Once the structural frame is set, you can begin to add the volume of the muscles and the fabric of the costume. Remember that the dancer’s weight is usually shifted over the ball of the foot or the point of the shoe. Practice these foundational habits:
- Use a hard graphite pencil (like an H or HB) for the initial layout.
- Keep your hand loose and avoid short, choppy strokes.
- Observe the negative space around the limbs to ensure the proportions remain accurate.
How to draw ballet costumes and movement
The tutu and pointe shoes are iconic elements that require careful attention to texture and form. A classical platter tutu should be drawn as a stiff, horizontal disc extending from the waist, while a romantic tutu appears as a soft, layered bell shape. Use light, feathery strokes to suggest the transparency of tulle, allowing the underlying shape of the legs to remain visible through the fabric.
Pointe shoes should be drawn as streamlined, almond-shaped extensions of the feet. Focus on the ribbon ties, which wrap around the ankle and draw the viewer’s eye to the dancer's pointed toe. When depicting movement, such as a leap or a spin, use "motion lines" or blur the edges of the skirt to suggest speed. Avoid drawing every individual fold of the fabric, as this can clutter the drawing and distract from the dancer's overall silhouette and grace.
Common mistakes when drawing dancers
One of the most frequent errors is ignoring the center of gravity, which causes the figure to look like it is falling over. A ballerina’s weight must be clearly supported by the standing leg, which should be drawn as a sturdy, straight pillar of strength. If the hips are not tilted correctly to compensate for the weight shift, the drawing will lack the necessary tension and realism found in professional dance photography.
Another common mistake is drawing limbs that are too thick or inconsistent in length. Remember that a dancer’s arms are often held in rounded positions, known as "en couronne" or "en avant." If the elbows are too sharp or the arms are too short, the figure will lose its lyrical quality. Watch for these specific pitfalls:
- Drawing the head too large, which ruins the elongated look of the dancer’s frame.
- Forgetting to show the arch of the foot, which is essential for the aesthetic of pointe work.
- Making the neck too short, which hides the elegant posture required in ballet.
How to add shading and depth
Shading is the final step that transforms a flat line drawing into a three-dimensional figure. Identify the light source early on and apply shadows consistently to the opposite side of the body. Use soft, blended transitions for the skin and muscles, while using sharper, more defined shadows for the folds of the costume. This contrast helps the dancer pop off the page and creates a sense of depth.
Focus your darkest values where the body parts overlap, such as under the armpit or where the leg meets the torso. By emphasizing these contact points, you ground the figure in space and give it a physical presence. Use a kneaded eraser to lift out highlights on the shoulders, the bridge of the nose, and the front of the legs, as these areas catch the most light during a performance. With careful attention to these light and dark values, your ballerina will convey both the technical precision and the artistic emotion of the dance.
Key facts
- Start with a vertical line representing the spine to establish the ballerina's posture and balance.
- Use an oval for the rib cage and a smaller one for the pelvis, connected by a slight curve to show the torso's flexibility.
- Keep limbs elongated; ballet dancers are characterized by extended lines that reach beyond the fingertips and toes.
- Focus on the "turnout" by drawing the legs rotated outward from the hips, which is the foundational position of classical ballet.
- Draw the arms in soft, rounded curves known as "port de bras" to maintain a graceful, fluid appearance.
- Sketch the head slightly tilted to add a sense of poise and elegance to the overall composition.
The bottom line
Drawing a ballerina requires a focus on fluid lines, grace, and anatomical precision. By establishing a strong, curved spine and emphasizing the outward rotation of the legs, you create the foundation for a believable pose. Remember to keep the limbs elongated and the extremities soft. With practice on these core principles, you can effectively capture the elegance and dynamic movement inherent in classical ballet performance.
People also ask
How do I draw the pointe shoes correctly?
Draw the shoe as a snug, satin-covered extension of the foot with a flat, squared-off tip. Ensure the ribbons wrap neatly around the ankle rather than looking like loose straps.
What is the best way to draw a tutu?
Sketch the tutu as a stiff, horizontal disc extending from the waistline. Use light, feathery strokes at the edges to suggest layers of tulle fabric.
How do I capture the movement of a dancer?
Use "action lines" that follow the direction of the limbs to emphasize energy. Avoid stiff, vertical poses by introducing a slight lean or curve in the spine.
Should I draw the muscles in detail?
Focus on smooth, long muscle lines rather than bulky definition. Ballet aesthetics prioritize a lean, elongated look that emphasizes form over heavy mass.
How do I draw the hands of a ballerina?
Keep the fingers close together with the middle finger slightly lower than the others. Avoid spreading the fingers wide, as this disrupts the refined look of the dance.
What is the most common mistake when drawing a ballerina?
The most frequent error is drawing the legs too short or failing to maintain the turnout. Always ensure the knees point outward rather than forward to maintain technical accuracy.
This answer was created with the help of AI research tools and reference sources. Spotted an error? Let us know — we correct mistakes quickly. See our editorial policy.