How do you pose for photos?
Short answer
Posing for photos involves aligning your body to create flattering angles, using natural light, and maintaining relaxed posture. By shifting your weight, angling your shoulders, and creating space between your limbs and torso, you can improve your silhouette. Confidence and subtle movement are essential for achieving a natural, photogenic appearance in any setting.
On this page
How to look natural in photos
Looking natural in a photograph requires moving away from rigid, static poses. Instead of standing perfectly square to the camera, turn your body at a slight 45-degree angle. This simple adjustment adds depth to your frame and prevents the "flat" look that occurs when facing a lens head-on. Keep your shoulders relaxed and slightly dropped to avoid appearing tense or hunched.
Movement is the secret to capturing genuine expressions. Rather than holding your breath and freezing, try shifting your weight from one foot to the other or walking slowly toward the camera. Engaging in small, repetitive motions helps your muscles soften and prevents the dreaded "deer in the headlights" expression. If you feel awkward, try these techniques to settle into a comfortable rhythm:
- Shake out your arms and legs before the shutter clicks to release tension.
- Look away from the camera and then turn back toward it just as the photo is taken.
- Focus on your breathing to ensure your facial muscles remain relaxed.
Best poses for beginners
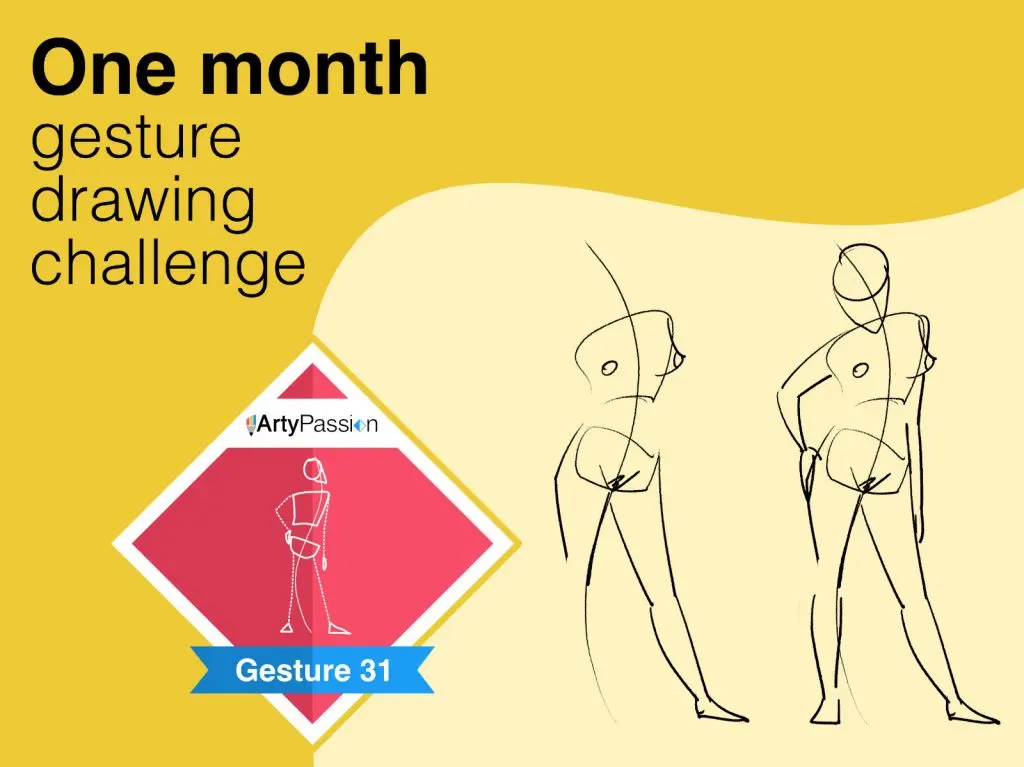
For those new to modeling, the "triangle" technique is the most reliable way to improve your silhouette. By bending your elbows or knees, you create negative space between your limbs and your torso, which prevents your body from appearing as a solid, wide block. Placing one hand on your hip or resting your weight on one leg creates these essential angles.
You should also pay attention to your chin and neck position to avoid double-chin effects. A common professional trick is to push your forehead slightly toward the camera lens and tilt your chin downward. This elongates the neck and defines the jawline, creating a more structured look. Follow these steps to master the basics of body positioning:
- Place your weight on your back leg to create a relaxed, leaning posture.
- Angle your body away from the light source to create subtle shadows that define your features.
- Keep your hands visible and relaxed, avoiding tight fists or stiff, flat palms.
How to use lighting for better photos
Lighting is the most significant factor in how a pose translates to a final image. Soft, diffused light is generally the most flattering, as it minimizes skin texture and harsh shadows. If you are outdoors, try to find "open shade," such as the area under a tree or the side of a building, rather than standing in direct, midday sunlight.
When you are facing the light, ensure it hits your face evenly to avoid uneven shadows under your eyes or nose. If the light is coming from the side, turn your face toward it to illuminate your features fully. Understanding your light source allows you to adjust your pose accordingly; for example, if you are backlit, you may need to turn your body slightly to ensure your face is not obscured by darkness. Always prioritize finding a light source that highlights your eyes, as this brings life and clarity to any portrait.
Common mistakes when posing
A frequent error is "limp" hands, which can make a person look disconnected or awkward in a photo. Always give your hands a purpose, such as lightly touching your hair, holding a prop, or resting them gently on your waist. Another common mistake is tucking your arms tightly against your sides, which makes them appear wider than they actually are.
Posture also plays a vital role in the success of a photograph. Slouching causes the torso to look compressed and can create unflattering folds in clothing. You should aim to stand tall, imagining a string pulling the top of your head toward the ceiling. To avoid these pitfalls, keep these points in mind:
- Avoid clenching your jaw; keep your teeth slightly parted to soften your expression.
- Do not hide your hands behind your back, as this makes you appear as if you are missing limbs.
- Ensure your clothing is smoothed out, as wrinkles are often exaggerated by camera flashes.
Why photos look different than the mirror
The primary reason photos look different than your reflection is the lens distortion caused by different focal lengths. Wide-angle lenses, often found on smartphones, can exaggerate features closer to the lens, such as your nose or forehead. To minimize this, keep your face centered in the frame and avoid leaning too close to the camera, as this will distort your proportions.
Furthermore, a mirror provides a reversed image, which is how you are accustomed to seeing yourself daily. When a photo is taken, the image is not flipped, which can make your face look "wrong" or asymmetrical to your own eyes. This is a psychological phenomenon known as the "mere-exposure effect." Understanding that your face is naturally asymmetrical helps you accept the photograph as an accurate representation of how others see you. By practicing your poses in front of a mirror and then taking test photos, you can bridge the gap between your reflection and the final image.
Key facts
- Angle your body about 45 degrees away from the camera to create a more slender and dynamic silhouette.
- Keep your shoulders relaxed and slightly pushed back to improve your posture and frame your face.
- Place your tongue against the roof of your mouth to sharpen your jawline and prevent a double chin.
- Create "triangles" with your limbs by bending your elbows or knees to add visual interest and movement.
- Shift your weight to your back leg to naturally soften your stance and reduce stiffness.
- Find your "good side" by testing which profile looks more symmetrical in a mirror before the shoot.
The bottom line
Mastering the art of posing is less about rigid rules and more about understanding how angles, posture, and lighting interact to flatter your unique features. By focusing on simple adjustments like shifting your weight, creating space between your limbs, and relaxing your facial expressions, you can consistently project confidence. Ultimately, the best poses feel natural, allowing your personality to shine through while minimizing common photographic distortions.
People also ask
How can I stop looking awkward in photos?
Focus on creating space between your arms and your torso, as pressing them against your body makes them appear wider. Keep your hands busy by holding an object or gently resting them on your waist to avoid stiff, dangling limbs.
What is the best way to smile for a camera?
Avoid a forced, wide grin by relaxing your facial muscles and slightly parting your lips. Squinching your lower eyelids upward, often called the "smize," adds warmth and authenticity to your expression.
Should I look directly into the lens?
Looking directly at the lens creates a strong connection with the viewer, but looking slightly off-camera can feel more candid and editorial. Experiment with both to see which suits the mood of your setting.
How do I avoid red-eye in flash photography?
Red-eye occurs when light reflects off the back of the retina, so avoid looking directly into a bright flash. Turn on nearby room lights to constrict your pupils, which naturally reduces the light reflection.
What should I wear for a professional portrait?
Stick to solid, neutral colors and avoid busy patterns that distract from your face. Ensure your clothing is well-fitted, as baggy garments often appear shapeless and unflattering in two-dimensional images.
How can I look taller in group photos?
Stand slightly closer to the camera than others or position yourself in the center of the group. If you are standing, keep your back straight and avoid slouching, as a tall posture is the most effective way to elongate your frame.
This answer was created with the help of AI research tools and reference sources. Spotted an error? Let us know — we correct mistakes quickly. See our editorial policy.