How do you draw a realistic car?
Short answer
Drawing a realistic car requires establishing accurate proportions using a basic geometric framework before adding complex details. By focusing on perspective, wheel placement, and the reflection of light on curved surfaces, you can create a convincing three-dimensional representation. Mastery comes from observing how light interacts with automotive body panels and glass.
On this page
How to set up the basic proportions of a car
Achieving realism starts with a strong foundation, as even minor errors in proportion will make the vehicle look distorted. Begin by drawing a long, horizontal rectangle that represents the overall length and height of the car. Within this frame, sketch two circles for the wheels, ensuring they are correctly spaced to define the wheelbase. Use light, construction lines to map out the "greenhouse," which refers to the cabin, windows, and roofline.
Most beginners fail by drawing the wheels too small or placing them too close together. A standard passenger car typically has a wheelbase roughly three times the diameter of one wheel. Use these measurements to guide your initial sketch:
- Draw the beltline, the horizontal line separating the body from the windows, to establish the car's stance.
- Sketch the front and rear overhangs to define the vehicle’s specific silhouette.
- Keep your initial lines extremely light so they can be easily erased or adjusted later.
Best drawing tools for beginners
While professional designers often use digital tablets, beginners should start with traditional graphite pencils to understand pressure and shading. A set of pencils ranging from 2H for light construction lines to 4B for dark, dramatic shadows is ideal. Use a kneaded eraser, which can be molded into precise points to lift graphite and create highlights on reflective surfaces like chrome or glass.
Quality paper also plays a significant role in the final result. A smooth, medium-weight drawing paper prevents unwanted texture from interfering with fine lines. Consider these essential items for your kit:
- A set of graphite pencils (2H, HB, 2B, 4B) for varied tonal depth.
- A metal ruler to ensure straight lines on the chassis and window frames.
- A blending stump or soft tissue to smooth out gradients on the car's body panels.
- A high-quality sharpener to maintain a precise point for detailing headlights and grilles.
How to render realistic light and reflections
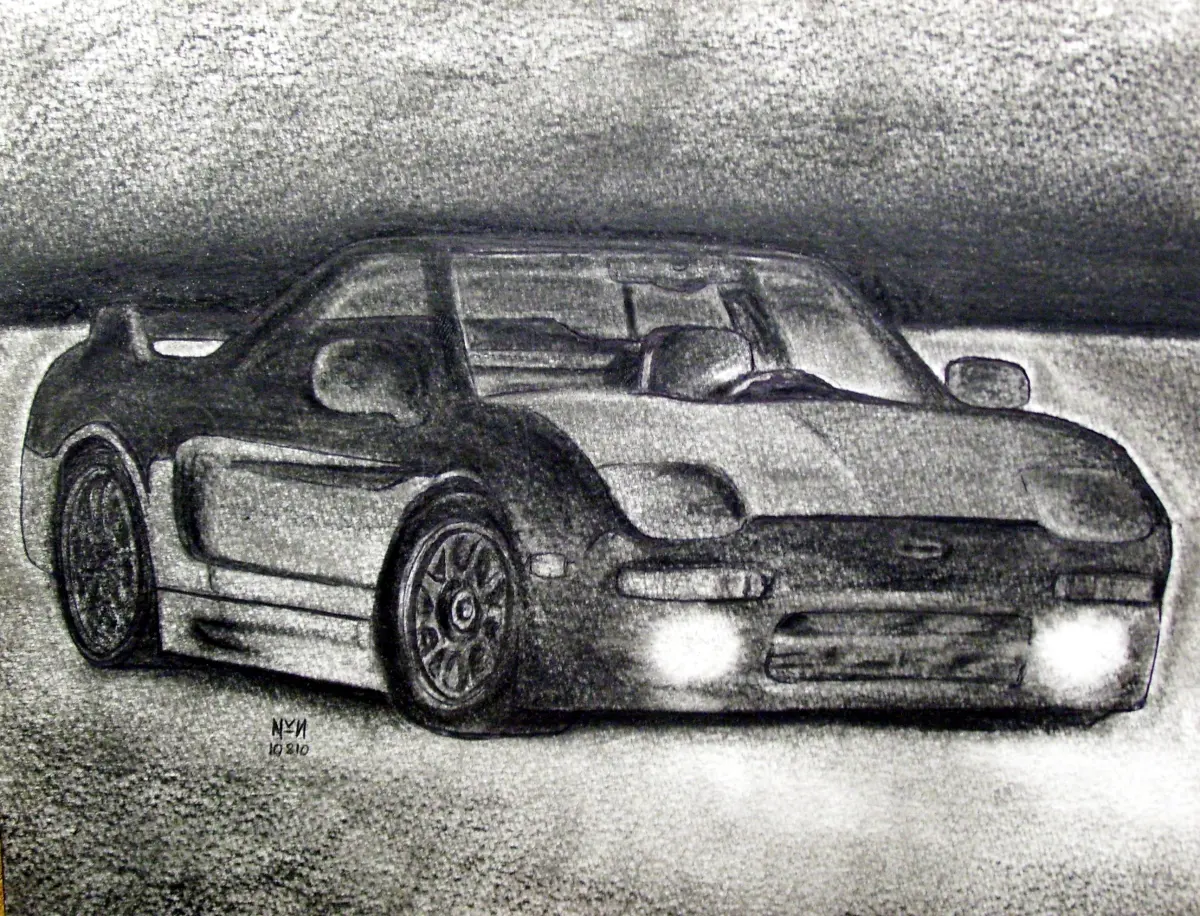
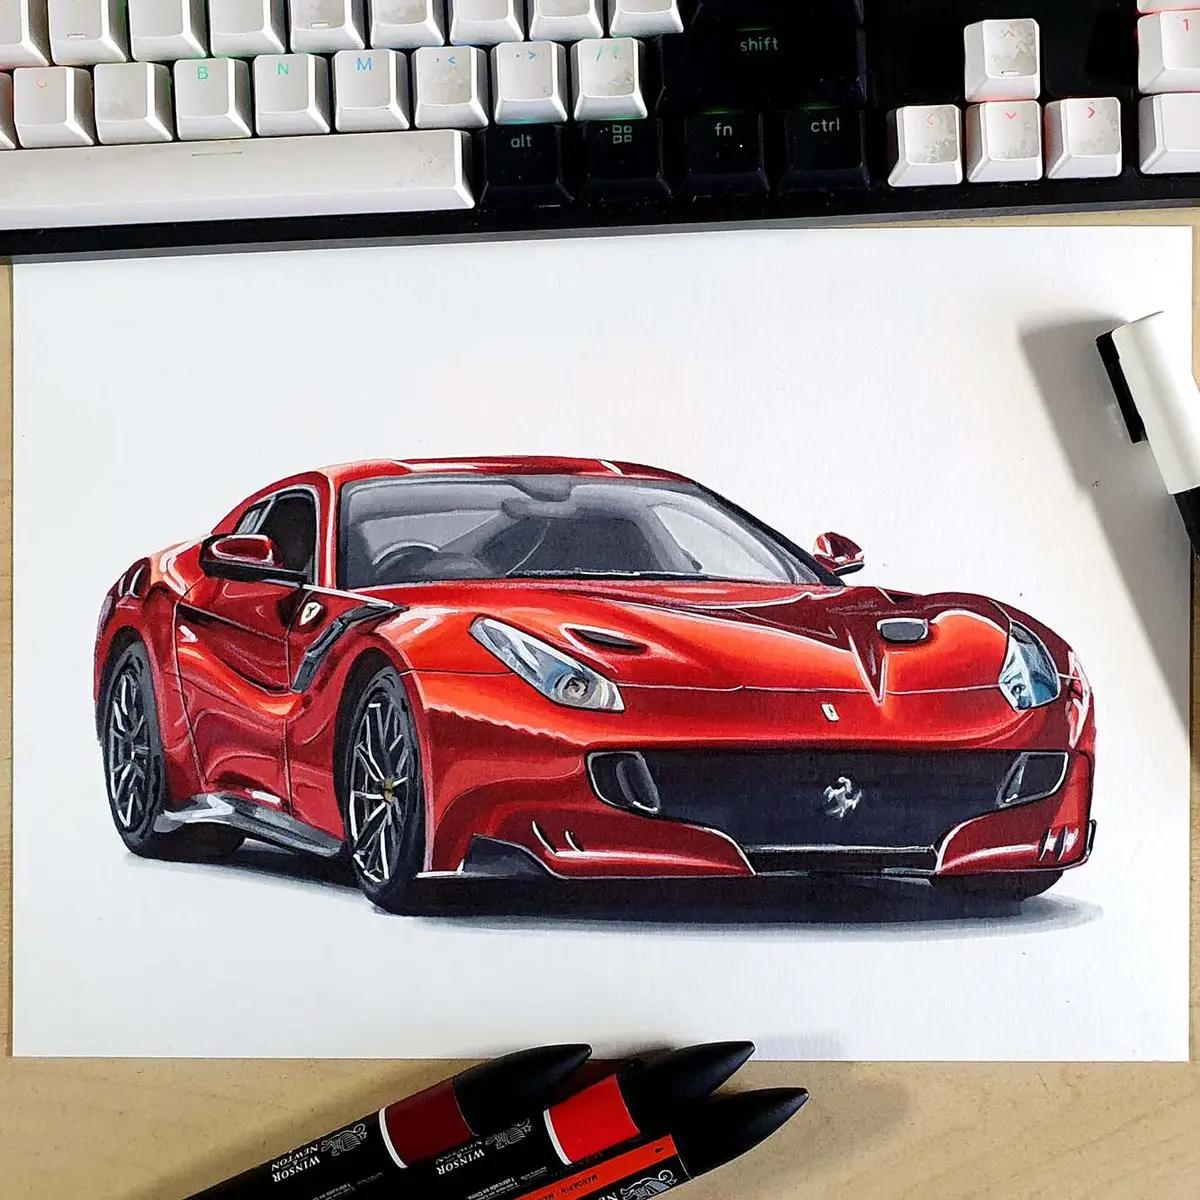
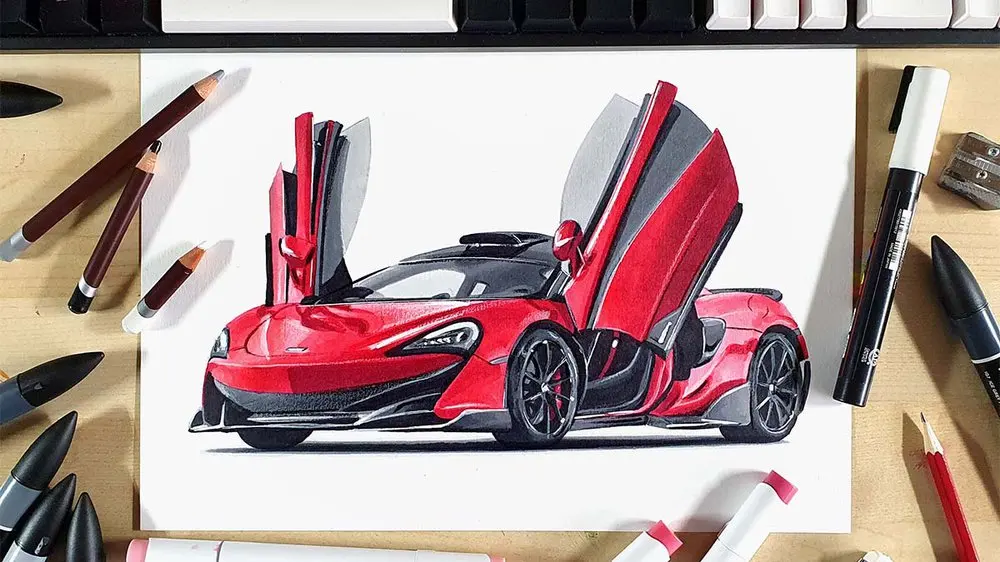
Cars are essentially complex collections of curved mirrors, making light reflection the most important factor in achieving a realistic look. The body of a car is rarely a single flat color; it catches the sky, the ground, and surrounding objects. Identify the primary light source and map out where the highlights will fall on the hood, roof, and trunk. These highlights should follow the contours of the bodywork.
To create the illusion of a polished finish, use a technique called "value mapping." This involves identifying the darkest shadows under the car and near the wheel wells, then transitioning to lighter grays for the sides. Follow these steps to render surfaces:
- Apply a base layer of graphite to the entire body, leaving the brightest highlight areas white.
- Darken the areas where the body panels curve inward, as these receive less light.
- Use a sharp eraser to pull out thin, crisp lines of light along the edges of the doors and fenders.
- Keep reflections slightly distorted to mimic the way light bends over curved metal.
Common mistakes when drawing cars
The most frequent error is neglecting the "perspective" of the wheels. Wheels are circles viewed at an angle, meaning they should be drawn as ellipses rather than perfect circles. If the perspective is wrong, the car will appear to be tipping over or floating above the ground. Another common mistake is drawing the tires as flat, two-dimensional shapes, which robs the car of its weight and presence on the road.
Pay close attention to the thickness of the tires and the depth of the wheel wells. A car that lacks depth in its wheel arches will look like a cardboard cutout. Avoid these pitfalls to improve your accuracy:
- Drawing wheels that are perfectly circular when the car is viewed from a three-quarter angle.
- Forgetting to add shadow underneath the chassis, which grounds the vehicle to the surface.
- Over-detailing the interior before the exterior proportions are finalized.
- Using heavy, dark outlines for every single part of the car, which flattens the image.
How long does it take to master car drawing
Developing the ability to draw a realistic car is a gradual process that relies on muscle memory and an improved eye for detail. A beginner might spend several hours on a single sketch, while an experienced artist can capture the essence of a vehicle in under an hour. Consistency is more important than speed; practicing for thirty minutes daily is significantly more effective than drawing for five hours once a month.
Focus on studying real-world examples to understand how different manufacturers design their vehicles. Look at the lines of a classic 1960s sports car versus a modern aerodynamic sedan to see how shapes have evolved. Over time, your brain will learn to break down complex automotive designs into simple, manageable shapes. Keep your early sketches to track your progress, as you will notice your ability to handle complex curves and lighting improves significantly after only a few months of dedicated practice.
Key facts
- Use a 2H or HB pencil to lightly sketch the initial frame, as heavy pressure creates indentations that are difficult to erase.
- Divide the car’s length into roughly three wheel-diameters to establish accurate proportions before adding details.
- Focus on the "beltline," the horizontal crease running below the windows, as this defines the vehicle’s overall silhouette.
- Draw ellipses for wheels rather than perfect circles to account for the perspective of the ground plane.
- Use a kneaded eraser to lift graphite gently, which creates the soft, reflective highlights found on metallic body panels.
- Apply shading in the direction of the car's curves to emphasize the three-dimensional volume of the fenders and hood.
The bottom line
Drawing a realistic car requires mastering proportions by using the wheels as a baseline measurement. By focusing on the interplay of light and shadow across the curved body panels, you can transform a simple outline into a three-dimensional object. Practice patience with your initial sketches, prioritize perspective, and use varying lead grades to build contrast, ensuring the final result captures the vehicle's unique weight and form.
People also ask
Why do my car drawings look flat?
Flatness usually results from ignoring the light source or failing to shade the curves of the bodywork. Ensure you apply darker tones in the wheel wells and under the chassis to ground the vehicle in space.
Should I start with the wheels or the body?
Always start with the wheels. They act as the foundational unit of measurement for the rest of the car's proportions.
How do I make the windows look like glass?
Leave thin, white slivers of paper visible near the top edges of the windows to simulate sun reflections. Use a smooth, dark gradient for the rest of the glass to suggest depth and transparency.
What is the most common mistake beginners make?
Beginners often draw wheels that are too small or positioned too high on the body. This makes the car look like it is floating or lacks the weight required for a realistic appearance.
Do I need special pencils for shading?
While standard pencils work, using a range like 2H for light lines and 4B or 6B for deep shadows adds professional contrast. Soft lead pencils allow for smoother transitions between light and dark areas.
How do I draw the front grille accurately?
Treat the grille as a geometric shape that follows the curvature of the front bumper. Use a grid pattern to maintain symmetry, ensuring the details align with the perspective of the headlights.
This answer was created with the help of AI research tools and reference sources. Spotted an error? Let us know — we correct mistakes quickly. See our editorial policy.