How do you photograph snow?
Short answer
Photographing snow requires manual exposure control to prevent the camera from turning white landscapes into dull gray. By overexposing your image by one to two stops, you ensure the snow appears bright and crisp. Focus on capturing texture, contrast, and depth to avoid flat, uninspired results in bright winter conditions.
On this page
How to set camera exposure for snow
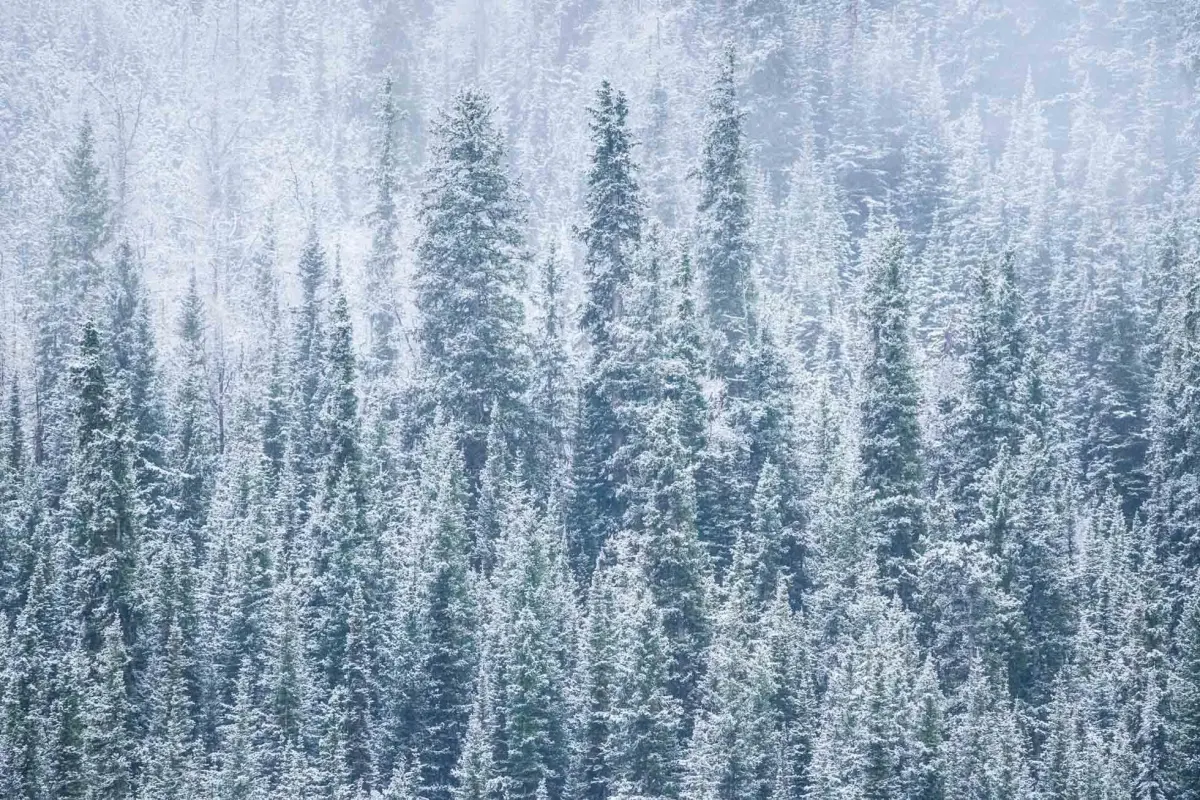
The primary challenge in winter photography is the camera’s internal light meter. Most cameras are programmed to balance light toward middle gray, which causes the sensor to underexpose bright white snow, resulting in a muddy or bluish appearance. To achieve a clean, white look, you must manually override the automatic settings.
- Switch your camera to Manual (M) or Aperture Priority (A/Av) mode.
- Use the exposure compensation dial to increase the exposure by +1.0 to +2.0 stops.
- Check your camera’s histogram to ensure the graph is pushed toward the right side without clipping the highlights.
If you are shooting in JPEG format, be careful not to "blow out" the highlights, as this loses all detail in the snow. If you shoot in RAW, you have more flexibility to recover details during post-processing. Always keep an eye on the histogram to ensure you are not losing texture in the brightest parts of the scene.
Best camera settings for winter photography
Consistency in your settings is vital when the lighting conditions change rapidly due to clouds or sun glare. A low ISO is essential to maintain image quality and reduce digital noise, which is often more noticeable against the smooth, uniform surface of a snow-covered field. Aim for an ISO between 100 and 200.
- Aperture: Use f/8 to f/11 for deep focus across landscapes, or f/2.8 to f/4 for portraits to create separation.
- Shutter Speed: Keep this high, at least 1/500th of a second, to freeze falling snowflakes or prevent blur from handheld movement.
- White Balance: Set your white balance manually to "Cloudy" or "Shade" to add warmth, as the "Auto" setting often makes snow look cold and blue.
Using a tripod is highly recommended, especially during the golden hour when light levels drop. A tripod allows you to use a lower ISO and smaller aperture without worrying about camera shake. This also gives you the time to compose your shot carefully while dealing with the physical discomfort of cold temperatures.
How to capture texture in snow
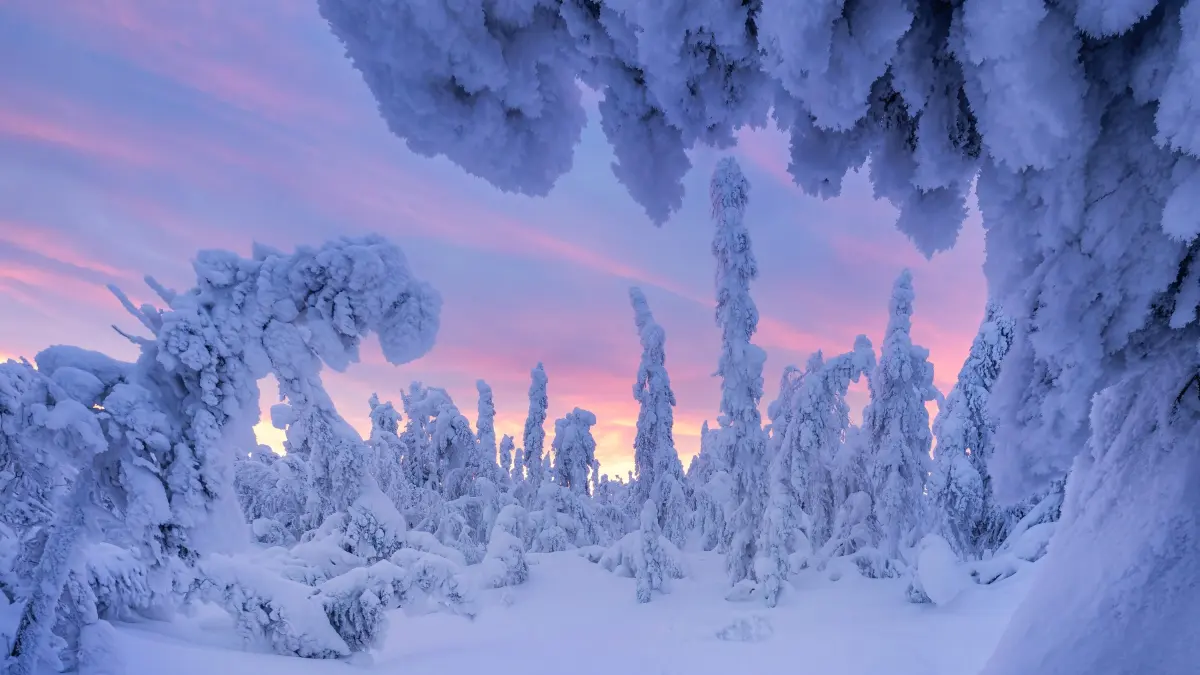
Snow often looks flat and featureless if the light is hitting it directly from the front. To reveal the ripples, drifts, and crystalline structures of the snow, you need side lighting. This creates shadows that define the shape of the landscape and provide a sense of three-dimensional depth.
The best time to photograph snow is during the early morning or late afternoon. During these times, the sun is lower on the horizon, casting long shadows that emphasize the texture of the ground. If you are shooting at midday, the light is often too harsh and diffuse, which flattens the scene and makes it difficult to distinguish between the sky and the ground.
If the sky is overcast, look for "macro" opportunities. Focus on the intricate patterns of individual snowflakes on dark surfaces like tree bark or stone. Using a macro lens or a close-focusing telephoto lens allows you to highlight the delicate geometry of ice crystals that are often invisible to the naked eye.
Common mistakes when photographing snow
One of the most frequent errors is failing to protect your gear from sudden temperature changes. When you move from freezing outdoor air into a warm house, condensation can form inside your lens and on the sensor. This moisture can cause permanent damage to electronic components or lead to mold growth if not addressed immediately.
- Leaving batteries in the camera while in the cold: Cold temperatures drain batteries significantly faster than normal.
- Forgetting to use a lens hood: Snow reflects light from all directions, which can cause lens flare and reduce contrast.
- Ignoring the foreground: A vast, empty white field can look boring; include a rock, a tree, or a footprint to provide a sense of scale.
Always place your camera and lenses in a sealed plastic bag before bringing them inside. Allow the equipment to reach room temperature slowly, which usually takes about one to two hours. This simple precaution prevents condensation from forming on the internal glass elements, ensuring your gear remains functional for the next outing.
Why composition matters in winter
A minimalist approach often works best when photographing snow. Because snow acts as a natural "negative space," you can use it to isolate your subject and create a clean, high-impact image. Look for high-contrast elements, such as a red barn, a dark evergreen tree, or a person wearing bright clothing, to break up the white expanse.
Leading lines are another powerful tool in snowy landscapes. Use tracks, fences, or the edge of a frozen stream to draw the viewer’s eye through the frame. Since snow covers many distracting details, you have a unique opportunity to simplify your composition and focus strictly on the interaction between light, shadow, and form.
Finally, do not be afraid to experiment with different perspectives. Getting low to the ground can make small snowdrifts look like massive mountains, while shooting from a high vantage point can reveal the intricate patterns created by wind across a frozen lake. By varying your height and angle, you can transform a simple scene into a compelling visual story that captures the unique beauty of winter.
Key facts
- Set your exposure compensation to +1 or +2 to prevent the camera from turning white snow into gray.
- Use a manual white balance setting to avoid the camera’s tendency to add a blue tint to shadows.
- Shoot in RAW format to retain maximum detail in the bright highlights and dark shadows.
- Include a colorful object or a dark subject in the frame to provide visual contrast against the white landscape.
- Keep your camera batteries in an inside pocket close to your body heat, as cold temperatures drain power rapidly.
- Use a lens hood to prevent stray light from causing flare and to protect the glass from falling snowflakes.
The bottom line
Photographing snow requires manual control over your camera’s exposure settings to ensure the white tones remain bright and vibrant rather than muddy gray. By adjusting your white balance, protecting your gear from rapid temperature changes, and utilizing contrast, you can capture the intricate textures of a winter landscape. Master these technical adjustments, and you will effectively translate the brilliance of a snowy scene into a compelling image.
People also ask
Why does my snow look gray in photographs?
Cameras are programmed to balance light to 18 percent gray, so they underexpose bright white scenes. You must manually override the light meter by increasing exposure compensation to ensure the snow appears white rather than dull gray.
How do I prevent my camera from fogging up when moving indoors?
Place your camera and lenses inside a sealed plastic bag before entering a warm building from the cold. This allows the equipment to reach room temperature gradually, preventing condensation from forming on the internal glass elements.
Should I use a flash when photographing falling snow?
Yes, using a flash can illuminate individual snowflakes close to the lens, creating a dramatic sparkling effect. Use a fast shutter speed to freeze the motion of the flakes rather than letting them blur into streaks.
What is the best time of day to photograph snow?
The "golden hour," shortly after sunrise or before sunset, provides soft, warm light that adds depth to the texture of the snow. Midday sun is often too harsh and flattens the landscape, making it difficult to capture details.
How do I protect my gear from moisture?
Use a dedicated rain cover or a simple plastic bag with a hole cut for the lens to shield the body. Wipe down your equipment with a dry cloth immediately after shooting to remove any melted snow.
Is a tripod necessary for snow photography?
A tripod is essential if you are shooting at low ISO settings or using small apertures to maximize depth of field. It also allows you to compose your shot carefully while keeping your hands warm inside gloves.
This answer was created with the help of AI research tools and reference sources. Spotted an error? Let us know — we correct mistakes quickly. See our editorial policy.