How do you draw from reference photos?
Short answer
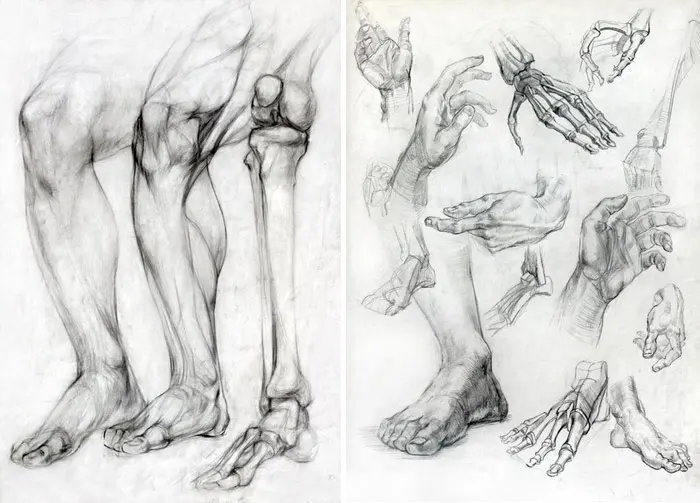
Drawing from reference photos involves translating two-dimensional imagery into your own artistic language. Rather than copying pixels, focus on analyzing shapes, light, and proportions. By breaking complex subjects into simple geometric forms and prioritizing observation over assumption, you can use photos as a structural guide while maintaining your unique creative style.
On this page
How to analyze reference photos effectively
Successful drawing requires moving beyond the surface details of a photograph to understand the underlying construction of a subject. When you look at a reference, ignore the textures initially and focus on the silhouette and the primary light source. Identifying the direction of the light helps you determine where shadows will fall, which is essential for creating a sense of three-dimensional volume on a flat page.
To streamline this process, use a grid or simple geometric decomposition. By breaking a complex subject into spheres, cubes, and cylinders, you simplify the visual information, making it easier to translate onto paper. This technique, championed by artists like Andrew Loomis in the mid-20th century, ensures that your proportions remain accurate before you commit to fine details.
- Identify the primary light source to establish shadow patterns.
- Break the subject down into basic geometric shapes.
- Check the proportions of these shapes against one another.
- Establish the overall silhouette before adding internal features.
Why artists use reference photos
Reference photos serve as an essential tool for memory and accuracy, especially when drawing subjects that are not physically present. Even professional illustrators use references to capture complex anatomy, intricate lighting, or specific textures that would be difficult to render from imagination alone. Using a photo does not imply a lack of creativity; rather, it provides a factual foundation upon which you can build your artistic interpretation.
Many artists create their own reference libraries to ensure their work feels personal and unique. By taking your own photographs, you control the lighting, the angle, and the composition, which allows for a more cohesive final piece. This practice helps you avoid the common pitfall of relying on low-quality or distorted images found online, ensuring that your reference material is clear and structurally sound.
- Enhances anatomical and structural accuracy.
- Provides a reliable guide for complex lighting scenarios.
- Allows for the study of textures and materials.
- Serves as a bridge between observation and imagination.
Common mistakes when drawing from photos
One of the most frequent errors is the tendency to draw what you think you see rather than what is actually there. Our brains often rely on symbolic representations—such as drawing an eye as an almond shape—which ignores the specific perspective or foreshortening present in the reference. To avoid this, try turning your reference photo upside down; this forces your brain to process the image as a series of abstract shapes and lines rather than recognizable objects.
Another common mistake is becoming overly obsessed with minute details before establishing the overall structure. Spending hours on the texture of skin or the strands of hair is counterproductive if the underlying proportions are incorrect. Always work from the general to the specific, ensuring the foundation is solid before refining the surface. If the "big picture" is off, no amount of detail will save the drawing.
How to maintain your personal style
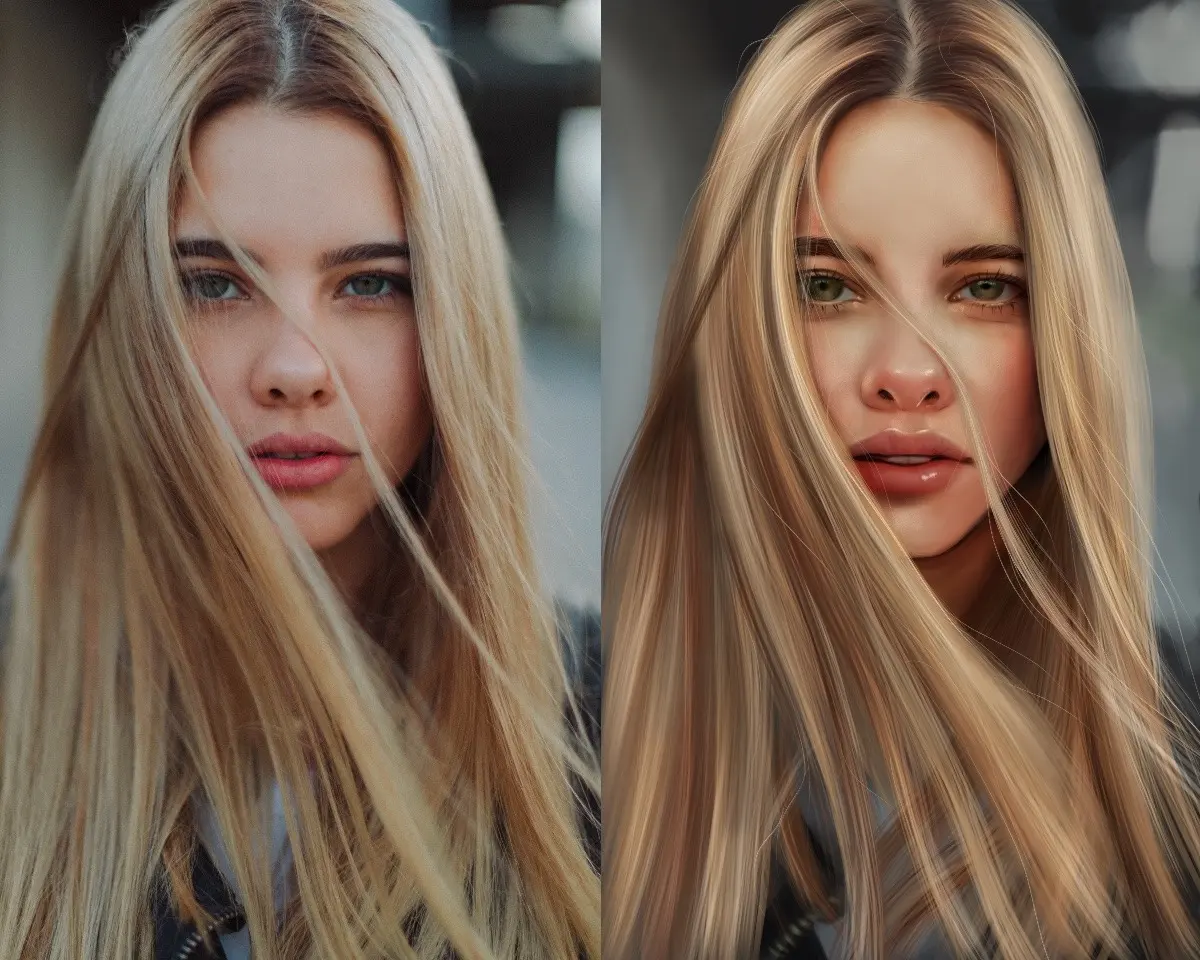
While references provide structural accuracy, they should not dictate every artistic choice you make. You can alter the color palette, exaggerate certain features, or simplify complex areas to better suit your aesthetic. Think of the photograph as a suggestion rather than a rigid set of rules. By interpreting the subject through your own lens, you ensure that the final drawing reflects your unique hand and perspective.
Experiment with different media to see how they interact with your reference material. For instance, using a charcoal pencil on textured paper might lead you to simplify the light and shadow patterns more than a fine-liner pen would. This interaction between your chosen tools and the reference photo is where your personal style begins to emerge. Do not be afraid to deviate from the photo if it serves the composition or the emotional intent of your work.
Best tools for drawing from references
For beginners, a simple tablet or a printed photograph is often sufficient to start. If you are using a digital device, ensure the screen brightness is adjusted so that you can clearly see the shadow transitions. Many artists prefer printing their references in black and white to better analyze the values without the distraction of color. This allows you to focus purely on the contrast and the distribution of light across the form.
- Use a tablet or monitor stand to keep your reference at eye level.
- Print images in grayscale to simplify complex value ranges.
- Use tracing paper to map out the basic geometric structure first.
- Keep a sketchbook nearby to practice small-scale studies of specific features.
By organizing your workspace to keep your reference visible and comfortable to view, you reduce neck strain and maintain better focus. Whether you are using traditional graphite or digital painting software, the goal remains the same: to observe, analyze, and translate the visual world onto your canvas with intent and precision.
Key facts
- Use a grid system to accurately map proportions from a photo to your drawing surface.
- Convert your reference image to grayscale to focus on values rather than distracting colors.
- Squint at your subject to simplify complex details into larger shapes of light and shadow.
- Measure angles using a pencil or stylus held at arm's length against the reference.
- Print your reference at the same size as your final drawing to allow for direct measurement.
- Avoid tracing, as it bypasses the development of your observational and spatial reasoning skills.
The bottom line
Drawing from reference photos is a fundamental skill that relies on keen observation and structural analysis. By breaking down complex images into basic shapes, measuring proportions carefully, and focusing on light and shadow, you can achieve realistic results. Avoid the temptation to trace; instead, use these practical techniques to build your spatial understanding and artistic confidence, ensuring your work remains dynamic, accurate, and uniquely your own.
People also ask
Should I use a single reference photo or multiple sources?
Using multiple references is often better for complex compositions, as it allows you to combine different lighting, poses, or elements. This approach, known as photo-bashing or composite drawing, gives you more creative control over the final scene.
How do I avoid making my drawing look like a flat copy?
Focus on the three-dimensional form rather than the outlines by shading based on light direction. Think of your subject as a collection of basic geometric shapes like spheres, cubes, and cylinders to build volume.
Is it better to draw from a screen or a printed photograph?
A printed photo is generally superior because it prevents the image from dimming or turning off during your work. It also allows you to draw directly on the surface or attach notes to keep track of your proportions.
How do I handle perspective when drawing from a photo?
Identify the horizon line and vanishing points within the image to ensure your lines converge correctly. If the photo is distorted due to a wide-angle lens, adjust your drawing to compensate for the unnatural curvature.
What if the reference photo lacks sufficient detail in the shadows?
Use your imagination or a secondary reference to fill in the missing information logically. Consistency in your light source is more important than capturing every pixel of a low-quality image.
How can I improve my accuracy when sketching from a reference?
Practice "negative space" drawing, where you focus on the shapes of the empty areas around the subject. This technique helps trick your brain into seeing objective shapes instead of the symbolic representations you might otherwise draw.
This answer was created with the help of AI research tools and reference sources. Spotted an error? Let us know — we correct mistakes quickly. See our editorial policy.