How do you take a good group photo?
Short answer
Capturing a great group photo requires careful coordination of lighting, positioning, and timing. Prioritize even illumination, ensure everyone’s face is visible by staggering heights, and use a fast shutter speed to prevent blur. By keeping the group engaged and managing the composition, you can create a professional, memorable image every time.
On this page
How to position a group for photos
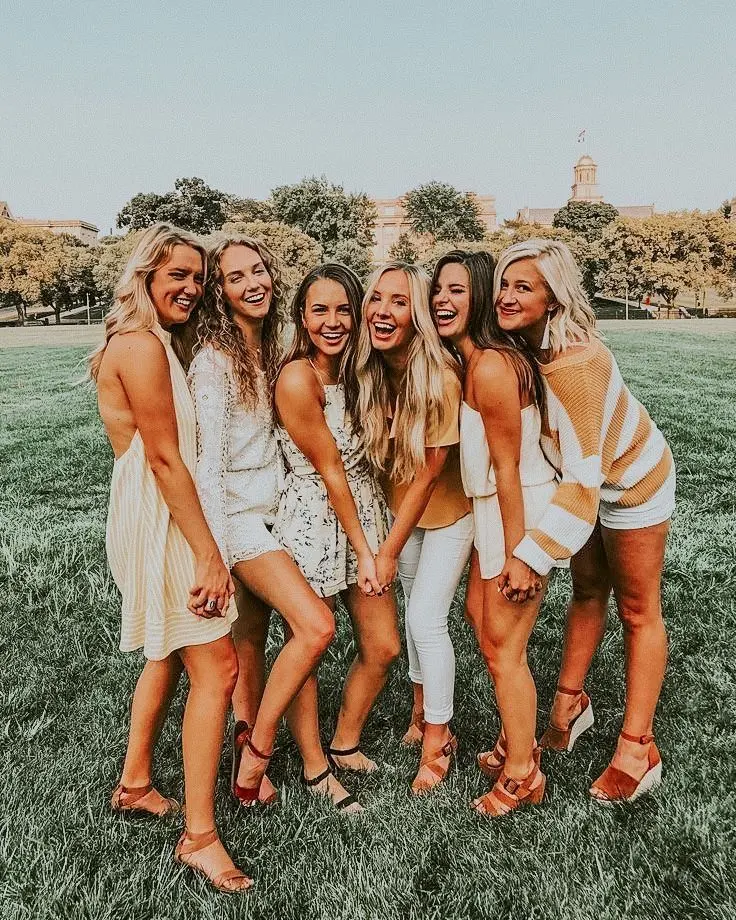
The most common issue in group photography is the "hidden face" problem, where individuals are obscured by those in front of them. To fix this, arrange your subjects in rows or a staggered formation. Place the tallest individuals in the back row and shorter people in the front. If the group is large, consider using stairs or an incline to create natural height differences, which ensures that everyone’s face remains clearly visible to the camera lens.
Interaction within the group also improves the final result. Instead of having everyone stand in a stiff, straight line, encourage them to lean in slightly toward the center. This creates a sense of cohesion and makes the group look like a unified team rather than a collection of strangers. Avoid leaving large gaps between people, as this creates a disconnected feeling in the frame. A tighter formation generally results in a more impactful and intimate photograph.
How to light a group photo properly
Lighting is the single most important factor in image quality. When shooting outdoors, avoid harsh, direct sunlight, which causes squinting and deep shadows under the eyes. Instead, seek out open shade, such as the area under a large tree or the north side of a building. This provides soft, diffused light that is flattering for all skin tones and prevents the high-contrast look that makes group photos appear amateurish.
If you are shooting indoors, avoid relying on a single overhead light source, which creates unflattering shadows. Utilize natural light from large windows whenever possible. If you must use a flash, bounce it off a white ceiling or wall rather than pointing it directly at the group. This mimics natural ambient light and prevents the "deer in the headlights" look. Follow these steps to manage your lighting:
- Turn off competing indoor lights to prevent color temperature mismatches.
- Position the group facing the primary light source, not with their backs to it.
- Use a reflector to bounce light into the shadows if the lighting is uneven.

How to get everyone to smile at once
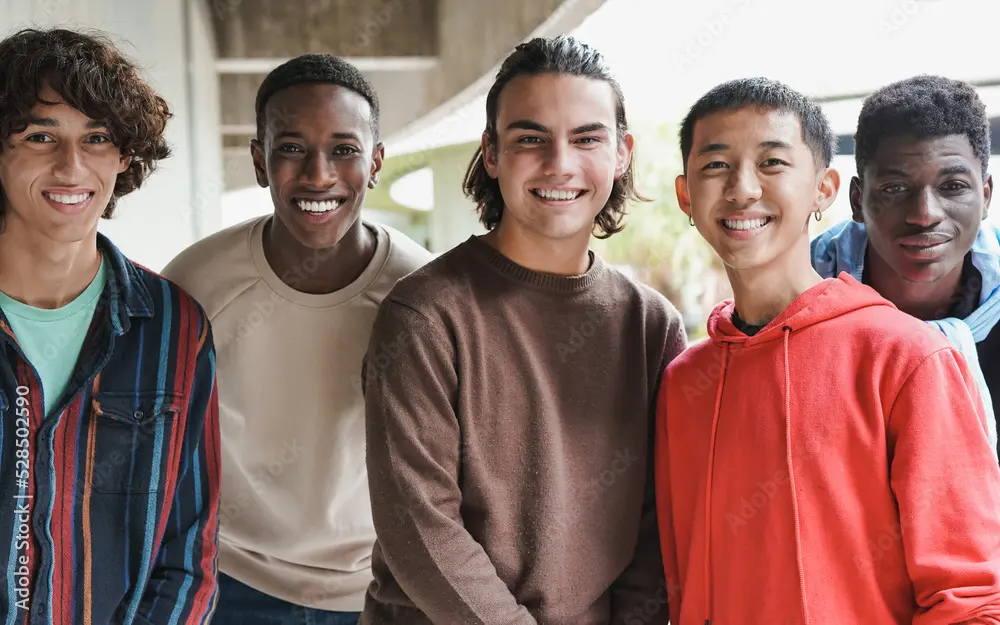
Getting a group to look at the camera simultaneously is a significant challenge. The key is to provide clear, energetic direction. Instead of a long, drawn-out countdown, use a quick "one, two, three" or a funny prompt to elicit genuine reactions. If you are the photographer, maintain eye contact with the group and keep your energy high; if you look bored or frustrated, the subjects will mirror that sentiment in their expressions.
To ensure success, take multiple shots in quick succession. Digital cameras allow for burst mode, which is essential for capturing at least one frame where nobody is blinking. It is helpful to warn the group that you will be taking several photos so they do not relax their posture after the first click. Here is a simple workflow for managing the group:
- Set your camera to continuous shooting mode to capture a burst of frames.
- Give a clear verbal cue, such as "Ready, look here, one, two, three."
- Encourage the group to hold their pose for a few seconds after the final count.
Common mistakes when taking group photos
One frequent error is failing to check the edges of the frame before shooting. Often, photographers are so focused on the faces that they miss stray objects, trash cans, or distracting background elements creeping into the edges of the composition. Always scan the entire viewfinder to ensure the background is clean and the group is perfectly centered. A cluttered background will distract from the subjects, regardless of how well they are posed.
Another mistake is using a focal length that is too wide, which can distort the faces of people standing on the edges of the frame. If you have the space, step back and use a slightly longer focal length, such as 50mm or 85mm. This compresses the group and provides a more natural, flattering perspective. Finally, never forget to check your camera settings between shots, as lighting conditions can change rapidly, especially when shooting outdoors in shifting weather.
How to choose the best camera settings
For group photos, depth of field is critical. You want to ensure that everyone from the front row to the back row is in sharp focus. To achieve this, use a smaller aperture, such as f/8 or f/11. A wider aperture, like f/1.8, will result in a shallow depth of field where only the front row is sharp while the back row appears blurry. Always prioritize focus on the eyes of the subjects in the middle row.
Shutter speed is equally important to avoid motion blur. Even if people are standing still, small movements can ruin a shot if the shutter speed is too slow. Aim for a shutter speed of at least 1/200th of a second. If you are shooting in low light, increase your ISO setting rather than slowing down the shutter speed. Modern cameras handle higher ISOs well, and a slightly grainy photo is always better than one that is blurry due to motion or camera shake.
Key facts
- Position the group in a staggered formation, placing shorter individuals in front and taller ones behind to ensure everyone’s face is visible.
- Seek out soft, diffused lighting, such as open shade or an overcast sky, to prevent harsh shadows and squinting.
- Use a slightly higher aperture, such as f/8 or f/11, to ensure everyone in the group remains in sharp focus.
- Direct the group to look at the lens, not the screen, and have them lean slightly forward to create a more flattering posture.
- Capture multiple frames in quick succession to avoid issues like closed eyes or awkward expressions.
- Keep the background simple and uncluttered to ensure the subjects remain the primary focus of the image.
The bottom line
Mastering group photography requires a blend of technical preparation and clear communication. By prioritizing soft lighting, ensuring everyone is visible through thoughtful positioning, and using a higher aperture for depth, you can capture professional-quality images. Remember that your role as the photographer is to direct the group with confidence; clear instructions ensure that everyone looks their best while minimizing common errors like blinking or poor framing.
People also ask
How do I stop people from blinking in group photos?
Ask everyone to close their eyes and open them only on the count of three. This technique helps synchronize eyelid movement and ensures a higher percentage of open eyes.
Should I use a flash for group photos outdoors?
Yes, using a "fill flash" can help eliminate dark shadows under the eyes and nose. It balances the subject's brightness with the ambient light of the background.
What is the best focal length for a group portrait?
A focal length between 35mm and 50mm is generally ideal. This range minimizes distortion while providing a wide enough field of view to capture multiple people comfortably.
How can I make a large group look organized?
Arrange the group in rows or a semi-circle rather than a straight line. This creates depth and makes it easier for the photographer to interact with everyone.
What should people wear for a group photo?
Suggest coordinating colors rather than matching outfits. Neutral tones or a consistent color palette prevent the image from looking chaotic or dated.
How do I handle people of different heights?
Use chairs or steps to elevate shorter individuals or place them in the front row. This maintains a balanced composition and prevents the back row from being obscured.
This answer was created with the help of AI research tools and reference sources. Spotted an error? Let us know — we correct mistakes quickly. See our editorial policy.