How do you take photos at night?
Short answer
Capturing clear night photos requires stabilizing your camera and controlling light intake. Use a tripod to prevent blur during long exposures, set a low ISO to minimize digital noise, and use a wide aperture to gather available light. Manual focus and a remote shutter release further ensure sharp, professional results in darkness.
On this page
How to set up your camera for night photography
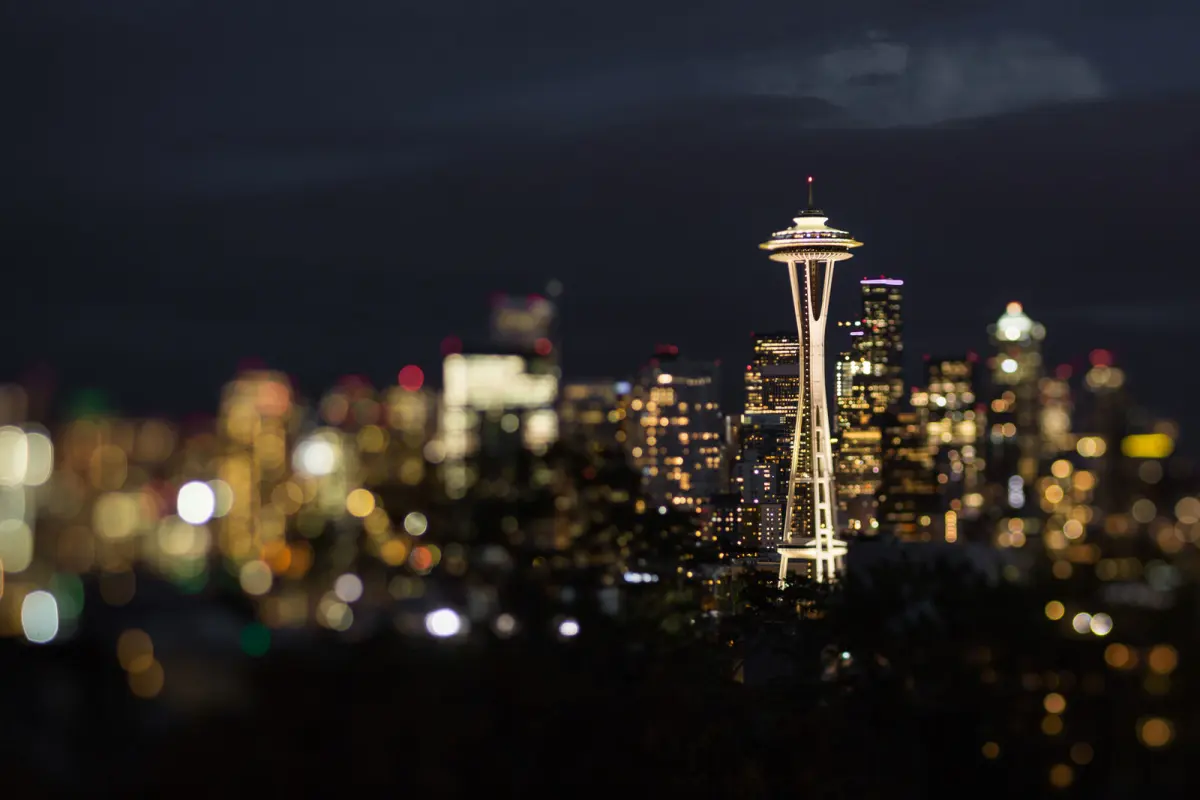
To achieve crisp images in low light, you must move beyond automatic settings. Start by switching your camera to Manual (M) mode, which allows you to control the exposure triangle: aperture, shutter speed, and ISO. A wide aperture, such as f/2.8 or lower, is essential for letting in as much light as possible. If your lens does not open that wide, use the lowest f-stop number available.
Next, prioritize a low ISO setting, ideally between 100 and 400. While a higher ISO makes the sensor more sensitive to light, it also introduces "noise" or grain that degrades image quality. Because you are using a low ISO, you must compensate with a longer shutter speed. This combination ensures that your photos remain clean and detailed even when the sun has set.
What equipment do you need for night photos
Stability is the most critical factor when shooting at night. Because long exposures require the shutter to remain open for several seconds, even the slightest movement will result in a blurry image. A sturdy tripod is non-negotiable for serious night photography. If you do not have a tripod, place your camera on a flat, solid surface like a wall or a bench, though this limits your composition options.
Beyond the tripod, consider these essential tools for success:
- A remote shutter release or the camera’s built-in self-timer to prevent vibrations caused by pressing the shutter button.
- A fast prime lens, which typically offers wider apertures than zoom lenses.
- A spare battery, as long exposures drain power significantly faster than daytime shooting.
- A small flashlight or headlamp to help you navigate your camera settings in the dark.
How to focus in the dark
Autofocus systems often struggle in low-light conditions because they rely on contrast to lock onto a subject. When the camera cannot find a target, the lens will "hunt" back and forth without success. To solve this, switch your lens to Manual Focus (MF). Use the "Live View" feature on your screen to zoom in on a bright light source, such as a distant streetlamp or a bright star, and rotate the focus ring until the point is perfectly sharp.
Once you have achieved focus, be careful not to bump the focus ring while adjusting your composition. If you are shooting a landscape, focus on a point about one-third of the way into the scene to maximize depth of field. If your camera has "focus peaking," enable it to highlight the sharpest edges in your frame with a colored overlay, making it easier to confirm your focus is accurate before taking the shot.
Common mistakes when shooting at night
Many beginners make the mistake of relying on their camera's internal light meter, which is calibrated for daylight and often fails in the dark. The meter may suggest an exposure that results in a muddy, underexposed image. Instead, use the histogram on your camera’s playback screen to check your exposure. If the graph is bunched up on the left side, your photo is too dark and you need a longer shutter speed.
Another frequent error is leaving image stabilization (IS) or vibration reduction (VR) turned on while the camera is mounted on a tripod. These systems are designed to detect handheld shake; when placed on a tripod, they can actually create movement by searching for vibrations that are not there. Always turn off stabilization when using a tripod to ensure the sharpest possible results. Finally, avoid shooting in JPEG format. Raw files contain significantly more data, which is vital for recovering details in deep shadows during post-processing.
Best techniques for long exposure photography
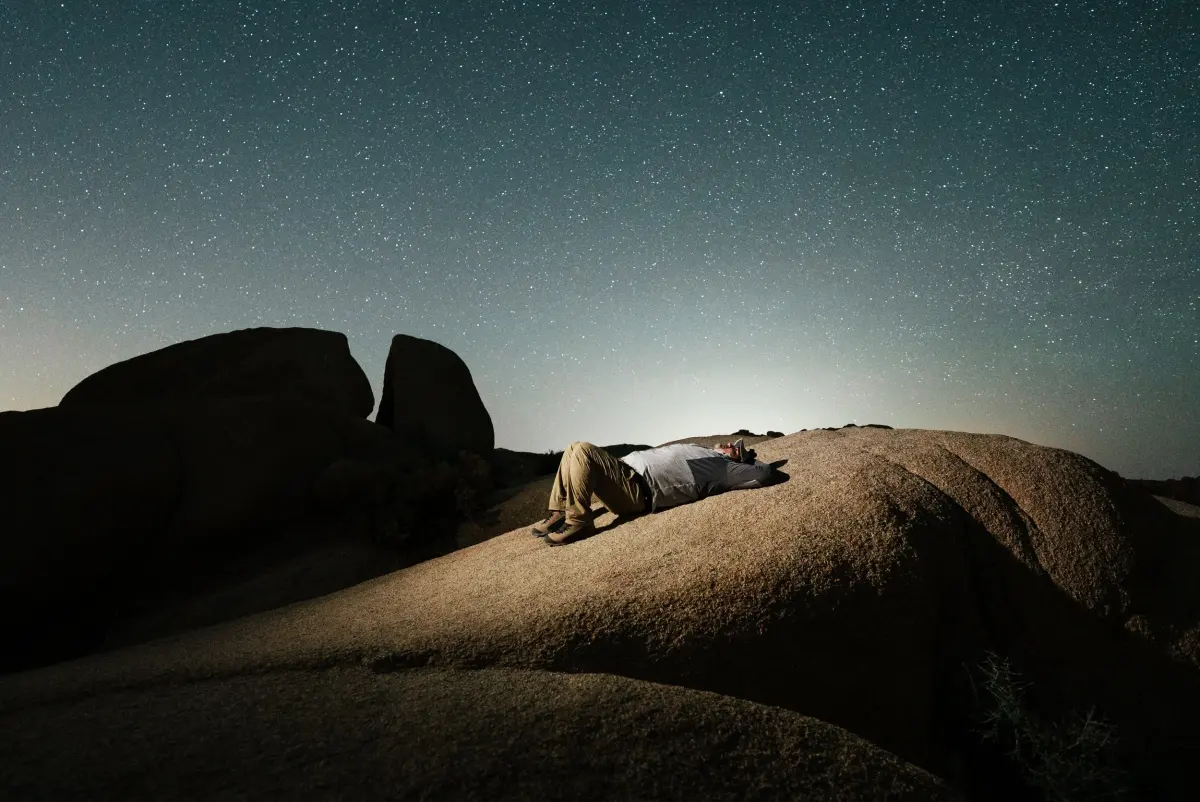
Long exposure photography allows you to capture light trails from moving traffic or the subtle glow of the night sky. To capture light trails, set your shutter speed to 10 or 20 seconds as vehicles pass through your frame. The result is a vibrant streak of color that adds energy to an otherwise static scene. For astrophotography, you must balance exposure time with the rotation of the Earth; if your shutter stays open too long, stars will appear as streaks rather than points of light.
Follow these steps to master the long exposure technique:
- Compose your shot and secure the camera on a tripod.
- Set your camera to Manual mode and select a low ISO and wide aperture.
- Use the self-timer set to two seconds to eliminate shake from your finger.
- Take a test shot and review the histogram to adjust your shutter speed.
- If the image is too dark, increase the shutter duration; if it is too bright, decrease it.
By practicing these adjustments, you will gain the confidence to capture the night exactly as you see it.
Key facts
- Use a tripod to keep the camera perfectly still during long exposures to prevent motion blur.
- Set your aperture to a low f-stop number, such as f/2.8, to allow more light into the lens.
- Lower your ISO to 100 or 200 to reduce digital noise and maintain image clarity.
- Shoot in RAW format to retain maximum detail for editing shadows and highlights later.
- Use a two-second self-timer to avoid camera shake caused by physically pressing the shutter button.
- Focus manually on a bright light source or a distant edge, as autofocus often struggles in the dark.
The bottom line
Capturing high-quality night photos requires stabilizing your camera and controlling light manually. By using a tripod, a low ISO, and a wide aperture, you can bypass the limitations of low-light environments. Avoiding common mistakes like hand-holding the camera or relying on automatic flash will significantly improve your results. Patience and experimentation with exposure times are the most effective ways to master this challenging photographic discipline.
People also ask
What is the best shutter speed for night photography?
A shutter speed between 10 and 30 seconds is standard for capturing static night scenes. If you are photographing moving subjects like cars, a shorter exposure of 1 to 5 seconds may be necessary to avoid overexposure.
Why are my night photos blurry?
Blur usually occurs because the camera moves during a long exposure or the subject is in motion. Always use a stable tripod and a remote release or self-timer to ensure the camera remains completely motionless.
What is image noise in night photos?
Image noise appears as grainy, speckled patterns caused by using a high ISO setting in low light. Keeping your ISO low and using a longer exposure time helps produce a cleaner, smoother image.
Do I need a flash for night photography?
Built-in camera flashes often create harsh, flat light that ruins the atmosphere of a night scene. It is generally better to use natural ambient light from streetlamps, moonbeams, or long exposures instead.
How do I focus in the dark?
Most cameras cannot lock focus automatically when there is very little contrast. Switch your lens to manual focus and use the live-view zoom feature to sharpen the image on a bright light or star.
Can I take night photos with a smartphone?
Modern smartphones often feature dedicated night modes that automatically stack multiple exposures to brighten dark scenes. For the best results, mount the phone on a tripod to keep it steady during the processing phase.
This answer was created with the help of AI research tools and reference sources. Spotted an error? Let us know — we correct mistakes quickly. See our editorial policy.