How do you photograph the Milky Way?
Short answer
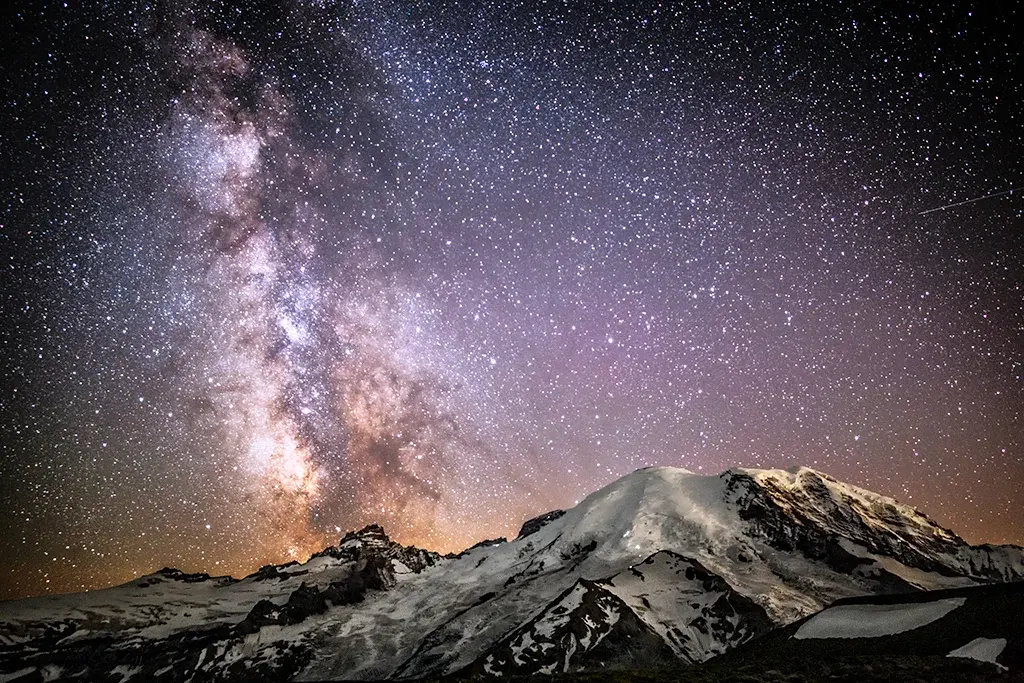
Photographing the Milky Way requires a camera with manual controls, a wide-angle lens with a large aperture, and a sturdy tripod. You must shoot during a moonless night in a location with minimal light pollution. By using long exposures and high ISO settings, you can capture the galactic core’s faint, intricate details.
On this page
What equipment is needed for astrophotography
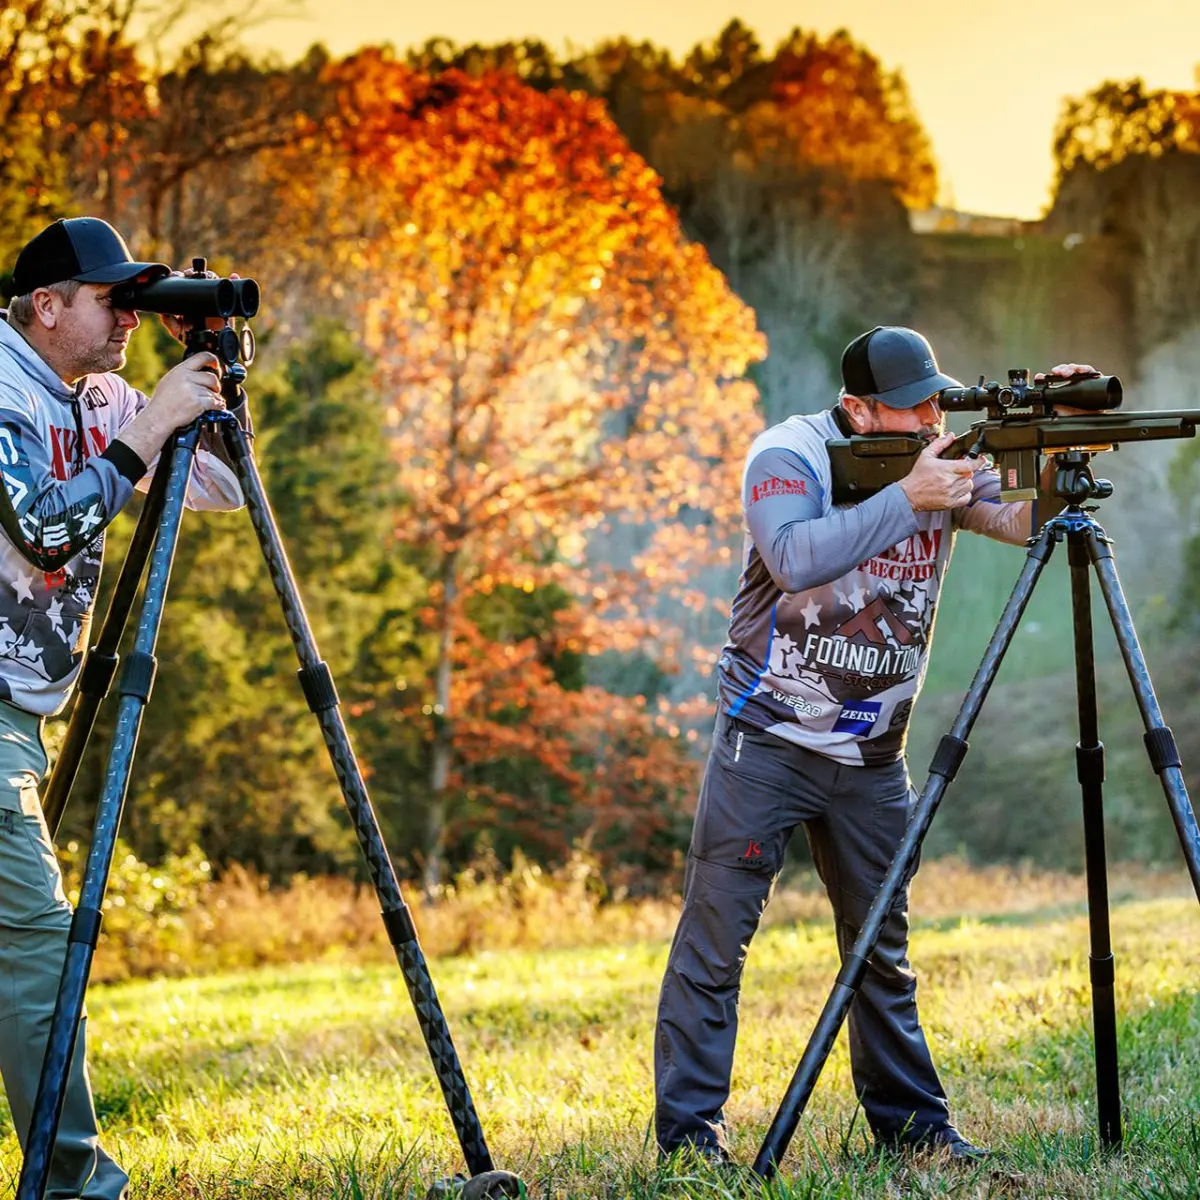
To capture the Milky Way, you need a camera that allows full manual control over exposure settings. A DSLR or mirrorless camera with a full-frame sensor is ideal, as these sensors perform best in low-light conditions by reducing digital noise. You will also need a wide-angle lens, ideally with a maximum aperture of f/2.8 or wider, to gather as much light as possible. A sturdy tripod is non-negotiable, as even the slightest movement during a long exposure will result in blurry stars.
Beyond the camera and lens, consider these essential accessories:
- A remote shutter release or built-in intervalometer to prevent camera shake when pressing the button.
- Extra batteries, as cold temperatures and long exposures drain power significantly faster than daytime photography.
- A headlamp with a red-light mode to preserve your night vision while adjusting settings in the dark.
- A lens heater or dew shield to prevent condensation from forming on your glass during humid or chilly nights.
How to find the best location and timing
The primary enemy of Milky Way photography is light pollution. You should travel to a location categorized as a "Dark Sky Park" or at least 50 miles away from major cities to ensure the sky is dark enough to see the galactic core. Use light pollution maps to identify areas with a Bortle scale rating of 4 or lower. The darker the sky, the more contrast you will have between the stars and the background.
Timing is equally critical for a successful shoot. The Milky Way core is most visible in the Northern Hemisphere from March through September. You must also plan your trip around the lunar cycle; the moon is a massive source of light pollution, so aim to shoot during the "new moon" phase or when the moon has already set. Use mobile applications like PhotoPills or Stellarium to track the exact position of the Milky Way across the night sky throughout the year.
How to set up your camera for stars
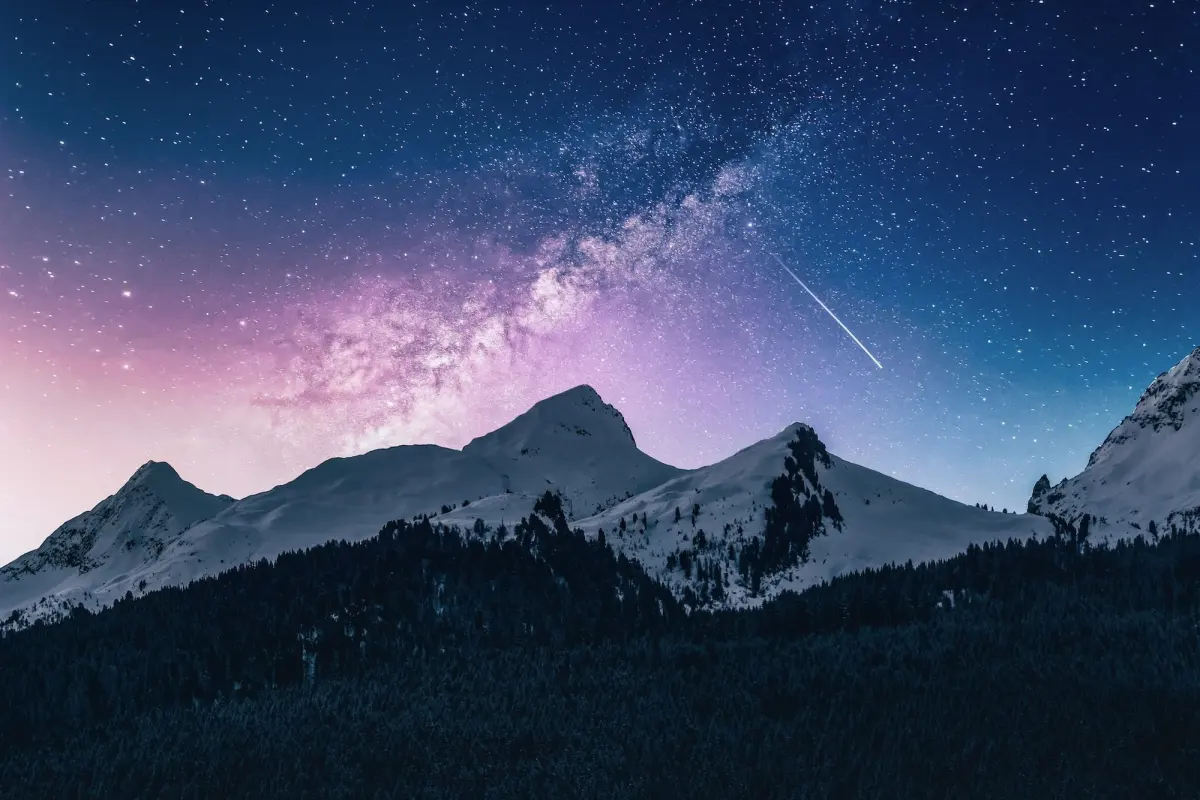
Achieving sharp focus on stars is a common challenge because autofocus systems fail in the dark. Switch your lens to manual focus mode and use the "Live View" feature on your camera screen to zoom in on the brightest star in the sky. Carefully rotate the focus ring until the star appears as a tiny, sharp point of light rather than a blurry circle. Once focused, avoid touching the focus ring for the rest of the night.
Follow these steps to configure your camera settings for the best results:
- Set your shooting mode to Manual (M) and your file format to RAW to ensure maximum data for post-processing.
- Open your aperture to the widest setting, such as f/2.8 or f/1.8.
- Set your ISO between 1600 and 3200; going higher may introduce too much grain, while lower settings will result in an underexposed image.
- Calculate your shutter speed using the "500 Rule," which involves dividing 500 by your lens focal length to determine the maximum exposure time before stars begin to trail.
How to compose a compelling night shot
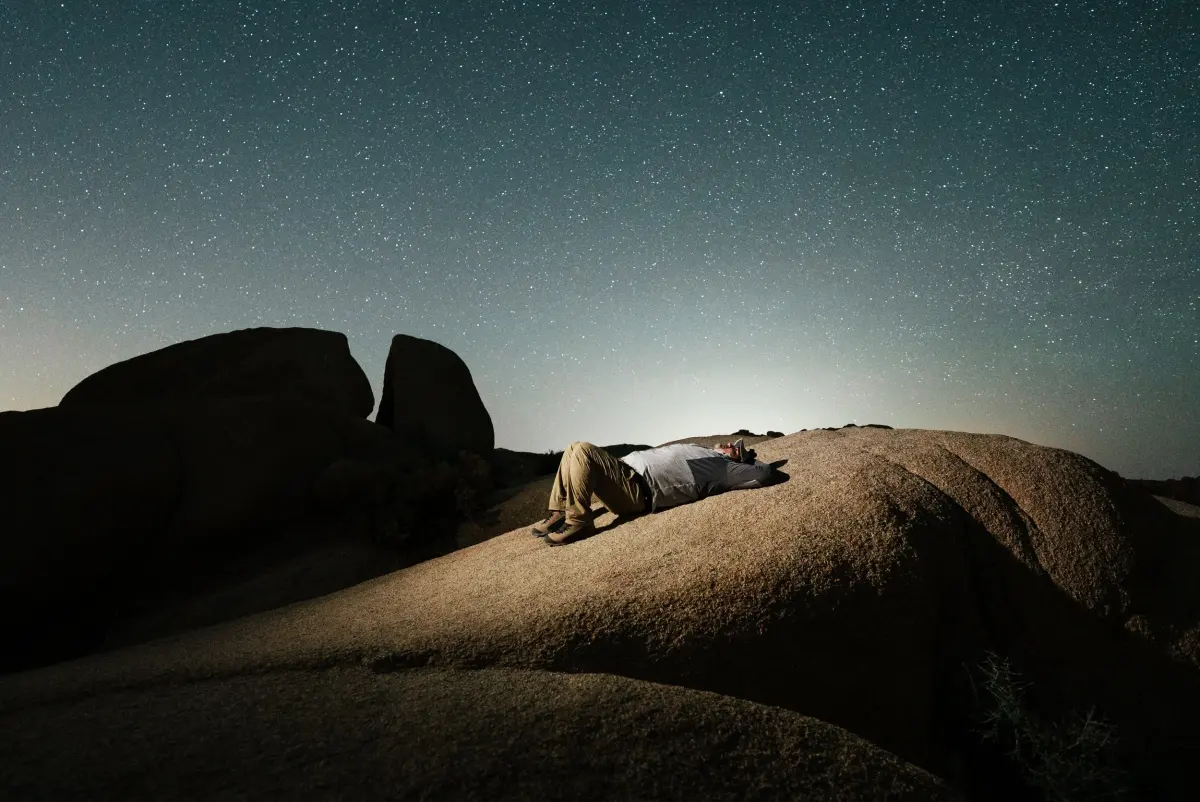
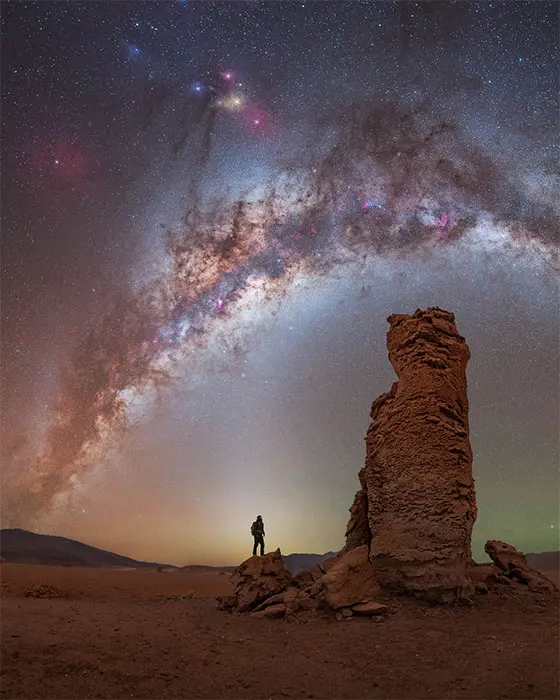
A photograph of the Milky Way is significantly more impactful when it includes a terrestrial subject in the foreground. Silhouettes of mountains, trees, ancient ruins, or unique rock formations provide a sense of scale and depth to the vastness of the sky. When scouting your location during the day, look for interesting shapes that can frame the galactic core. If your foreground is too dark, you can lightly illuminate it with a dim flashlight or wait for a faint amount of twilight to provide natural fill light.
When framing your shot, consider the rule of thirds to balance the sky and the ground. If you place the horizon line too high, the sky will look cramped; if it is too low, the ground may lack detail. Experiment with both horizontal and vertical orientations. Vertical shots are particularly useful for capturing the full arch of the Milky Way, while horizontal compositions are better suited for showcasing the landscape alongside the galactic band.
Common mistakes when photographing the Milky Way
The most frequent error beginners make is failing to account for the Earth's rotation. If your shutter speed is too long, the stars will turn into streaks rather than points of light. Always double-check your exposure time against your focal length to maintain sharpness. Another common mistake is shooting in JPEG format; this limits your ability to recover shadows and adjust white balance later, which are essential steps for making the Milky Way pop against the black sky.
Avoid these pitfalls to improve your success rate:
- Forgetting to turn off image stabilization, which can cause vibrations when the camera is mounted on a tripod.
- Neglecting to check the weather forecast for cloud cover, which can obscure the stars entirely.
- Using a white light flashlight, which ruins your night vision and can distract other photographers in the area.
- Failing to take a test shot to verify your composition and focus before settling in for a long series of exposures.
Key facts
- Use a wide-angle lens with a maximum aperture of f/2.8 or wider to capture as much light as possible.
- Set your camera to manual mode and use a tripod to keep the device perfectly still during long exposures.
- Follow the "500 Rule" by dividing 500 by your lens focal length to determine the maximum shutter speed before stars begin to trail.
- Shoot in RAW format to retain maximum image data, which is essential for recovering details in the dark shadows during editing.
- Focus manually by using the camera’s live-view zoom feature on the brightest star in the sky until it appears as a sharp, tiny point.
- Plan your shoot during a New Moon phase to ensure the sky is as dark as possible, free from competing lunar light.
The bottom line
Capturing the Milky Way requires a combination of careful planning, stable equipment, and precise manual settings. By choosing a moonless night, utilizing a fast wide-angle lens, and adhering to the 500 Rule for shutter speeds, you can successfully document the galaxy. Patience is essential, as finding the right location and perfecting your focus are the most critical steps in creating a clear, professional-grade celestial photograph.
People also ask
What is the best time of year to photograph the Milky Way?
In the Northern Hemisphere, the galactic core is most visible from March through September. During these months, the center of the galaxy rises higher in the sky, providing the best contrast against the dark background.
Do I need a full-frame camera to get good results?
While full-frame sensors handle low-light noise better, modern crop-sensor cameras are capable of capturing excellent Milky Way images. The quality of your lens and your ability to manage exposure settings are generally more important than the sensor size.
How do I find the Milky Way in the sky?
Use mobile applications like Stellarium or PhotoPills to track the position of the galactic core. These tools allow you to visualize exactly where the Milky Way will appear based on your specific date, time, and geographic location.
Why do my stars look like blurry streaks instead of points?
This usually happens because your shutter speed is too long, causing the Earth’s rotation to blur the stars. Reduce your exposure time or use a wider focal length to keep the stars sharp and stationary in your frame.
Should I use a high ISO setting for night photography?
Yes, you typically need an ISO between 1600 and 6400 to capture enough light from the faint stars. While higher ISOs introduce digital noise, it is a necessary trade-off for capturing the subtle details of the nebula.
Is light pollution a major problem for astrophotography?
Yes, light pollution from cities can wash out the faint light of the Milky Way, making it invisible to your camera sensor. Travel to a designated Dark Sky Park or a remote area at least 50 miles away from major urban centers for the best results.
This answer was created with the help of AI research tools and reference sources. Spotted an error? Let us know — we correct mistakes quickly. See our editorial policy.