What is the easiest way to draw a raven?
Short answer
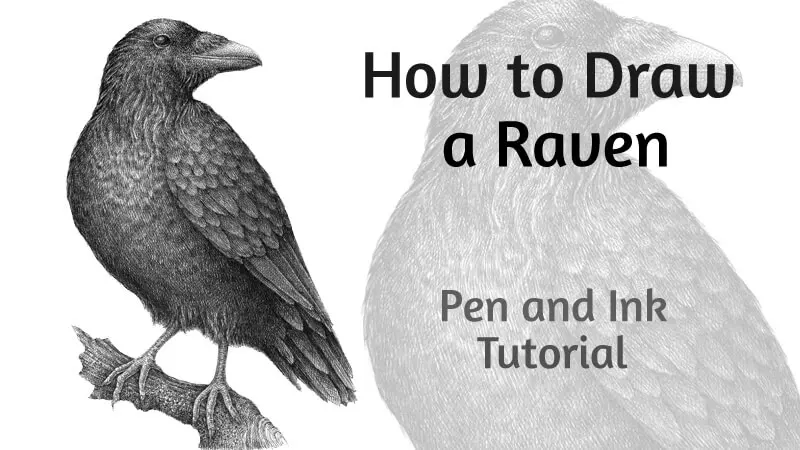
The easiest way to draw a raven is to utilize a simplified geometric approach, focusing on the bird's iconic silhouette rather than intricate feather details. By sketching two overlapping ovals for the body and head, then adding a sharp, wedge-shaped beak and sturdy legs, you can capture a recognizable raven form efficiently.
On this page
How to draw a raven for beginners
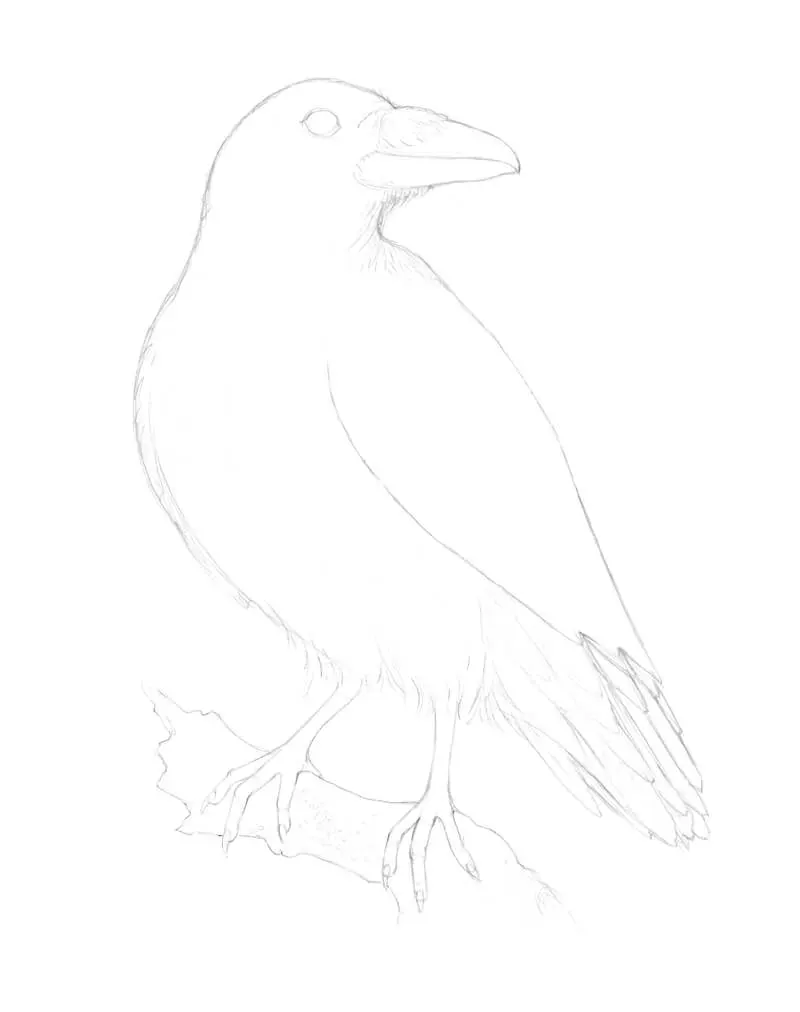
Drawing a raven is best approached by breaking the bird down into basic shapes. Start by drawing a horizontal oval for the main body and a smaller, slightly flattened circle for the head, positioned just above and to the right of the body. Connect these shapes with two curved lines to form a thick, sturdy neck, which is a defining feature of the raven compared to the thinner neck of a common crow.
Once the frame is established, focus on the beak. Ravens possess a heavy, powerful bill that is slightly curved at the tip. Use a long, thick triangle shape attached to the front of the head to represent this. Keep your lines loose and light during this initial phase, as you will refine the contours later. Remember that the raven’s silhouette is characterized by its bulk and strength, so do not be afraid to make the body appear robust and solid.
Best tools for drawing birds
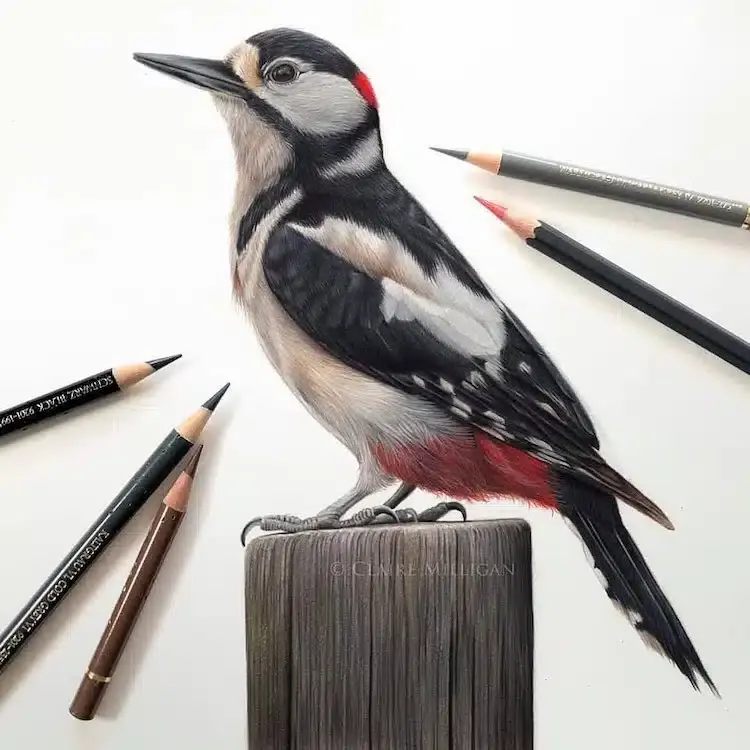
Selecting the right materials helps you achieve the dark, matte texture associated with raven plumage. A set of graphite pencils ranging from 2H for initial outlines to 6B for deep, dark shading is ideal. The softer 6B lead allows you to create the intense blackness of the feathers without needing to press too hard, which can damage the paper surface.
For those who prefer a more illustrative style, fine-tip ink pens are excellent for defining the sharp edges of the wings and beak. When working with ink, consider these tips:
- Use a cross-hatching technique to build up shadow density on the wings.
- Keep your strokes consistent in direction to mimic the natural flow of feathers.
- Reserve the darkest ink for the areas under the wings and the tail, where light rarely reaches.
Using a blending stump or a soft tissue can also help smooth out the graphite transitions, creating a more realistic, soft-feathered appearance.
Why raven anatomy matters in art
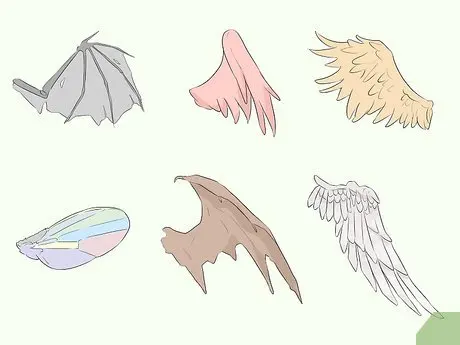
Understanding the skeletal structure of a raven improves the accuracy of your drawing. Ravens are significantly larger than crows, measuring about 24 to 27 inches in length with a massive wingspan. When drawing the wings, remember that the primary feathers are long and finger-like at the tips, which is a distinct anatomical trait that separates them from other corvids.
The legs of a raven are also quite thick and covered in coarse scales, reflecting their ground-dwelling and scavenging nature. When sketching the legs, ensure they are positioned centrally under the body to maintain the bird's balance. Pay attention to the tail shape as well; while a crow’s tail appears fan-shaped in flight, a raven’s tail is wedge-shaped or diamond-pointed. Incorporating these specific anatomical details will elevate your drawing from a generic bird shape to a scientifically recognizable depiction of the species Corvus corax.
Common mistakes when drawing ravens
One of the most frequent errors artists make is drawing the beak too thin or straight. Because the raven is a scavenger, its beak is built for tearing and manipulation, requiring a heavy, hooked appearance. If the beak looks like a needle, the bird will look more like a sparrow or a starling rather than a raven. Always prioritize the thickness of the bill to maintain the bird's imposing character.
Another common mistake involves the texture of the feathers. Beginners often draw individual lines for every feather, which results in a cluttered and unrealistic look. Instead, follow these steps to achieve a more natural result:
- Define the outline of the wing as a single, large mass first.
- Add shadow groups to suggest the layering of feathers rather than drawing every single quill.
- Use highlights sparingly to show the iridescent sheen that ravens often display in direct sunlight.
Focusing on the overall volume of the feather groups rather than individual details creates a more professional and clean aesthetic.
How to add character to your drawing
To make your raven drawing more dynamic, consider the posture and environment of the bird. A raven perched on a gnarled branch or a rocky outcrop adds narrative depth to your image. When drawing the feet, ensure the talons are gripping the surface firmly, as this demonstrates the bird's strength and physical connection to its surroundings. You can also tilt the head slightly to give the raven an inquisitive or intelligent expression, which is a trait often associated with the species in folklore and natural history.
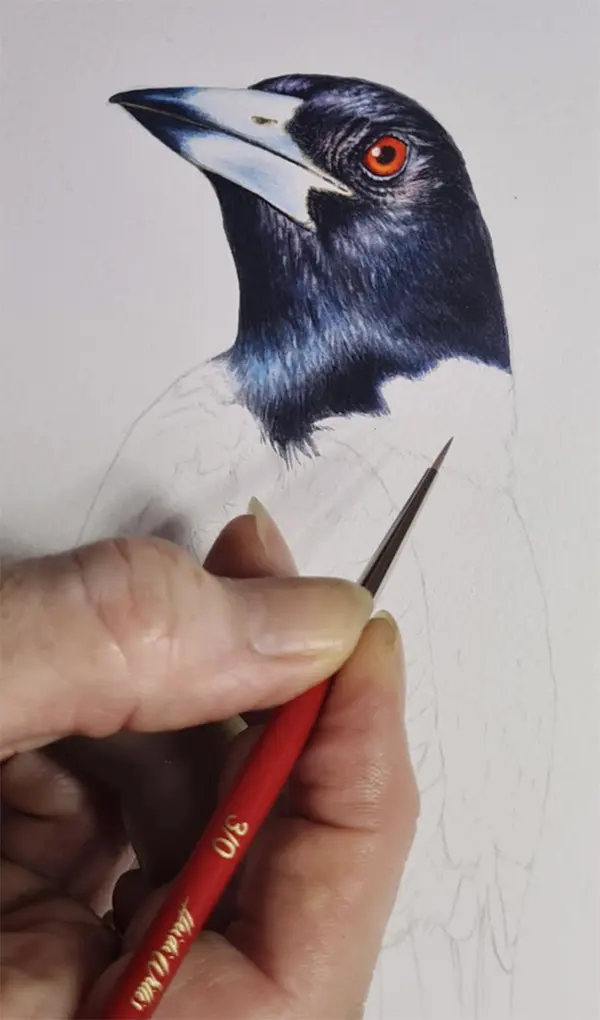
Finally, consider the lighting in your scene to enhance the depth of the black plumage. Even though a raven is black, it is rarely a single, flat shade. Use reflected light—such as subtle blues or purples—on the edges of the feathers to create a sense of three-dimensional form. By varying the pressure of your pencil and using a kneaded eraser to lift out small highlights, you can create a realistic, lustrous finish that makes the bird appear as if it is truly alive.
Key facts
- Ravens are significantly larger than crows, possessing a thicker, more curved beak and shaggy throat feathers called hackles.
- Start your sketch with two overlapping ovals: a smaller one for the head and a larger, horizontal one for the body.
- The raven’s beak is its most distinct feature, appearing heavy and slightly hooked at the tip compared to the straighter crow beak.
- Draw the tail in a wedge or diamond shape, which is a key identifying characteristic that separates ravens from the fan-shaped tails of crows.
- Use a dark, layered approach for the wings, as raven feathers are iridescent and often reflect blue or purple light.
- Focus on the eye placement; ravens have a sharp, intelligent gaze positioned near the center of the head, not too high or low.
The bottom line
Drawing a raven is most successful when you prioritize the bird's robust silhouette and unique anatomical markers. By focusing on the wedge-shaped tail, the heavy, hooked beak, and the thick, shaggy throat feathers, you create a recognizable image. Remember to use varying shades of black to capture the depth of their plumage, ensuring your final piece reflects the intelligence and power of this iconic corvid.
People also ask
How do I distinguish a raven from a crow in a drawing?
Focus on the tail and the beak. Ravens have a wedge-shaped tail and a massive, heavy beak, whereas crows have a fan-shaped tail and a smaller, thinner beak.
Should I use a pencil or ink for a raven sketch?
Start with a graphite pencil to establish the proportions of the body and wings. Once the structure is accurate, use black ink or charcoal to build the deep, dark texture of the feathers.
What is the best way to represent raven feathers?
Use short, overlapping "U" shapes to mimic the texture of the hackles on the neck. For the wings, use longer, tapered strokes that follow the curve of the bird's anatomy.
How do I make the raven look realistic?
Pay close attention to the highlights. Even though ravens are black, they are not solid silhouettes; leave small white gaps or use an eraser to show light reflecting off the glossy feathers.
What is the most common mistake when drawing a raven?
Many beginners draw the bird too small or too thin. Remember that ravens are sturdy, robust birds, so ensure the chest is broad and the neck is thick.
Can I draw a raven in flight?
Yes, but ensure you emphasize the "fingered" look of the primary feathers at the wingtips. These feathers spread out like fingers when the bird is soaring, which adds dynamic movement to your drawing.
This answer was created with the help of AI research tools and reference sources. Spotted an error? Let us know — we correct mistakes quickly. See our editorial policy.