How do you draw the back of a hand?
Short answer
Drawing the back of a hand requires mapping the metacarpal bones as a flat, slightly arched foundation. You must emphasize the knuckles, the radiating tendons, and the subtle skin folds near the wrist. By focusing on the underlying skeletal structure rather than just the surface, you achieve a realistic, anatomical representation.
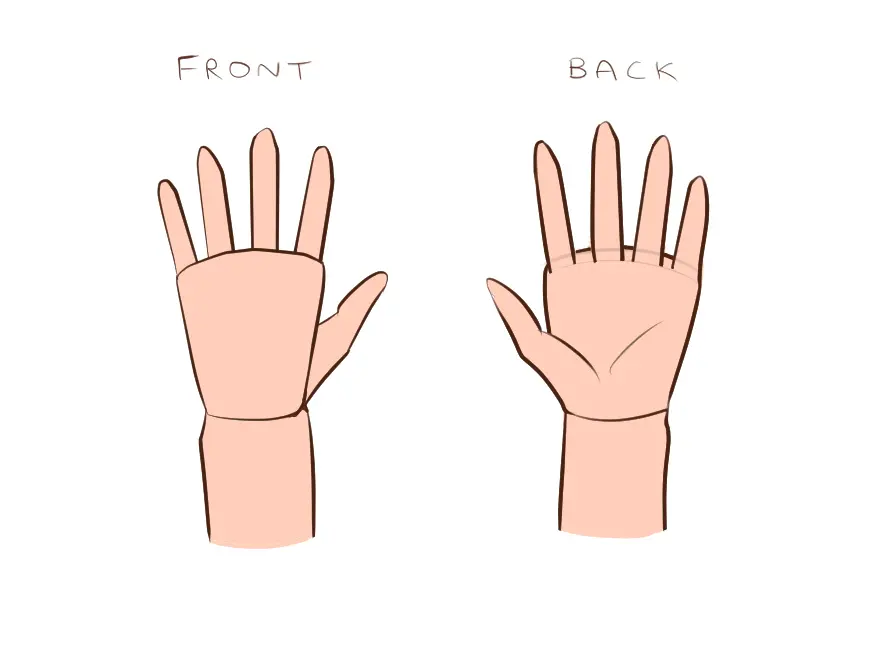
On this page
How to structure the hand anatomy
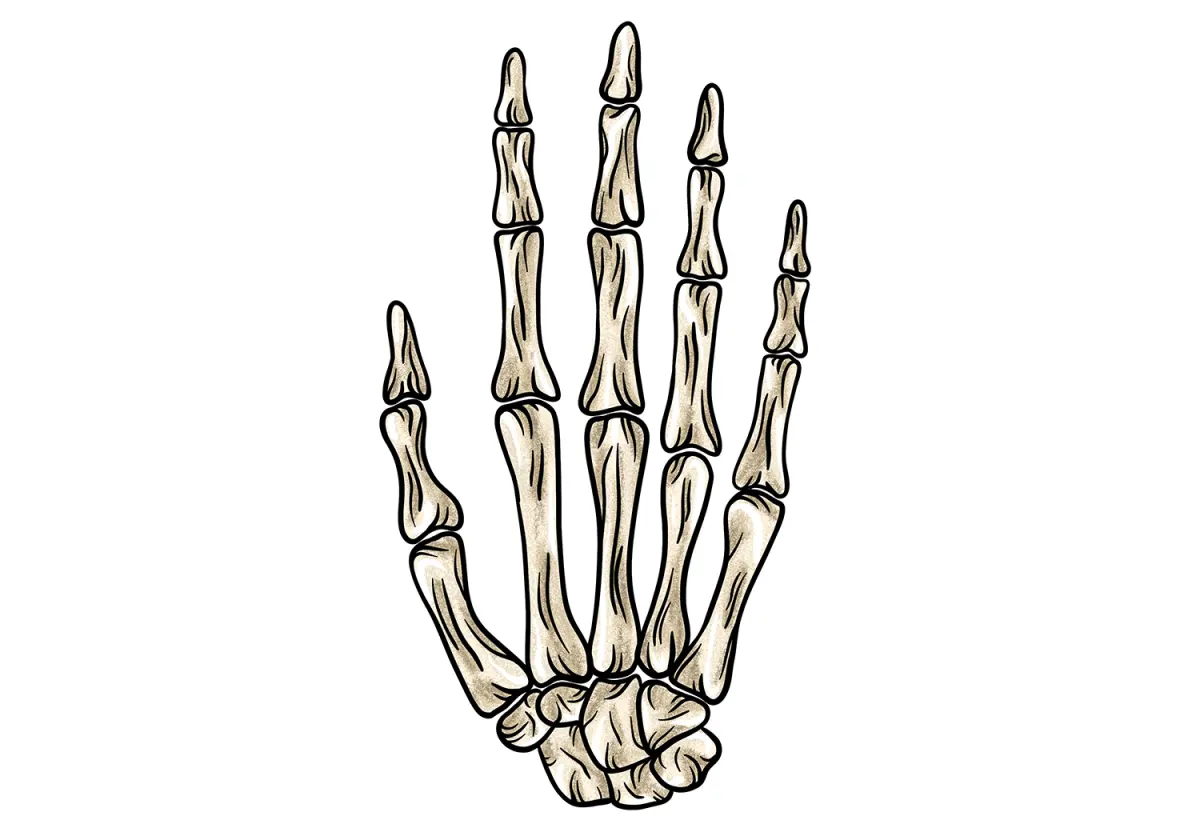
The back of the hand is defined primarily by the five metacarpal bones that connect the wrist to the fingers. When drawing, visualize these bones as a slightly curved, trapezoidal platform. The middle metacarpal is typically the longest, creating a gentle arc across the knuckles. Avoid drawing the hand as a flat, rigid rectangle, as this ignores the natural curvature of the palm and the way the fingers splay outward.
To begin your sketch, follow these foundational steps to ensure proper proportions:
- Draw a slightly curved quadrilateral to represent the palm area, excluding the thumb.
- Mark the positions of the four main knuckles along the top edge of this shape.
- Observe that the knuckle of the middle finger is the highest point, while the index and ring finger knuckles slope downward.
- Add the thumb metacarpal as a separate, thicker bone that connects lower down near the wrist joint.
How to draw knuckles and tendons
Knuckles are not merely circles; they are complex joints that protrude significantly when the fingers are curled or tensed. On the back of the hand, the skin stretches tightly over these joints, often creating small, triangular depressions between them. When the hand is relaxed, these joints appear softer, but they remain the primary landmarks for establishing the hand's orientation in space.
Tendons are the cords that run from the wrist to the fingers, becoming most visible when the fingers are extended or pulled back. These tendons radiate outward from the wrist like a fan, converging toward the base of each finger.
- Keep the lines for tendons subtle and thin, as overly dark or thick lines make the hand look skeletal or aged.
- Use soft shading to suggest the depth between these tendons rather than relying on harsh outlines.
- Remember that the skin over the tendons is thin, so it should follow the tension of the fingers.
How to capture skin folds and wrist details
The wrist is a complex joint where the radius and ulna meet the carpal bones. When drawing the back of the hand, you must account for the slight protrusion of the ulna, which creates a small bump on the outer edge of the wrist. The skin here is often loose and forms rhythmic, curved folds when the hand moves toward the forearm. These folds provide essential visual cues about the hand's current position and level of flexibility.
Focusing on the transition between the hand and the forearm adds a professional level of detail to your work. Use light, gestural lines to indicate where the skin bunches up during wrist rotation. Avoid drawing a straight, unbroken line connecting the hand to the arm, as this creates a stiff, unnatural appearance. Instead, use overlapping lines to suggest the volume of the wrist and the way the skin wraps around the carpal bones during movement.
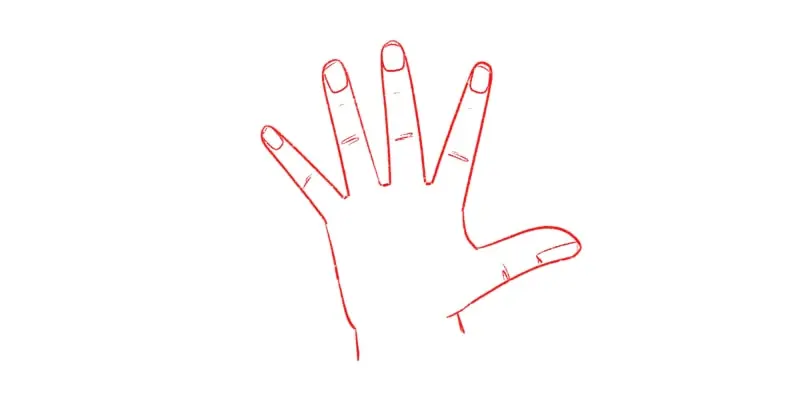
Common mistakes when drawing hands
One of the most frequent errors is making the fingers too short relative to the length of the palm. In a well-proportioned hand, the length of the middle finger is roughly equal to the length of the palm from the wrist to the base of the knuckle. Beginners often neglect the thumb, failing to realize that it originates much lower than the other fingers and possesses a unique, fleshy base that adds significant width to the hand.
Another common pitfall is the "sausage finger" effect, where each digit is drawn as a uniform, rounded tube. Fingers are actually tapered and feature distinct segments corresponding to the phalanges.
- Avoid drawing fingers as perfectly straight lines; they should have slight, rhythmic curves.
- Do not forget the webbing between the fingers, which sits lower than the knuckles.
- Ensure the fingernails are drawn as part of the finger's surface, curving around the fingertip rather than sitting flat on top like a sticker.
Best techniques for realistic shading
Shading is the final step that brings a two-dimensional drawing into the realm of three-dimensional realism. Because the back of the hand is relatively flat compared to the palm, you should use soft, graduated shadows to define the contours of the metacarpals. Identify a single light source and maintain consistency, ensuring that the shadows cast by the knuckles and tendons fall in the same direction across the entire surface of the hand.
To achieve a natural look, use a cross-hatching or blending technique to soften the transitions between light and dark areas. The skin on the back of the hand is thin and often translucent, so avoid using heavy, opaque blacks. Instead, build up layers of graphite or ink to create subtle gradients that suggest the underlying bone structure. By carefully observing how light hits the knuckles and falls into the valleys between tendons, you can create a highly convincing, lifelike representation of the human hand.
Key facts
- The back of the hand, or dorsum, is characterized by a flat, bony surface covered by thin skin.
- Use a trapezoid shape as your initial guide to establish the base of the palm and the knuckles.
- The knuckles are not a straight line; they form a gentle arc that follows the curve of the metacarpal bones.
- Veins on the back of the hand are most prominent near the wrist and tend to branch out toward the fingers.
- Fingers should be drawn with a slight taper, and the middle finger is typically the longest digit.
- Always account for the "webbing" between fingers, which starts lower than the actual base of the finger joints.
The bottom line
Drawing the back of the hand requires observing the underlying skeletal structure rather than just the surface. By starting with a trapezoidal palm and mapping the arched placement of the knuckles, you create a solid foundation. Focus on the tapering of the fingers and the subtle protrusion of veins to add realism. With consistent practice and attention to proportion, you will master this complex anatomical subject.
People also ask
How do I make the knuckles look realistic?
Draw the knuckles as slightly flattened ovals rather than perfect circles. Ensure they are spaced unevenly, as the index finger knuckle sits higher than the ring finger knuckle.
Should I draw every single tendon on the back of the hand?
No, over-detailing tendons can make a hand look skeletal or aged. Focus on the two or three primary tendons that lead to the index and middle fingers to suggest structure without clutter.
Why do my hands always look like they are wearing mittens?
This usually happens because the fingers are drawn too thick or the gaps between them are ignored. Remember that the fingers are separate cylinders that originate from different points along the knuckle arc.
How do I handle the thumb from a top-down perspective?
The thumb attaches to the side of the hand, not the top. When viewing the back of the hand, the thumb should be drawn as a distinct, thicker mass that tucks slightly under the palm's edge.
What is the biggest mistake beginners make when drawing hands?
Beginners often make the fingers too short relative to the palm. A good rule of thumb is that the length of the middle finger is roughly equal to the length of the palm itself.
How do I show the skin texture on the back of the hand?
Use light, subtle cross-hatching near the knuckles and wrist to suggest folds. Avoid drawing heavy outlines for wrinkles, as thin skin is best represented by soft, varied line weights.
This answer was created with the help of AI research tools and reference sources. Spotted an error? Let us know — we correct mistakes quickly. See our editorial policy.