How do you draw a person from behind step by step?
Short answer
Drawing a person from behind requires focusing on the silhouette and the structural flow of the back muscles, spine, and shoulders. By establishing a central axis and mapping the major muscle groups, you create a realistic form. Consistent practice with anatomy references helps capture the natural weight distribution and posture of the figure.
On this page
How to draw the anatomy of the back
The human back is defined by the spine, the shoulder blades (scapulae), and the large muscles surrounding them. To begin, draw a vertical line representing the spine, which acts as the central axis for the entire pose. Mark the base of the skull at the top and the sacrum at the bottom to establish the total length of the torso.
The shoulder blades are triangular bones that shift position depending on arm movement. When the arms are relaxed, these blades sit flat against the rib cage, but they become prominent when the arms are raised or pulled back. You should focus on these key anatomical landmarks:
- The trapezius muscle, which forms a diamond shape between the shoulders.
- The latissimus dorsi, which creates the broad, V-shaped taper of the lower back.
- The erector spinae, two thick columns of muscle running parallel to the spine.
How to establish the figure's silhouette
Capturing the outline of the figure is more important than detailing individual muscles. Start by sketching a simple gesture line that captures the tilt of the shoulders and the hips. If the weight is shifted to one leg, the hip on that side will be higher, creating a natural curve in the spine.
Focus on the negative space around the figure to ensure the proportions remain accurate. By checking the relationship between the width of the shoulders and the width of the hips, you can avoid making the figure look distorted. Follow these steps to build the outer form:
- Sketch a light oval for the head and a larger, inverted trapezoid for the rib cage.
- Connect the rib cage to the pelvis with a curved line representing the waist.
- Draw the outer contours of the arms, noting how they hang naturally against the torso.
- Refine the silhouette by adding slight curves for the gluteal muscles and the back of the legs.
How to shade for depth and volume
Shading is essential for transforming a flat drawing into a three-dimensional form. Identify your primary light source early, as this dictates where shadows will fall on the back. Typically, the area under the shoulder blades and the indentation along the spine will be the darkest parts of the drawing.
Use soft, cross-hatched lines to build up shadow gradually rather than applying dark tones all at once. The muscles of the back are rounded, so your shading strokes should follow the contours of the body to emphasize volume. Avoid using hard, outlining strokes for shadows, as this can make the figure look like a cardboard cutout. Instead, use smooth transitions to suggest the soft surface of the skin over the underlying muscle structure.
Common mistakes when drawing the back
One of the most frequent errors is drawing the spine as a perfectly straight, vertical line. In reality, the spine has a natural S-curve that changes depending on the person's posture and movement. Failing to account for this curve often results in a stiff, unnatural-looking figure that lacks grace.
Another common mistake involves the placement of the shoulders. Beginners often draw the shoulders too narrow or too high, which ruins the balance of the torso. Pay close attention to these pitfalls to improve your accuracy:
- Drawing the shoulder blades as symmetrical squares instead of shifting, organic shapes.
- Neglecting the thickness of the neck, which should transition smoothly into the trapezius.
- Making the waist too thin, which ignores the presence of the rib cage and internal organs.
- Over-detailing the muscles, which can make the back look overly muscular or anatomical rather than human.
Best practice tips for beginners
Consistency is the most effective way to improve your drawing skills. Spend time observing people in public spaces or studying photographs to see how the back changes when someone walks, sits, or reaches for an object. You do not need to memorize every muscle name, but understanding how they interact is vital for realistic results.
Practice by drawing from life whenever possible, as this helps you understand how light interacts with the body. Use a variety of references, including athletes and dancers, to see how different body types affect the silhouette. Remember that every drawing is an opportunity to refine your understanding of form and proportion. Keep your initial sketches light, allowing yourself the freedom to adjust your lines as you develop the final shape. By focusing on the gesture and the underlying structure, you will eventually be able to draw a person from behind with confidence and ease.
Key facts
- The human spine follows a gentle S-curve, which should be visible even when the subject is viewed from behind.
- Shoulders are typically two head-widths wide, creating a trapezoidal shape that tapers down toward the waist.
- The scapulae, or shoulder blades, create subtle protrusions on the upper back, especially when the arms are in motion.
- To maintain correct proportions, the elbow should align roughly with the waistline when the arm hangs at the side.
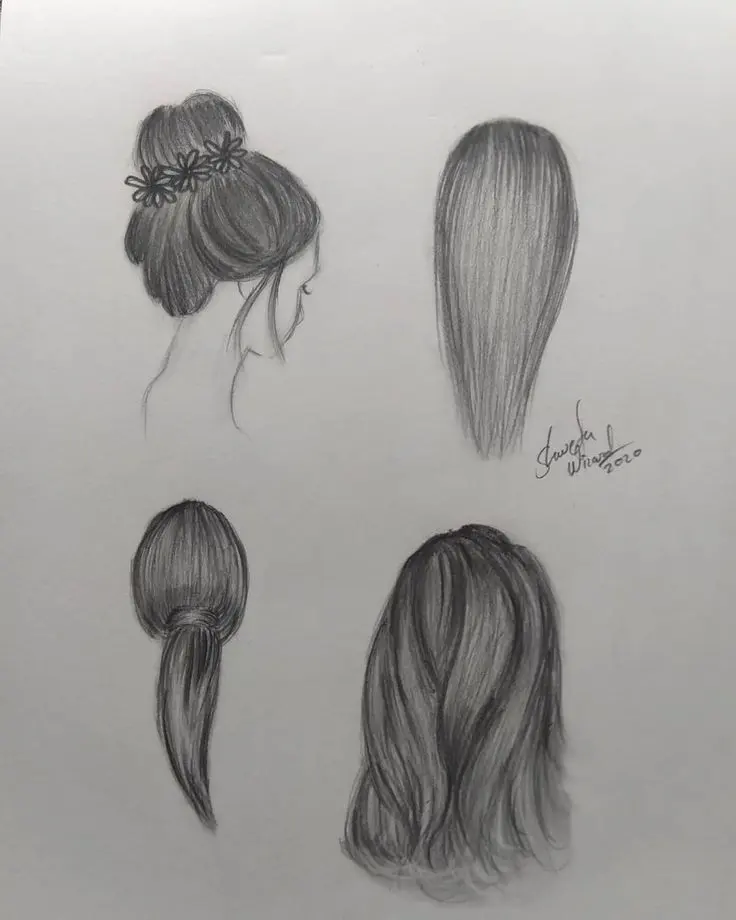
- Hair volume adds significant mass to the silhouette, often obscuring the neck and the upper portion of the shoulders.
- Clothing creates folds and tension lines that radiate from the points of movement, such as the armpits and lower back.
The bottom line
Drawing a person from behind requires focusing on the structural landmarks of the human form, specifically the spine, shoulder blades, and the transition from the torso to the hips. By prioritizing the S-curve of the back and the natural taper of the shoulders, you create a believable silhouette. Observe how clothing interacts with these anatomical points to add weight and movement to your final illustration.
People also ask
How do I draw the neck correctly from behind?
The neck connects to the torso between the trapezius muscles, which slope downward toward the shoulders. Keep the neck relatively short and ensure it does not look like it is floating above the back.
Should I draw the ears when viewing a person from behind?
You should only draw the ears if the head is turned slightly to the side. If the person is facing directly away, the ears are usually hidden by the curve of the skull or the hair.
How do I show the waistline without drawing a belt?
The waist is the narrowest part of the torso, located just above the pelvic bone. You can indicate it through the inward curve of the spine and the natural tapering of the clothing.
What is the most common mistake when drawing the back?
Beginners often draw the back as a flat, featureless rectangle. Always include the subtle indentations of the spine and the muscular structure of the shoulders to provide depth and realism.
How do I draw arms that look natural from behind?
Focus on the curve of the triceps and the way the elbow joint connects to the forearm. Ensure the arms are not perfectly straight, as a slight bend at the elbow makes the pose look more relaxed.
Does the pelvic area change the shape of the back?
Yes, the pelvis is wider than the waist and creates the base for the gluteal muscles. Drawing the slight outward flare of the hips helps define the lower portion of the human silhouette.
This answer was created with the help of AI research tools and reference sources. Spotted an error? Let us know — we correct mistakes quickly. See our editorial policy.