How do you draw food?
Short answer
Drawing food requires observing basic geometric shapes, understanding light sources, and layering colors to replicate textures. Begin by sketching the silhouette of your subject, then define its volume through shading. Focus on highlights to create a sense of freshness and depth, using references to capture the specific organic details of your meal.
On this page
How to start drawing food for beginners
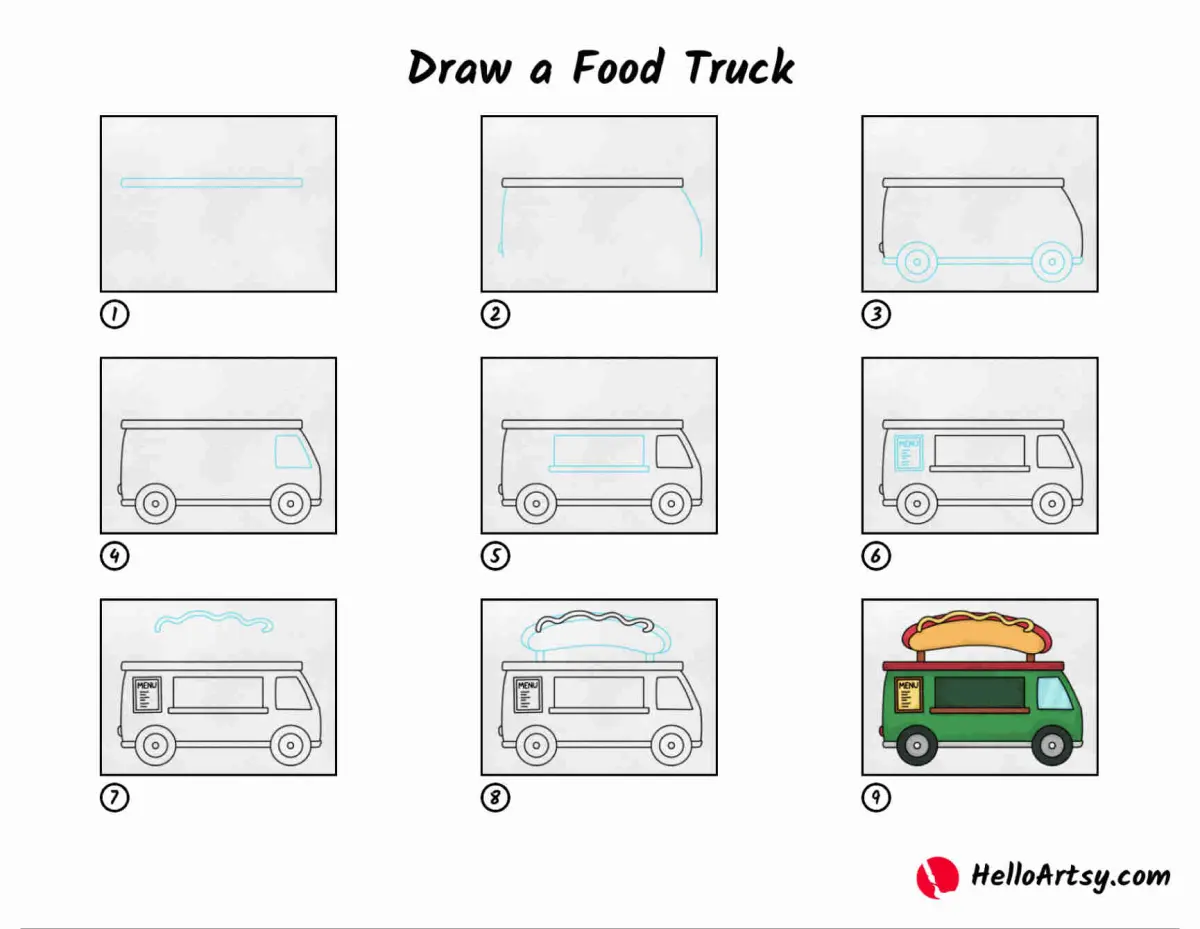
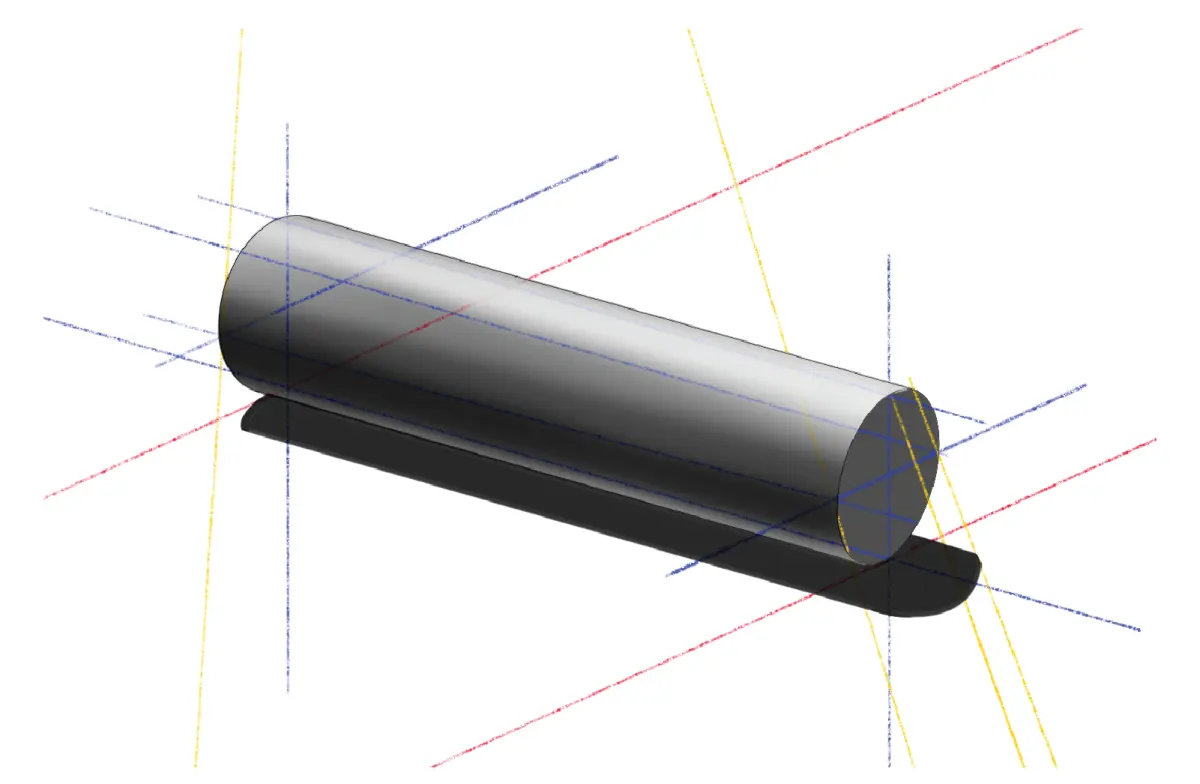
The most effective way to begin drawing food is to simplify complex items into basic geometric forms. A loaf of bread often starts as a rectangle, while an apple is essentially a sphere. By breaking down the subject into these primitive shapes, you establish a solid foundation before adding intricate details. Always keep your initial lines light so they can be easily erased or blended later.
When you are ready to move beyond basic shapes, focus on the proportions of your subject. Use a reference photo or a real bowl of fruit to measure the relationships between different objects. For instance, notice how the size of a grape compares to the size of a strawberry next to it. Practicing these foundational skills is essential for building confidence.
- Observe the subject from a fixed angle to avoid perspective shifts.
- Sketch the overall outline using very light pencil pressure.
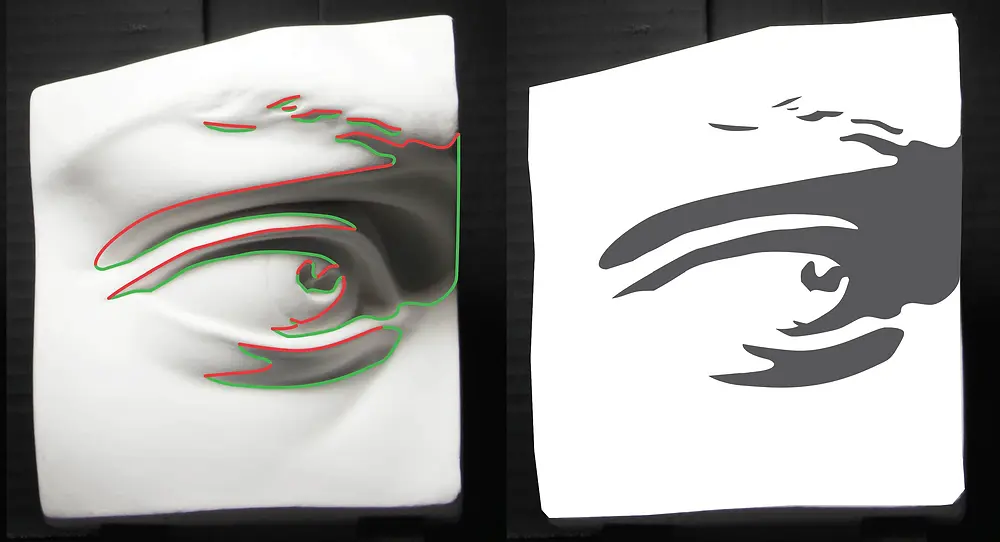
- Identify the primary light source to determine where shadows will fall.
- Refine the edges of your shapes to match the organic nature of food.
How to use light and shadow to create volume
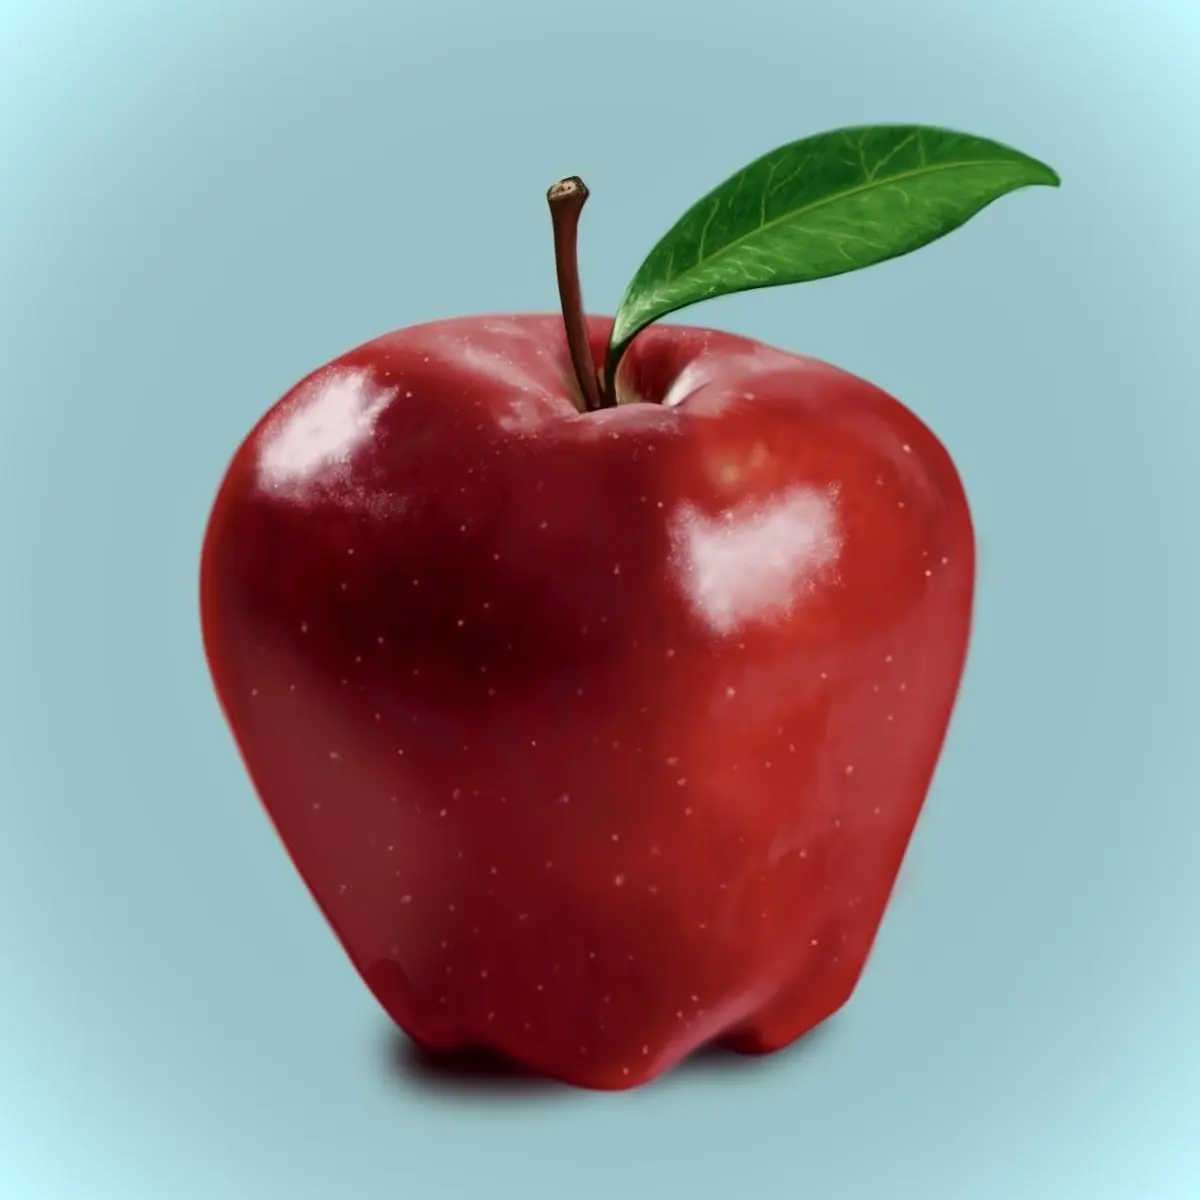
Light and shadow are the primary tools for making food look three-dimensional rather than flat. A consistent light source creates a highlight, a mid-tone, and a dark shadow area on every object. If you are drawing a shiny object like a grape, the highlight should be sharp and bright. For matte surfaces like a potato, the transition between light and shadow will be much softer and more gradual.
To achieve a realistic look, avoid using pure black for your shadows. Instead, mix in complementary colors to create depth and richness. For example, a shadow on a red tomato can be deepened with a touch of dark blue or purple. This technique, known as color layering, prevents your drawing from looking muddy or dull.
- Highlight: The point where the light hits directly.
- Mid-tone: The true color of the object under normal light.
- Core Shadow: The darkest area on the object itself.
- Cast Shadow: The shadow projected onto the surface beneath the food.
Best materials for drawing food
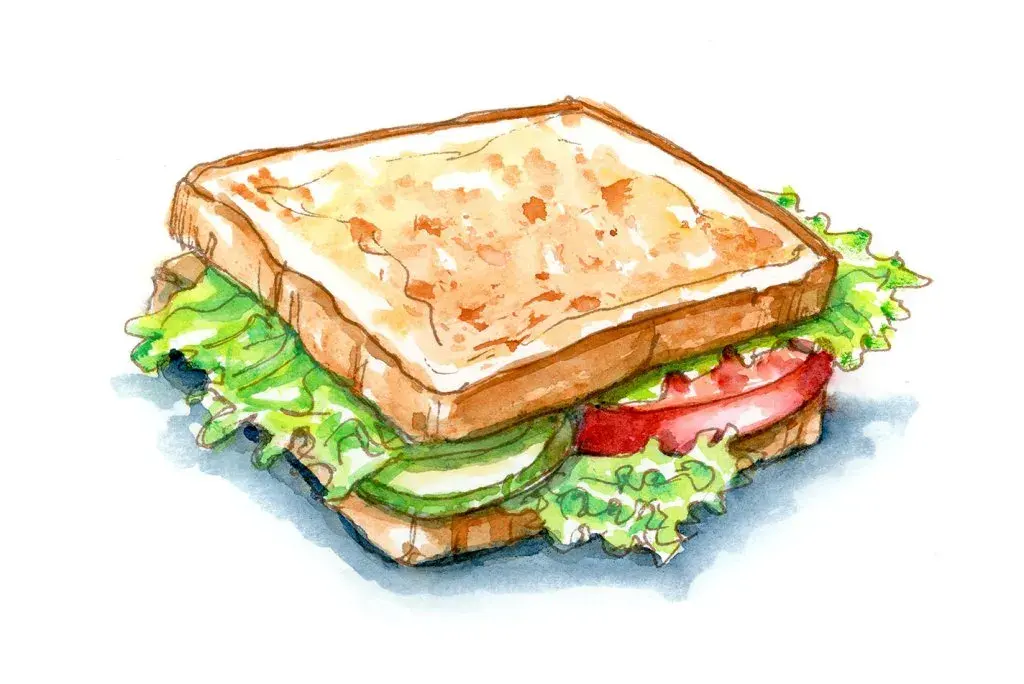
Choosing the right medium depends on the texture you wish to replicate. Colored pencils are excellent for detailed work, such as the skin of a citrus fruit or the crust of a pastry. They allow for precise control and layering, which is helpful for beginners. If you prefer a more painterly approach, soft pastels or gouache can capture the vibrant, saturated colors often found in fresh produce.
Paper quality also plays a significant role in your final result. Use a heavy-weight, acid-free paper if you plan on using wet media like watercolors or markers. For dry media, a slightly textured paper will help grab the pigment and create more realistic surface effects. Always test your colors on a scrap piece of paper before applying them to your final drawing to ensure the tones harmonize well.
Why food textures are difficult to draw
Capturing texture is the most challenging aspect of food art because food is rarely perfectly smooth. Fruits have tiny pores, breads have crumbles, and liquids have complex reflections. To master these, you must vary your mark-making techniques. Use short, stippled dots for the skin of a pear, and long, sweeping strokes for the glossy surface of a glazed donut.
Observation is the key to overcoming these difficulties. Take a magnifying glass to your subject to see the micro-textures that define its appearance. You will notice that a strawberry is not just red; it is covered in tiny seeds and fine hairs that catch the light. By replicating these small, repetitive patterns, you convince the viewer’s eye that the object possesses physical weight and a specific tactile quality.
Common mistakes when drawing food
One of the most frequent errors is neglecting the cast shadow, which makes the food appear as if it is floating in mid-air. Always ensure that the food is grounded by a shadow that connects it to the surface. Another mistake is over-blending, which can strip away the texture and make the food look like plastic. Keep your strokes visible to maintain the organic, natural feel of the subject.
Avoid using only one shade of a color. Real food is composed of many variations in hue, such as the yellow-green gradients in a lime or the brown-to-tan transitions in a roasted chicken. If you draw an object using a single flat color, it will lack life and appeal. Finally, do not rush the process; take time to build your layers slowly to ensure the final piece looks appetizing and accurate.
Key facts
- Start by breaking down complex food items into basic geometric shapes like circles for fruit or rectangles for bread.
- Use a light touch with your pencil initially to allow for easy adjustments before finalizing your outlines.
- Observe the light source carefully to determine where highlights and shadows fall, which creates the illusion of volume.
- Apply cross-hatching or stippling techniques to represent different textures, such as the porous surface of a strawberry or the crispy edge of toast.
- Keep your pencil sharp to achieve clean lines and crisp edges, which are essential for making food look fresh and appetizing.
- Use a kneaded eraser to lift graphite gently, creating subtle highlights on shiny surfaces like glazed donuts or polished apples.
The bottom line
Drawing food effectively requires careful observation of light, texture, and form. By simplifying complex items into basic geometric shapes and focusing on the interplay of highlights and shadows, you can create realistic representations. Practice capturing the unique surface details of various ingredients, and remember that subtle variations in line weight and contrast are the keys to making your subjects appear three-dimensional, fresh, and visually appealing.
People also ask
How do I make food look shiny or glossy in a drawing?
To create a glossy appearance, leave small, stark white areas untouched by pencil or ink to represent highlights. Surround these bright spots with darker tones to increase the contrast and emphasize the reflection.
What is the best way to draw steam rising from hot food?
Draw very faint, wispy, and irregular lines that taper off as they move upward from the dish. Keep these lines light and translucent so they do not look like solid objects.
Should I use color or black and white for food illustrations?
Both styles are effective, but black and white is better for learning how to master value and form. Once you understand light and shadow, adding color allows you to focus on appetizing hues and temperature.
How do I draw transparent liquids like water or tea?
Focus on the container's edges and the refraction of light through the glass. Draw the liquid's surface level and indicate the bottom of the glass through the liquid to show depth.
Why does my food drawing look flat?
A flat appearance usually results from a lack of contrast between shadows and highlights. Ensure you have a full range of values, from deep darks to bright whites, to give the object physical weight.
What are the most common mistakes when drawing food?
Beginners often draw food too symmetrically or with perfectly straight lines, which looks unnatural. Avoid using heavy, dark outlines for every edge, as this makes the subject look like a cartoon rather than a realistic item.
This answer was created with the help of AI research tools and reference sources. Spotted an error? Let us know — we correct mistakes quickly. See our editorial policy.