How do you draw a hill step by step?
Short answer
Drawing a hill involves establishing a curved horizon line and using light-to-shadow gradients to create volume. By applying consistent shading techniques, you transform a flat shape into a three-dimensional landform. Focus on contour lines and atmospheric perspective to provide depth, ensuring the base appears wider and darker than the peak.
On this page
How to draw a hill step by step
Drawing a hill begins with observing the landscape or visualizing a gentle, undulating slope. Start by sketching a soft, asymmetrical arch on your paper to represent the summit. Avoid perfectly symmetrical triangles, as natural hills rarely possess uniform slopes. Once the primary silhouette is established, define the base by drawing a slightly curved line that connects the two ends of your arch, suggesting the ground plane.
After finalizing the outline, add contour lines to indicate the hill's terrain and texture. These lines should follow the physical curves of the slope, wrapping around the hill to emphasize its volume. Use lighter pressure for areas facing the light source and heavier pressure for the shaded side. This foundational process requires patience, as the accuracy of your initial sketch dictates the realism of the final drawing.
- Draw a light, asymmetrical arc for the hill's peak.
- Define the base with a gentle, horizontal curve.
- Add contour lines that follow the slope’s curvature.
- Identify the light source to determine shading placement.
- Apply base tones to the side opposite the light.
Best shading techniques for beginners
Shading is the most critical element for transforming a two-dimensional drawing into a convincing three-dimensional hill. Begin by determining where the sun or light source is positioned in your scene. The side of the hill facing away from the light should be shaded with a smooth, consistent gradient. Use a side-to-side motion with your pencil to create soft transitions, avoiding harsh lines that can break the illusion of a natural slope.
Cross-hatching is another effective method for adding depth and texture to your drawing. By layering sets of parallel lines at intersecting angles, you can build up darker values in the crevices or shadowed areas of the hill. Start with light, sparse strokes and gradually increase the density of the lines to deepen the shadows. This technique provides a tactile quality, making the hill appear rugged and grounded within the environment.
How to add depth and perspective
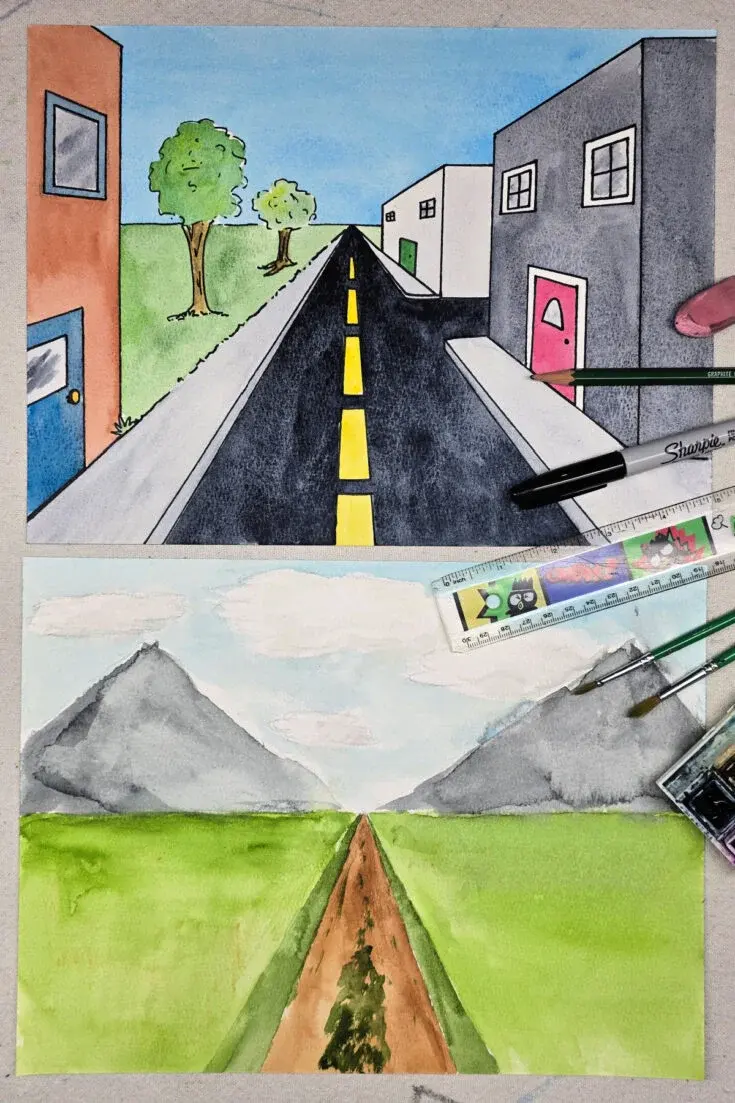
Atmospheric perspective is a technique used by artists to make distant objects appear further away and less detailed. To apply this to a hill, keep the lines at the summit or the furthest point of the hill lighter and thinner than those at the base. As the hill moves toward the foreground, increase the contrast and the level of detail in the texture. This shift in focus tricks the eye into perceiving distance.
You can also use overlapping shapes to create a sense of scale. If you are drawing a range of hills, place smaller, lighter hills behind the primary, larger hill. Ensure that the foreground hill has the darkest shadows and the most distinct edges, while the background hills remain soft and muted. This layering effect is essential for creating a professional-looking landscape that feels vast and immersive rather than flat.
Common mistakes when drawing hills
One of the most frequent errors is creating a hill that looks like a perfect, geometric cone. In nature, erosion and geological forces create irregular, organic shapes. Avoid drawing straight lines or sharp, symmetrical angles, as these rarely exist in natural landscapes. Instead, focus on creating subtle dips, bumps, and variations in the contour of the hill to mimic the unpredictable nature of the earth.
Another common mistake is applying uniform shading across the entire surface. If the shadow is the same darkness at the top of the hill as it is at the bottom, the hill will lose its sense of volume. Always remember that shadows typically deepen toward the base, where less light reaches the surface. Furthermore, neglecting to ground the hill with a base line or surrounding vegetation can make the hill look like it is floating in space.
Best tools for drawing landscapes
The quality of your drawing is heavily influenced by the tools you select for the task. For beginners, a set of graphite pencils ranging from 2H to 6B is ideal. Use the harder 2H pencils for light, preliminary outlines that can be easily erased, and reserve the softer 6B pencils for deep, rich shadows. Having a variety of lead hardness allows you to achieve a full range of values, which is vital for realistic shading.
Paper selection also plays a significant role in the final result. A medium-tooth drawing paper provides enough texture to catch the graphite, allowing for smoother blending and more expressive marks. You should also keep a kneaded eraser on hand, as it is excellent for lifting highlights or correcting small mistakes without damaging the paper surface. By investing in these fundamental tools, you establish a reliable workflow that supports your growth as an artist.
Key facts
- A hill is defined by a convex slope, meaning the curve bows outward rather than inward like a valley.
- Use a light sketching pencil like an HB to establish your initial shape before committing to darker lines.
- Perspective dictates that objects at the base of the hill should appear larger and more detailed than those at the peak.
- Incorporate overlapping shapes to create a sense of depth and distance between different sections of the terrain.
- Vary your line weight to indicate light source; use thinner lines for edges facing the light and thicker lines for shadows.
- Add texture using short, irregular marks to represent grass, rocks, or soil, which helps ground the hill in reality.
The bottom line
Drawing a convincing hill relies on mastering organic curves and understanding how light interacts with uneven surfaces. By starting with a rough, convex outline and layering texture, you create a sense of volume. Remember that perspective is essential; detail the foreground heavily while softening the background. With practice, these techniques allow you to render diverse landscapes that feel solid, natural, and accurately positioned within your scene.
People also ask
How do you show depth on a hill?
Use atmospheric perspective by drawing objects at the bottom with high contrast and detail. As the terrain rises toward the peak, use lighter, softer marks to suggest distance.
What is the best way to shade a hill?
Identify where your light source is located and apply shadow to the side of the hill facing away from it. Use cross-hatching or smooth gradients to transition from light to dark.
Should I use straight lines for a hill?
Avoid perfectly straight lines, as natural landscapes are defined by organic, irregular curves. Use gentle, undulating strokes to mimic the uneven surface of the earth.
How do I draw trees on a hill?
Place trees so their bases follow the contour of the slope rather than a straight horizontal line. Taller trees should be placed at the base, while smaller ones appear near the top.
What are common mistakes when drawing hills?
A frequent error is making the hill look like a perfect triangle, which lacks natural volume. Another mistake is failing to account for the horizon line, which keeps the landscape grounded.
How do I make a hill look steep?
Increase the verticality of your lines and shorten the horizontal base of the hill. A sharper peak and steeper side angles immediately convey a more dramatic elevation.
This answer was created with the help of AI research tools and reference sources. Spotted an error? Let us know — we correct mistakes quickly. See our editorial policy.