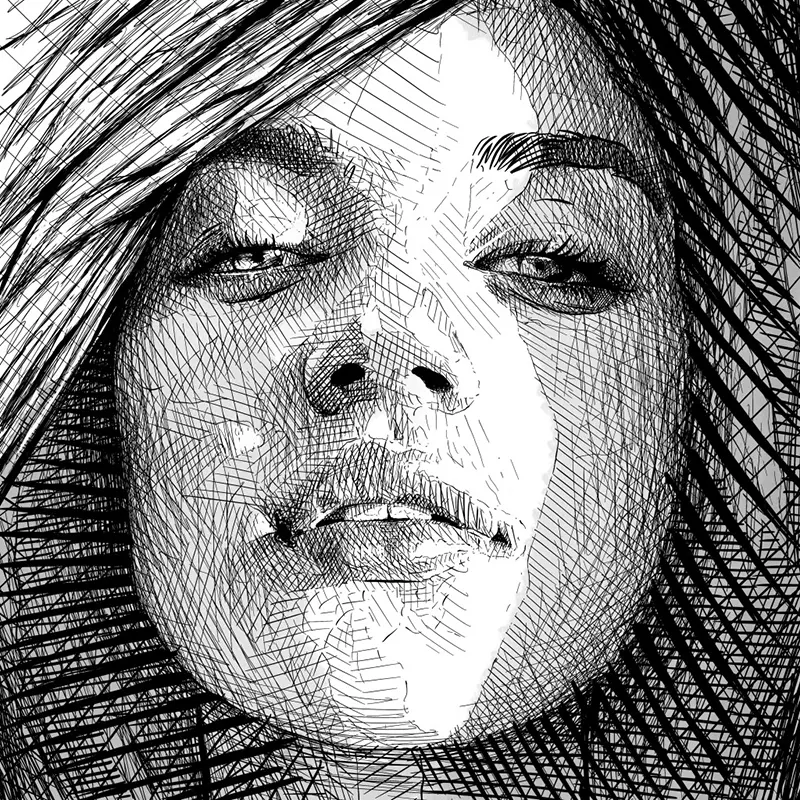
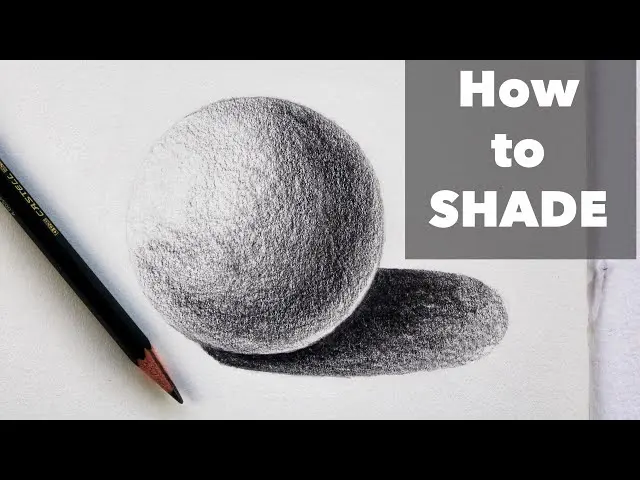
How do you shade a face?
Short answer
Shading a face requires identifying a single light source to create consistent shadows. By mapping the skull’s underlying structure, you apply values ranging from highlights to deep shadows. Use a soft-grade pencil or brush to build layers gradually, ensuring smooth transitions that define the nose, eye sockets, and jawline for realistic depth.
On this page
How to map light and shadow on a face
Effective shading begins with establishing a clear light source, such as a lamp or sunlight, which dictates where highlights and shadows fall. Imagine the face as a series of geometric planes rather than a flat surface. Areas facing the light remain bright, while surfaces turned away from the light source fall into shadow. This fundamental principle of chiaroscuro—the contrast between light and dark—gives a two-dimensional drawing the illusion of three-dimensional volume.
To map these areas, lightly sketch the "terminator line," which is the boundary where light transitions into shadow. For a face lit from the top right, the shadows will typically appear under the brow ridge, beneath the nose, under the lower lip, and along the side of the jaw opposite the light. Following this logic ensures that your shading remains consistent across the entire portrait, preventing the common issue of "flat" or muddy features that lack structural integrity.
Best shading techniques for beginners
Beginners should focus on building value through layering rather than aggressive, dark strokes. Start with a hard pencil, such as an HB or 2H, to create a light foundation, then gradually introduce softer pencils like 4B or 6B for deeper shadows. Use circular motions or cross-hatching to blend tones, ensuring the transition between light and dark remains soft. Avoid using your finger to smudge graphite, as this introduces skin oils that can create uneven, permanent patches on the paper.
- Establish your lightest highlights using a kneaded eraser to lift graphite.
- Apply mid-tones to the bulk of the skin, keeping the pressure light.
- Darken the core shadows, such as the eye sockets and the area under the chin.
- Use a blending stump or a clean tissue to smooth transitions between values.
- Add final, crisp dark accents to the pupils or nostrils to provide contrast.
Why faces look flat after shading
A common reason for a flat-looking portrait is the lack of a full value range. Many artists fear using dark tones, resulting in a drawing composed entirely of mid-tones. To achieve realism, you must include the "full scale" of values: pure white highlights, deep black shadows, and a wide variety of grays in between. If your drawing lacks these extremes, the face will appear washed out and lack the necessary structural depth required for a professional result.
Another factor is the failure to consider the curvature of the skull. The face is not a flat plane; it is a complex collection of spheres and cylinders. When shading, you must follow the contour of the features. For example, the shadow on the cheek should curve slightly to suggest the roundness of the bone structure. By ignoring these subtle curves, you create a mask-like appearance that fails to convey the organic, rounded nature of human anatomy.
Common mistakes when shading skin
One of the most frequent errors is over-blending, which creates a muddy, artificial look. While smoothing is important, overworking the paper destroys the texture and makes the skin look like plastic rather than human flesh. Another mistake is ignoring reflected light. Even in deep shadow, light bounces off surfaces like the neck or shoulders, creating a faint glow on the edge of the jaw or the side of the nose. Including this reflected light is essential for achieving a professional, lifelike finish.
- Avoid using the same pencil pressure for every part of the face.
- Do not outline features with harsh, thick lines; use value differences instead.
- Remember that the eye sockets are recessed, meaning they should almost always be darker than the bridge of the nose.
- Ensure that the shadows under the nose and lips are not so dark that they detach from the face.
- Check your work periodically by looking at it in a mirror to spot inconsistencies.
How to add texture and detail
Once the basic shading is established, you can add texture to make the face feel authentic. Skin is rarely perfectly smooth; it has pores, fine lines, and subtle variations in tone. Use a sharp pencil to add tiny, irregular dots or faint lines in areas of shadow to suggest skin texture. This is particularly effective on the forehead or around the nose. However, be careful not to overdo it, as subtle suggestions of detail are often more effective than drawing every individual pore or wrinkle.
Finally, consider the edges of your shadows. "Hard edges" occur where the light is blocked abruptly, such as the shadow cast by the nose onto the upper lip. "Soft edges" occur where a surface turns away from the light gradually, such as the curve of the cheek. By varying the sharpness of your shadow edges, you create a sophisticated sense of form. Mastering these nuances allows you to transition from simple sketches to portraits that possess genuine weight, character, and a convincing sense of physical presence.
Key facts
- Light sources determine the direction of shadows; always identify your light source before applying any graphite or pigment.
- Use the "loomis method" or basic geometric shapes like spheres and cylinders to map out the facial structure before shading.
- Apply pressure lightly in layers; it is easier to darken a light area than to lift pigment from a dark one.
- The core shadow is the darkest area on the object itself, usually found where the light turns away from the form.
- Cast shadows, which fall onto other surfaces, typically have sharper edges near the object and softer edges as they extend outward.
- Use a kneaded eraser to "draw" with light by lifting pigment to create highlights on the bridge of the nose, forehead, and chin.
The bottom line
Effective facial shading relies on understanding how light interacts with three-dimensional forms. By mapping the skull’s underlying geometry and establishing a clear light source, you can build depth through layered values. Focus on maintaining a full range of contrast, using soft transitions for skin and sharp edges for cast shadows. With practice, these techniques transform flat outlines into realistic portraits that capture volume and life.
People also ask
Should I shade the eyes before the rest of the face?
It is generally better to establish the overall value structure of the entire face first. Focusing too early on the eyes can lead to them appearing disconnected or disproportionate to the rest of the facial features.
How do I prevent my hand from smudging the graphite while shading?
Place a clean piece of scrap paper under your drawing hand to act as a barrier. This simple technique prevents oils from your skin from transferring to the paper and keeps your shading crisp.
What is the purpose of a blending stump?
A blending stump is used to soften transitions between light and dark values. Avoid overusing it, as constant blending can muddy the drawing and make the skin texture look unnaturally smooth or waxy.
How do I shade deep wrinkles or folds in the skin?
Treat wrinkles as small, individual forms with their own highlights and shadows. Use a sharp pencil to define the darkest crease, then gently blend the shadow outward to create a three-dimensional effect.
Why does my shading look flat instead of three-dimensional?
Flat shading often results from a lack of contrast between mid-tones and shadows. Ensure you have a full range of values, from pure white highlights to deep, dark shadows, to create the illusion of volume.
Is it better to shade with the side or the tip of the pencil?
Use the side of the pencil for broad, soft areas of shading to cover more surface area evenly. Reserve the sharp tip for fine details, such as the corners of the mouth or the edges of the eyelids.
This answer was created with the help of AI research tools and reference sources. Spotted an error? Let us know — we correct mistakes quickly. See our editorial policy.